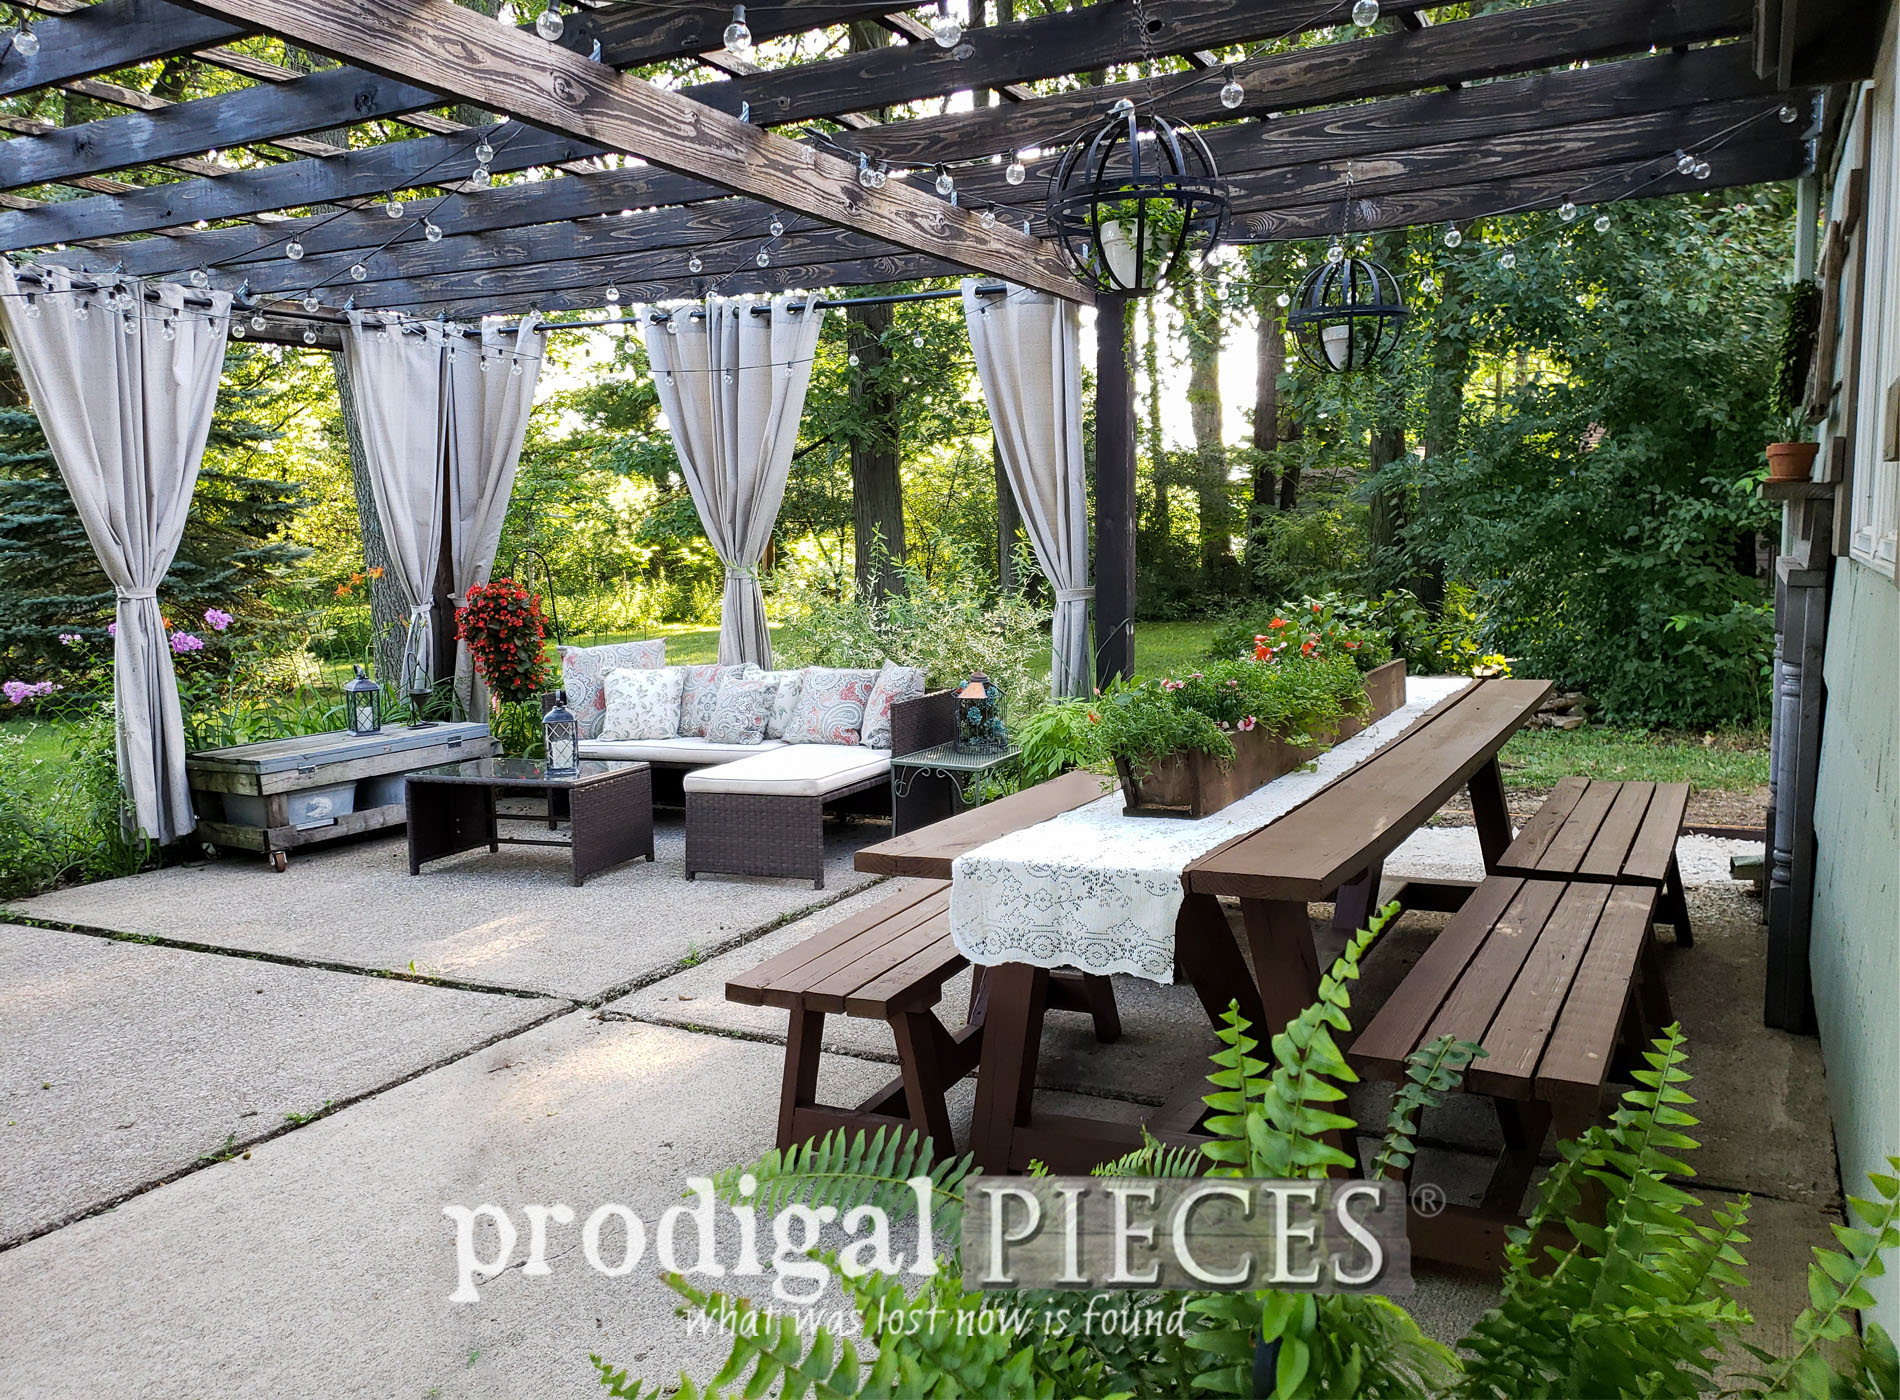
 It has been 4 years since we built our pergola for our patio area and also this dining set. You can see the beginning of my "when you give a lady a patio set" story HERE. (if you've read If You Give a Mouse a Cookie picture book, you know where I went with that. tsk)
THE BACKSTORY
At the time of the build, I didn't wait the recommended 6 weeks for the pressure treated wood to dry out. Instead, I put on the stain about a week later. I'll be honest that I'm surprised it still looks as good as it does, but you can definitely tell it would have been wise to wait.
 Can you see how it's faded, showing brush marks, and the stain released from all the knots? Mind you I adore time-worn things, but this isn't the look I'm after out here. haha.

*post sponsored by HomeRight (see full disclosure)
In addition, I also want to note that here in Ohio we get highs around 100 in the summer and lows below zero in the winter. That can make for a bunch of wear too. We do, however, tarp the set over the winter, but even the flexing of temps can be brutal.GET 'ER DONE
Now that I've established this set really needs some lovin', let's show you how to update outdoor furniture the easy way. First, I begin by cleaning out all the nooks and crannies of debris from our trees. I used a simple flat head screw driver and my battery-operated leaf blower to remedy the blucky mess. Then, once that was complete, I scrubbed it all down and let it dry completely.
TIME TO BRING OUT THE TOYS
Next, it's time to bring out my favorite HomeRight Super Finish Max Sprayer {{applause}}. Y'all know I adore this this thing for so many reasons. You can see all my past project fun HERE in these posts. First, it's not just for paint. Yep, you got it. It is perfect for paint, poly, AND stain. You can see how I set up and used it to stain our DIY Fire Pit (tutorial HERE) area in this video below.
 Since I am looking to refresh the current stain, I am using the can of Thompson's WaterSeal Solid Stain in Acorn Brown. It is an older can, so I need to pour it through a filter to ensure I have no chunks or debris to clog my sprayer.
 Then, it's time for me to apply my stain. I'm using my blue tip (it comes with 3 varied tip sizes for your specific job) Don't worry that you don't know how to use a tool such as this, all I can say is practice makes perfect. Take scrap wood or cardboard and practice controlling the flow dial, also switching the tip to vertical/horizontal positions. Even practice holding the sprayer about 12" from the surface and use your elbow and shoulder to move, not your wrist.
 Only one coat is needed and two hours cure time. So easy! I literally had my entire set coated in 15 minutes. {{happy dance}} You can't beat that.
 Cleanup takes less than 15 minutes as well and will keep your sprayer working like new for many years to come.
REVEAL TIME

 The set is totally refreshed and ready to go for many more years. I feel better about it this time as the coat was much more solid and even because of the sprayer. Plus, you actually want to have your dinner on this clean surface. Know what I mean? ahem.

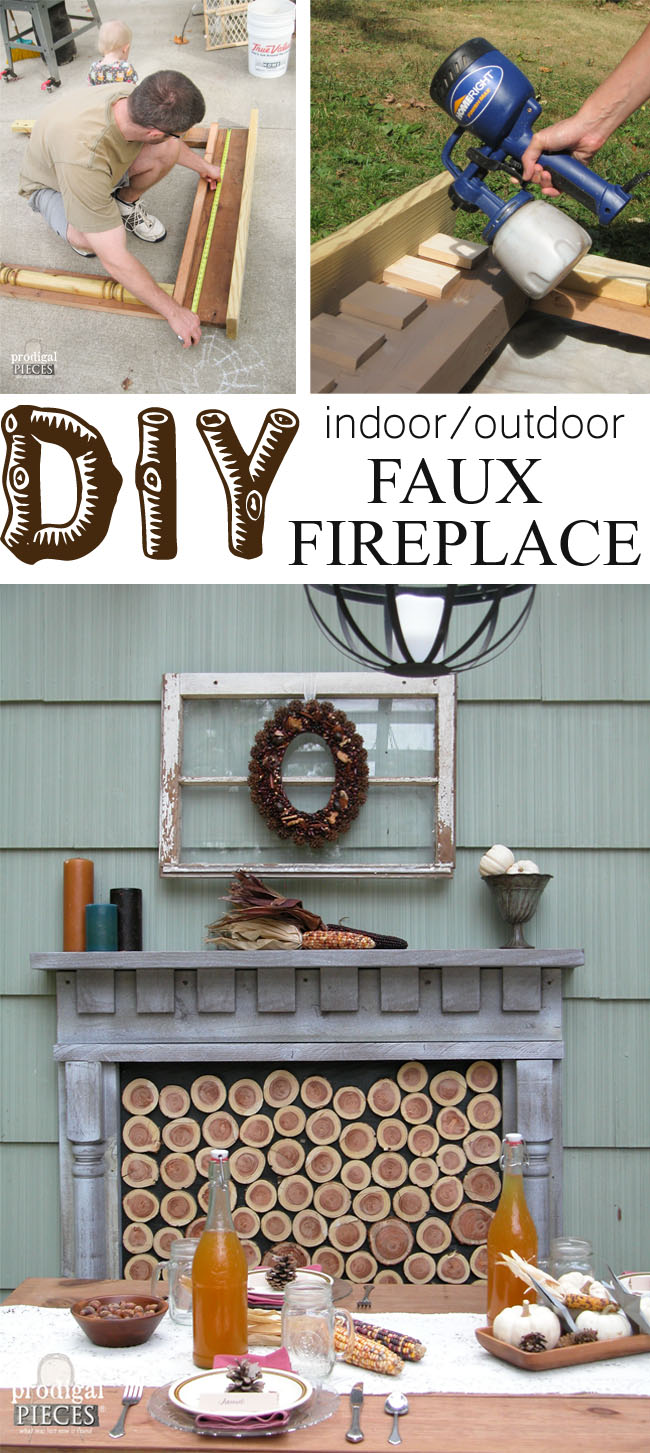
 If you'd like to create that faux fireplace for indoor or outdoor decor, you can find the tutorial HERE in this post. Next, my pergola is going to need the same refresh. Can you believe I brushed it all by hand too? {{head smack}}

 My goal is to inspire you to give your own home a refresh with an update to your outdoor decor.
 Now for some DIY fun for you! HomeRight and I want to empower you to get your own outdoor furniture done quick & easy. We are giving away a Super Finish Max Sprayer to one of you.
 Easy entry - just complete the widget below for as many entries as you like. Open to U.S. & Canada residents 18 years of age and older. Winner will be notified via email and will have 24 hours to claim their prize. Be sure to check your spam!
In addition, pin and share this super easy way to update outdoor furniture. I know many put it off as an un-fun thing to do. This makes it a blast! (literally)
Easy entry - just complete the widget below for as many entries as you like. Open to U.S. & Canada residents 18 years of age and older. Winner will be notified via email and will have 24 hours to claim their prize. Be sure to check your spam!
In addition, pin and share this super easy way to update outdoor furniture. I know many put it off as an un-fun thing to do. This makes it a blast! (literally)
 Up next, this thrifted wooden caddy is going to get a fun new look. HEAD HERE TO SEE.
 To get these DIY tips & tricks in your inbox, be sure to sign up for my newsletter. PLUS, you will get your FREE Furniture Buying Checklist and special discount to my shop. Until next time!

Also, more DIY projects like how to update outdoor furniture: