Grandma's old silverware box is about to get the makeover of a lifetime! tee hee!! You know you find these kinds of things at the thrift stores or garage sales, right? Maybe you wonder what it could be used for. Well, two things (1) it's wood (2) it's storage. Who doesn't love extra storage? My goal is to show you one was to make use of this upcycled silverware box. Hang with me now.

If you remember, I had already demonstrated how I took another silverware box and upcycled it with an antique washboard to get this...

You can see my tutorial and peek inside this cupboard in
this post over HERE. For today, however, I'm going a completely different route.
Before I begin, let's take a peek inside. It's fairly clean, hinges, work well, and it doesn't STINK. (huge bonus right there, let me tell ya)

I've created a video tutorial for you below that takes you through each step and maybe even does a better job in the demo so you can
see what I'm doing. Feel free to ask any questions!
GETTING STARTED
First, I rip out the inside lining and clean it up with my putty scraper. This part is messy, but crucial to get a good starting point. I'll be saving this slotted utensil holder scrap and tucking it into my stash for higher purpose later on. Doesn't it look like dental moulding? Say cheese!

Then, once the lining is out, it's time to give it a couple fresh coats of paint.
TIME FOR THE INSIDE
Next, we need to dress up the inside while the paint coats cure. While I could go any route with this upcycled silverware box, I've chose to create a jewelry box. And since you know I love to mix French with farmhouse, that's the style I'm after.
This is the fabric I'll be using. Isn't it pretty? It has the Fleur de Lis likeness that suits what I'm after. Plus, it's a canvas style duty which will wear well. I got it at a local box store for a couple of bucks (yes, I'm from Ohio. tsk.)

Here is a supply list of what you'll need to line your box too:
- fabric of choice
- cutting mat
- tape measure
- rotary cutter
- cutting ruler
- cutting ruler square
- pen
- sewing scissors
- fabric glue
- school glue
- clothing iron
- foam ring holder (optional)
- graphic transfer (if desired)
STEP 1
First, measure the inside edge of your box. (see video for explanation) My box is 16" x 10 ½". You also want to measure up the sides since you'll be covering those too. I needed to add 5" to each of my measurements to ensure I had enough fabric to cover the bottom, up the sides, and excess to fold under for a nice clean edge.
STEP 2
Then, cut your fabric to size with your cutting wheel and mat. Once you have it ready to go, it's time to box our corners. I place my 2 ½" cutting grid on the 2" box mark and trace each corner.

After that, I move the grid in to the 2 ½" placement and trace again. This will give us the mitered corners were after and a mark where to fold.

STEP 3
Next, cut out the 2" box. Then, make a cut from the inside corner to the inside 2 ½" corner for your miter.

STEP 4
Next, not only do you need to turn in and press your side edges, but also the two mitered corner edges on the
short sides only.


STEP 5
One step that I skipped inadvertently was to prime or paint the inside. I found after this step that I should have done so and made an amateur mistake. Make sure you don't need a stain blocker in case of bleed through. I used it on mine after I had to take out my liner. {{head smack}}
Okay, so now you need to do a dry fit test to see if your ironing and cuts line up. Your long side mitered corners will go behind the folded short side corner edges as shown. (see video for more explanation)


Next, if you choose to line the inside top (lid), do it now and in the same fashion as the bottom.
STEP 6
At this point, you can take this project to any functional level. For my purposes, I wanted to make a jewelry box, so I add the foam ring holder to the top using my hot glue gun in this post.
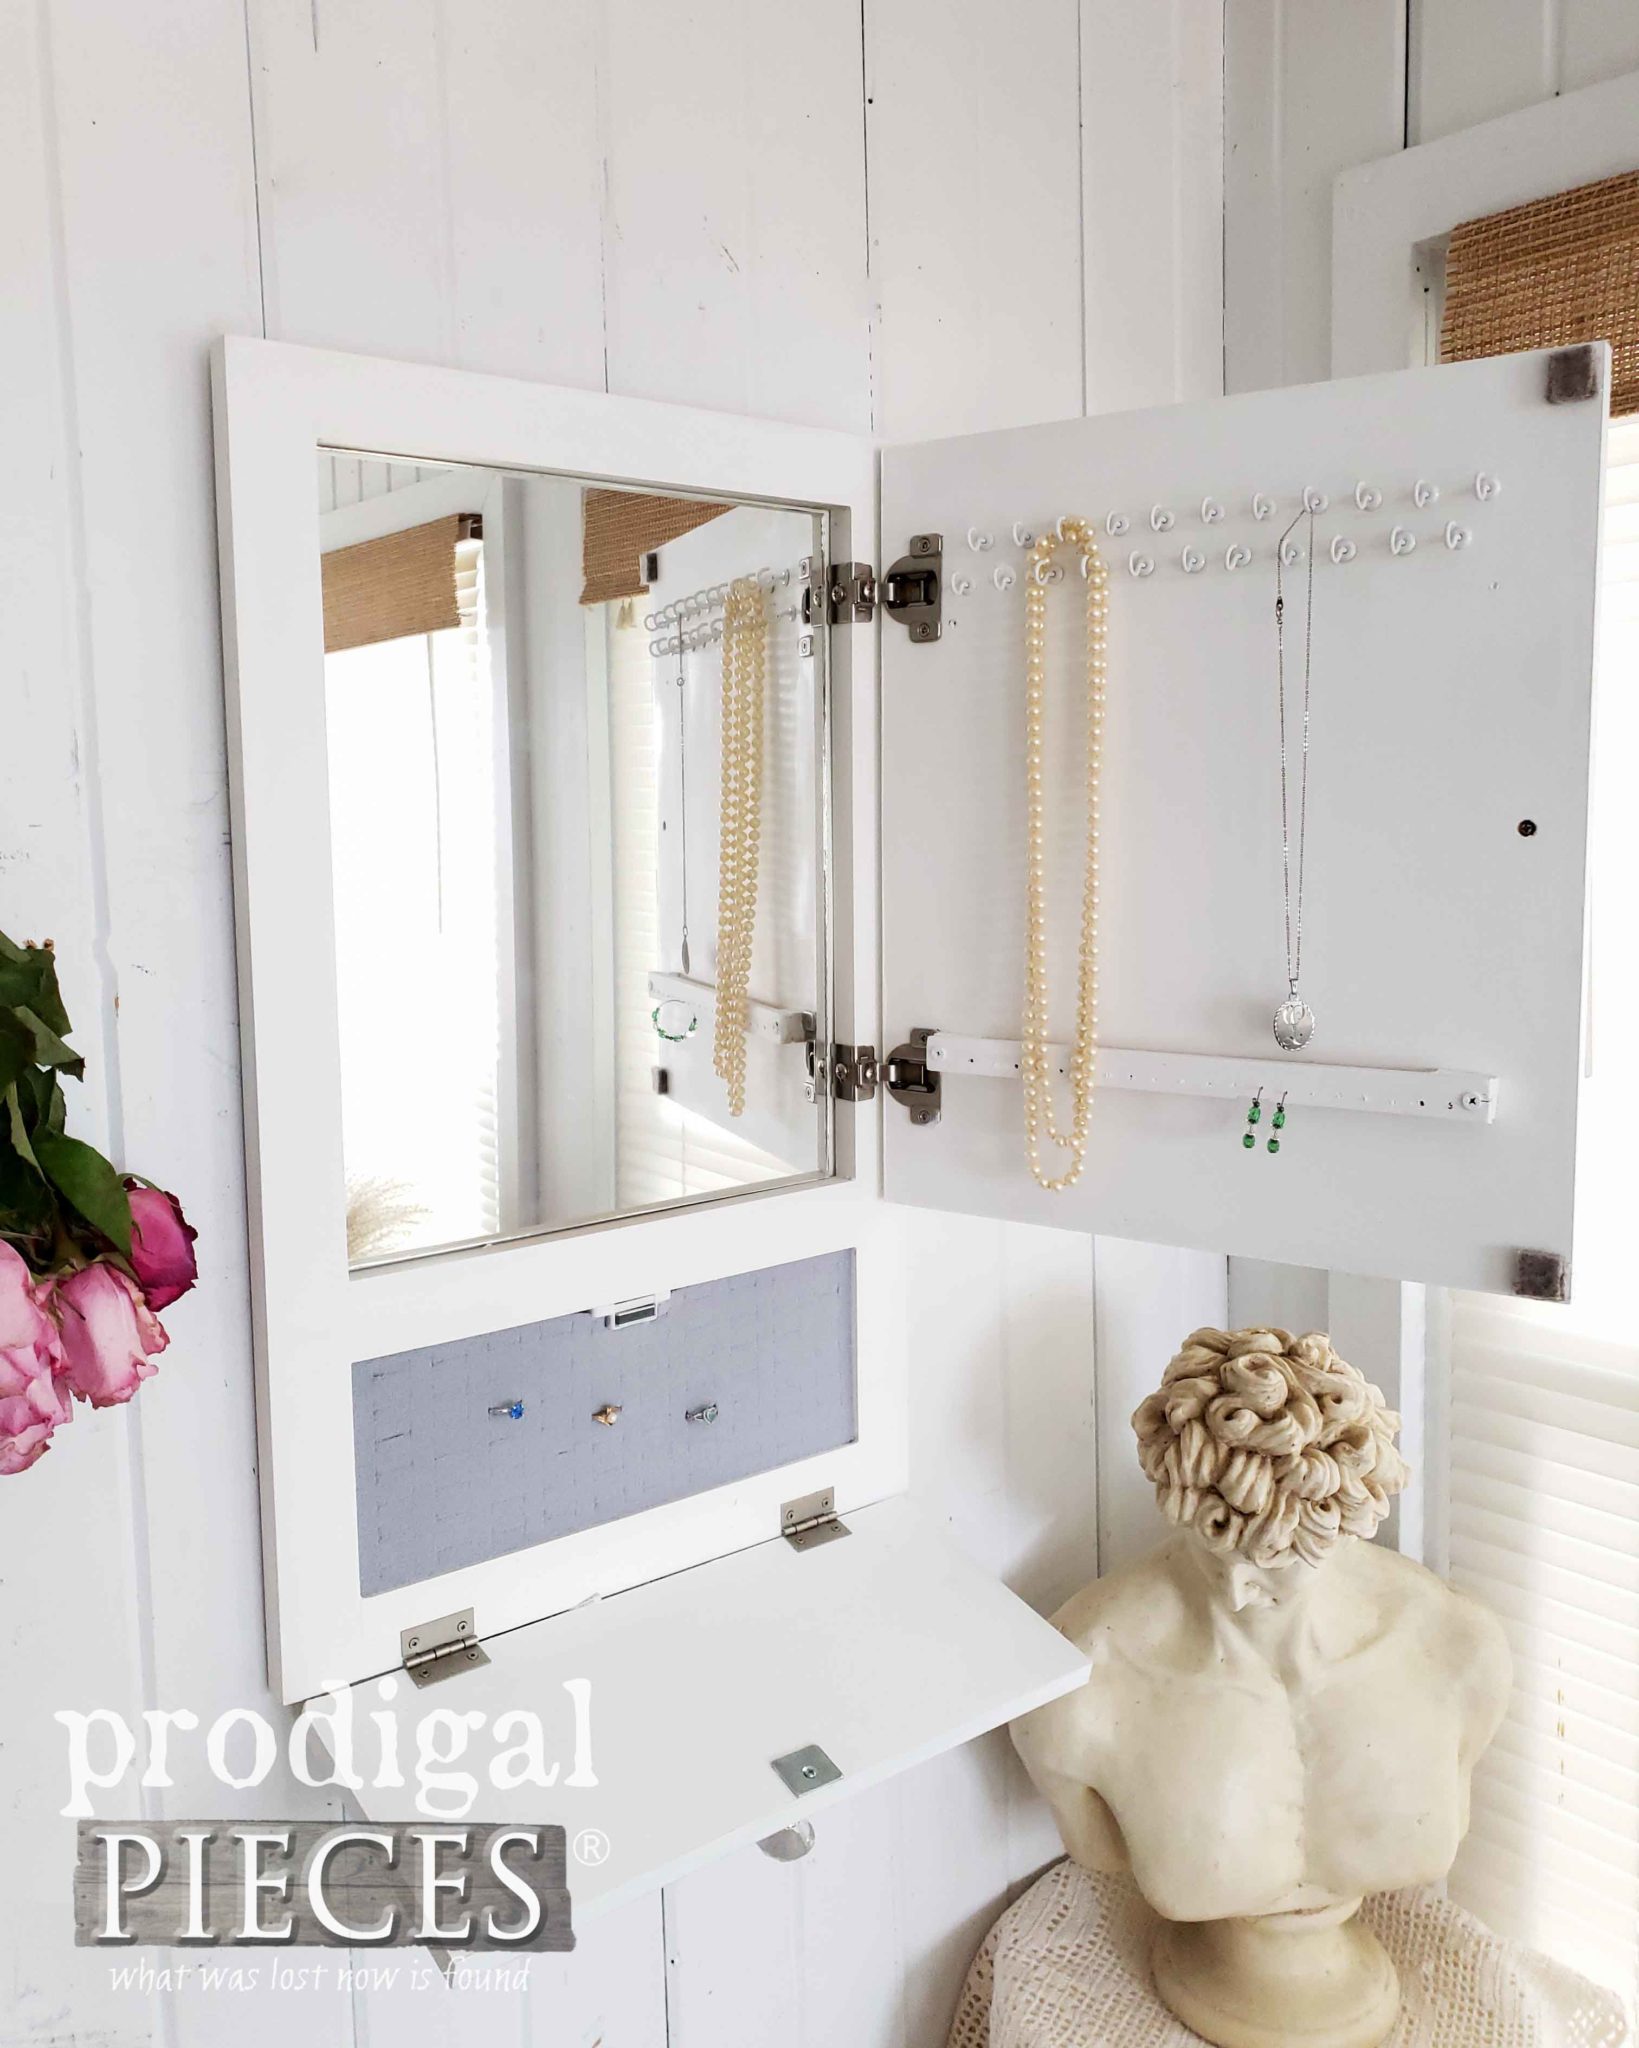
Similarly, you could add a mirror, cork board, hooks, etc. The skies the limit with this creation.
STEP 7
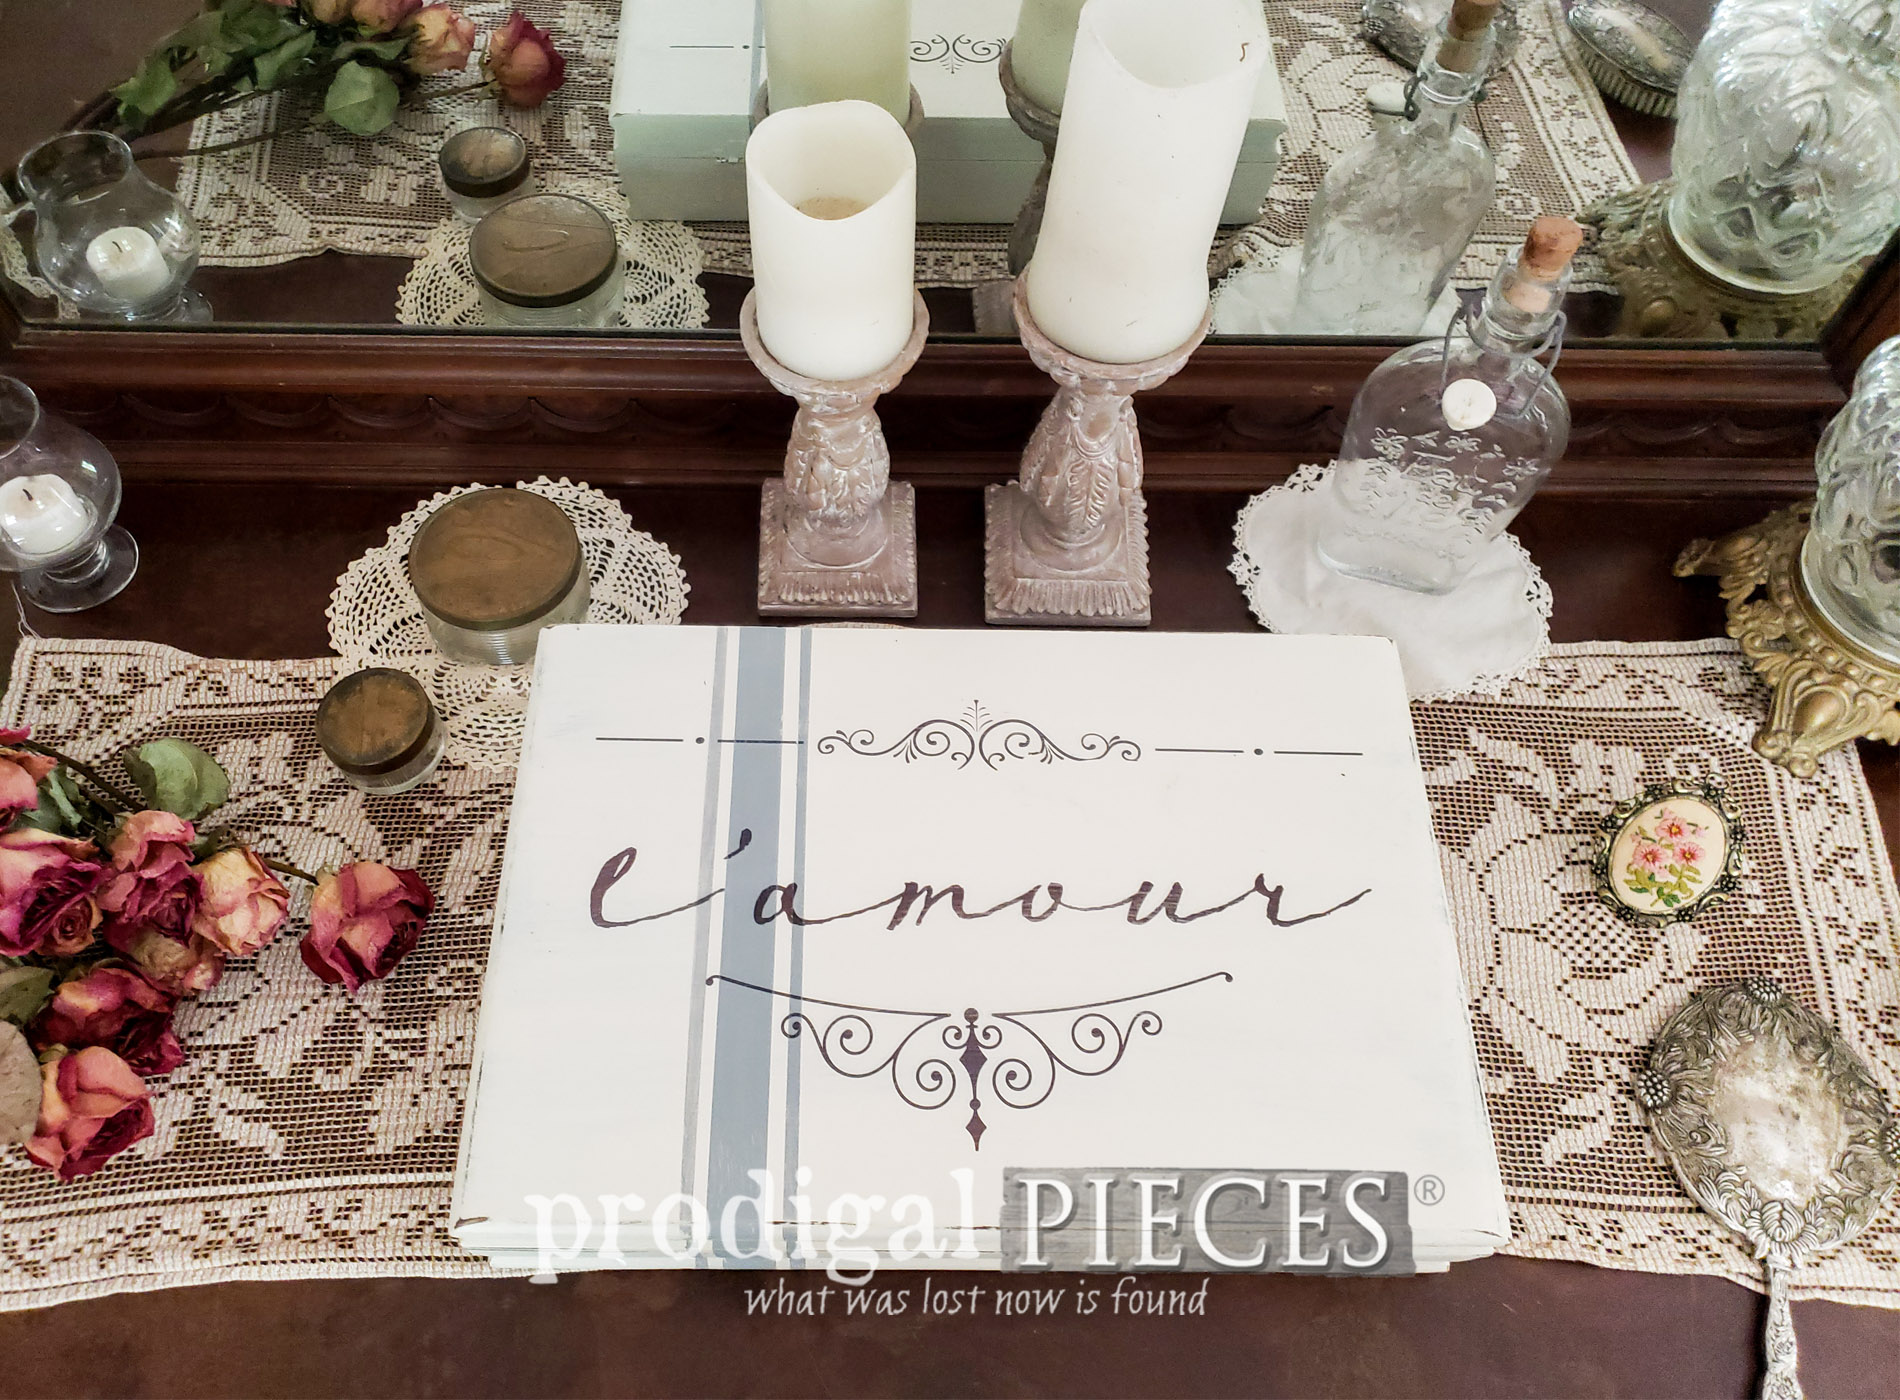
Last, but not least, it's time to dress up the exterior a bit more. First, I use my low-tack tape to make a stripe. (see video for explanation) Then, I paint in with this soft Slate Gray. Once that stripe has cured, I place the tape over it and create two more smaller stripes for a grain sack effect.

STEP 8
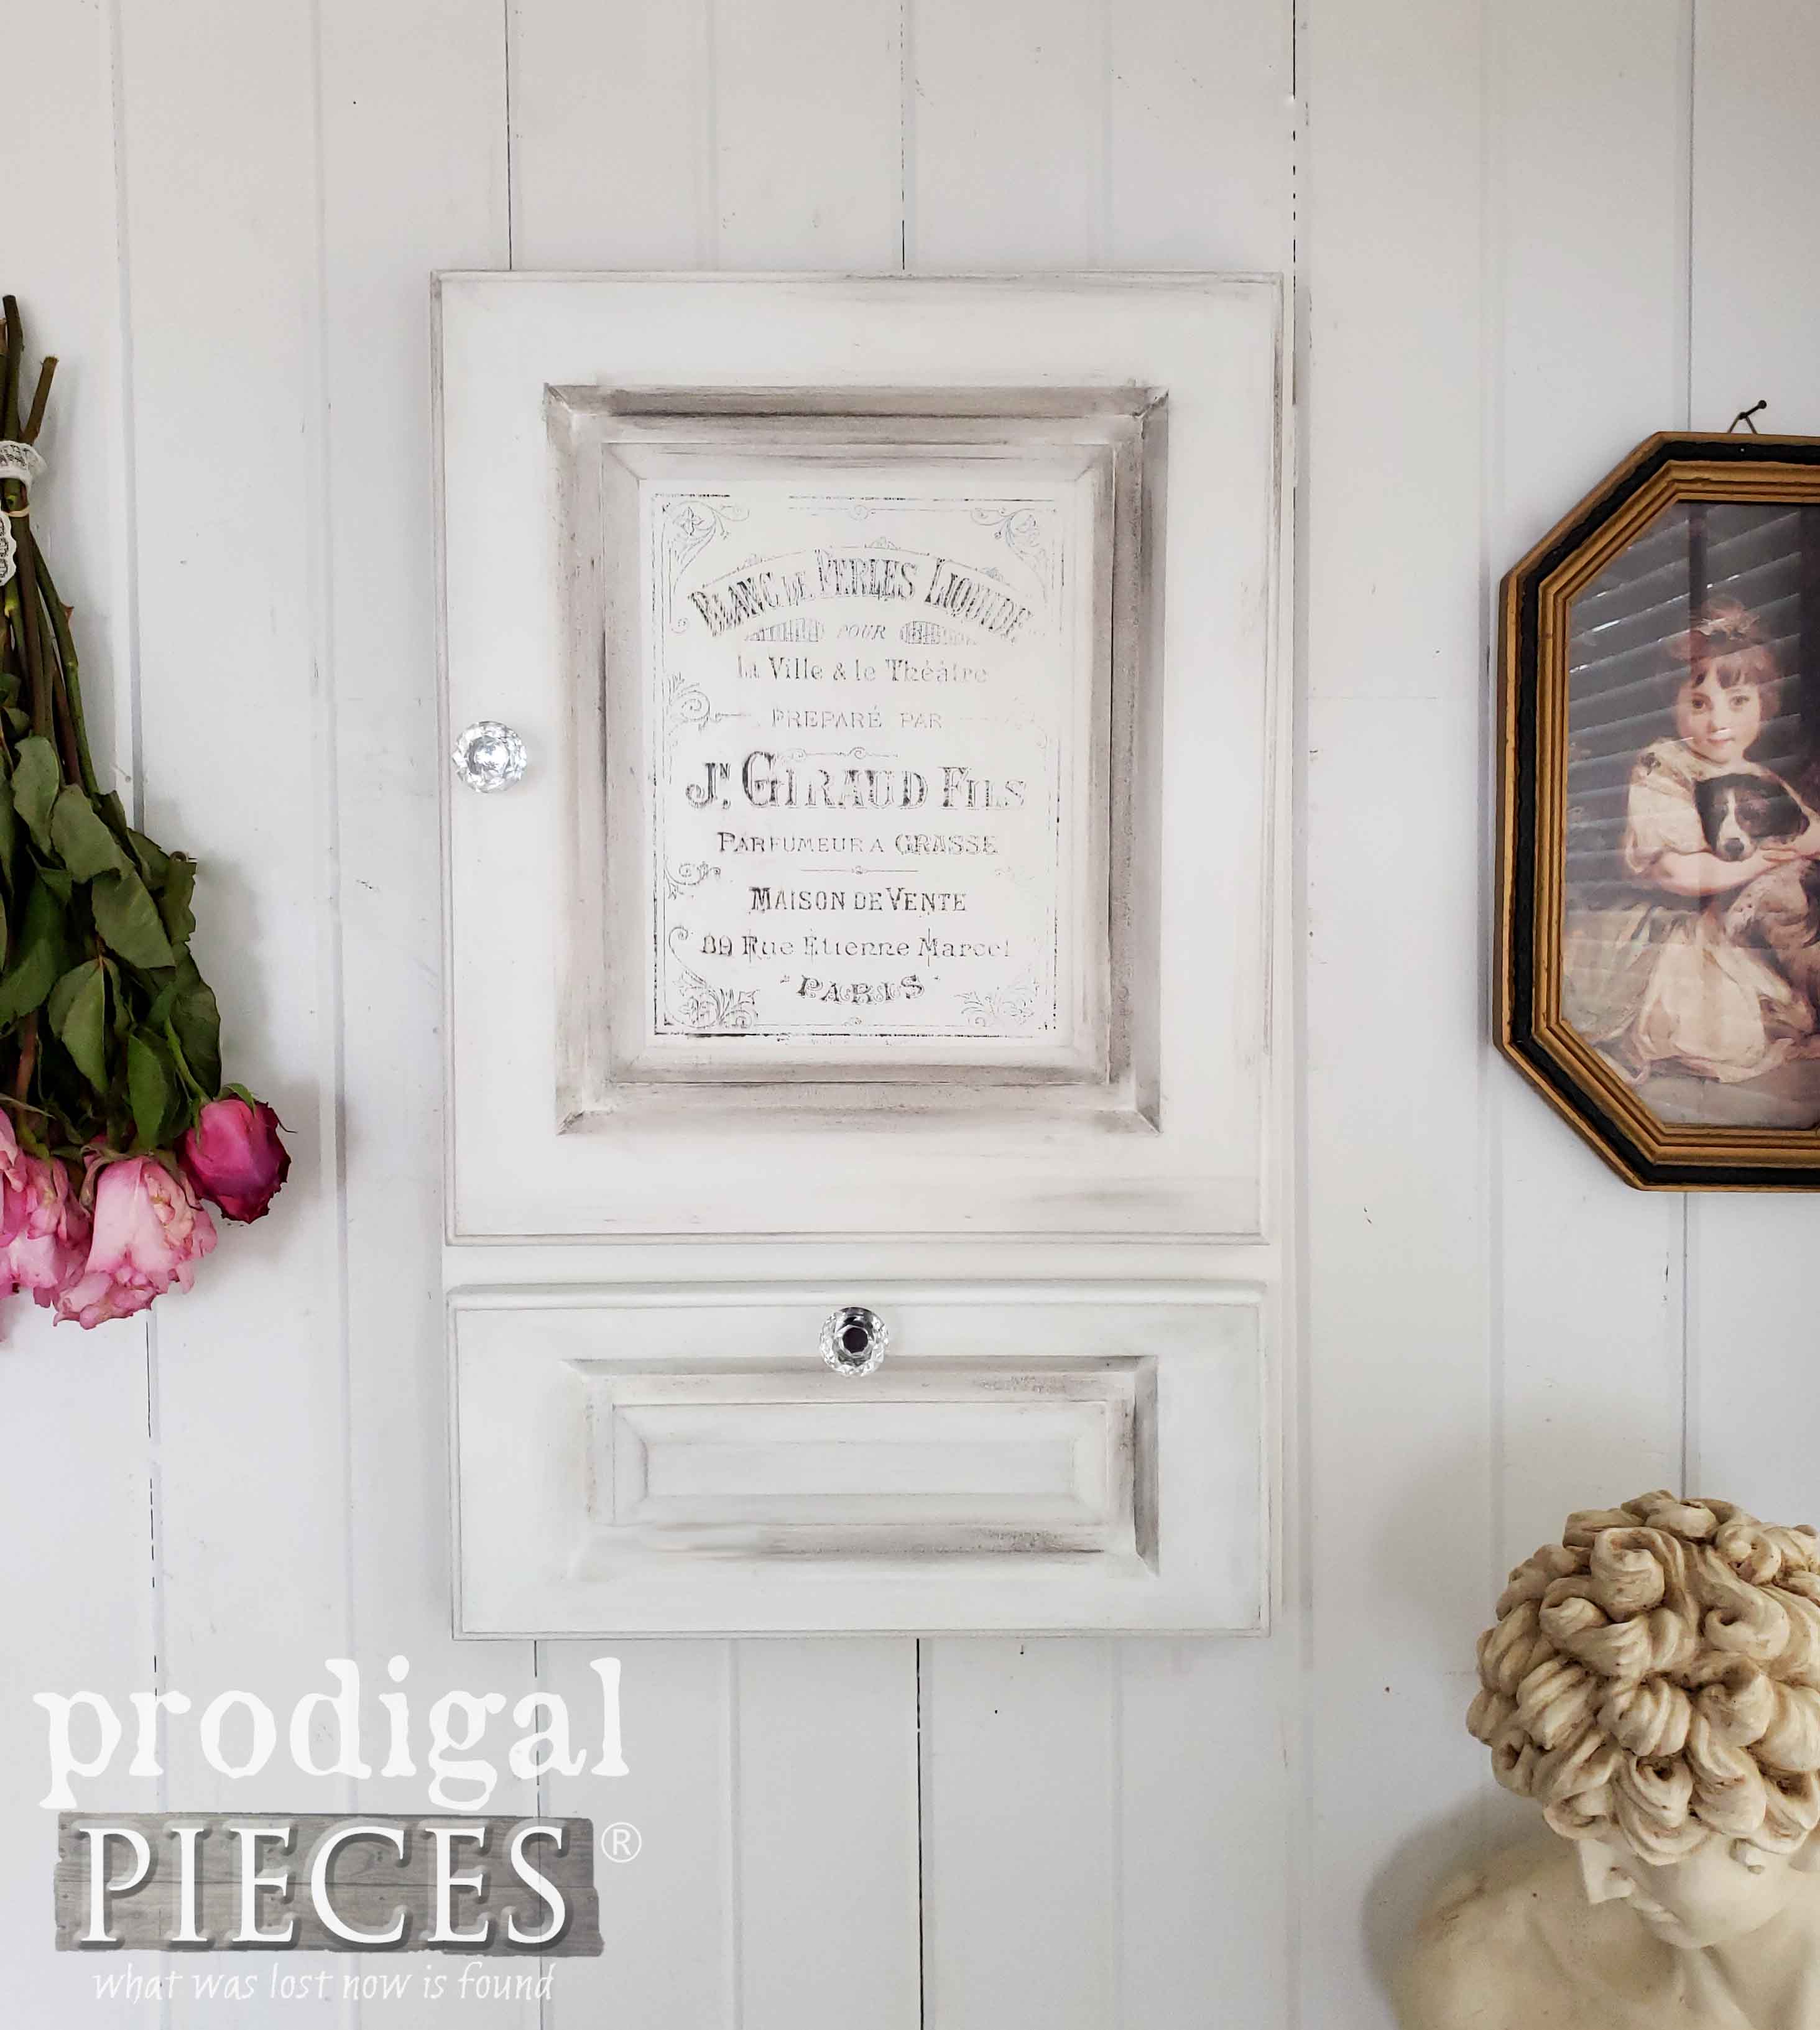
Then, I decided to add remnant pieces of a French graphic transfer leftover from
this shabby chic mirror makeover.

I cut it up and placed it according to my liking. Then, I used the included burnishing tool to apply it to my jewelry box.

REVEAL TIME
Not only did I have tons of fun with this, but I also learned a few things along the way. We never stop learning, if we're smart.


I am certainly smitten with the outcome. The inside is my favorite!


Though, the outside is super fun too. Not only will the grain sack stripes forever be a favorite feature of mine, but also storage. Who doesn't love pretty storage?


Although my motto is
toolsoverjewels since a teen, I do love jewelry. Especially antique pieces, or ones that have a story. I have pieces from my mother and grandmother, and a few given to me with a meaning.

I don't have holes for earrings anymore, but I have kept the ones that have sentimental value to me. It's fun to bring them out and share the history with my kids.
So...was this fun for you? I sure hope so! Do pin and share my upcycled silverware box. I know many have an empty one sitting around just waiting for new life. You know who you are...ahem. ;)

Up next is
Trash to Treasure Tuesday and I'll be sharing what I do with this...
Head here to SEE!

To get these DIY tips & tricks in your inbox, be sure to
sign up for my newsletter. Until next time!

 PINTEREST | EMAIL