Here we are with another month passing by and it's time for
Trash to Treasure Tuesday! {{applause}} It's a fun time to be had with my blogger friends sharing our latest inspiration with you. You will see there work in bit. However, today I'm going to share a sort of encore to my project last year about upcycled Christmas decor.

Let me introduce you to my snowmen friends. They're metal ladles, an import product, that I believe were picked up at a large craft store and then painted with these cuties. If you remember last year, I made over
more snowman art for the sake of showing you upcycling fun.

For the record, I adore snowmen and all their wintery fun, so I am not out to relive the world of snowmen. I just found these ladles fun and perfect for a new life. Let's say you own something like this and are tired of using it in your holiday decor year after year. Most would readily either (1) toss them in the trash or (2) donate them to a thrift store.
I say, if it still have life in it, make your own upcycled Christmas decor. Am I right? You know it. tsk.
For added fun, I've created a step-by-step video tutorial for you below. However, I've also outlined the steps for you here too so you can have the best of both worlds.
DIY TIME
This project is similar to my recent makeover of a
hot pink trash can. First, we're going to begin with a bit of embossing to create texture and depth.

I've taken my Sharpie marker and drawn on number on each of the snowmen. Then, after my hot glue gun is heated up, I run a bead filling in the number. These are my glue sticks. They stick to anything!
NEXT STEP
If you take a closer peek, you'll see that originally someone sponge-pounced the white paint for the snowmen. I'm going to use that texture to my advantage.

Much like
my past zincified makeovers, I'm using this zinc in a can to give an aged appeal. See the video for it in action.

I set them up in my small spray shelter and place them on my turn table and give them two coat of the paint, letting cure in between.
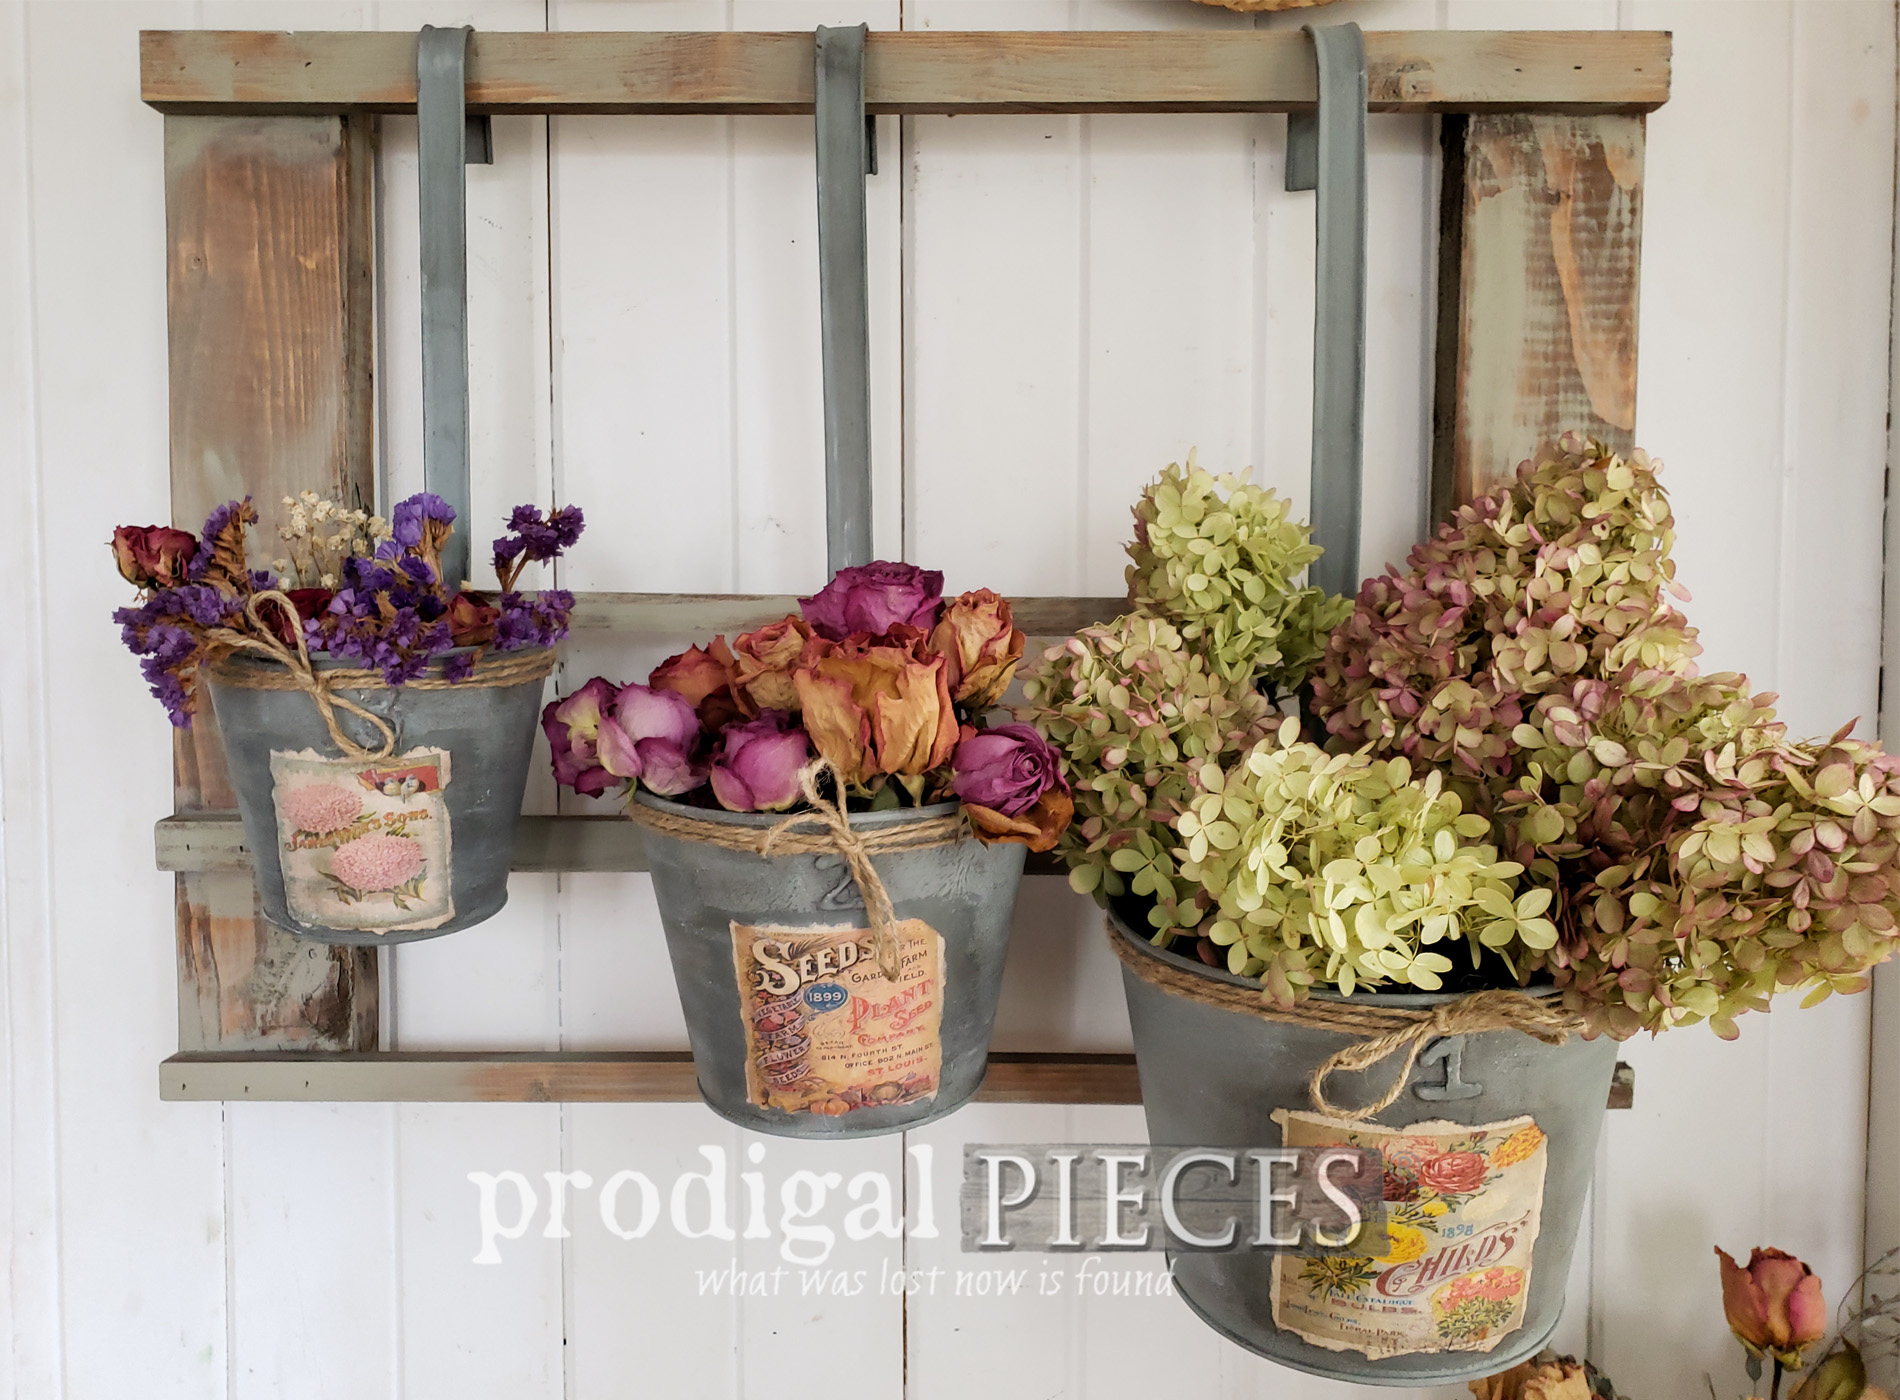
Then, once the paint is dry, I want to add a bit of whimsy with these
free printable vintage seed packets. You can see how I also have used them on my curbside picket fence upcycle
HERE.

For my purposes, I have resized them to fit my upcycled Christmas decor. Next, I tear them out so they have a ragged edge and decoupage them on with thinned school glue (much cheaper way to do than the name brand stuff).
Once the decoupage is dry, I then use 4 different color waxes to add depth - black, brown, gray, and white. Last, I add a bit of twine and fill them up for a sweet vignette.
THE REVEAL


Not only is my heart is happy when I see flowers in any form, but I also whipped up that rack out of scrap that was already pretty much the exact lengths I needed. Then, I stained it and did a wash of paint for aged appeal.
While I could have done really anything with these: bathroom toiletries, fresh herbs, kitchen essentials...you get the idea.


Buh-bye snowman and hello floral fun! Can you tell I had a blast working with these?


Are you inspired yet? woot! I eagerly hope so. It's just fun for me to share what pops into my head when I see cast-off decor. I'm curious...what would you have use the happy snowmen for?

With that in mind, if you'd like to make this set your own, you can find it and more available in
my online shop. Sign up for
my free email newsletter to get instant discount on your first purchase.


SHARE
Also, pin and share my upcycled Christmas decor. Let's inspire and have fun!

Likewise, it's time to check out what my blogger gal friends have for you today for Trash to Treasure Tuesday.


- Confessions of a Serial DIYer
- Girl in the Garage
- Artsy Chicks Rule
Additionally, I'm sharing how this thrifted table and few thrifted finds help me create a happy place.
See HERE!

Until next time!

 PINTEREST | EMAIL
Also, more projects like my upcycled Christmas decor: