Sometimes ya need a break and it's good to step away for a while from things that tend to consume us. After finally putting our
hospital bills behind us, I need a break from churning out furniture after furniture. After about 3 weeks of not really doing a major makeover, I found it is time. Do you ever take a break like that? A friend of mine was in the process of moving and has a few pieces that belonged to her mother that she thought I might have interest in. She had a desk and this curio cabinet. I see a tissue paper makeover coming on.
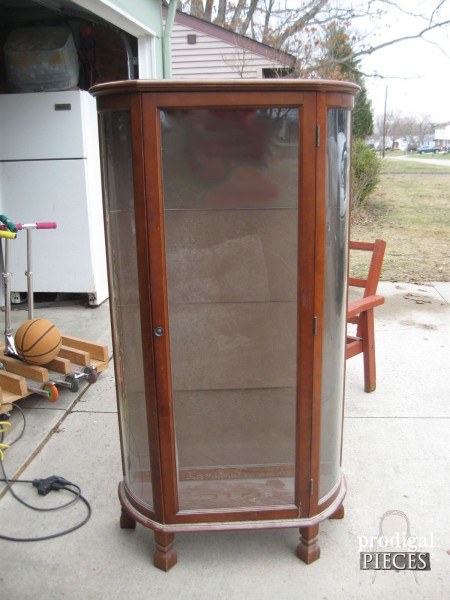
Although it wasn't much to look at, I thought it had potential. It's not an antique and is actually a more modern piece made to look old, but still a piece of furniture nonetheless.
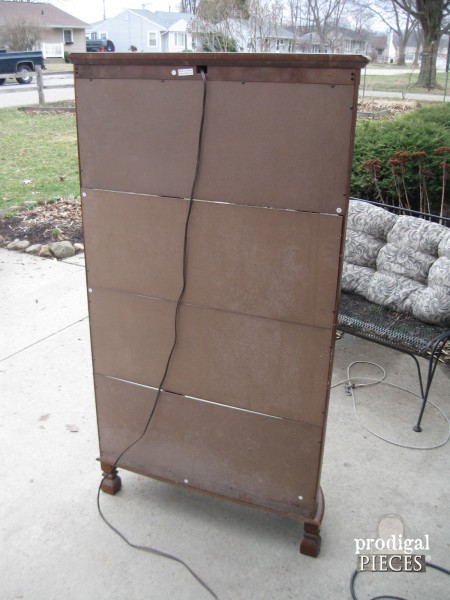
It originally came with a glass back, but at some point the glass is broken and I decide it was not going back in. I wanted to take this sad-looking cabinet and give it a feminine makeover.
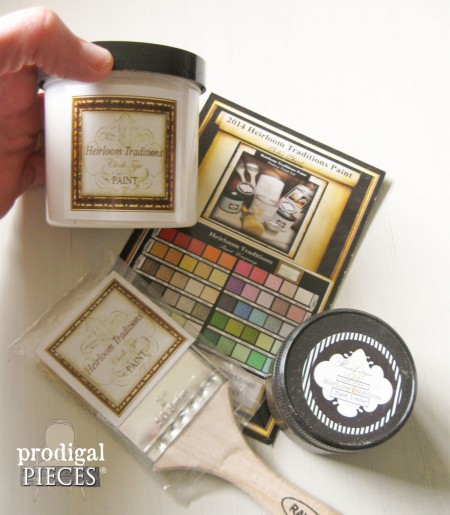
A few months ago, I received this sample of paint and wax to try and thought it would be perfect for this project. It's been so long since I've done a white, shabby chic piece and I was going through withdrawal...sigh.
DIY TIME
I removed the glass sides and door and did very minimal prep work. On goes the paint and bye-bye tired wood. It's looking better already!
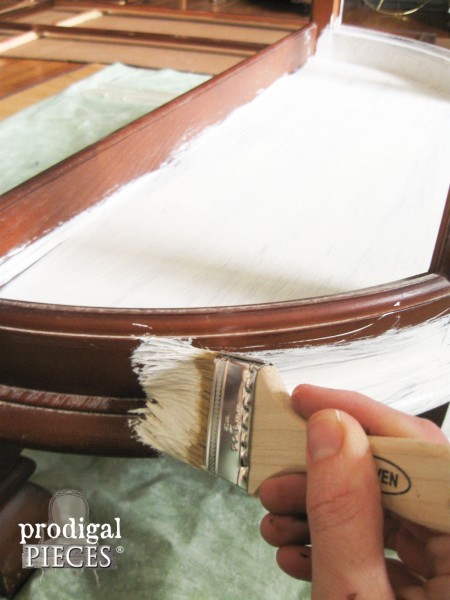
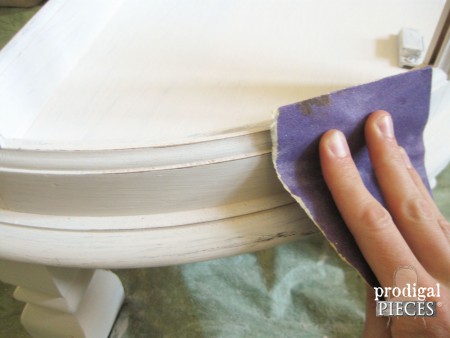
After two coats of paint (can you believe I got two coats out of that sample container?!!), I did some distressing to create that time-worn appeal we all know shabby chic is known for.
So you may be wondering what I decide to do with that messed up backing...well, I want to give more structure to this piece and knew a piece of beadboard (usually used for wainscoting) would do the trick. In addition, it adds texture. I have the perfect size piece in my stash...YES! I love when that happens.
In order for that beadboard to fit in, my husband routed the edges so it would lay flush to the back. Since I want this piece to show an aged appeal, it is time for creating layers.
DECOUPAGE
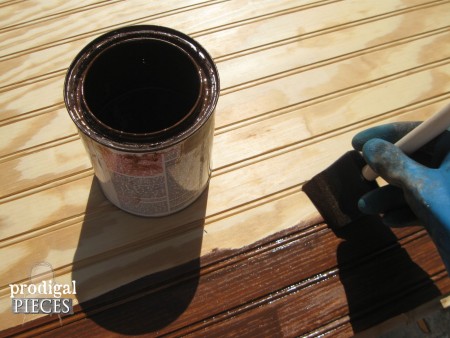
First, I gave the beadboard a coat of stain, then whitewashed it with paint.
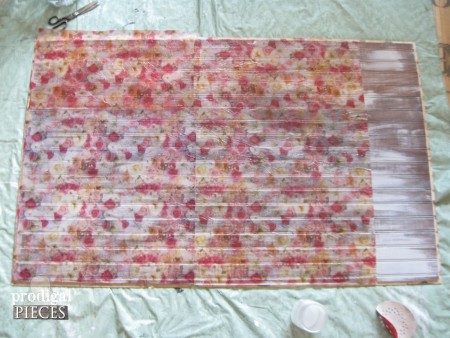
You know that shabby chic is also about ROSES, right? So, to get some rose action happening I use dollar store tissue paper to decoupage a layer onto the beadboard. I don't use the pricey stuff, but just Elmer's glue with a bit of water does the same thing. Here's what it looks like in the process...
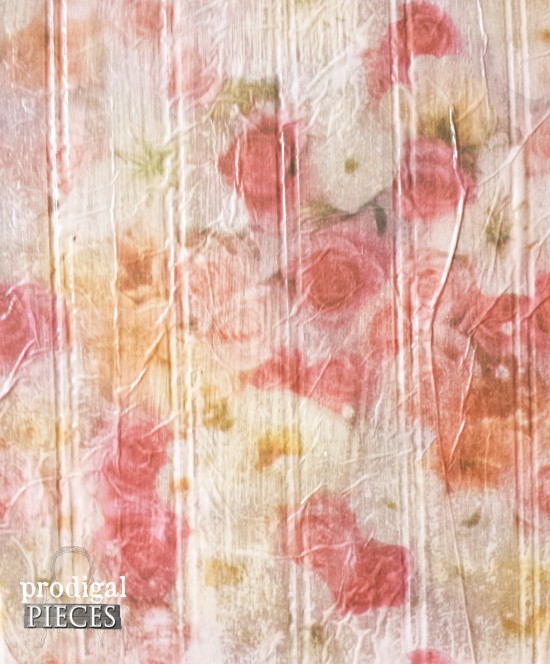
...and here's a close-up of the effect I'm getting. Perfect.
THE REVEAL
Once the tissue paper had dried, I took my orbital sander with 220 grit paper and gave it a light sanding to add to that texture. After that, installation was easy and time to see the full reveal.
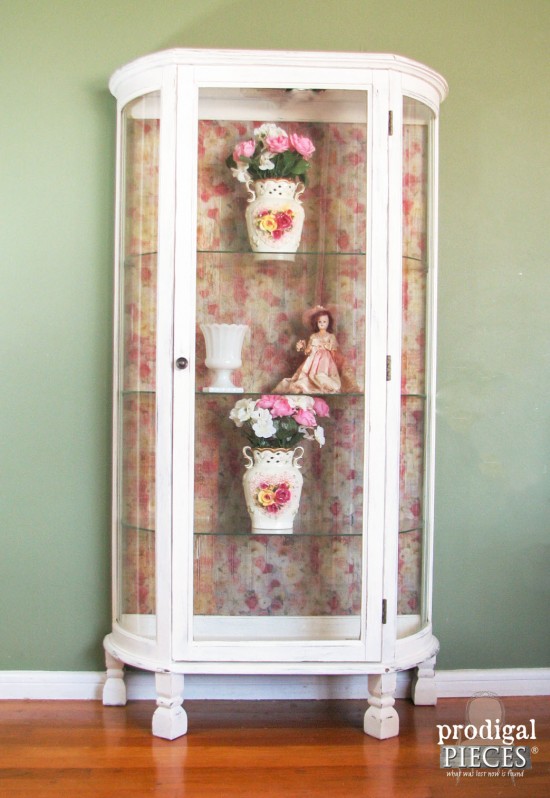
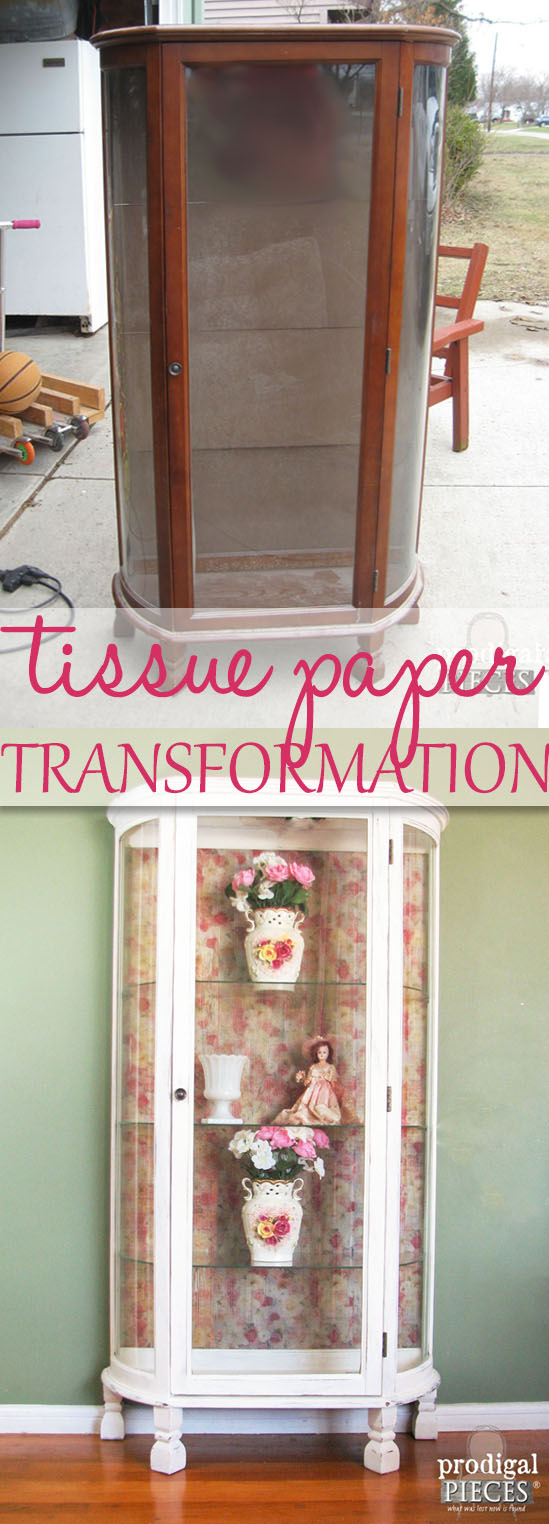
Much better, right? Heirloom Traditions paint was a dream to work with, easy to apply, and easy to create a time-worn look.
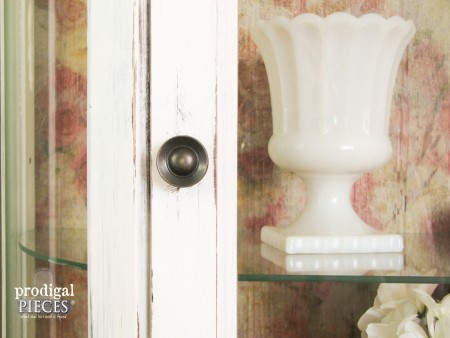
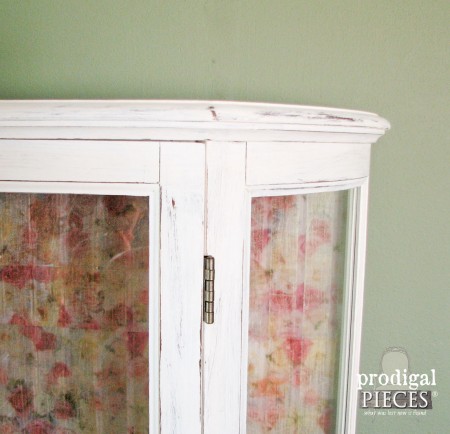
That backing came out just as I'd hoped and almost even better.
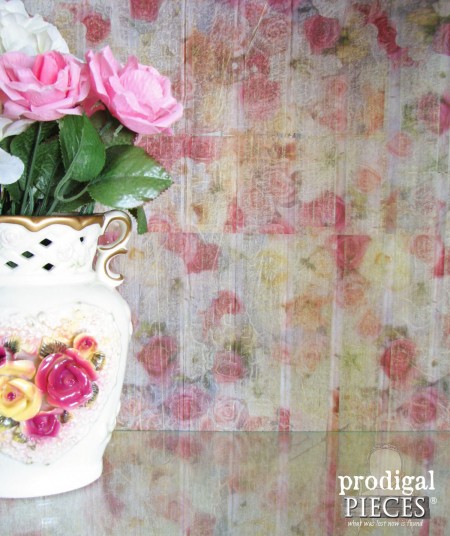
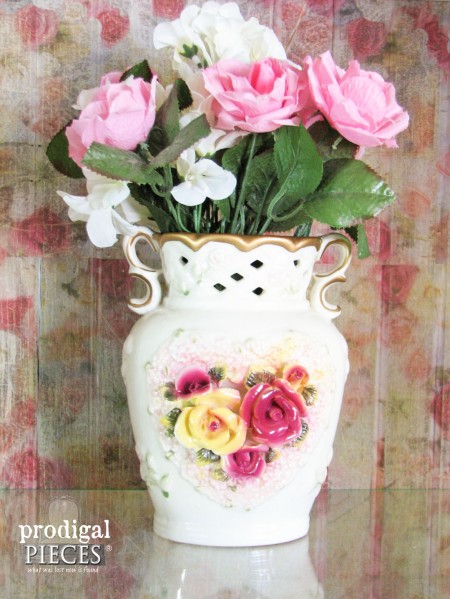
It is providence that I find these vases the same week I am working on this cabinet, don't you think? These vases and the curio cabinet are available in
my online store.

If you loved this tissue paper transformation, I'd love for you to share!
Aaaahh...it felt good to get back at my furniture, and I warn you that this isn't the last! tee hee hee.

 PINTEREST | EMAIL
Also, more projects like my tissue paper transformation:
 Although it wasn't much to look at, I thought it had potential. It's not an antique and is actually a more modern piece made to look old, but still a piece of furniture nonetheless.
 It originally came with a glass back, but at some point the glass is broken and I decide it was not going back in. I wanted to take this sad-looking cabinet and give it a feminine makeover.
A few months ago, I received this sample of paint and wax to try and thought it would be perfect for this project. It's been so long since I've done a white, shabby chic piece and I was going through withdrawal...sigh.

 After two coats of paint (can you believe I got two coats out of that sample container?!!), I did some distressing to create that time-worn appeal we all know shabby chic is known for.
 So you may be wondering what I decide to do with that messed up backing...well, I want to give more structure to this piece and knew a piece of beadboard (usually used for wainscoting) would do the trick. In addition, it adds texture. I have the perfect size piece in my stash...YES! I love when that happens.
In order for that beadboard to fit in, my husband routed the edges so it would lay flush to the back. Since I want this piece to show an aged appeal, it is time for creating layers.
 You know that shabby chic is also about ROSES, right? So, to get some rose action happening I use dollar store tissue paper to decoupage a layer onto the beadboard. I don't use the pricey stuff, but just Elmer's glue with a bit of water does the same thing. Here's what it looks like in the process...
 ...and here's a close-up of the effect I'm getting. Perfect.

 Much better, right? Heirloom Traditions paint was a dream to work with, easy to apply, and easy to create a time-worn look.

 That backing came out just as I'd hoped and almost even better.
 It is providence that I find these vases the same week I am working on this cabinet, don't you think? These vases and the curio cabinet are available in my online store.
 If you loved this tissue paper transformation, I'd love for you to share!
 Aaaahh...it felt good to get back at my furniture, and I warn you that this isn't the last! tee hee hee.


