Who's in the mood for another DIY adventure? You know this trashure lady is and am always eager to share with you. I'll be honest, I've been taking a backseat to bringing home more things because I'm trying to not only (1)
unload work on what I already have (2) declutter and focus on what God has in store for me. I'm feeling a little cluttered and need to refresh my heart, mind, and body. With that, I was at the store for the sake of my kids and laughed
OUT LOUD when I saw this thrifted lantern.

Instantly, I turn to my kids and say..."I gotta relive this poor thing!!" Here's a better look at it.

Ain't that snazzy? I mean, those faux flowers really add so much. {{emphasis on sarcasm}} Okay, so you know I can't let this poor thing suffer any longer. Let's get 'er done!
PURGING BLOOMS
First, as you can imagine, I can't
wait to yank off those flowers and see what I'm dealing with. Oh, and just for fun, I have a video demo of my crafty ways for you below too. Then, as soon as I clean it up, I begin by adding a one-coat wash of a
blue milk paint. Blue, of course...tee hee.

Next, as soon as the paint cures, I pull out my leftover cedar shakes (shingles) leftover from
my garden shed remodel. It's a must-see! In addition, you can see how I use the same shakes on
my son's DIY birdhouse or built
two lanterns from one board. Okay, so if you want to do this yourself on your own thrifted gem, you just need:
- pile of cedar shakes
- tin snips or utility knife
- hot glue gun/glue sticks
- pencil
SHAKIN' IT UP
As I mention, I share the demo in the video tutorial, but the basics of it are:
- find the narrow end of the shake (they are tapered to promote drainage)
- snip with the tin snips on the narrow end to the length/height you need
- trim to fit for placement - varying widths adds texture
- place in alternating over seams
- glue down with a bead of hot glue

WEATHERING
Last, but not least, I need to age that wood just a bit (you know me, right? PATINA!) In order to do that, I use my weathered reactive stain to make it a gray wood. It ages right before your eyes! Better yet, it doesn't have the toxic effects, nor needs to be wiped off. You can see all the different stains and applications in
my past posts HERE.

Soaking the wood is the best way to make sure you get in all the nooks and crannies. Then, let it air-dry and watch the transformation happen.
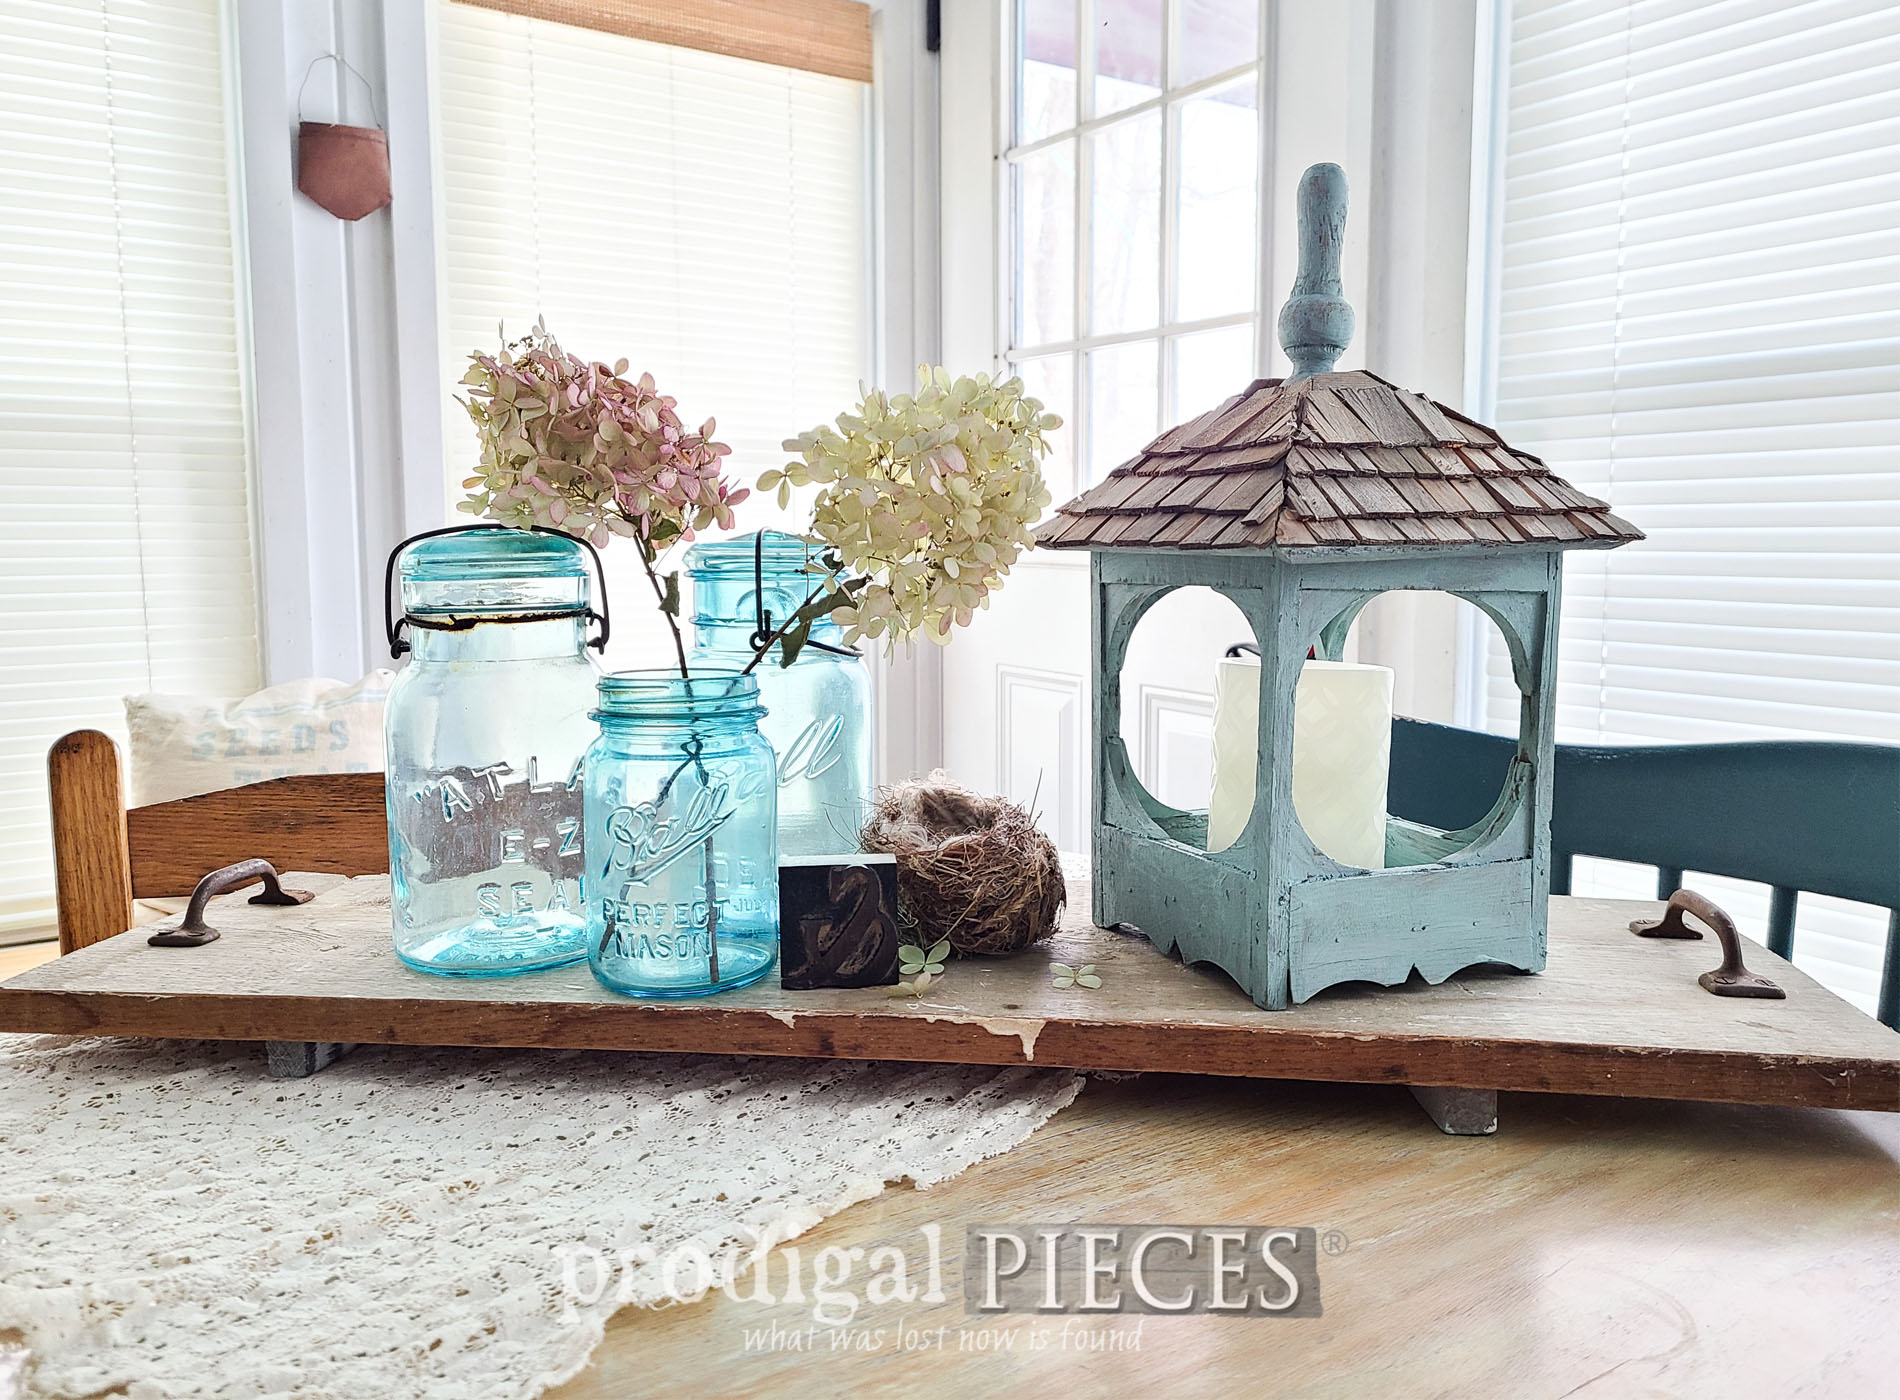
LIGHTING THE WAY
Finally, folks, my little thrifted lantern with a brand-new look. It's refreshing to be able to actually see in it and also have a candle be able to shine light instead of being smothered by flowers.


Oh so fun, right? The blue is always a favorite of mine, and then also adding the aged cedar really gave this a time-worn vibe that I adore. I'm curious...what would you have done with this?


Likewise, the best part is that lanterns serve so many purposes. You can tuck in that candle, or baubles of your choosing, or even use it for a picture vignette showcasing your loved one's photos.


My
limelight hydrangeas are such a blessing to me at this time of year when snow is covering the ground and blooms are a rare find. Do you dry any flowers for winter cabin fever?


Also, if you'd like to make this lantern a part of your home, you can find it and more available in
my online store.

SHARE
While you're at it, be sure to leave some comment love below, and then also pin and share my thrifted lantern to inspire others. I do what I do to not only inspire you, but to reach those that need a little boost in confidence to try DIY.

WAIT! Before you go, be sure to
sign up for my FREE newsletter to see what becomes of another goodie I picked up the same time as the lantern...a metal compote bowl. hmmm... Come see its new look
over HERE.

Until next time!

 PINTEREST | EMAIL
Additionally, check out these other makeovers like this thrifted lantern: