Ever have a perfectly useless bowling ball sitting around and have no idea what to do with it except to leave it for the garbage truck? They're heavy and roll, so there isn't a whole lot you can do with them, right? Check out this fun project...a bowling ball pumpkin!
 My oldest son knows how much I love to treasure hunt during our city spring clean up each year, and instead of being able to go with him this year, I had to be in the NICU with our 6-week early baby. So, he thought he'd give it a go on his own, and found a bowling ball. He was so excited to send me a picture of it, but I have to admit I thought to myself, "What are we going to do with that?".
I'd seen them be used for yard art, but it wasn't until this fall rolled around that the idea struck me....a PUMPKIN!
My oldest son knows how much I love to treasure hunt during our city spring clean up each year, and instead of being able to go with him this year, I had to be in the NICU with our 6-week early baby. So, he thought he'd give it a go on his own, and found a bowling ball. He was so excited to send me a picture of it, but I have to admit I thought to myself, "What are we going to do with that?".
I'd seen them be used for yard art, but it wasn't until this fall rolled around that the idea struck me....a PUMPKIN!
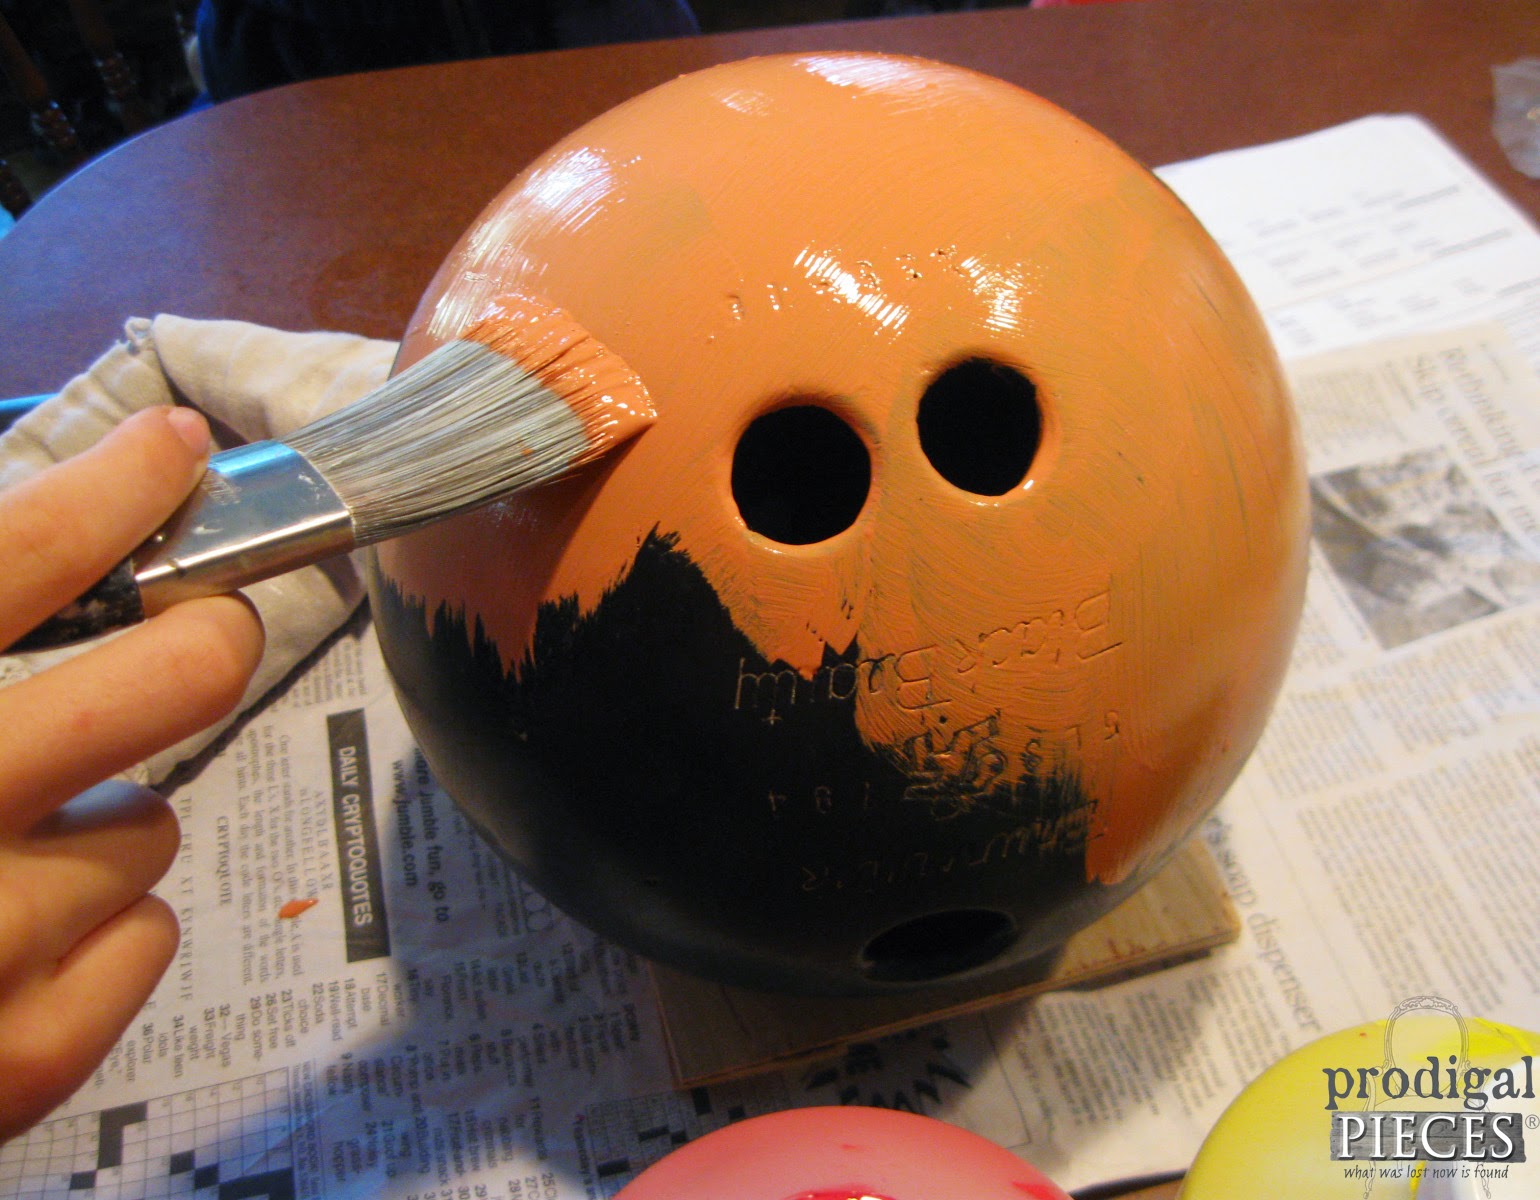
 Next, since you want the paint to stick to the slick surface of the ball, grab some sandpaper and rough up the surface a bit.


 My oldest son knows how much I love to treasure hunt during our city spring clean up each year, and instead of being able to go with him this year, I had to be in the NICU with our 6-week early baby. So, he thought he'd give it a go on his own, and found a bowling ball. He was so excited to send me a picture of it, but I have to admit I thought to myself, "What are we going to do with that?".
DIY TIME
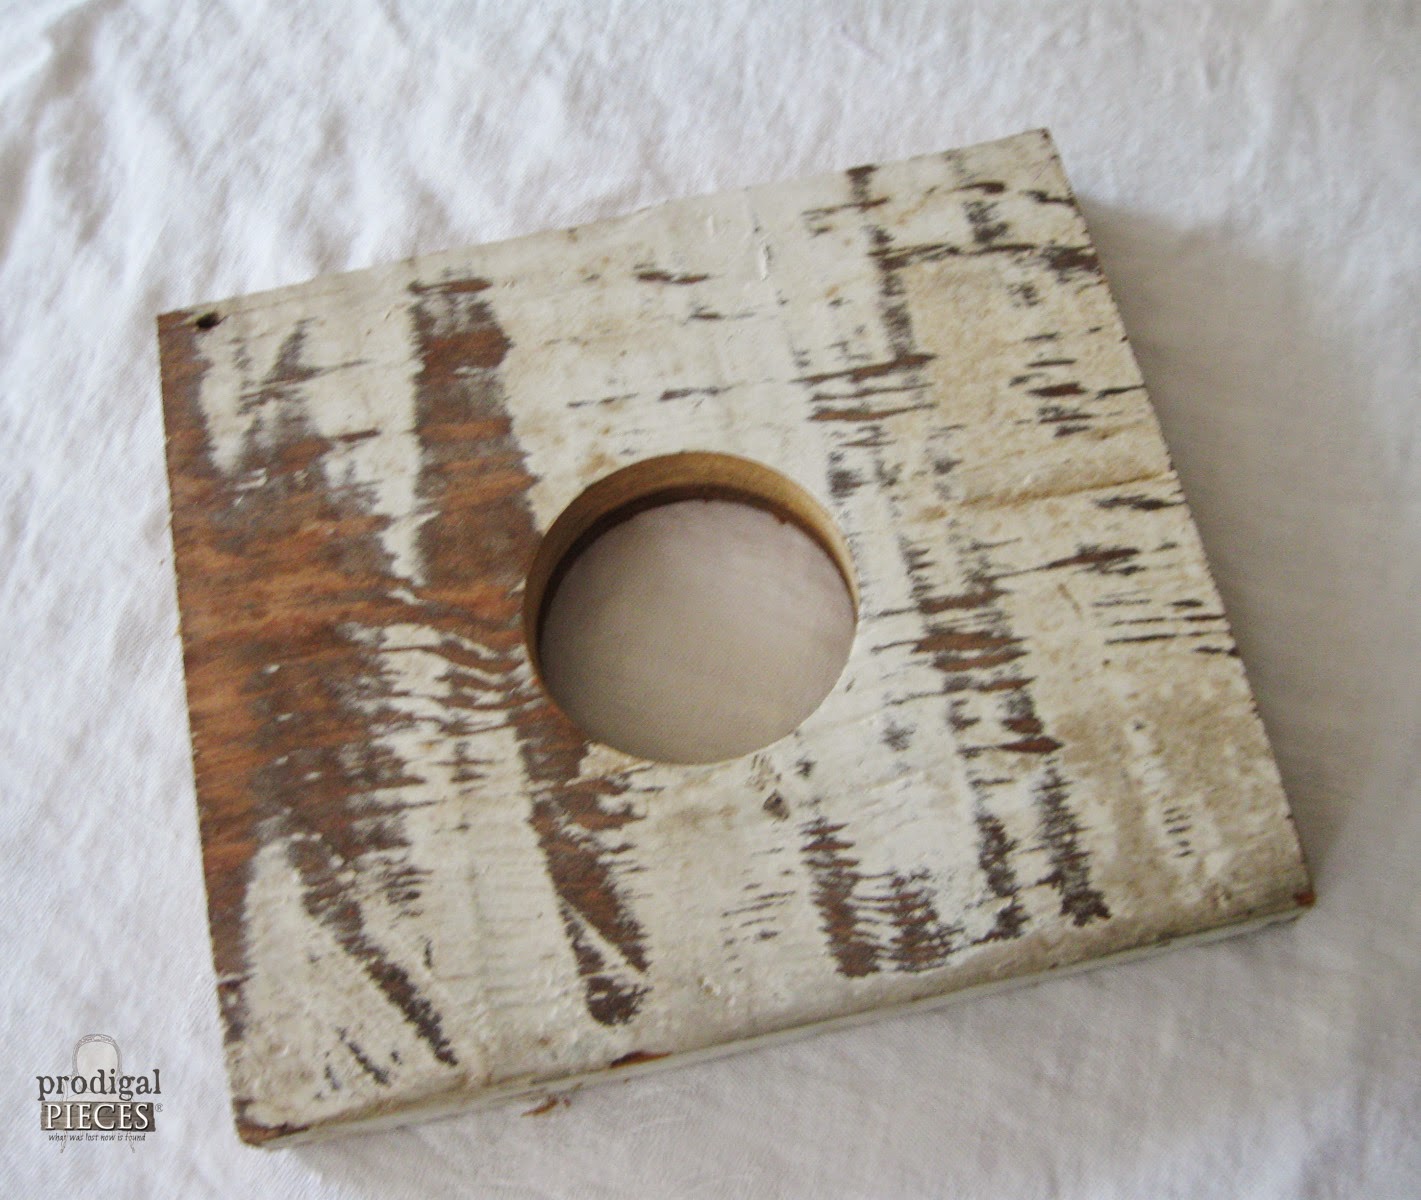
Want to make one too? Just grab a bowling ball, some paint, and let's roll! (get it? bowling ball...roll...ha!) Starting off, we wanted the ball to stay put on any surface, so we took a 6.5" x 6" piece of old barn wood (any wood will do), and drilled a hole using a 2" hole saw bit on our drill. You don't have to have wood, you could use a dish, candlestick, etc. to hold it in place - our ball even stayed when placed on the finger holes, but I wanted to be sure my little ones didn't knock it over.
 Next, since you want the paint to stick to the slick surface of the ball, grab some sandpaper and rough up the surface a bit.

PAINT TIME
Fun part! We mixed up our own base coat of pumpkinish colored paint. To add dimension, my son figured out to drag the paintbrush in strokes going around the bsall from top to bottom to give the ball a ridged effect. That's my boy!

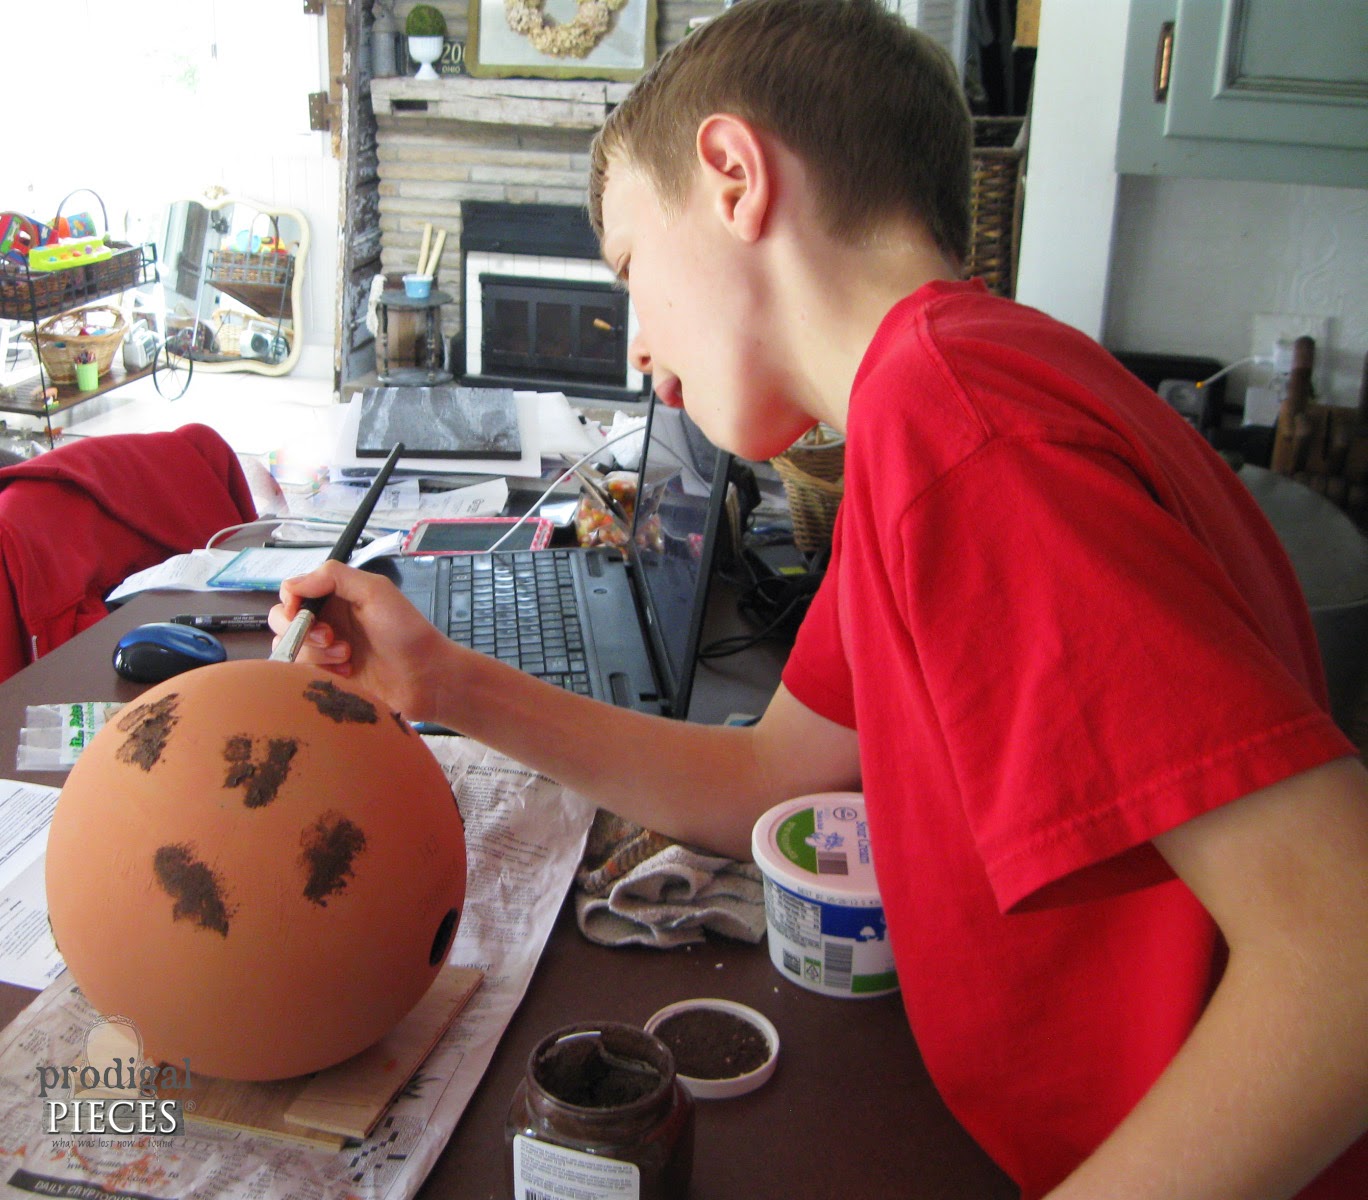
Since the ball is so..well...round, we wanted to create even more dimension. To do that, he uses a textured finish to glop on some pumpkin-type bumps all over. You could use a thick flour and water mixture, hot glue, whatever you'd like to get the same effect.


After applying the texture we add our last coat with paint in the color pumpkin (or course!).

When you look at a pumpkin you don't just see orange, but also some browns and greens, right? We dab on a bit of brown, darker green and highlight with light green to get a homegrown look.
TEXTURE
Using that same brown, my guy went around the ball drawing the striations (lines) down the pumpkin at 3" intervals starting from the center going to the opposing center. Then, on those striations, we glue on twine to take away from the perfect round shape.

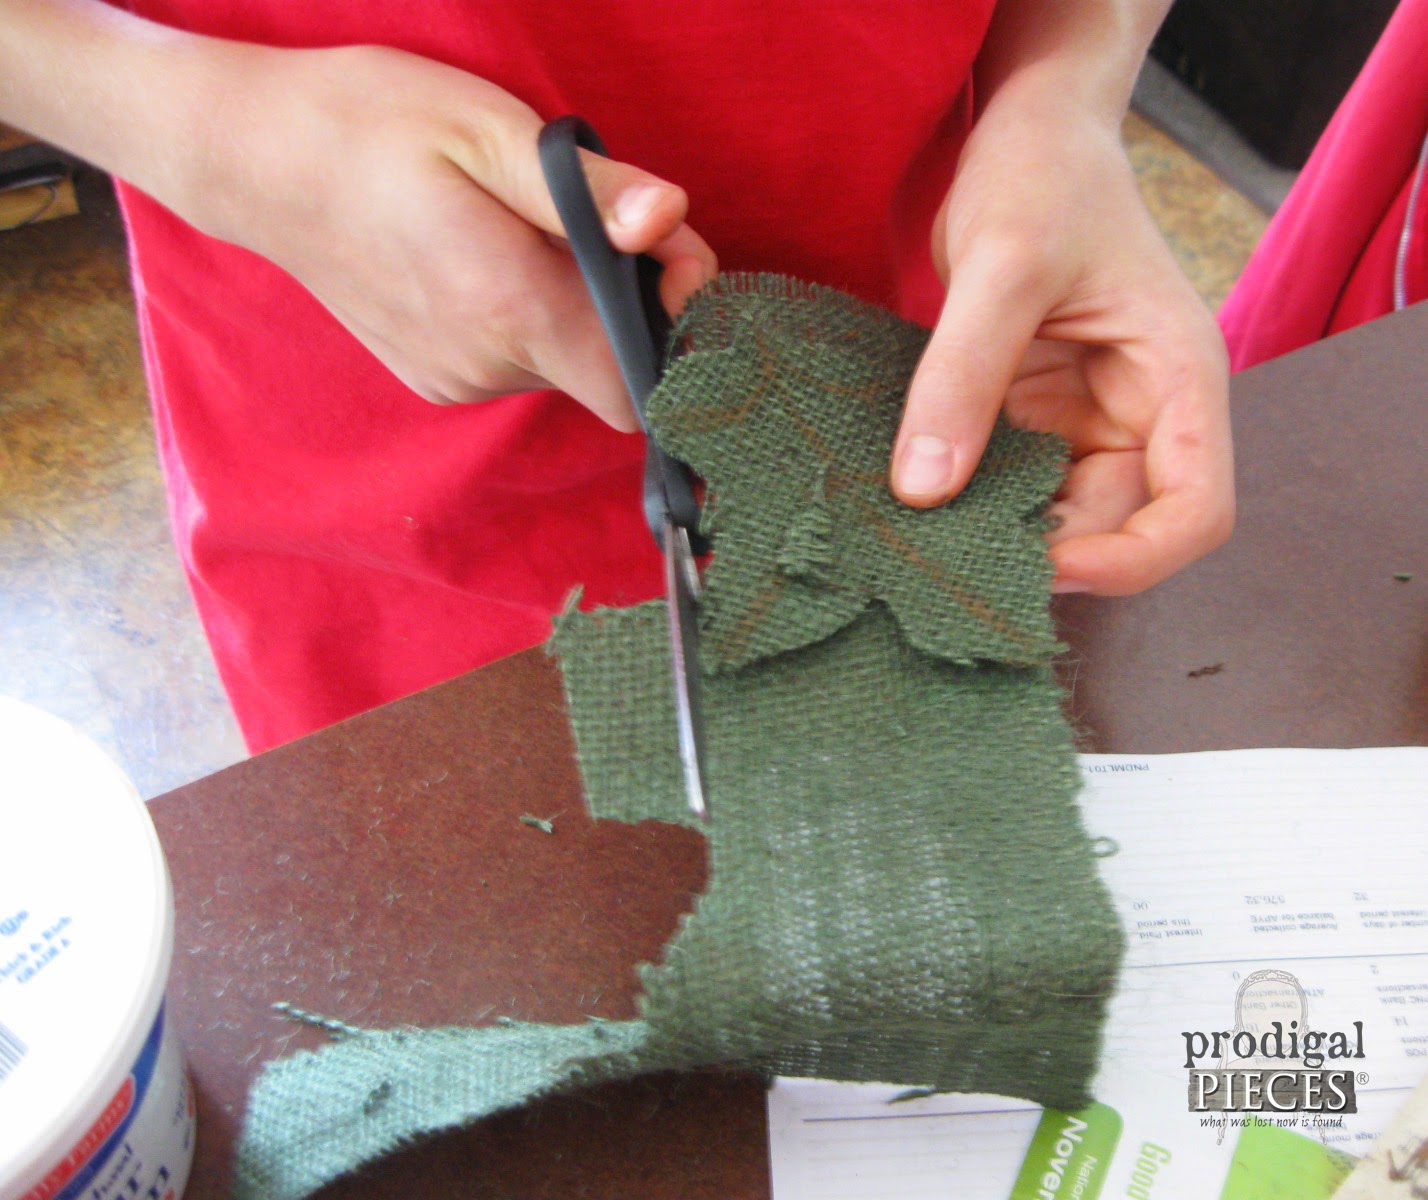
With a few scrap pieces of green and brown burlap, he cut 3 leaves (you can do as many as you like), then painted veins on them with that brown we used earlier. You could also use crinkly brown packing paper, fabric, fake or real leaves, etc.
We glue on a real dried up pumpkin stem (you could use a bent tree branch). Then add some curly twine as vines.

CUTENESS
Cute factor: We could have made up the bowling ball pumpkin with a screaming ghostly face using the finger holes as eyes and mouth (see photo above), but since we don't celebrate Halloween, we wanted to keep this project on the harvest side of the season and added a little friend. Meet Felipe!
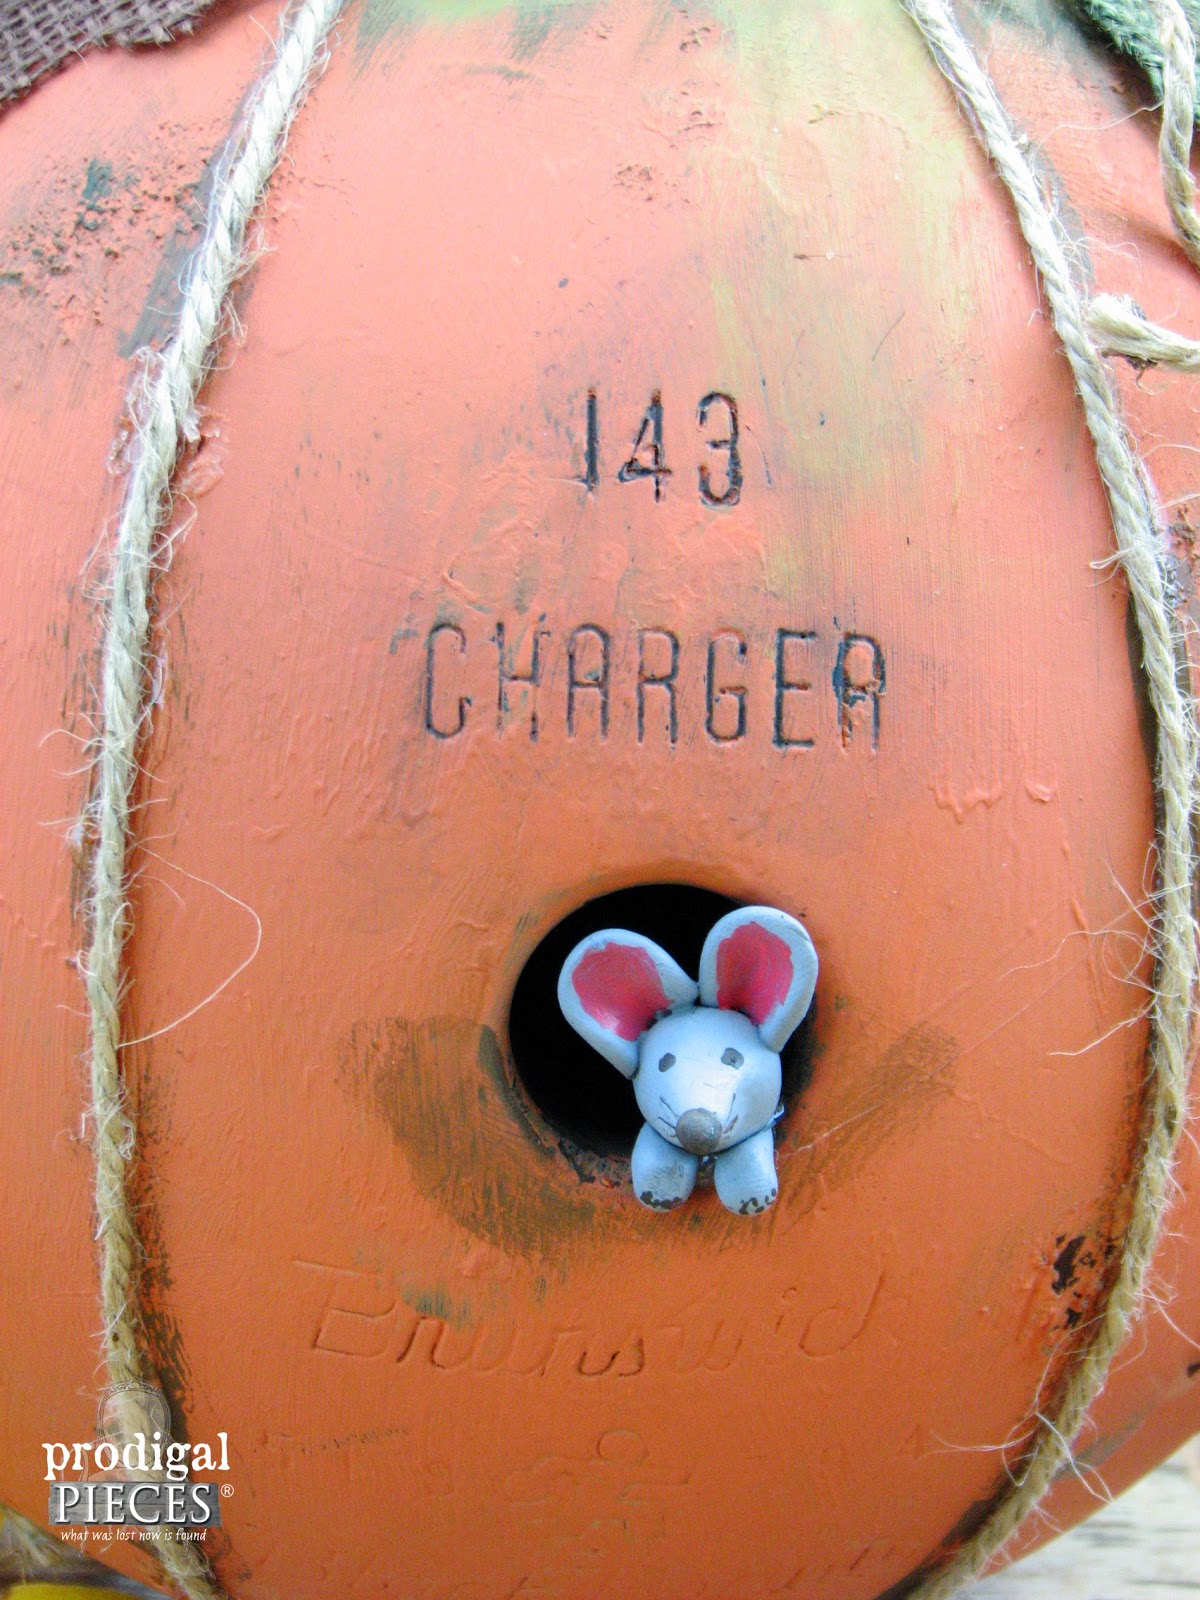
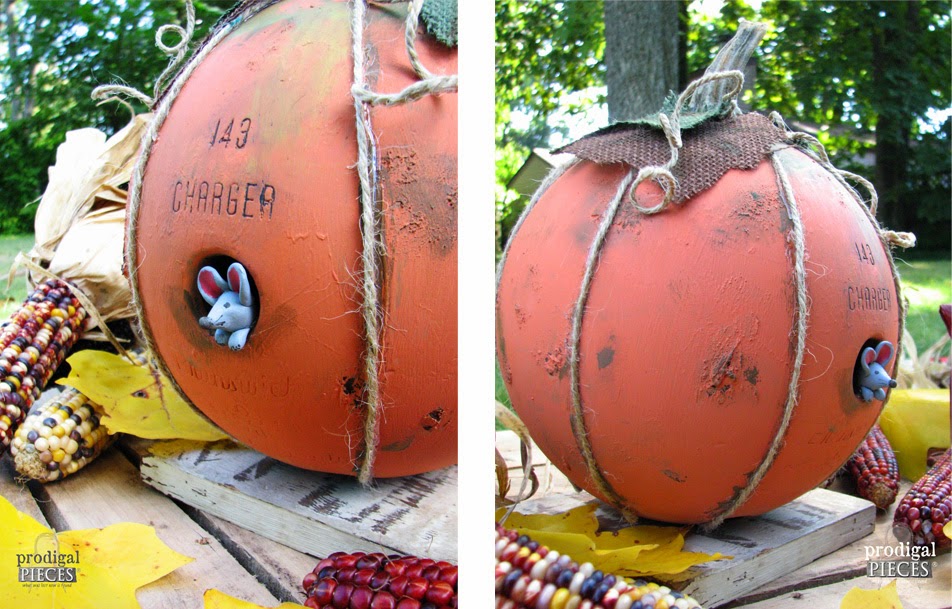
I use a tiny amount of Sculpey to create a mouse that peeks out of his home at "143 Charger". Isn't that stinkin' cute?!

My son did a fantastic job. And, I am happy we found a use for a pretty useless hunk of trash. Win-win!

To get these DIY tips & tricks in your inbox, be sure to sign up for my newsletter. Until next time!

Also, more fall fun like this bowling ball pumpkin:

. Larissa of Prodigal Pieces shows you how in her video tutorial | Head to prodigalpieces.com prodigalpieces diy fall farmhouse home homedecor autumn")