Do you know what's fun about DIY? Getting to take something and totally make it your own. No strings attached, no monumental expectations, and it makes for great therapy when you have a load on your shoulders. If you've hung out with me here long enough, you know I rarely, if ever, turn down wood items. There's so much potential in them! Today's project is about creating a repurposed wine crate craft for a fun addition to our decor.

I want to pause a minute because if you're not already signed up for my newsletter, you're missing out on my heart-to-heart sharing where I encourage you to reach out to me. It comes out bi-weekly and no strings attached. You can
join the family HERE.
Now back to this wine crate. While I'm not a wine drinker, I can appreciate the artisan lineage to crafting something of worth. So, why wouldn't you package your item in a safe way, right? So, when I am offered this box, I am eager to give it a new life instead of letting it head to the landfill. I'm all about
trashure!
WHAT TO DO
As you can imagine, the sky's the limit when it comes to this repurposed wine crate project. You could take this most any direction and use it for most any purpose. For me, I want to create a vintage vibe using paint and typography (big surprise, eh?). tee hee.
However, first, I need to remove this piece that held the wine bottles in place. To do that, I pull out my cutter with this flat blade that will work wonders.

This thing was a lifesaver when doing
my living room remodel. I merely squeeze the trigger to get it started and then work it under the piece of wood going in and out to get under it gently.


And it's done! {{happy dance}}
PAINT ANYONE?
Next, since the crate has painted and embossed designs from the manufacturer, I want to recreate the entire look of it. After removing the rope handle and then begin to paint using this sky blue.

Then, while the two coats of paint cure, I create a design that I will using as a wax paper transfer. That means I take a graphic and print it out on office paper. After that, I adhere it to a piece of wax paper the same size as my office paper. Once cured, then print your graphic in reverse on the wax side of your paper.

You can see it in action in this video below or read the
full tutorial HERE.

To apply the print, simply place it with printed wax side down and use a plastic card (debit, library card, etc) to rub it onto your surface. You can then decide whether or not to seal it with a spray. Just be careful you let it cure so you don't smear it, and only use a spray, not a brush sealer. In case you're wondering, I got this beautiful graphic from
The Graphics Fairy and added my elements.


In case you're wondering, I reused an already made transfer paper from
this project upcycling cast-off cupboard doors, so you're not seeing things. haha.

What is more, you may notice the graphic has a faded, washed look. That's what I'm after for sure. However, if you're wanting a dark, definitive design, this won't be the solution for you.
Finally, as a final touch, I use my painter's tape to make a grain sack stripe down the center before attaching my sign. Ooh, and I add one surprise as well.

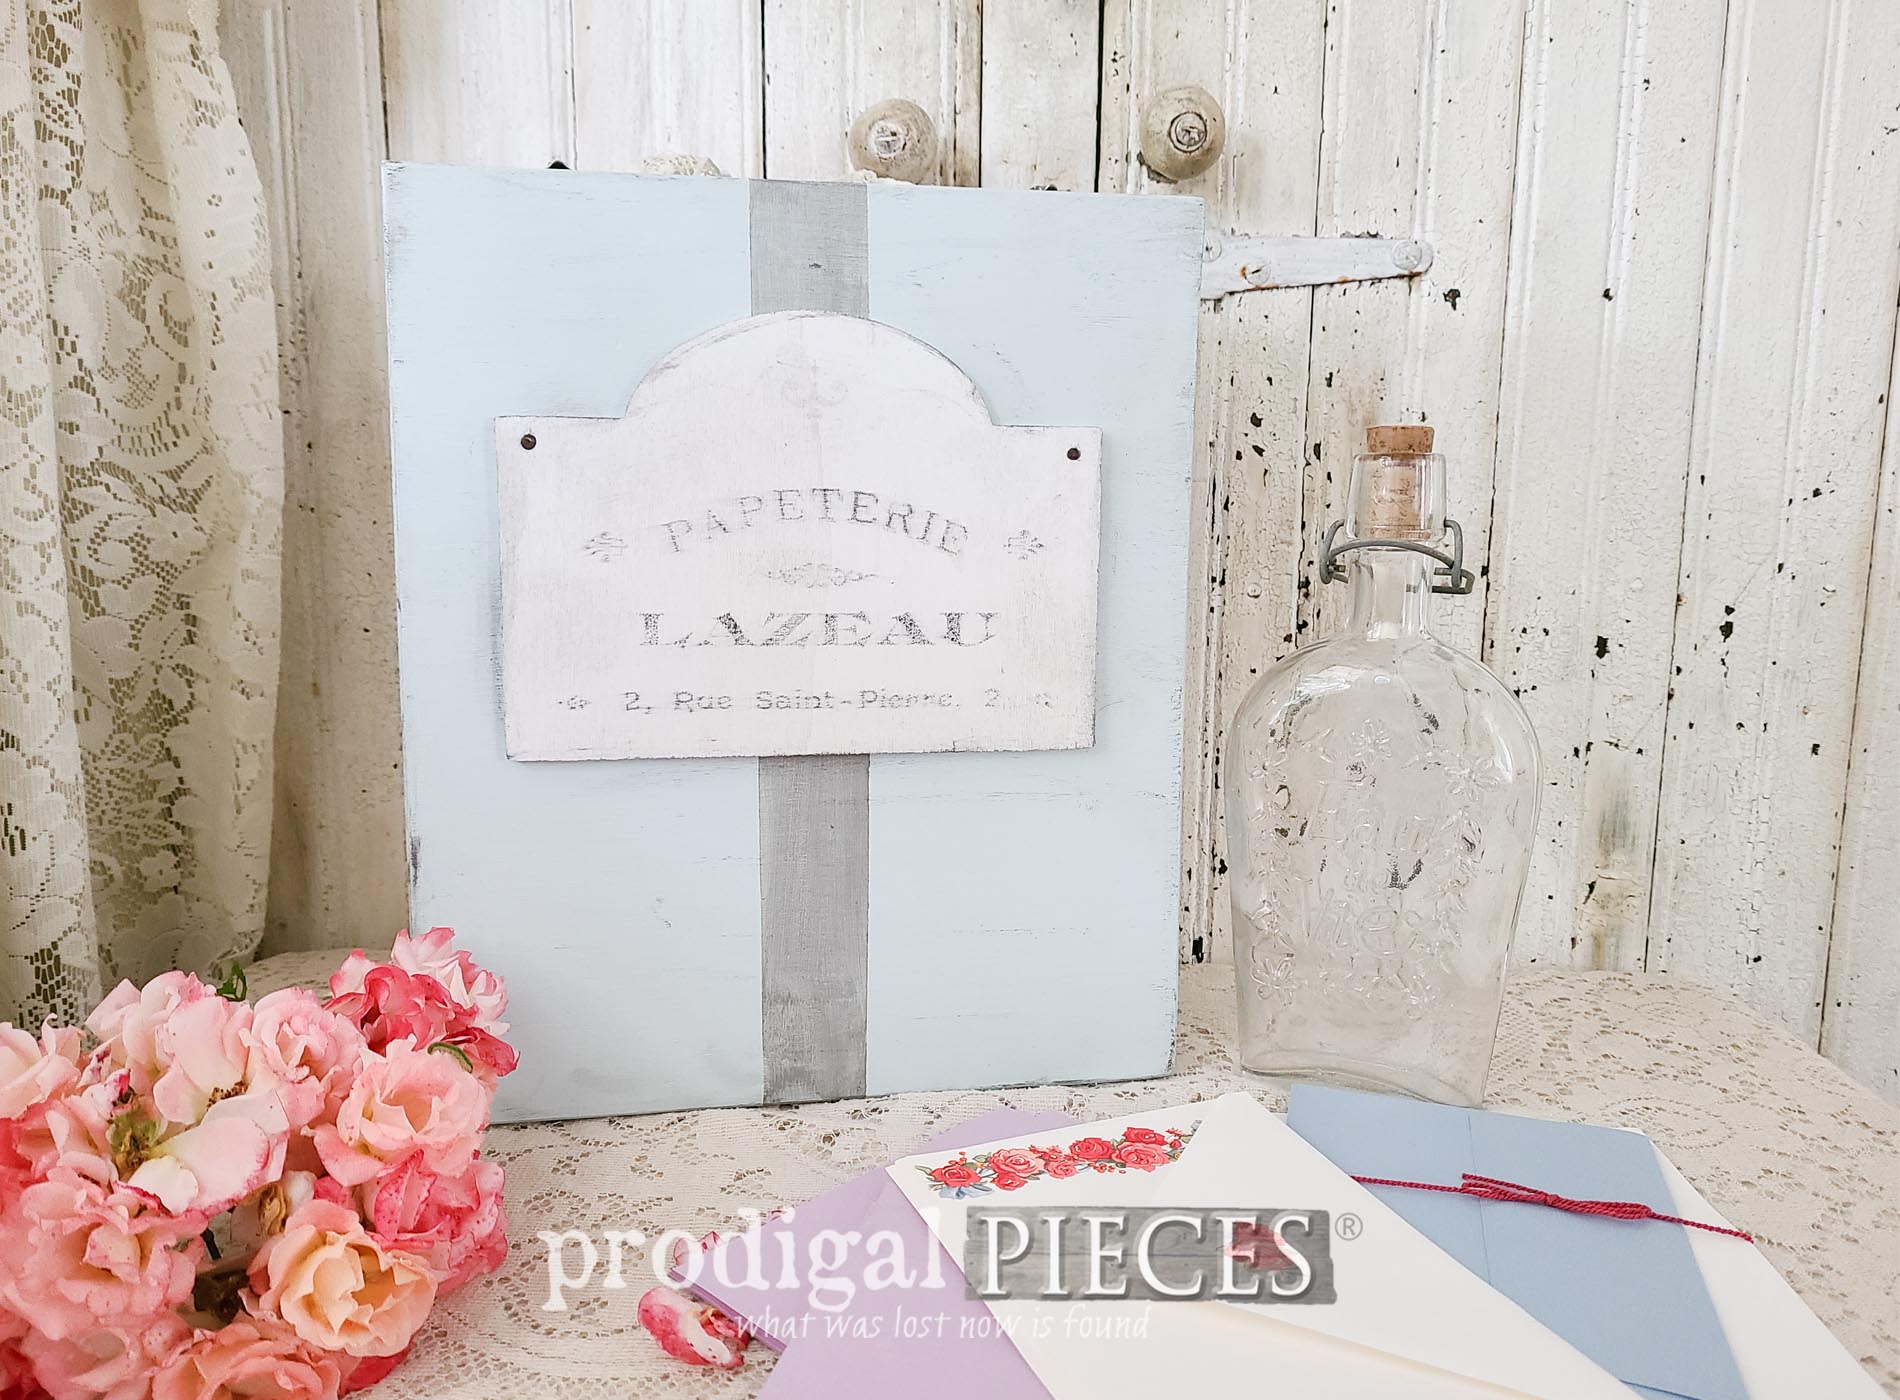
OOH, LA, LA
With my DIY journey complete, I have this sweet, repurposed wine crate now turned French letter box. The papeterie means stationery so it's totally apropos for my purpose.


I'm an old soul, so whenever I'm out and about and find vintage stationery, I grab it up and use to send letters to friends and family. The days of taking the time to put pen to paper are waning and I know I'm not the only one that love to see my mailbox full of heartfelt letters rather than junk mail and bills.


If you notice, I replaced the rope with a bit of old lace trim and inside it's held in with a couple of wooden beads.


Last, but not least, I lined the interior with a gorgeous, flocked wallpaper I have had in my stash for quite some time.

I call it a win! If you'd like to make this a part of your home story, you can find it and more in my online store.

SHARE
Now, tell me what would you have done with this repurposed wine crate? Leave me a comment below and then pin and share to inspire others.

To get these DIY tips & tricks in your inbox, be sure to
sign up for my FREE newsletter. Until next time!

 PINTEREST | EMAIL
While you're at it, check out these other DIYs like this repurposed wine crate: