 My first thought was these are a couple of different gentleman's valets (or butlers), but then I think they looked more like TV tray stands. You know, so that it could hold 2 TV trays on each side. Either way, they're wooden and so absolutely cute, so they had to come with me. Am I right?
DIY TIME
First order of business was to get those frames sturdy. I did some mending with my nailer to give it all a nice tight frame. Then, I cut some boards to fill those empty spots in the middle. It was simple enough by laying the frames on my laminated ply sheet and cutting it out with my jigsaw.
Once the boards were cut out, I filled all the holes and spots with wood filler. Then that step was followed by a good sanding with my oribital sander to soften the edges and get the surfaces prepped for the next stage.
 My extra special help joins in to help give the boards a couple of coats of paint. We allow a hour or so between coats so it can fully cure, but that's it! So easy.

MORE PAINT
While those chalkboards are curing, now is the time to tackle the frames. I chose to pick some fun colors for them, because it's...well...FUN! haha. For the one I chose this teal like I used on my cart in this post. Once the repurposed chalkboard signs are cured, it's time to assemble them and then prime them. Not with paint, but with chalk. Just rub it your chalk all over and wipe off. My cutie helper had a blast making a mess. It's super fun to do DIY jobs with kids, let me tell ya.
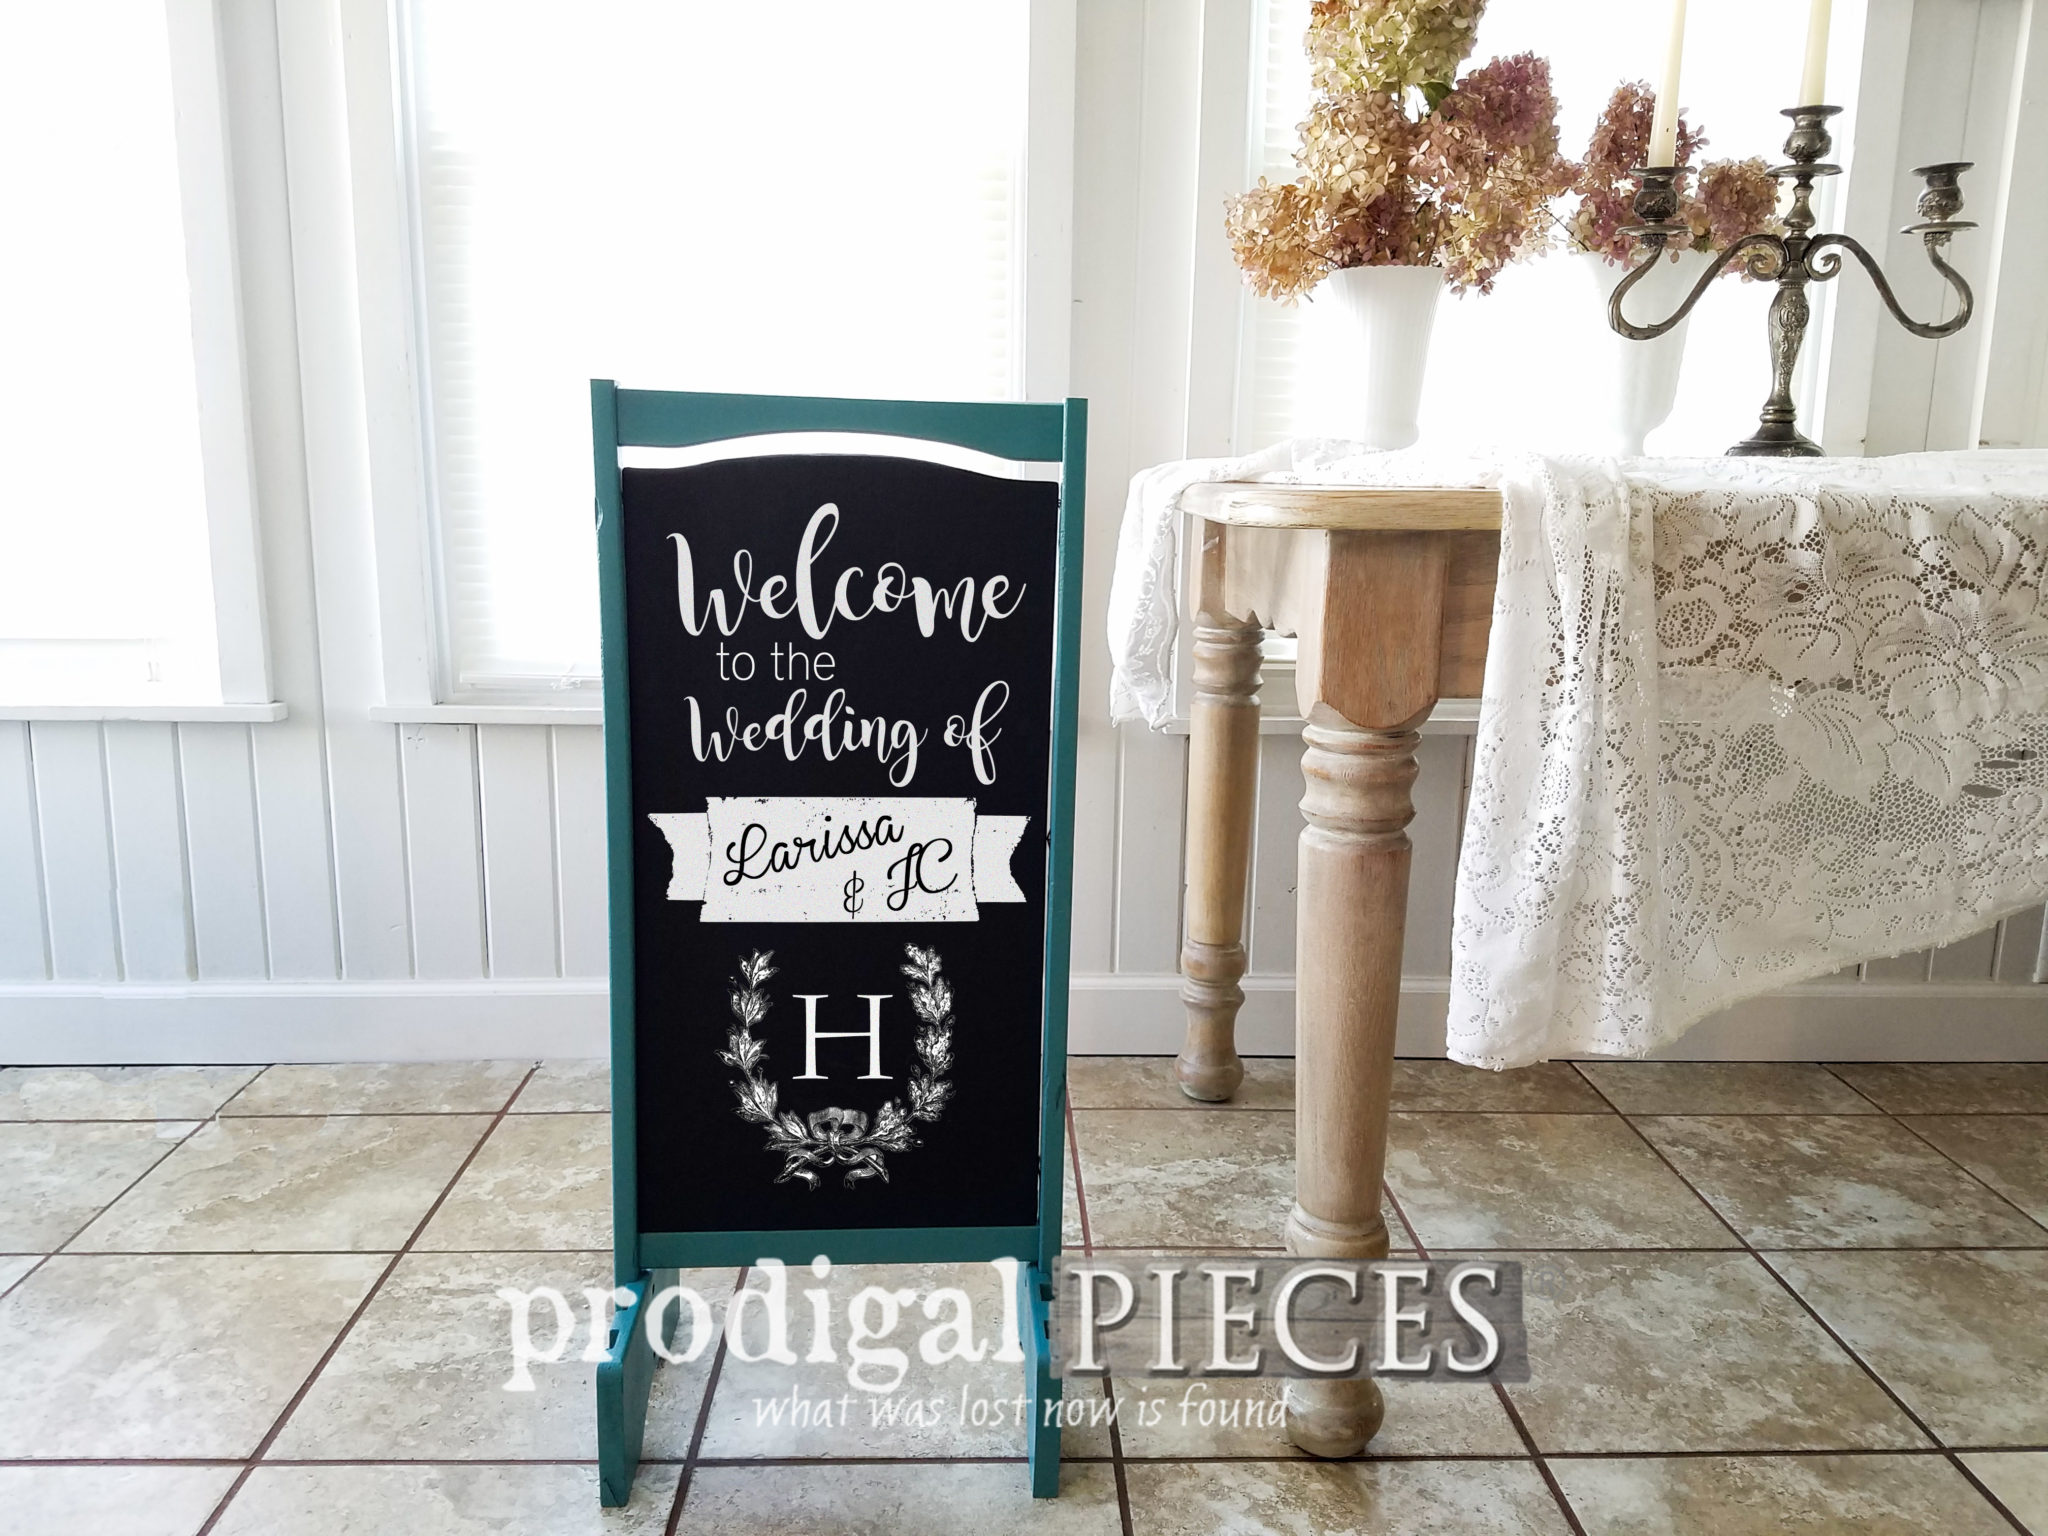
 This repurposed chalkboard sign could be for anything your imagination can dream up. My kids and I decided that one should be for a wedding. Particularly for JC and I because we are coming up on our 20th anniversary. Time flies!
FIRST ONE
The first frame that got the vintage teal color was assembled using my nailer again and attaching from the outside in. If you notice I cut the frame slightly smaller so that I could fit my fingers in to pick it up and move it around.
 Rather than put chalk art on it, I added some text in a photo editing software. However, if I had wanted to make this sign with chalk, I just follow these steps:
- print the design to scale
- rub the back of the print out with chalk
- tape the design to your chalkboard
- trace the design which applies it to the chalkboard
- fill in using chalk
ONE MORE
Check out the super fun glossy yellow. I staged it with my own chalk design at my front door.
 While I'm waiting on the weather to let me plant more things and for my landscaping to fill it, this makes for a bright little sunshine spot. The wreath on my door came from another repurposed curbside find I shared last week.
 I hope you've enjoyed this fun repurposed chalkboard sign post. See why the spring clean-up is slightly addictive? Seriously. {{wink, wink}} If you love either of these chalkboards, you can find them available for purchase from my online shop.
 In addition, pin and share this project to inspire others to see past the junk and see the trashure that awaits.
 for your wedding, shop, birthday, welcome sign...you get the idea. Get the DIY details at Prodigal Pieces | prodigalpieces.com prodigalpieces homedecor diy shopping") Up next is Trash to Treasure Tuesday where I will be sharing what I did with this. Any guesses? See my creation HERE in this post.
Up next is Trash to Treasure Tuesday where I will be sharing what I did with this. Any guesses? See my creation HERE in this post.
 To get these DIY tips & tricks in your inbox, be sure to sign up for my newsletter. Until next time!

Also, more projects like this repurposed chalkboard sign:

