It is almost exactly 3 years ago that I decide to do something drastic. My husband and I took on the exterior of our home in DIY form as we are known to do. He tackled the stone veneer on the front, while I took care of painting the entire house top to bottom (yep, all by my lonesome self). I decided to take our builder grade garage door to a new level and give it a faux wood look. Many have asked, "How has it held up?" So today I'm going to show you the 3-year anniversary reveal, plus give you a few tips on how to refresh old wood with my latest treasure.
If you haven't read about our garage door makeover, you really should head
HERE to not only see it in full, but I also share the steps of how I achieved it so you can too. Here it is in summation:

Boring before, but oh-so-good after, isn't it?
UPDATE
Well, I won't keep you in suspense any longer. Here it is 3 years to the day since I first worked on my garage door...

Looks like new, and going strong. I haven't done anything to it in any way to touch it up or enhance it. I love it! It is a south-facing door and gets blasts of our below zero temps in winter and near hundred-degree temps in summer. WAHOO!!! (psst! I even find those benches from curbside shopping!)

The only thing I noticed was around one window it looks like the plastic had shrunk or something so my door original is peeking through, but
that is it! (fist pump action going on)

You still wouldn't believe the number of rubber-neckers we get and people who stop to ask how I did it. I am so utterly glad I gave it a try and took a chance.
Won't you pin and share so others can get that high-end look for less? Then, I have another goodie for you.

DIY TIME
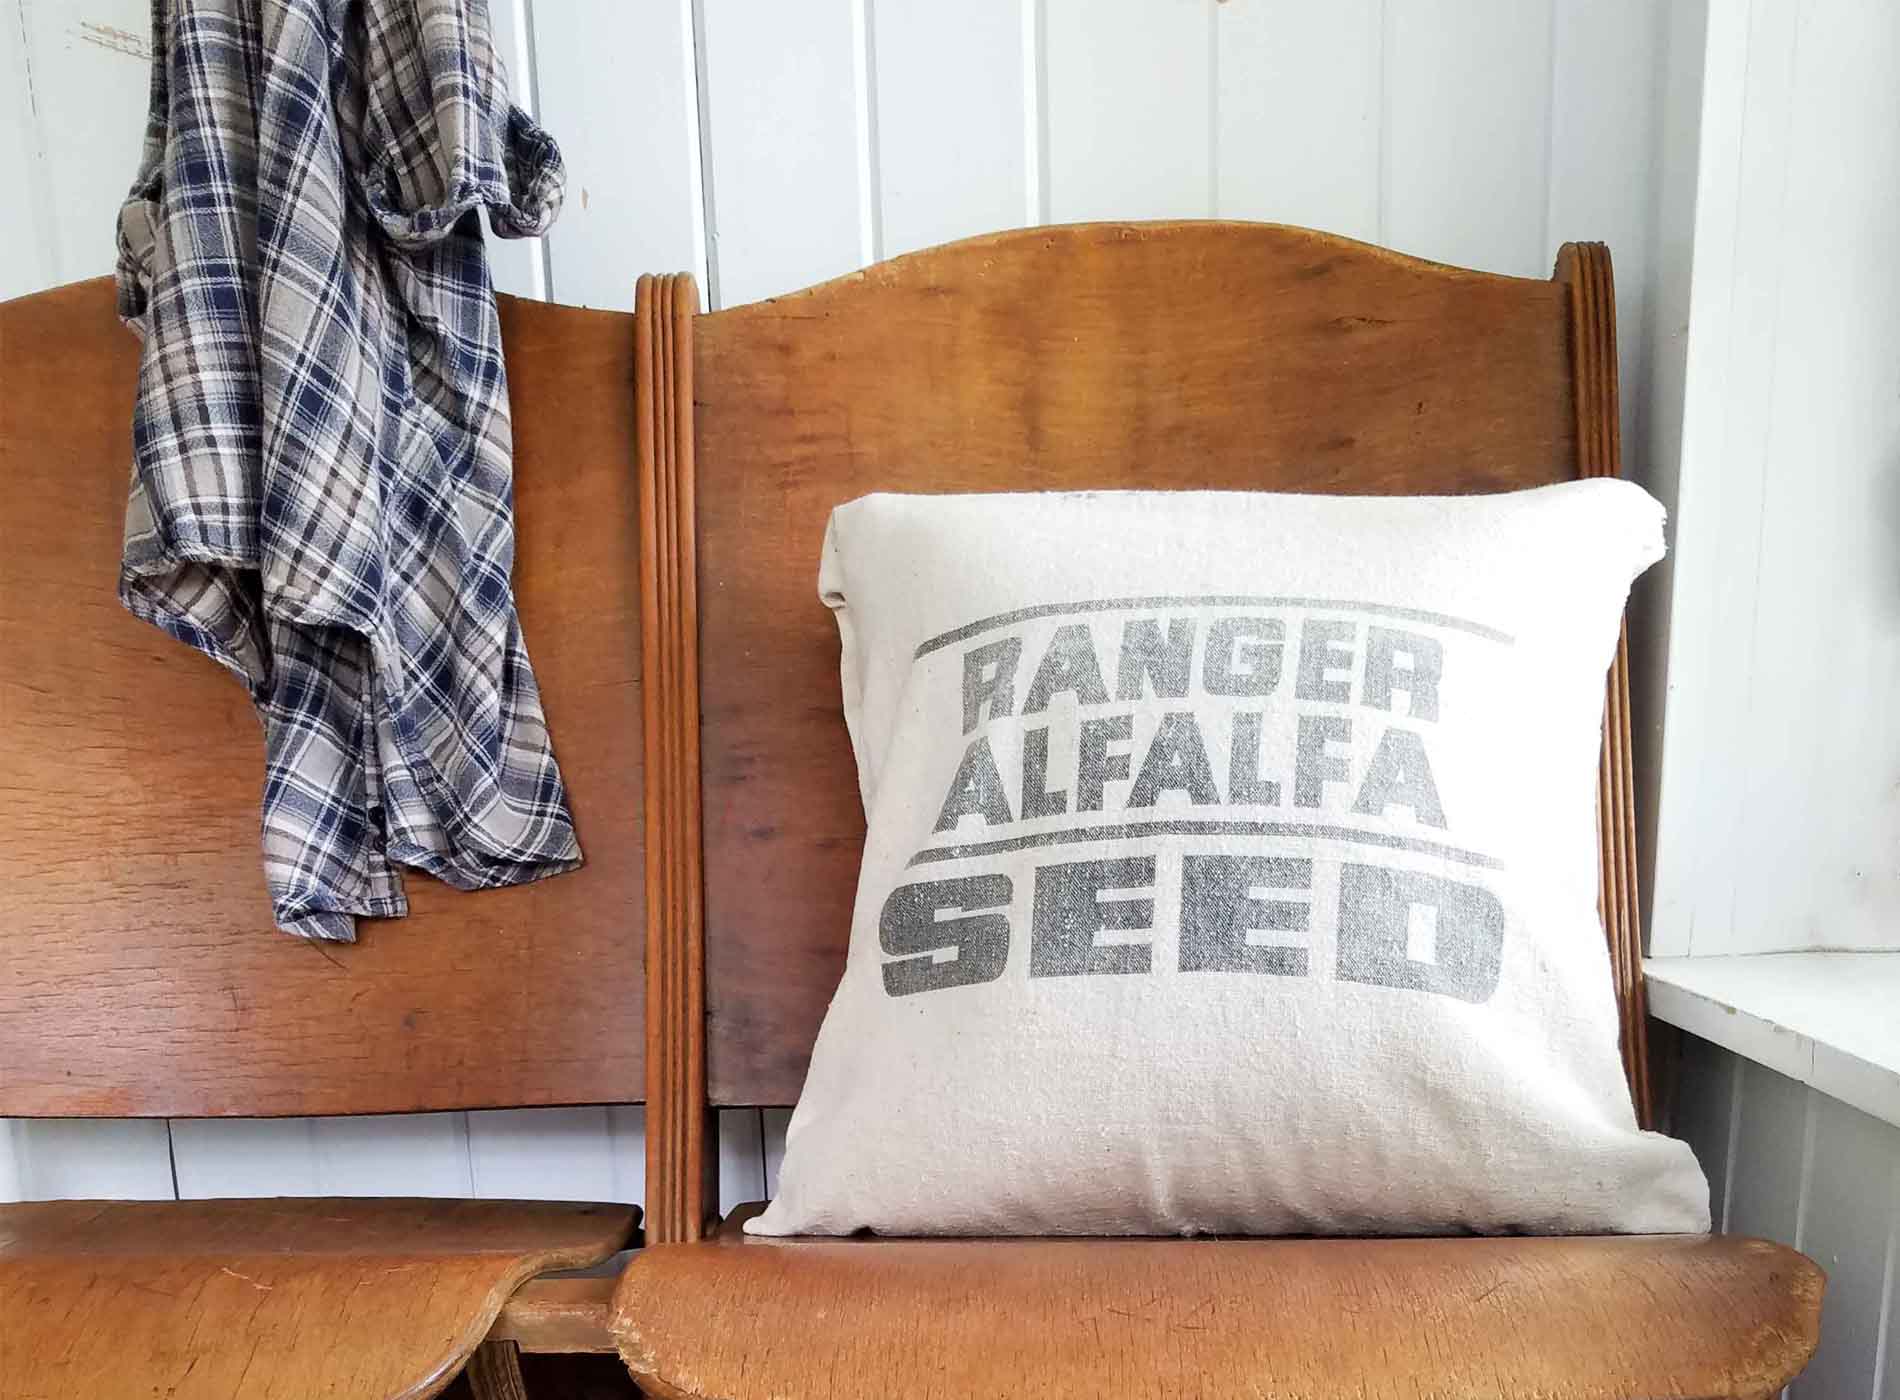
Now for my other tip on how to refresh old wood. For ages I have had on my "desire" list a set of old theater/church seats. So you can imagine my utmost excitement when I find this pair on our local Craigslist.

I squealed like a child (ahem) and hurriedly called to inquire. You may be asking, "Why do you want them?" Because they're rare, they're cool, and create unique entry (or anywhere) seating. I'm all about different. tee hee.
Good news is that they were super-affordable. Somewhat bad news is that they are a dog chew toy. I got to meet the two offenders - they are gentle giants, and why the owner decides to sell the seats before they got more damage.
Not only has the wood been chewed up, but also were so absolutely dry. The wood is brittle and flaking in many spots since it is made out of layered wood. I want to halt that deterioration immediately.
REFRESH
I didn't use paint or stain with this type of problem. However, my favorite tool to refresh old wood is boiled linseed oil (or or even hemp oil). This time I use linseed oil and demonstrate how easy it is to see the gorgeous wood come to life as shown below.

Isn't it amaaazing?! It keeps some of the wear showing for a gorgeous patina, but absolutely refreshes the wood without altering it.

As you may have guessed, this isn't a new thing to me. I also rescued my antique pew that also had been a chew toy and left for dead outside in the mud. I tell all on my post over here. In addition to the pew, I have also used this same technique on a
several furniture and craft projects.

SO GOOD
Not only are they wonderful because they fold up, but they offer storage in the back where hymnals or accessories rest. The best part is how they showcase rustic charm.

Oh, and if you love that chalkboard rack above them, you can find that available in
my online shop, and I should be restocking some more of those wire locker baskets. They sell out fast!


You can bet I will certainly have fun playing with these beauties.
In addition, pin and share this trick on how to refresh old wood to inspire others too.

To get these DIY tips & tricks in your inbox, be sure to
sign up for my newsletter. PLUS, you will get your FREE Furniture Buying Checklist and special discount to
my shop. Until next time!

While you're at it, here are more ways to refresh old wood: