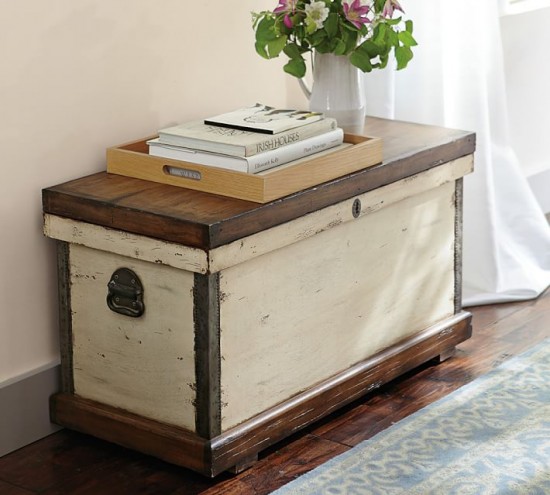
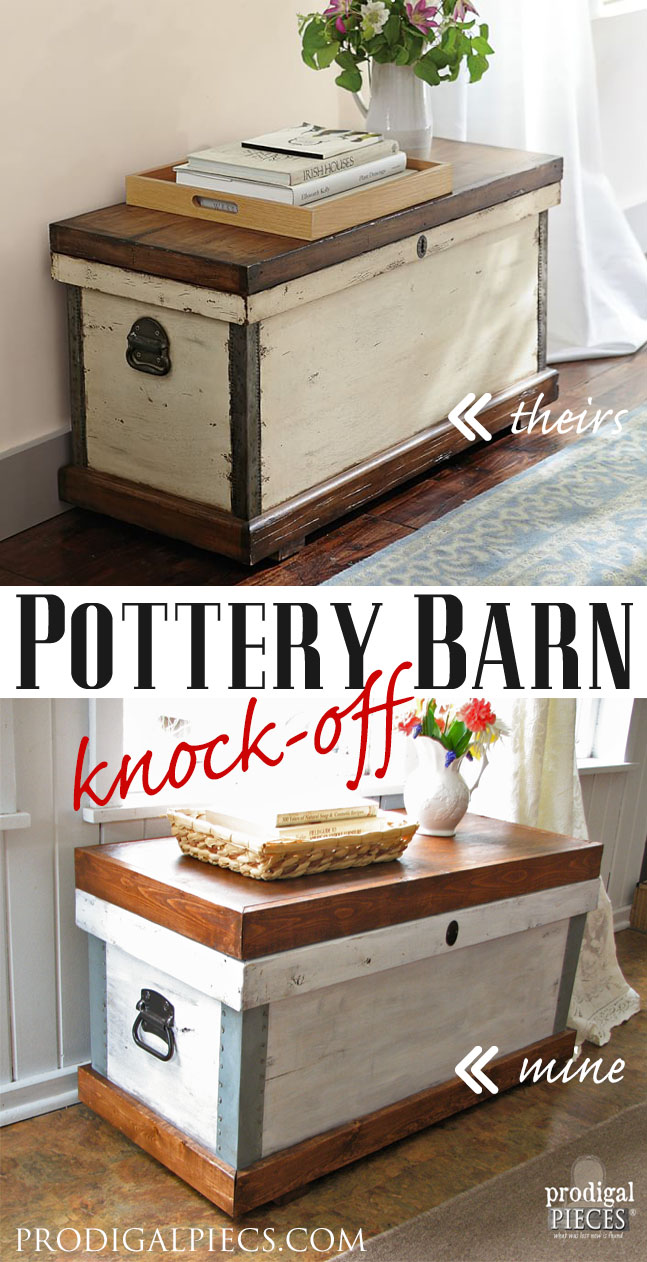
 Source: Pottery Barn Josefa Trunk[/caption]
Pottery Barn recreated this trunk based on a similar one they had found in an antique store. I love the character it has along with its function. As a mom of 6, almost all my furniture has to perform a function, it cannot just be pretty, right? Maybe one day I'll be one of those grandmas with white carpet, coffee tables for the grandkids to finger up, and running around with a dust buster sucking up all the crumbs....I'll love it!
DIY TIME
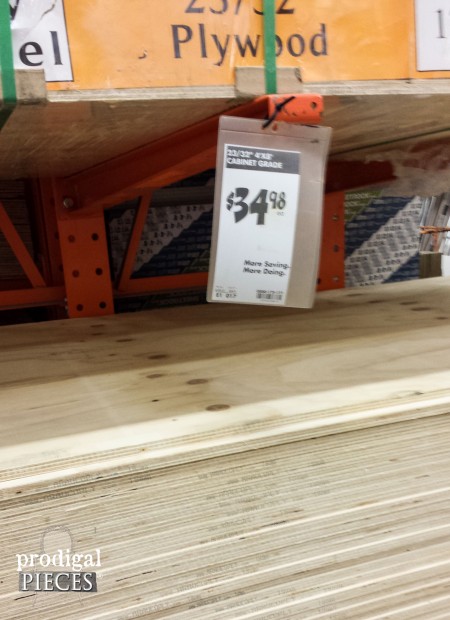
So off to the store we go, and with kids in tow it's always a fun time. They love to come shop and scheme on what they would build if given the chance to purchase anything they lay eyes on. Do you shop with your kids? (sorry for the fuzzy pic - it's hard to push a cart to keep baby from screaming and snap a cell phone picture. tsk.)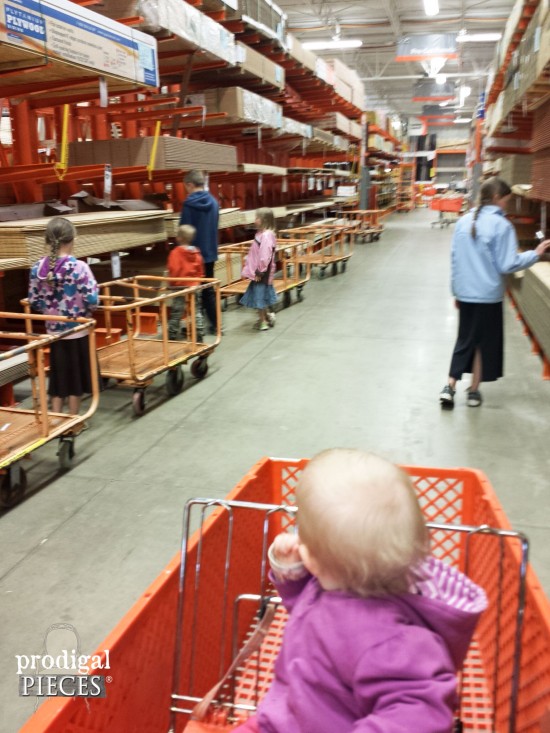 For our materials, we chose builder grade plywood for its smooth finish and minimal imperfections, even though we want a few marks here and there for that time-worn feel.
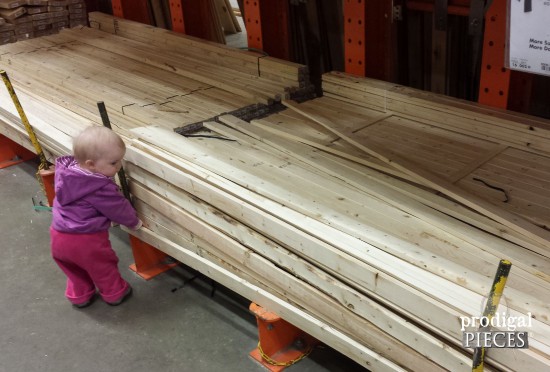
 My littlest helper was there to help me choose the good pieces of lumber for the trim on the trunk. She's telling me the one on the bottom looks good, of course. Seriously though, whenever you're looking for wood, be sure to pick them up, turn them over, and look down them for warping before adding them to your stock.
BUILT TIME
Now onto the building. (Yay!) I love to create my own pieces and recreating someone else's can be just as fun because it's like a puzzle. Since the dimensions for this trunk are on the Pottery Barn site, it's just a matter of plugging in the dimensions of the wood I was using.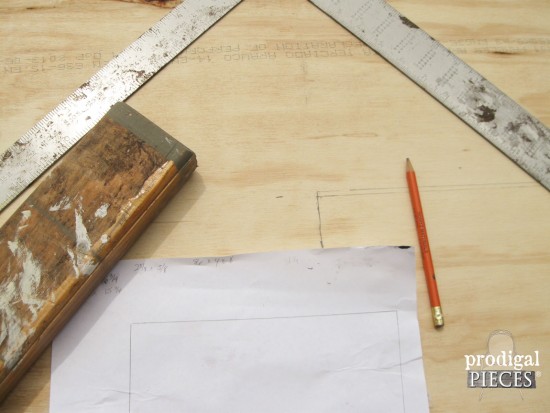 I can't believe it's finally warm enough outside that I can do my work in the sunshine and not all bundled up in hats, gloves, and layers upon layers. It's time to break out my saw and get to work.
Because the ply is large, we can't just run it through the table saw. So, I cut it down to be easier to handle.
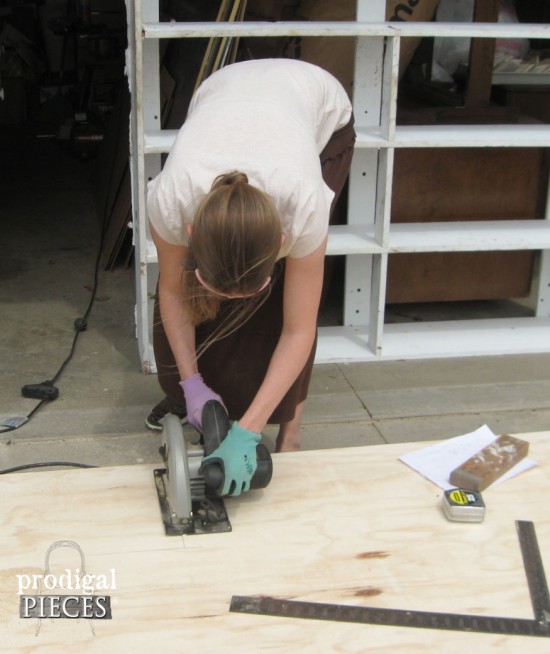
* partnered with at Hickory Hardware (see full disclosure)
CUTTING
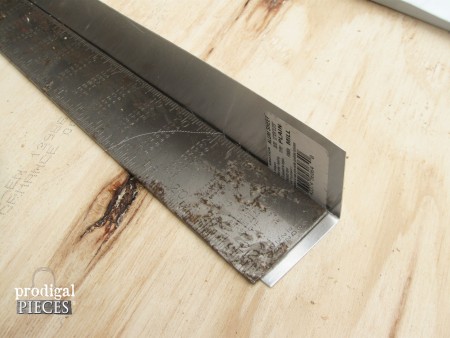
Because I nearly lost my fingertips (after 12 long years of cutting wood myself) in my closet remodeling project, I have yet to get the gumption up to run large pieces through the table saw, so I left that to my hubby. Even the sound of it makes me cringe, but I still do small items. You'll notice the above Pottery Barn trunk has metal corners. Because I wanted this to look handmade, I cut my own out and created them with some simple tools.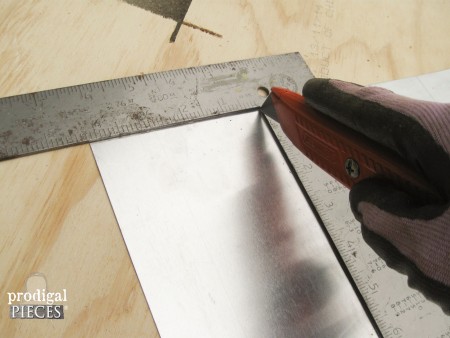
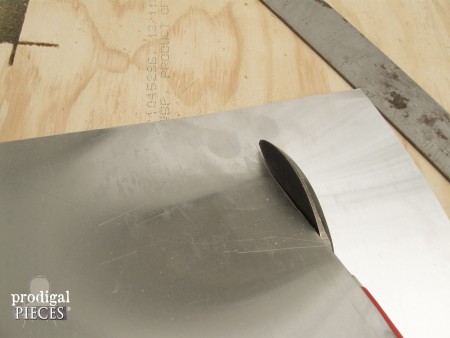
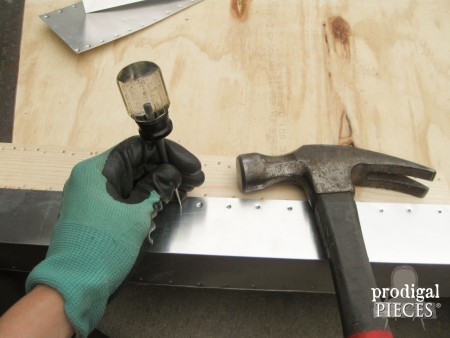 One of my other favorite tools is my Dremel. I requested it for my birthday one year and have used it for making toys, cutting hangers up, car repair...you name it! This thing is awesome.
COOL TOOLS
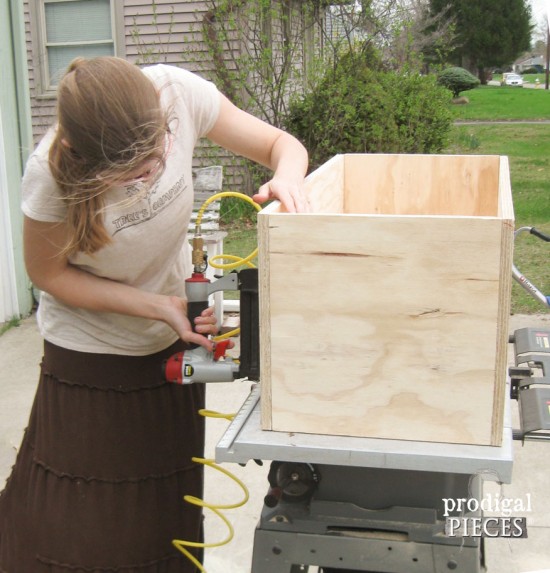
I whipped out my grinding stone attachment to make sure those metal edges were safe for little fingers.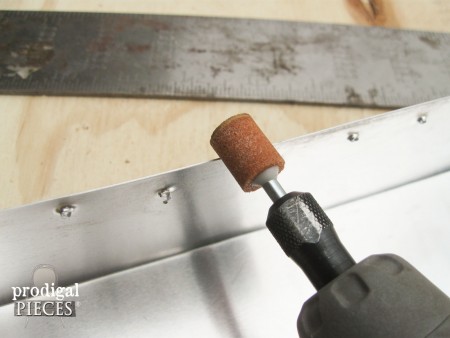 Now it's time to assemble...Yay! I used screws to attach the side panels together, but the bottom of the trunk was nailed in. My other favorite tool is my brad nailer (another birthday gift), which I would be lost without because it helped us save sooo much time, like in our bedroom remodel.
FINISHING
With everything cut and ready to go, it's time to do the finish work. At this point, I move the project inside because our lovely Ohio weather is like that. Now I'm back in my layers and the heater is on. It was nice while it lasted!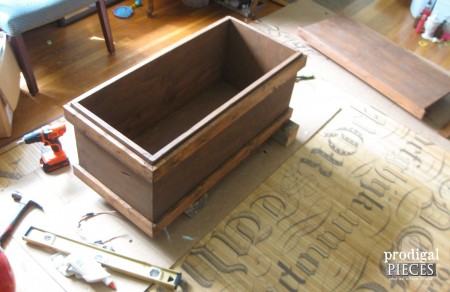 My kids are allowed to play and make a mess, so why can't I?
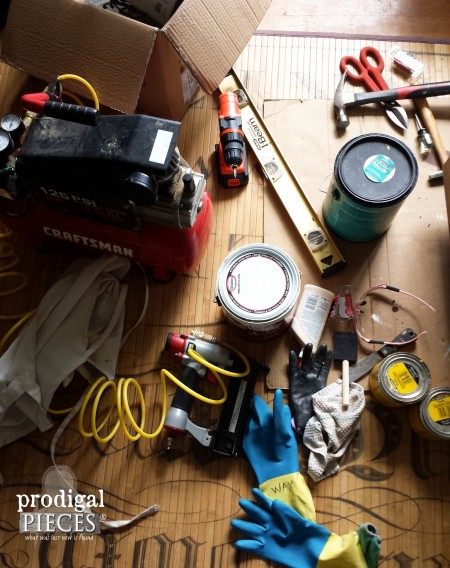 After some painting, distressing, and the addition of this awesome hardware with the escutcheon from Hickory Hardware (I used their awesome pulls in my Ikea Hack), and the pulls found at a local hardware shop, it's ready to go.
THE REVEAL
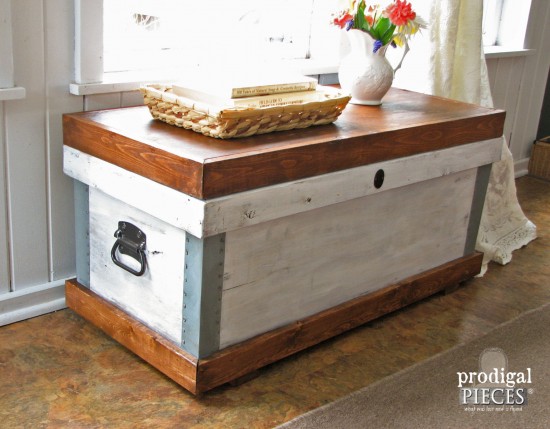 The price tag for the Pottery Barn recreated piece is $499...ouch. My DIY price tag: $90. What fantastic savings!!
With its rustic details and farmhouse appeal, it goes in most any setting from French to industrial. Or, from man cave to equestrian - really, anywhere.
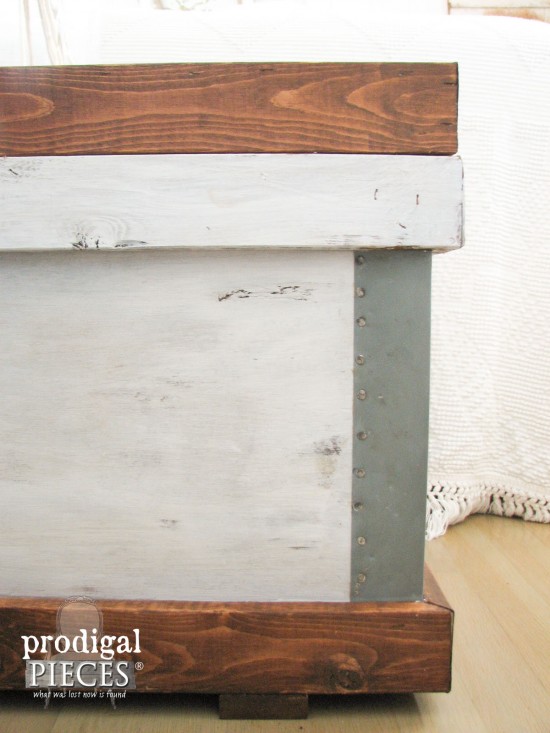 I so happy with how it turned out, and love that we did it ourselves. It's rustic, is new, but looks old, and perfectly ready for blankets, boots, bedding...anything!

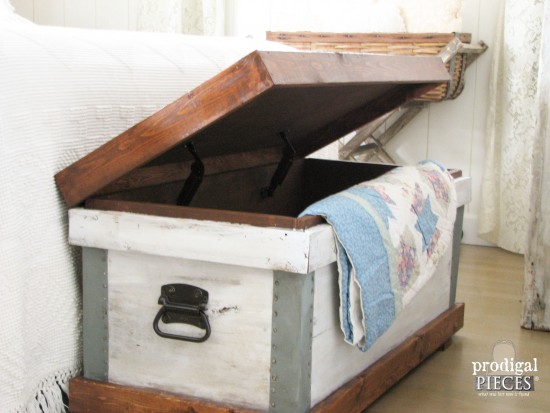 What's your favorite feature? I'm diggin' the trunk handles and that key hole escutcheon.
I also love that the top can be used as a bench for slipping on some shoes or storing your bedding.
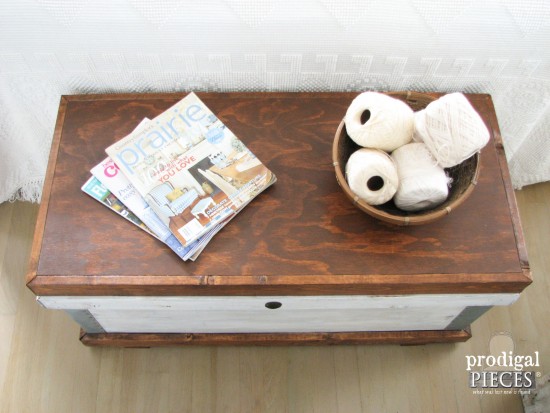
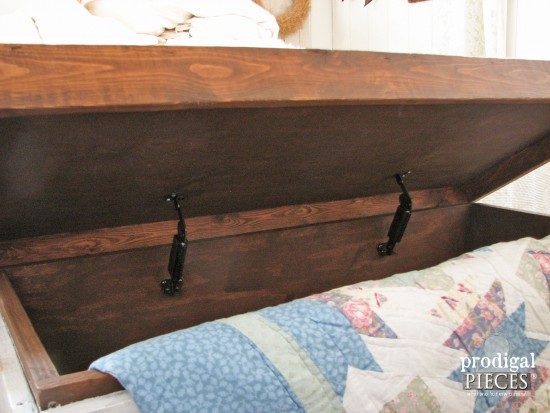 If you love this trunk too, but are not the DIY type, it's available in my online shop for purchase.
 Also, don't you agree that knock-offs are the best? Share if you do!
 To get these DIY tips & tricks in your inbox, be sure to sign up for my newsletter. PLUS, you will get your FREE Furniture Buying Checklist and special discount to my shop. Until next time!

Also, more projects like my Pottery Barn knock-off:

 Now before you head off, make sure to go check out these ladies' Pottery Barn creations...they'll knock your socks off!
