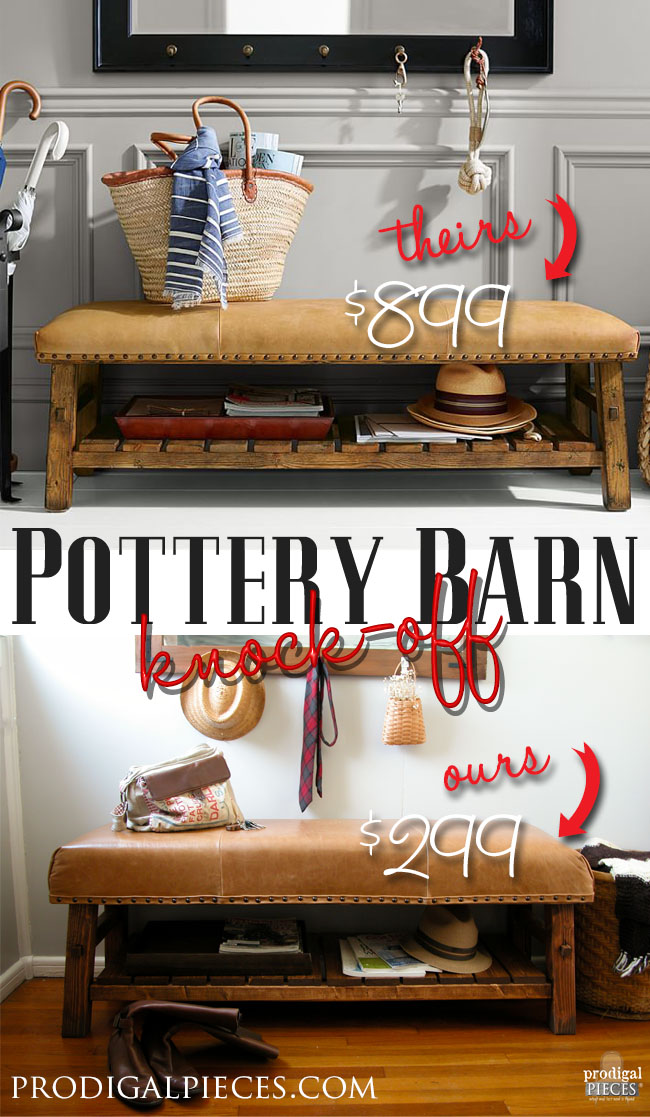
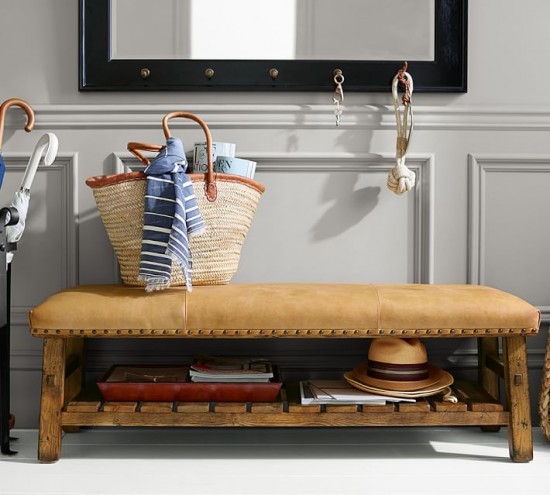
The Pottery Barn Caden Bench
*this post is sponsored by The Leather Hide Store (see full disclosure)
It's rustic, leather goodness just kept calling my name. We had considered recreating this piece back in our Pottery Barn Theme in April, but went for a trunk project instead. However, when The Leather Hide Store asked us to give their product a try, I knew exactly what I wanted to do with it. I give JC props for taking the woodworking end of this and figuring out all the specs. It's fun to analyze this type of furniture puzzle.
 DIY TIME
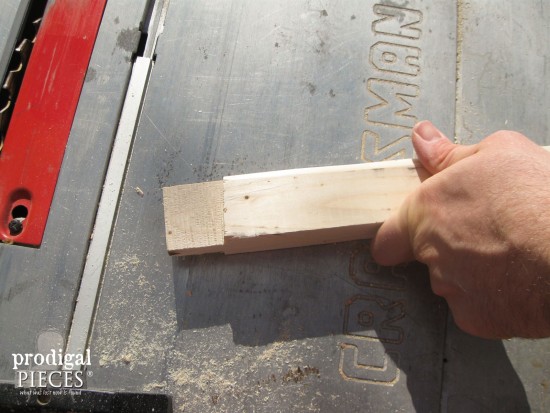
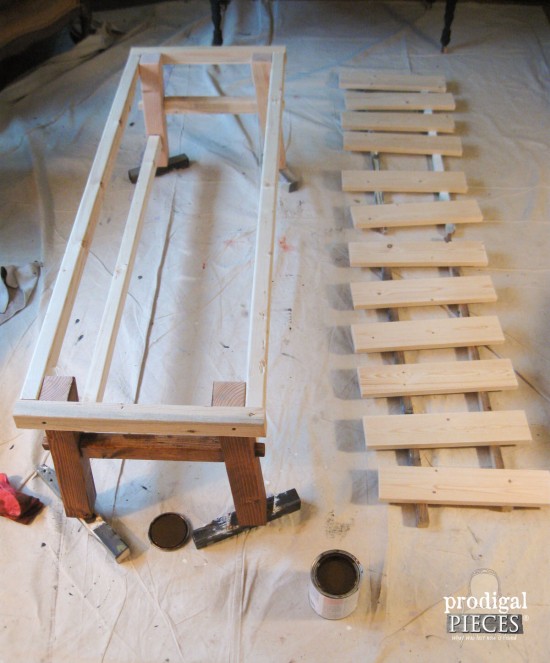
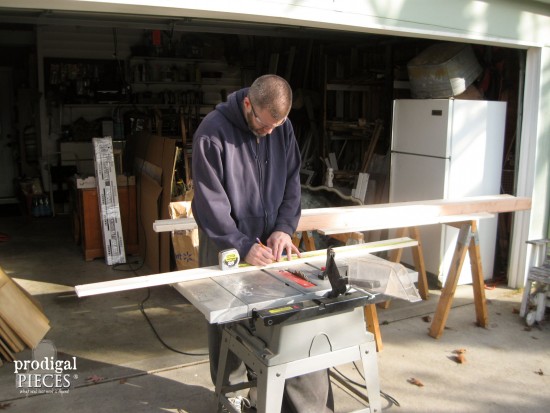
He figured out all the angles and how to do a mortise and tenon joint on an angle - mind you, he's never done this before. Look at that cut...
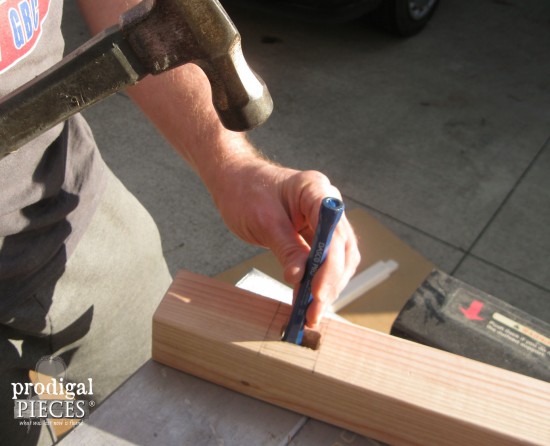
Then, he chiseles out the mortises and got everything ready for me to tackle the finishing end - even to the point of working on our shop floor in the dark with a lamp because we have so much going on - whew!
Once we have the structure cut and rough assembly, it's time to put on the finishing touches. (enter in ME)
Anyone in our line of work can understand how this is my perpetual living room rug and how my living room pretty much looks all.the.time. One day we will have a shop where I can go back to having a normal house. In the meantime, I am blessed to be able to do what I love.
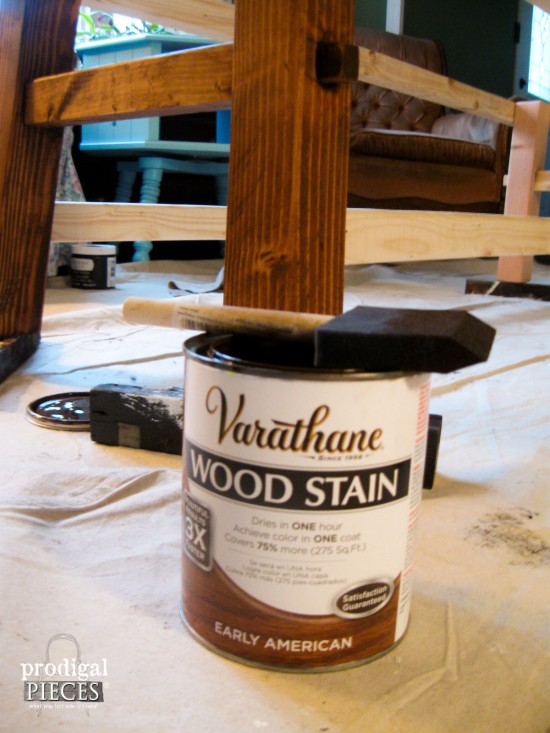
First, to create a rustic base, I went for my favorite stain, Early American Varathane by Rust-Oleum, that we used in our bedroom, our bathroom, and on several other projects, including our other PB Trunk knock-off.
LEATHER
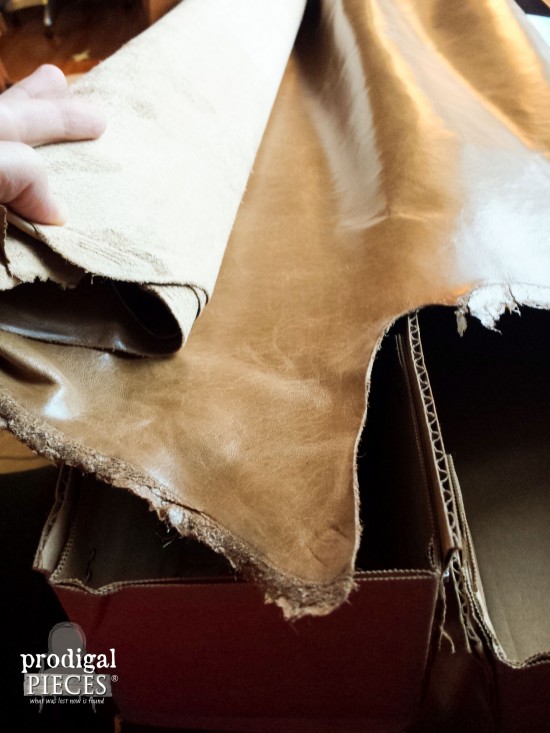
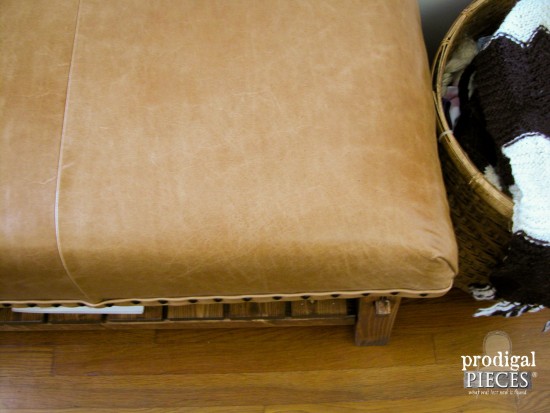
Once the base was finished being assembled using our Kreg Jig (one of my all-time favorite tools), it was time for the upholstery. I have done several upholstery projects, like my channel back chair and my feed sack chair to name a few, but have never used leather in this capacity. Just look at this gorgeousness.
It's called Restoration Wicker and is leather sourced from the same tanner that Pottery Barn uses as well. woot! You can find this and more upholstery leather at The Leather Hide Store.
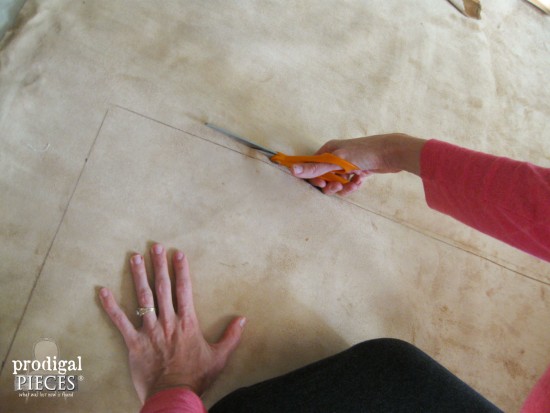
I was a bit nervous to cut this beauty, but I was so excited to see our finished project, that I quickly put my nervousness aside.
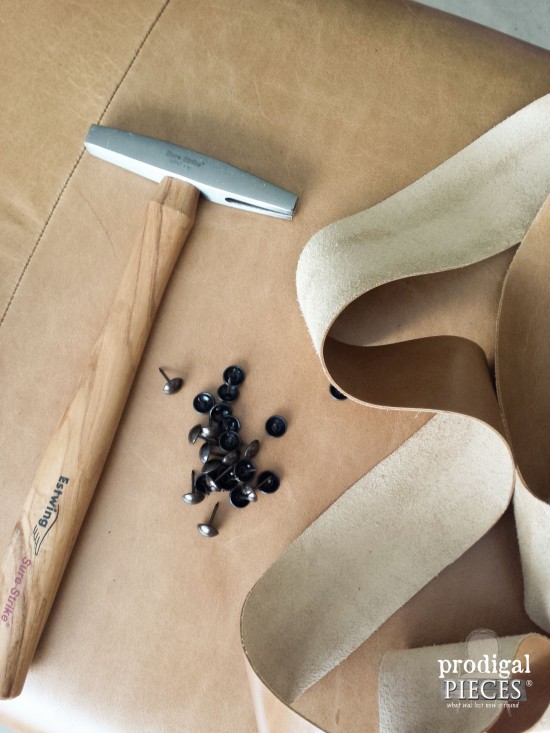
Once I have my pieces cut, I sew them together and then attach it to the base of the bench. Finally, all that I need to do is add the trim and nails.
THE REVEAL
Are you ready for our reveal? I am!!
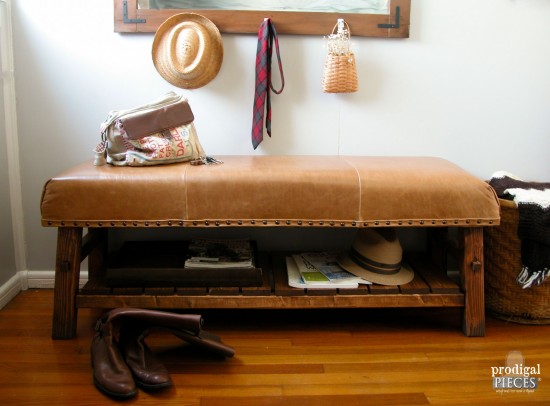
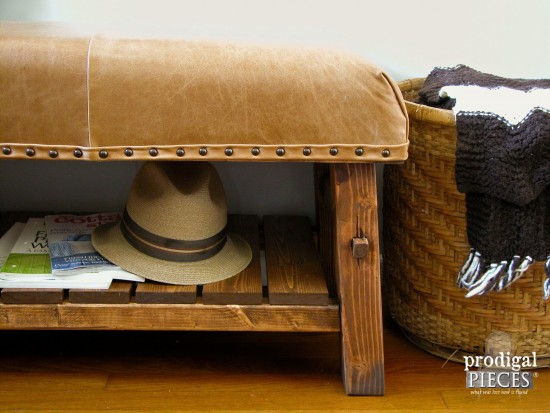
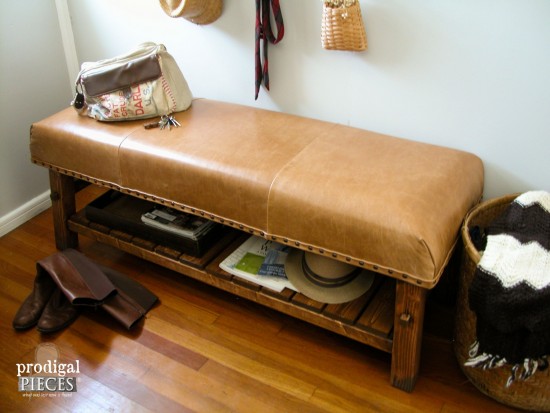
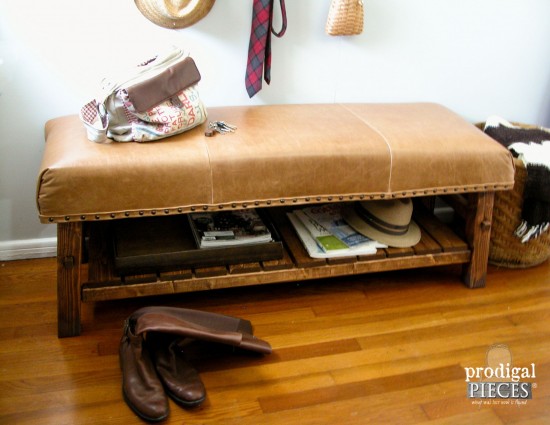
Not too shabby, eh? I love this bench for its rustic appeal and the storage it offers. Also, we not only tried to recreate the Pottery Barn bench, but also make it better. Instead of a 3" foam on top, I choose the 4" to give long-lasting effect and use.
And how about that leather...I'm drooling I tell ya. So, instead of a $899 price tag, you can build your own for $299. Cha-ching! If you love it too but are not the DIY type, you can find it in my online shop.

I hope you enjoy our Pottery Barn knock-off project. In addition, pin and share our work for others to enjoy and inspire them too. Don't forget to head below to see what storage and organization furniture my blogger friends have for you!
To get these DIY tips & tricks in your inbox, be sure to sign up for my newsletter. PLUS, you will get your FREE Furniture Buying Checklist and special discount to my shop. Until next time!
Also, more of my DIY projects like this Pottery Barn Knock-off:
