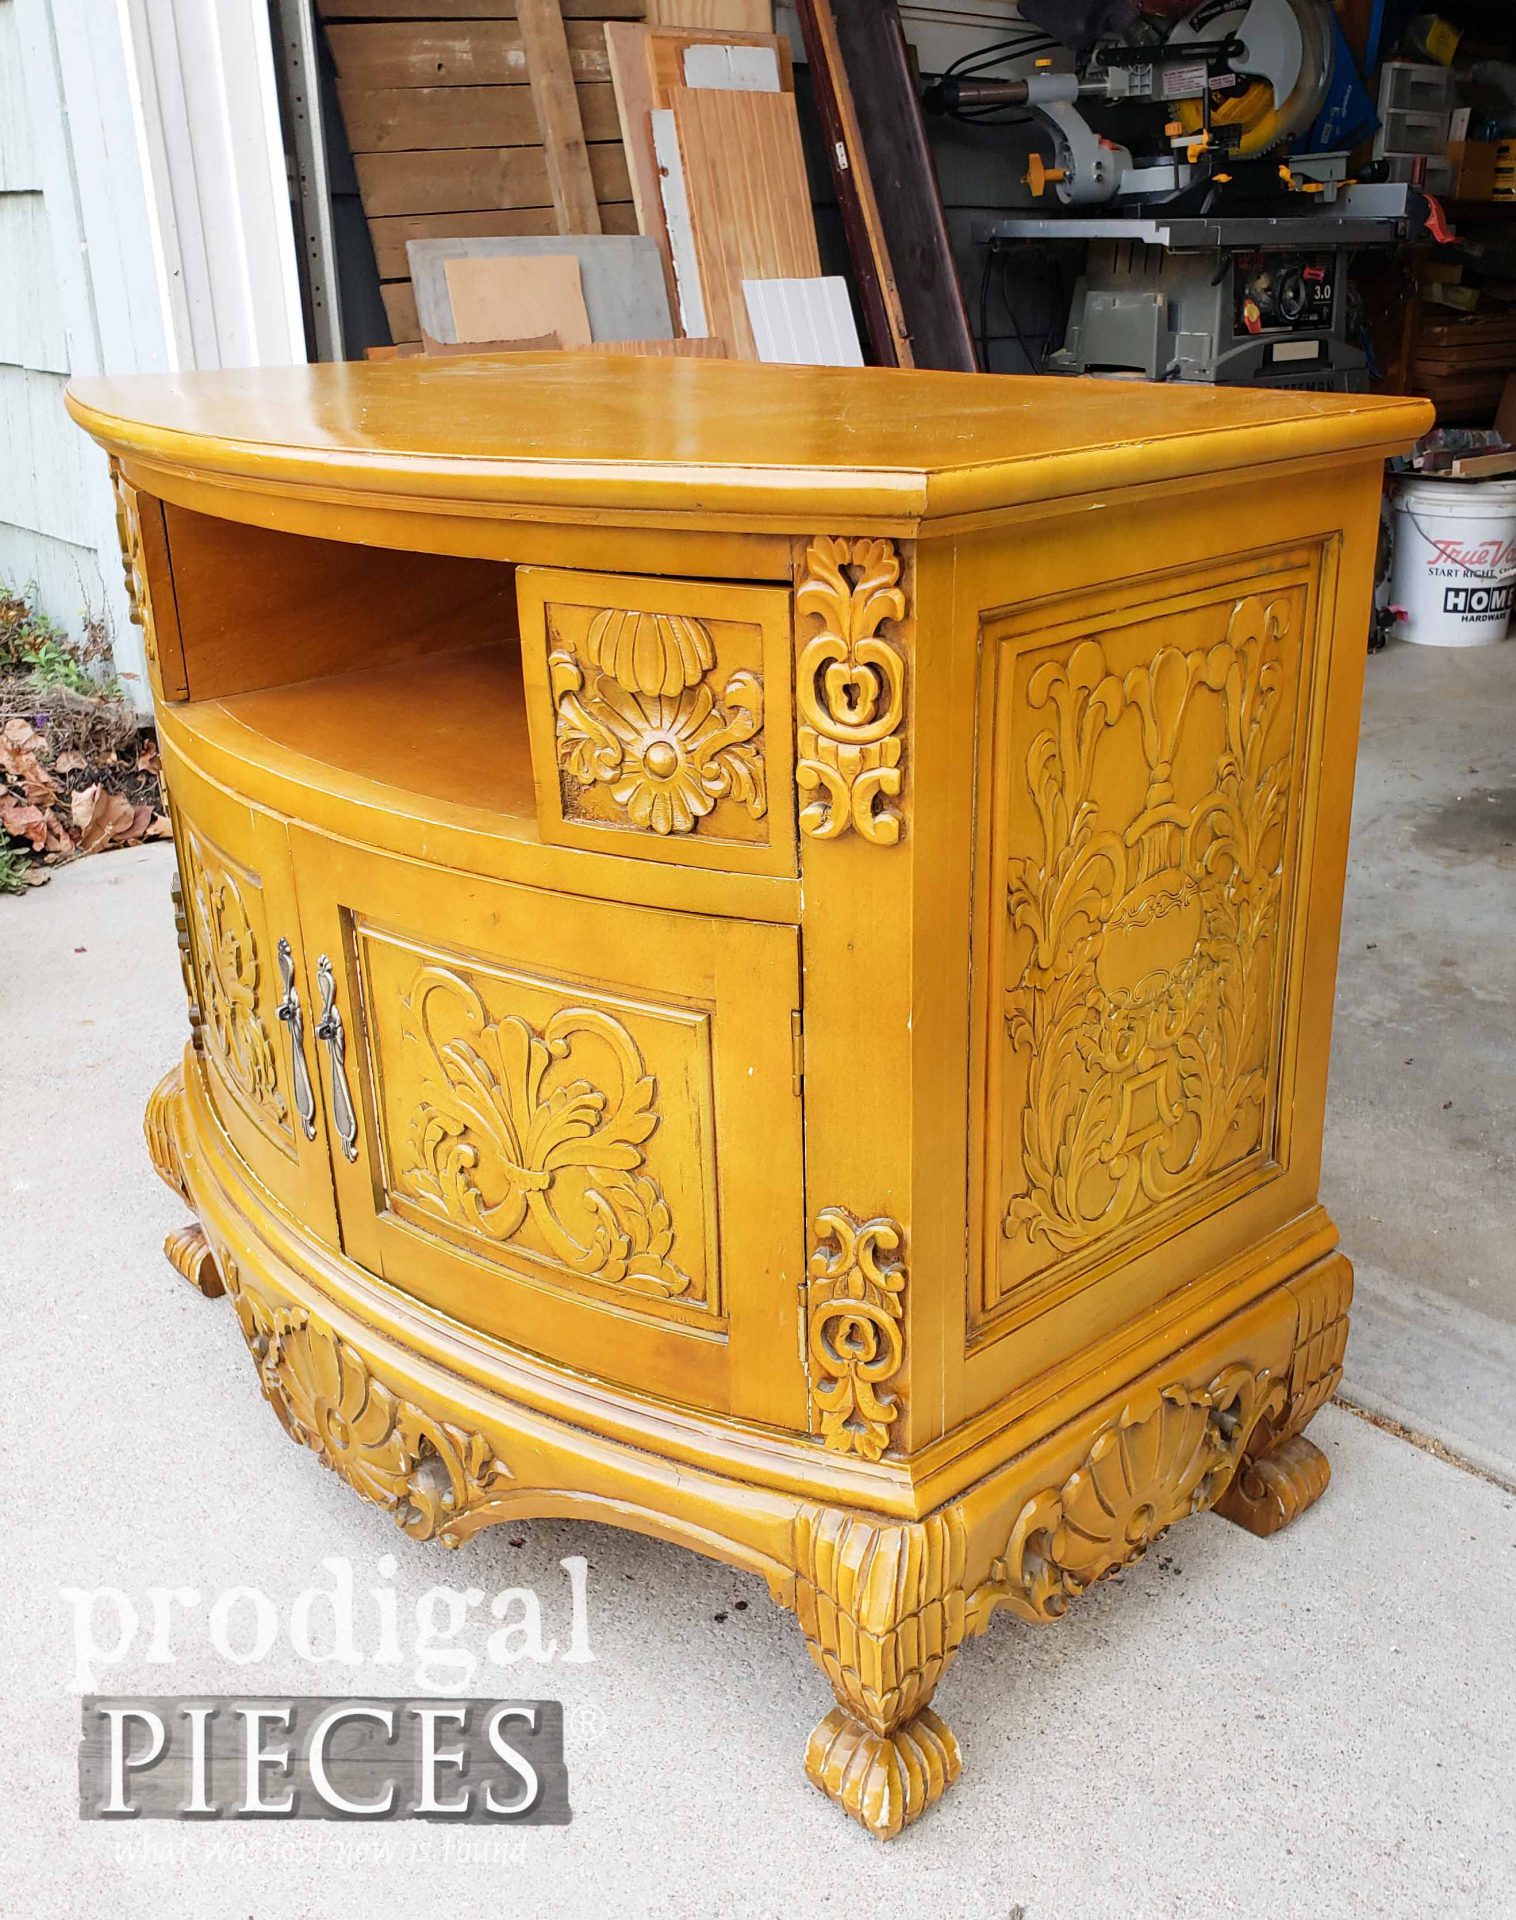
 Eventually, a few weeks went by and she mentioned she still hadn't tackled the stand and wondered if I'd have a go at it. I'll be honest, it's not often I take on custom work because I'm always so busy. However, this time around I knew I had just the thing to get it done quickly with the best finish.
ASSESSMENT
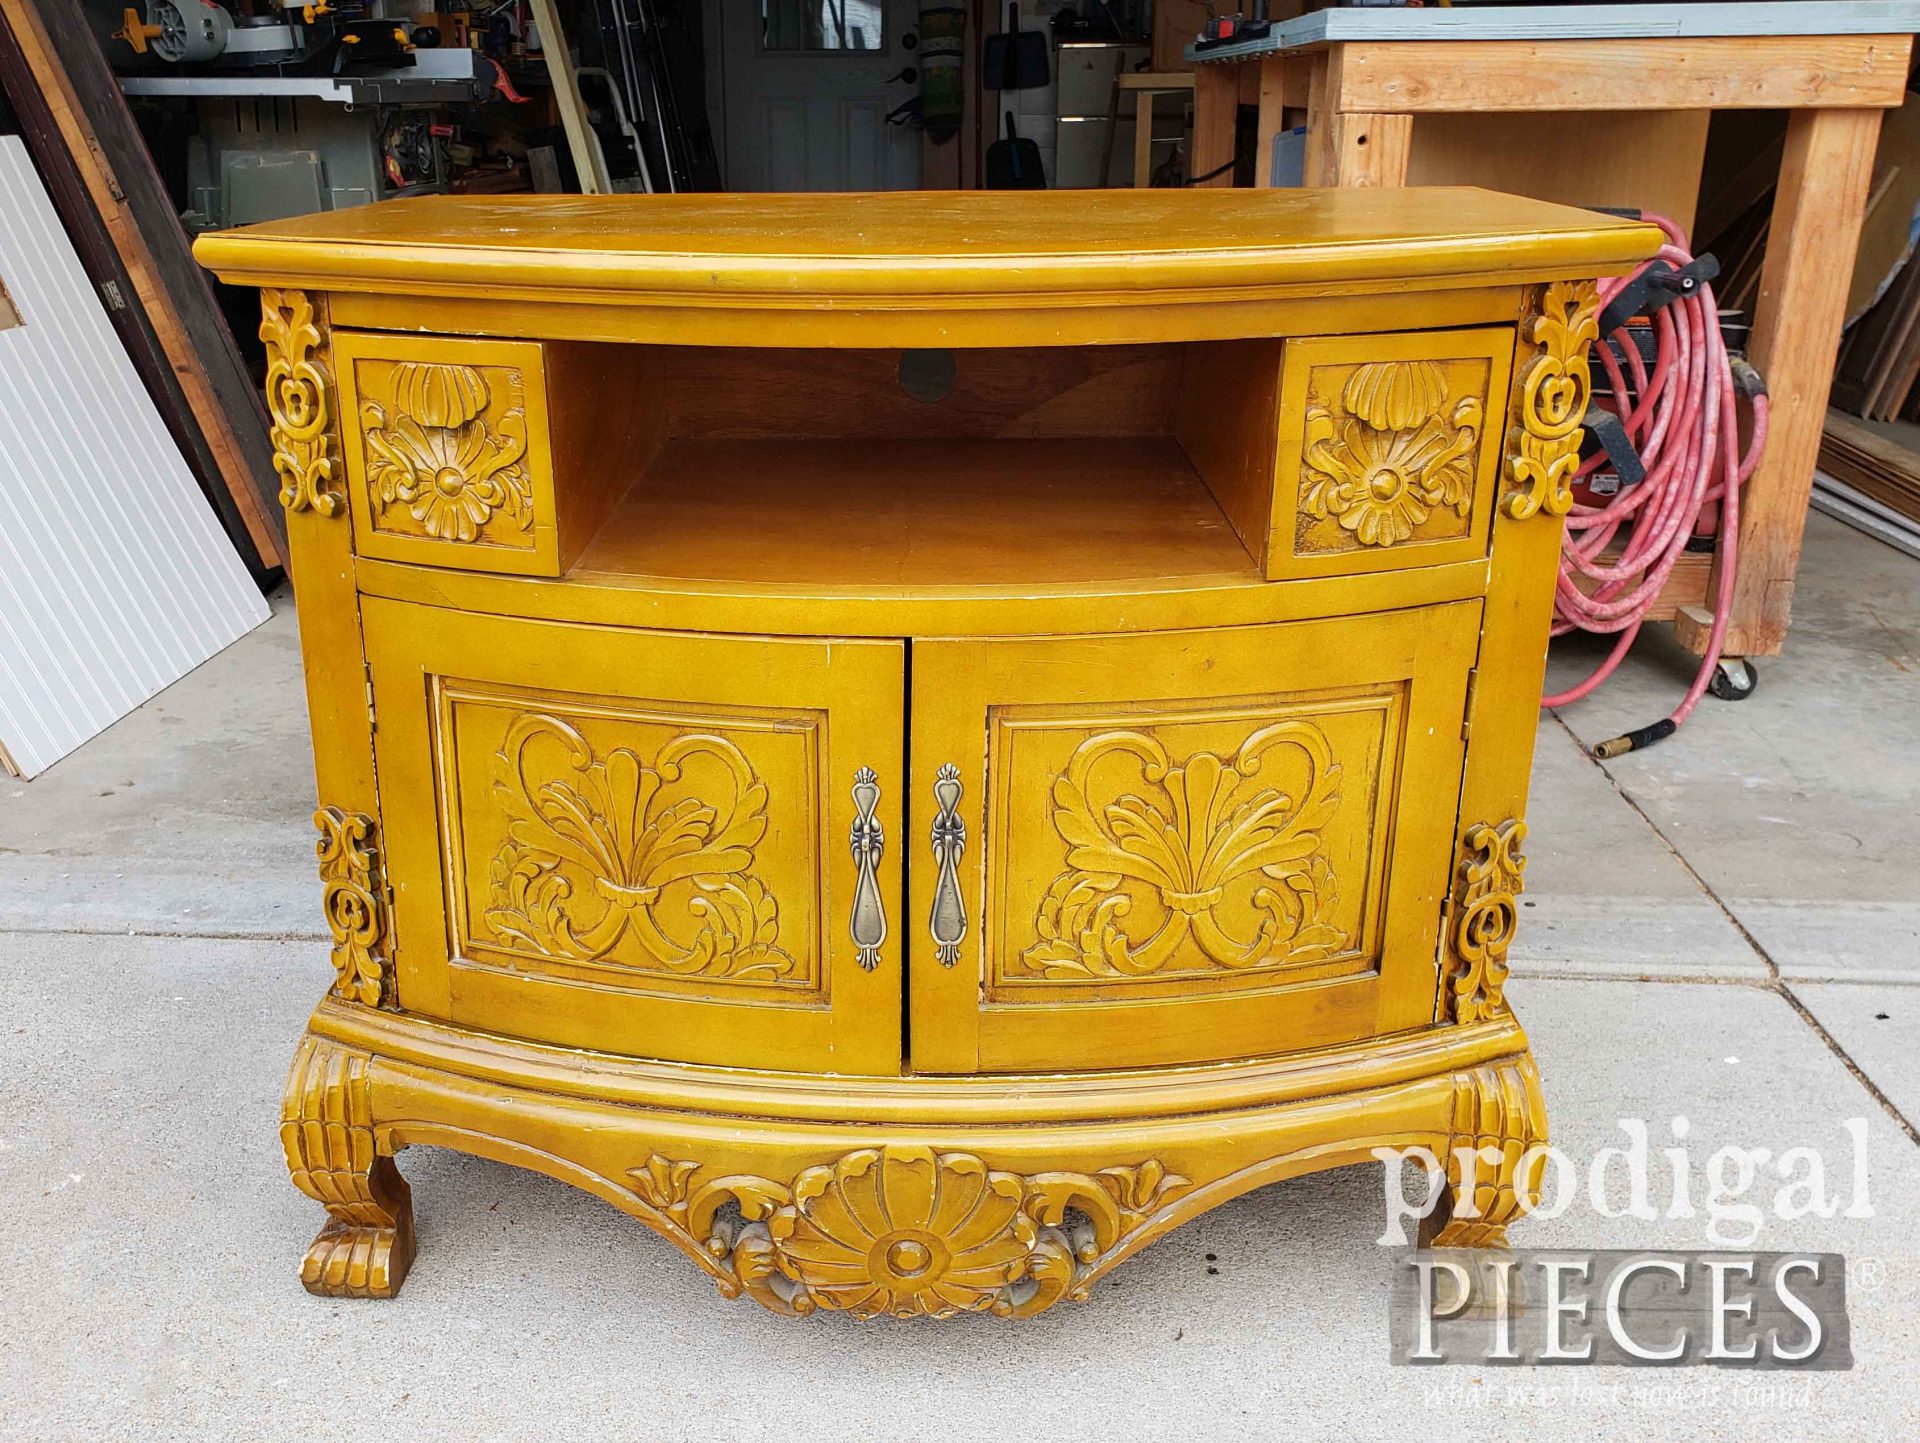
The day that Kathryn dropped off the stand, I was eager to take a peek at this ornate piece. She mentioned that she had removed the doors and had two broken teardrop pulls. At first glance, I saw that this was basically a mix of manufactured wood and real wood. So, it's not a high end piece, but who would know, right? It sure looks sweet, though that finish is...well...horrid.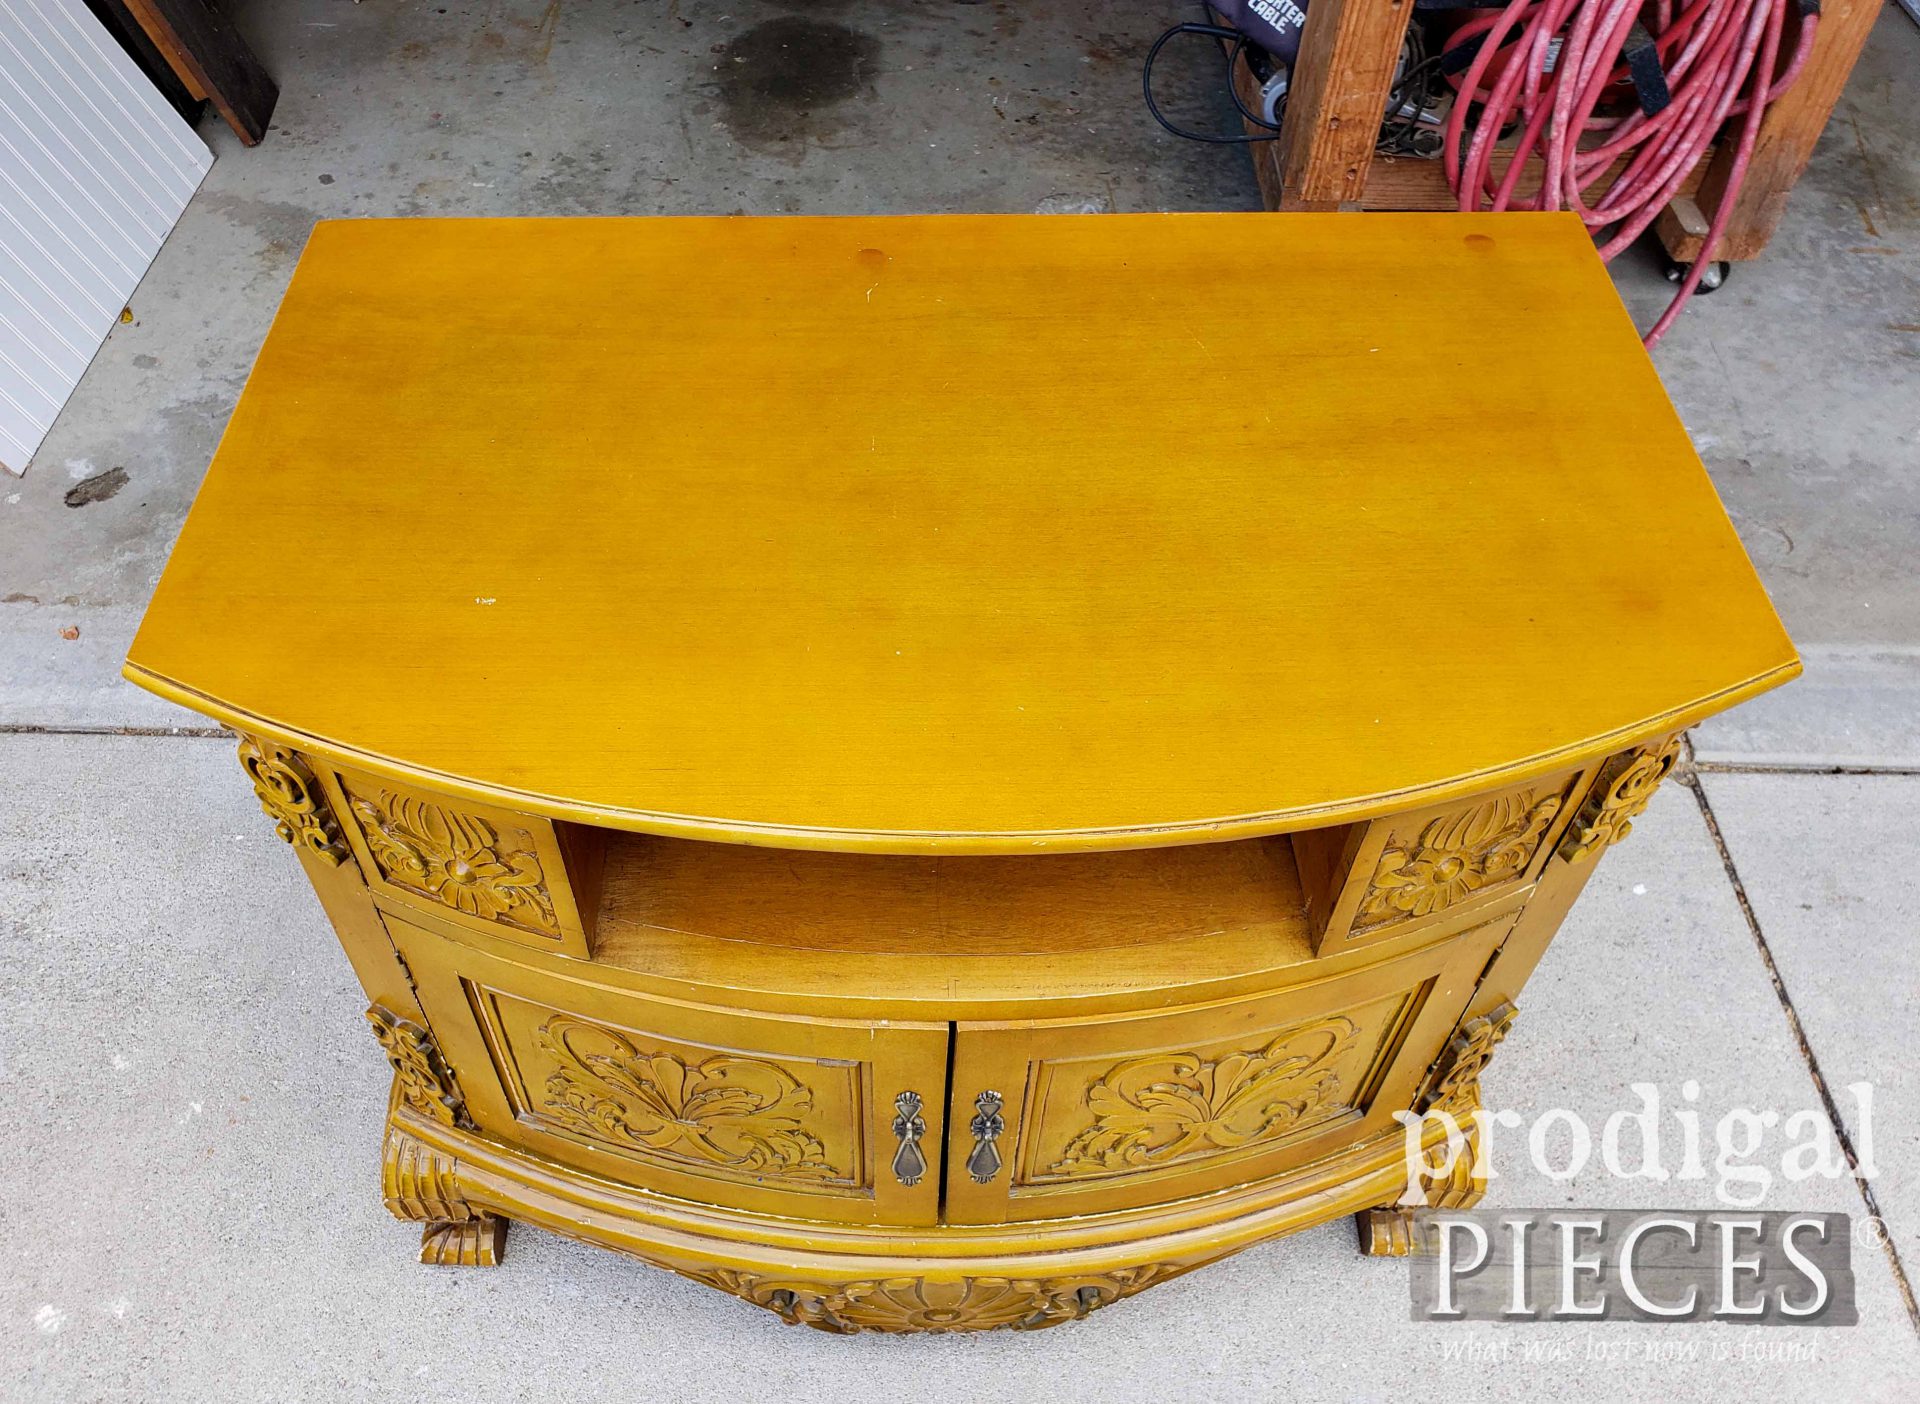
*post sponsored by HomeRight(see full disclosure)
It has a super thick glossy poly on it that was kinda a hot mess, which can make it hard to get a smooth finish when concerned with all those details. You don't want build-up and drips. First, I used my sander to lightly sanded down the existing drips, and also the surfaces that would take the most wear. Then, once I had it prepped, it's time to break out my sprayer! [it's at this point I have hands on my hips with cape flying behind me and sprayer in hand with dramatic music playing! Think Super Mama...gotta have fun. tsk.]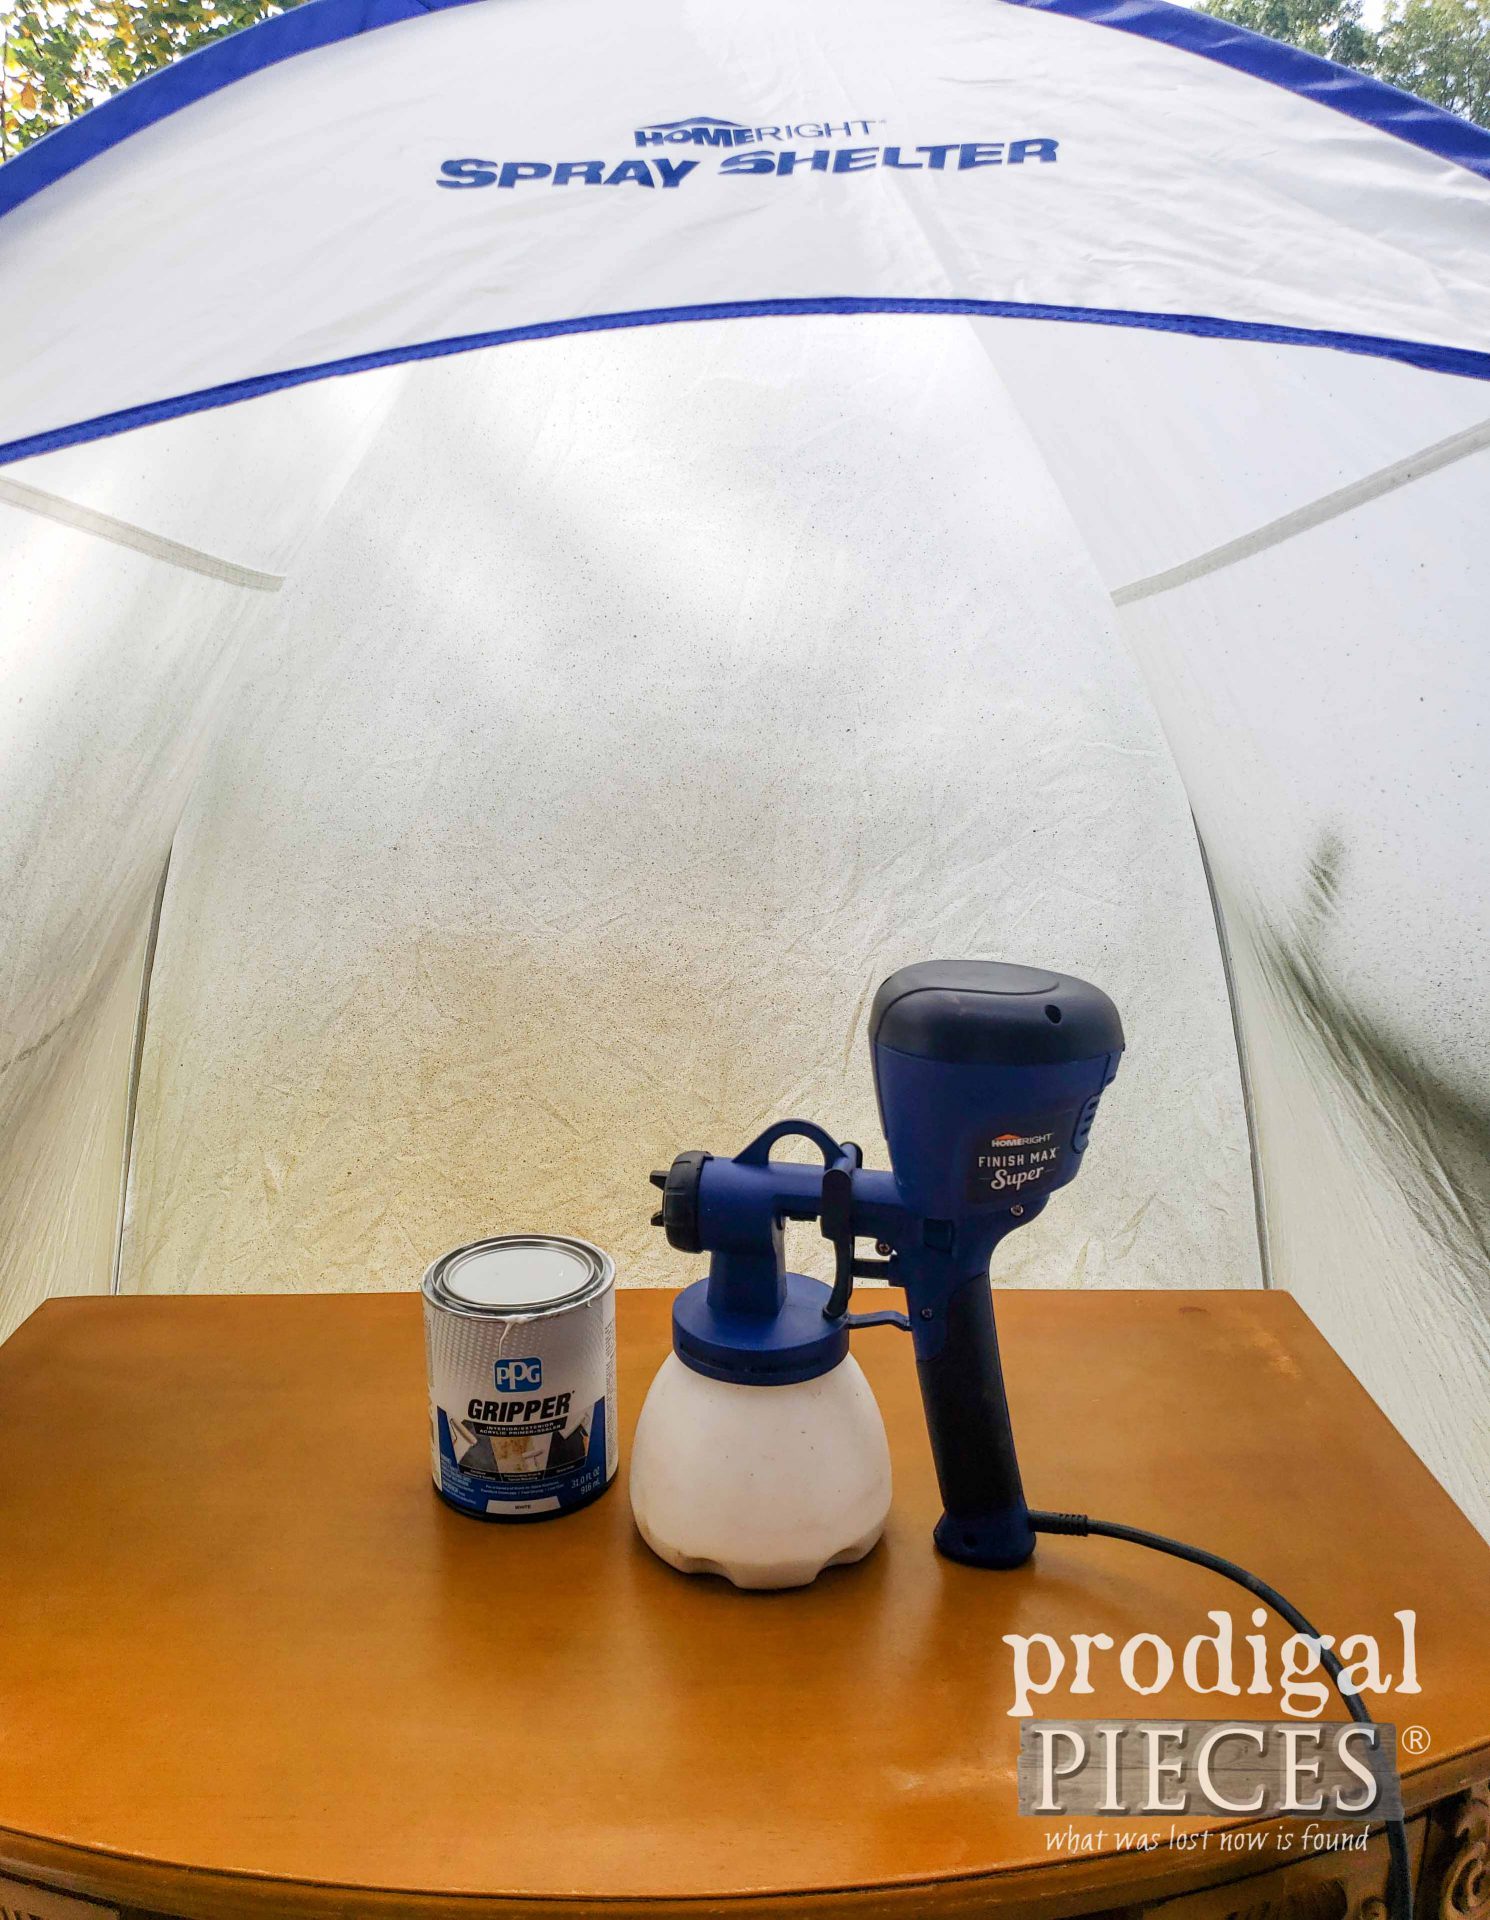 Notice that I also have the stand set up in my spray shelter and also on my handy DIY Furniture Turn Table (tutorial HERE). Take a peek at all my past sprayer projects in these posts.
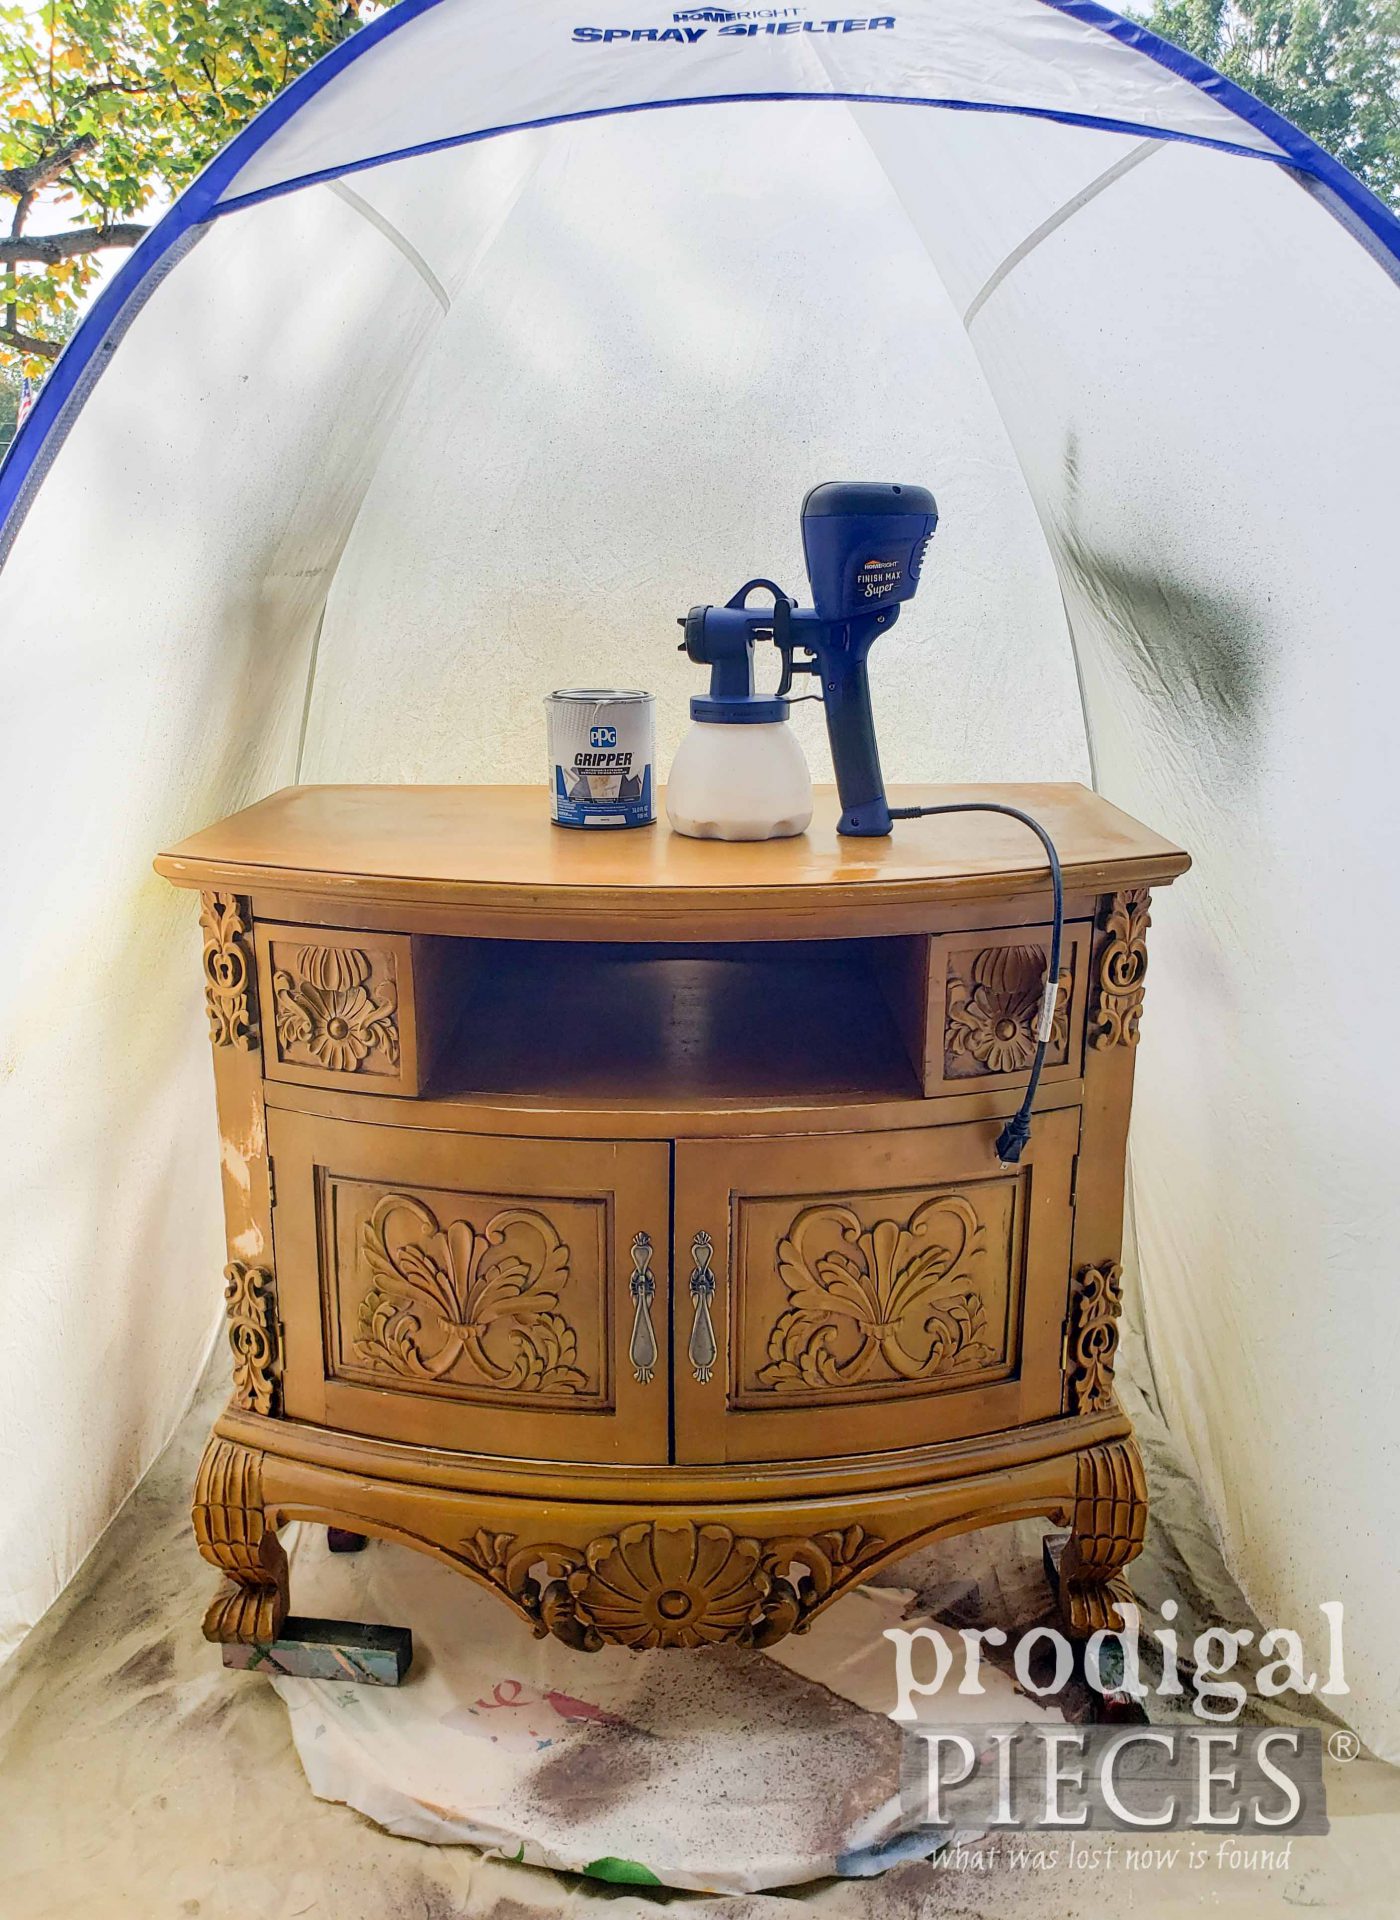 Tools certainly make the job easy and professional. I'm a tool lover and remember my motto: TOOLSOVERJEWELS {{fist pump}}
GET 'ER DONE
Okay, so we are now ready to go. First order of business is to get that Gripper primer on. Why Gripper? Well, like I mentioned, we have a super thick topcoat to go over. Plus, Kathryn will be using this daily and has small children too, so you know it will take on much wear. You can see other applications I've used it on HERE.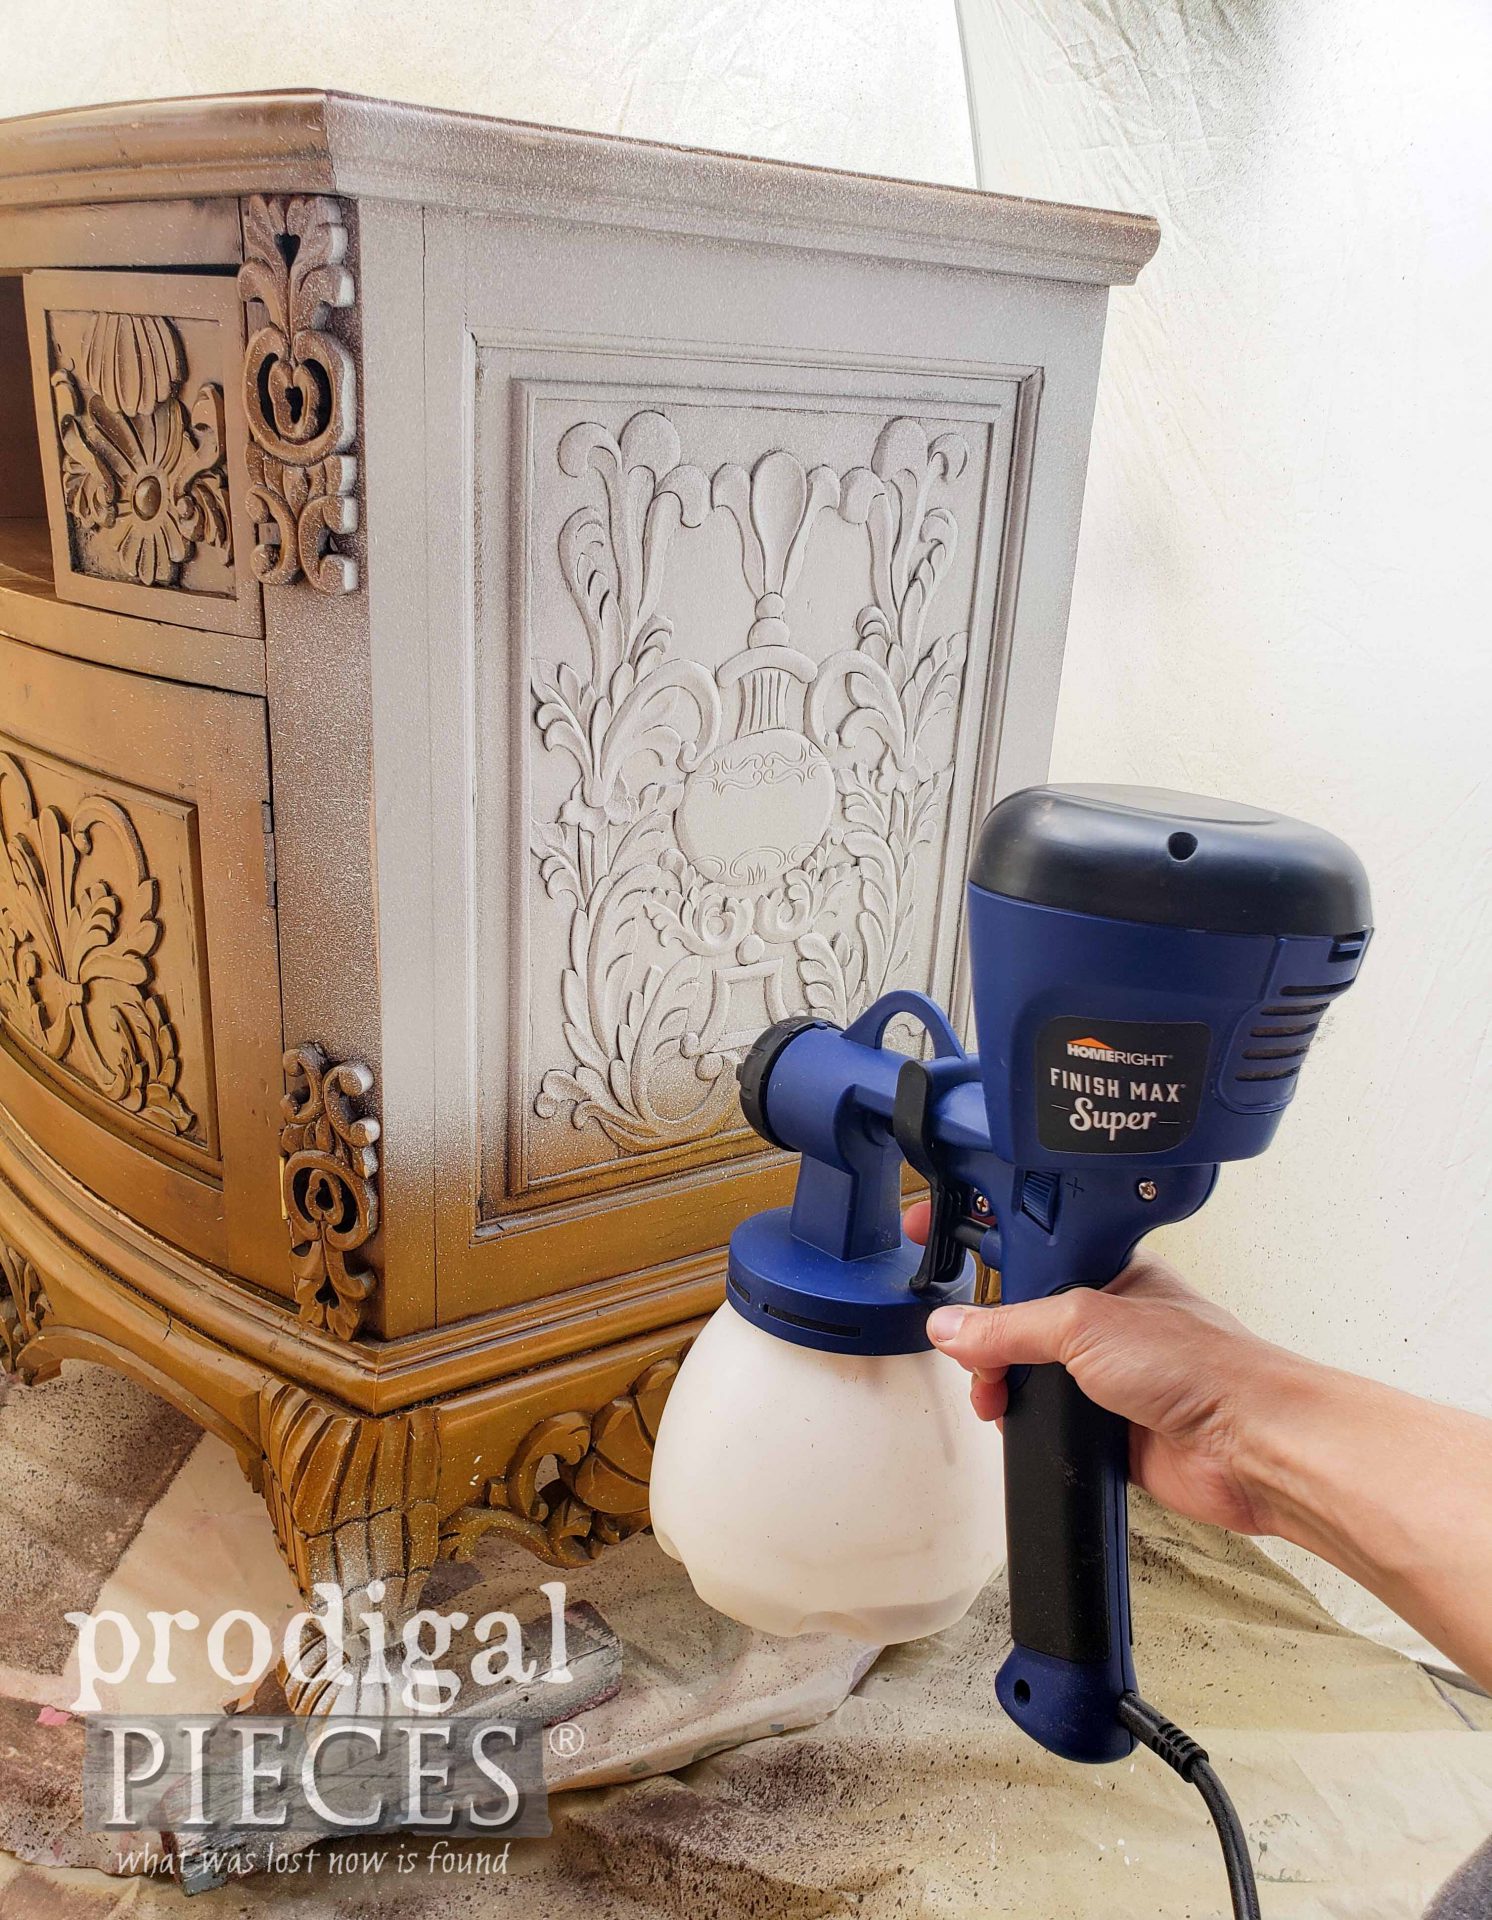 I simply fill my canister with primer and thin per manufacturer directions suggests. While spraying, I make sure to move with my elbow, not my wrist. It's important to begin spray before you hit your surface and continue to spray until off. Also, I make sure my flow is set properly before beginning by practicing on a scrap piece of wood or cardboard.
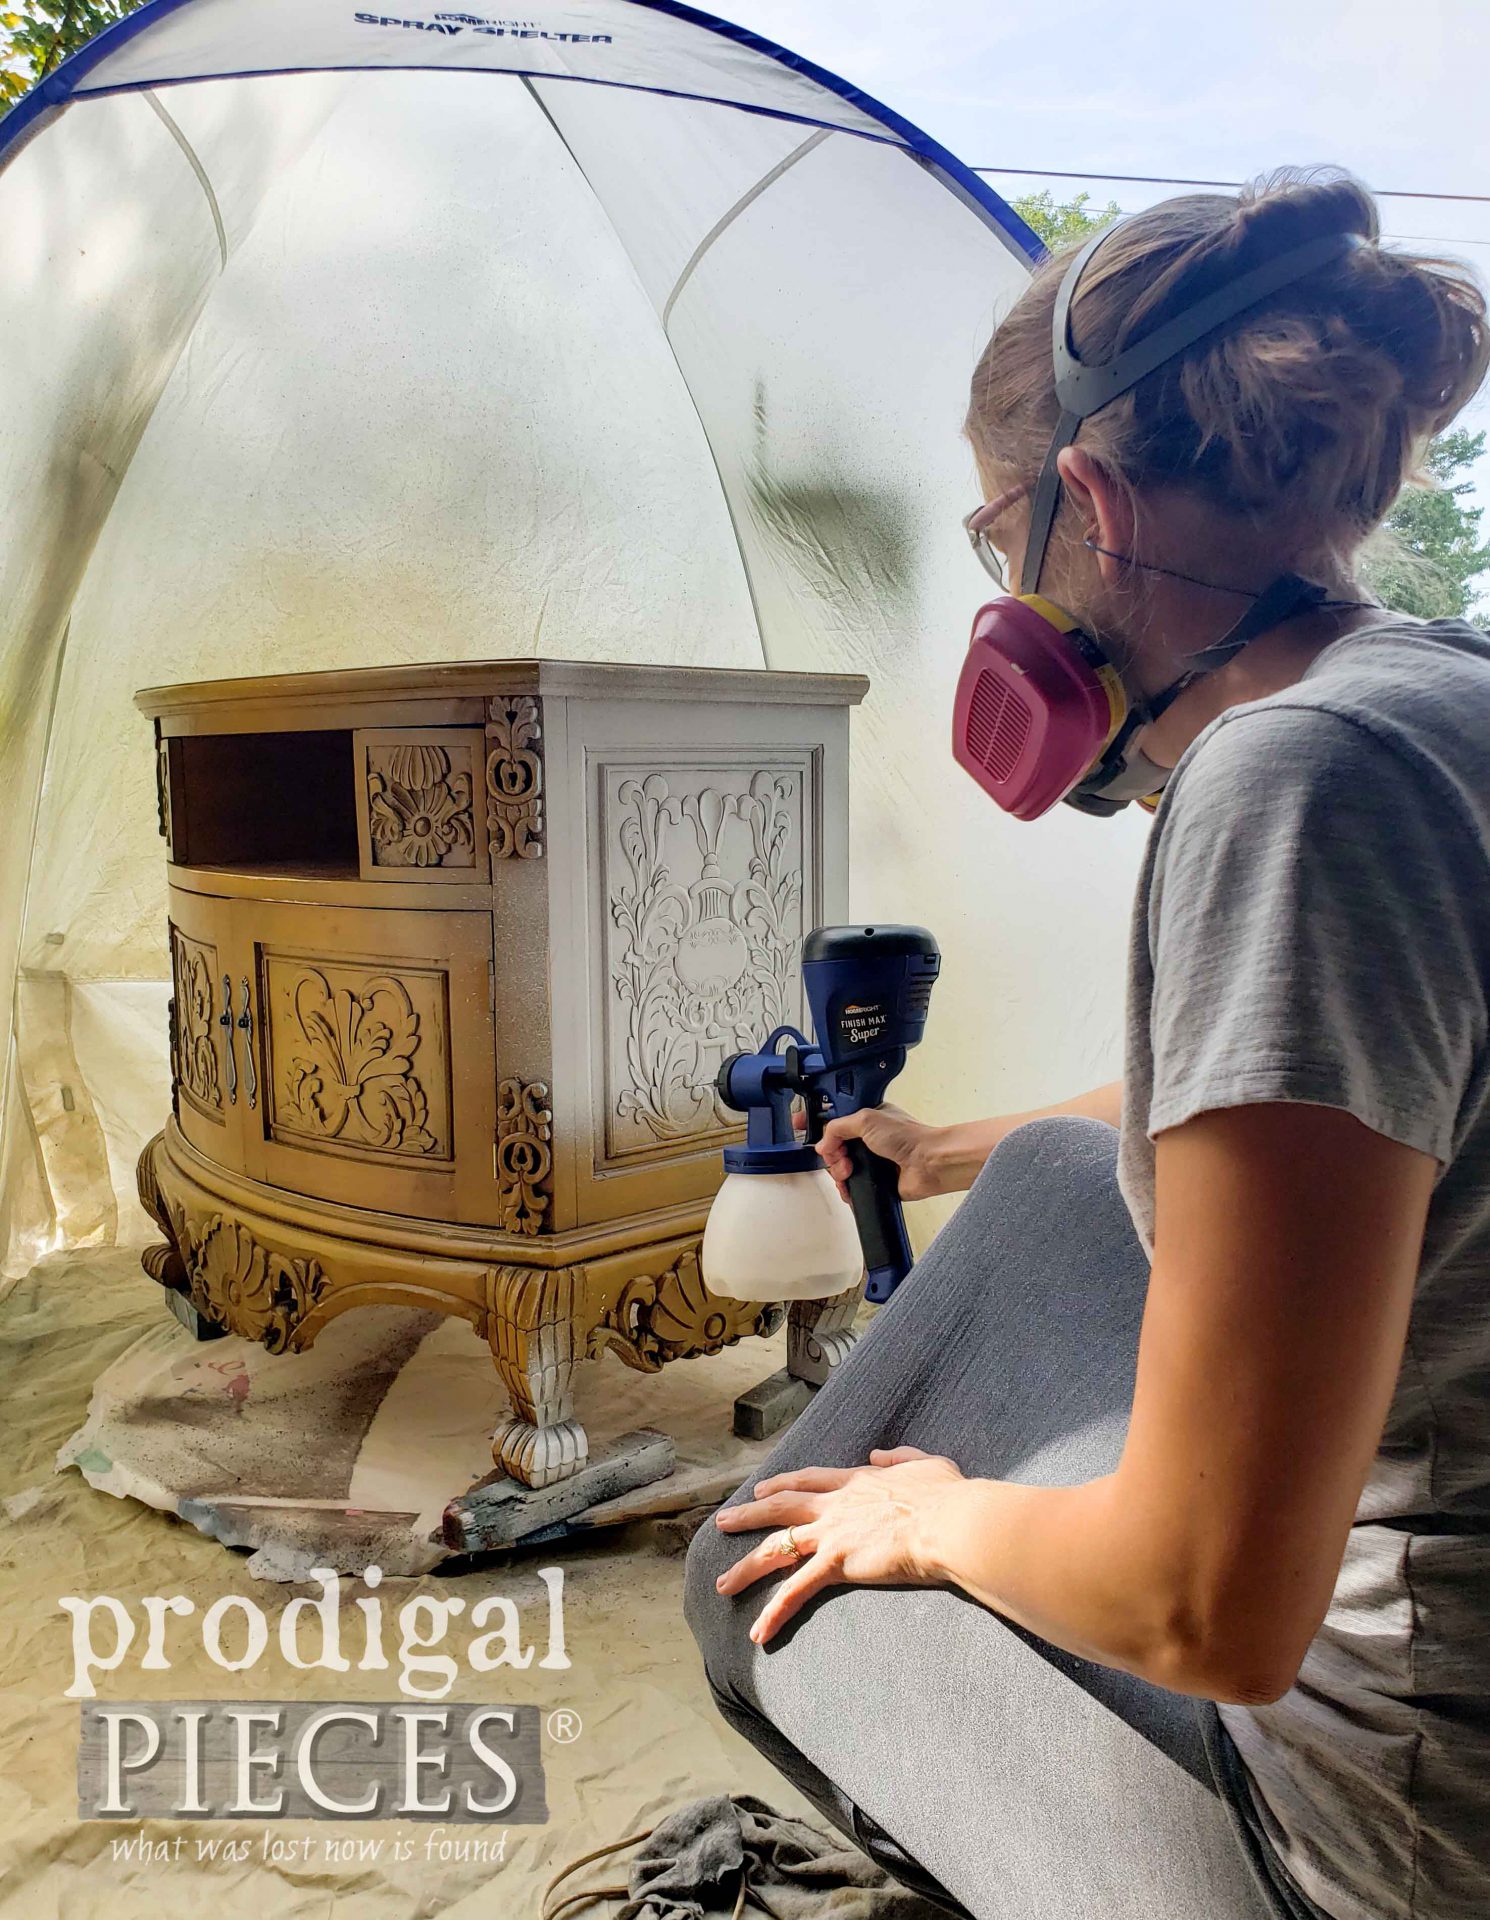 Then, when done I let the primer cure, and clean my sprayer so it's ready for the next round. The primer is already making this look so much better, don't you think?
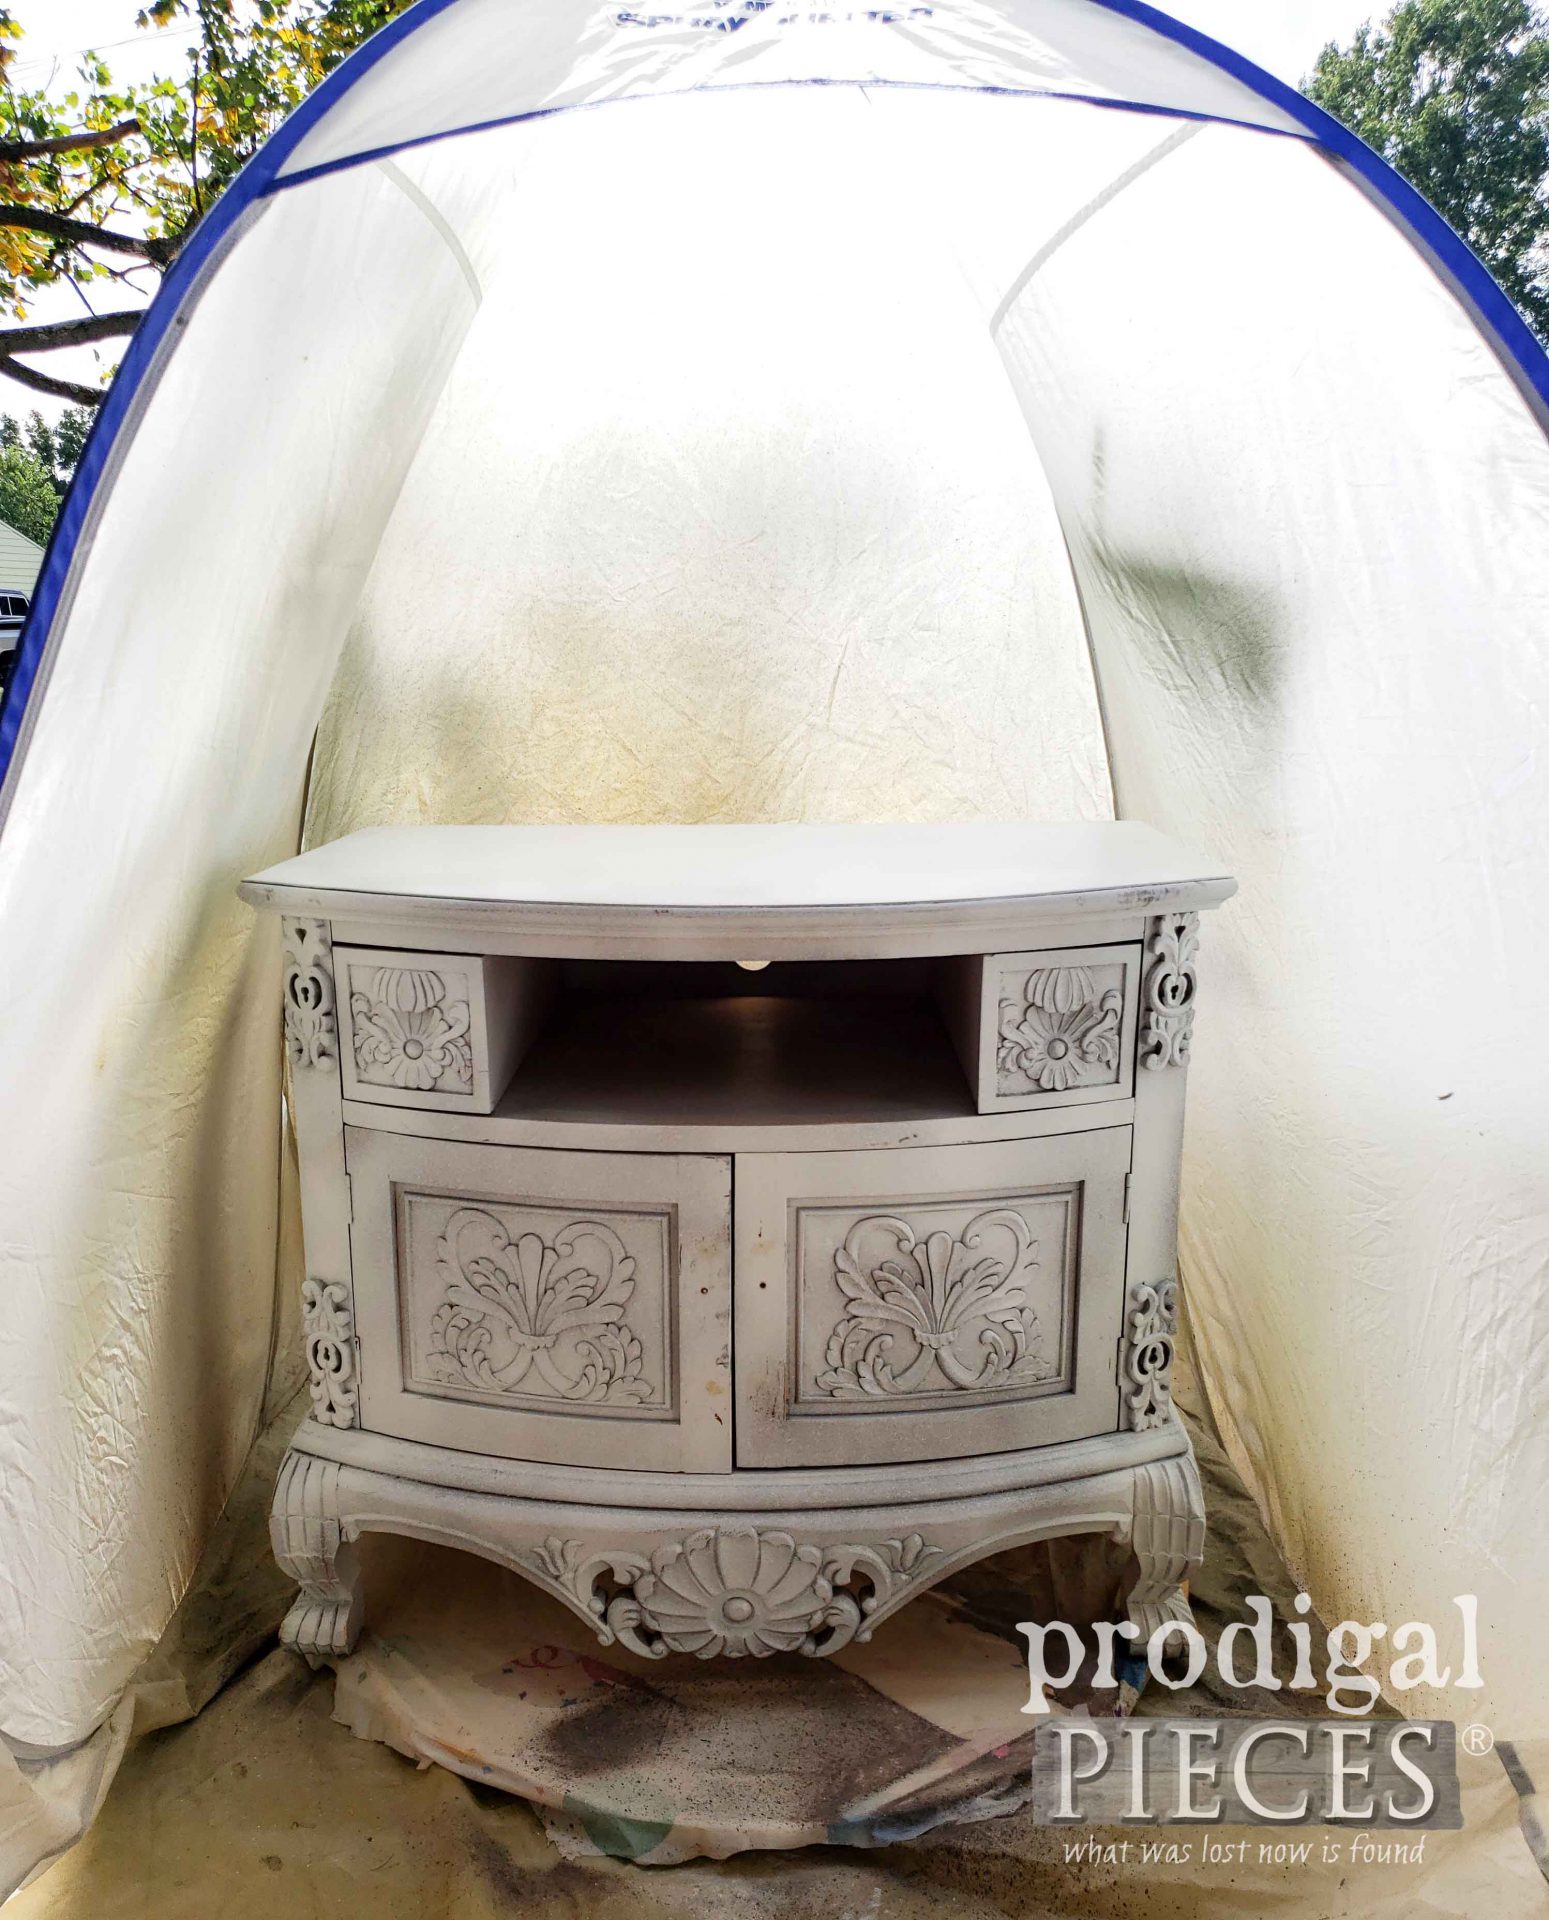
BRING ON THE PAINT
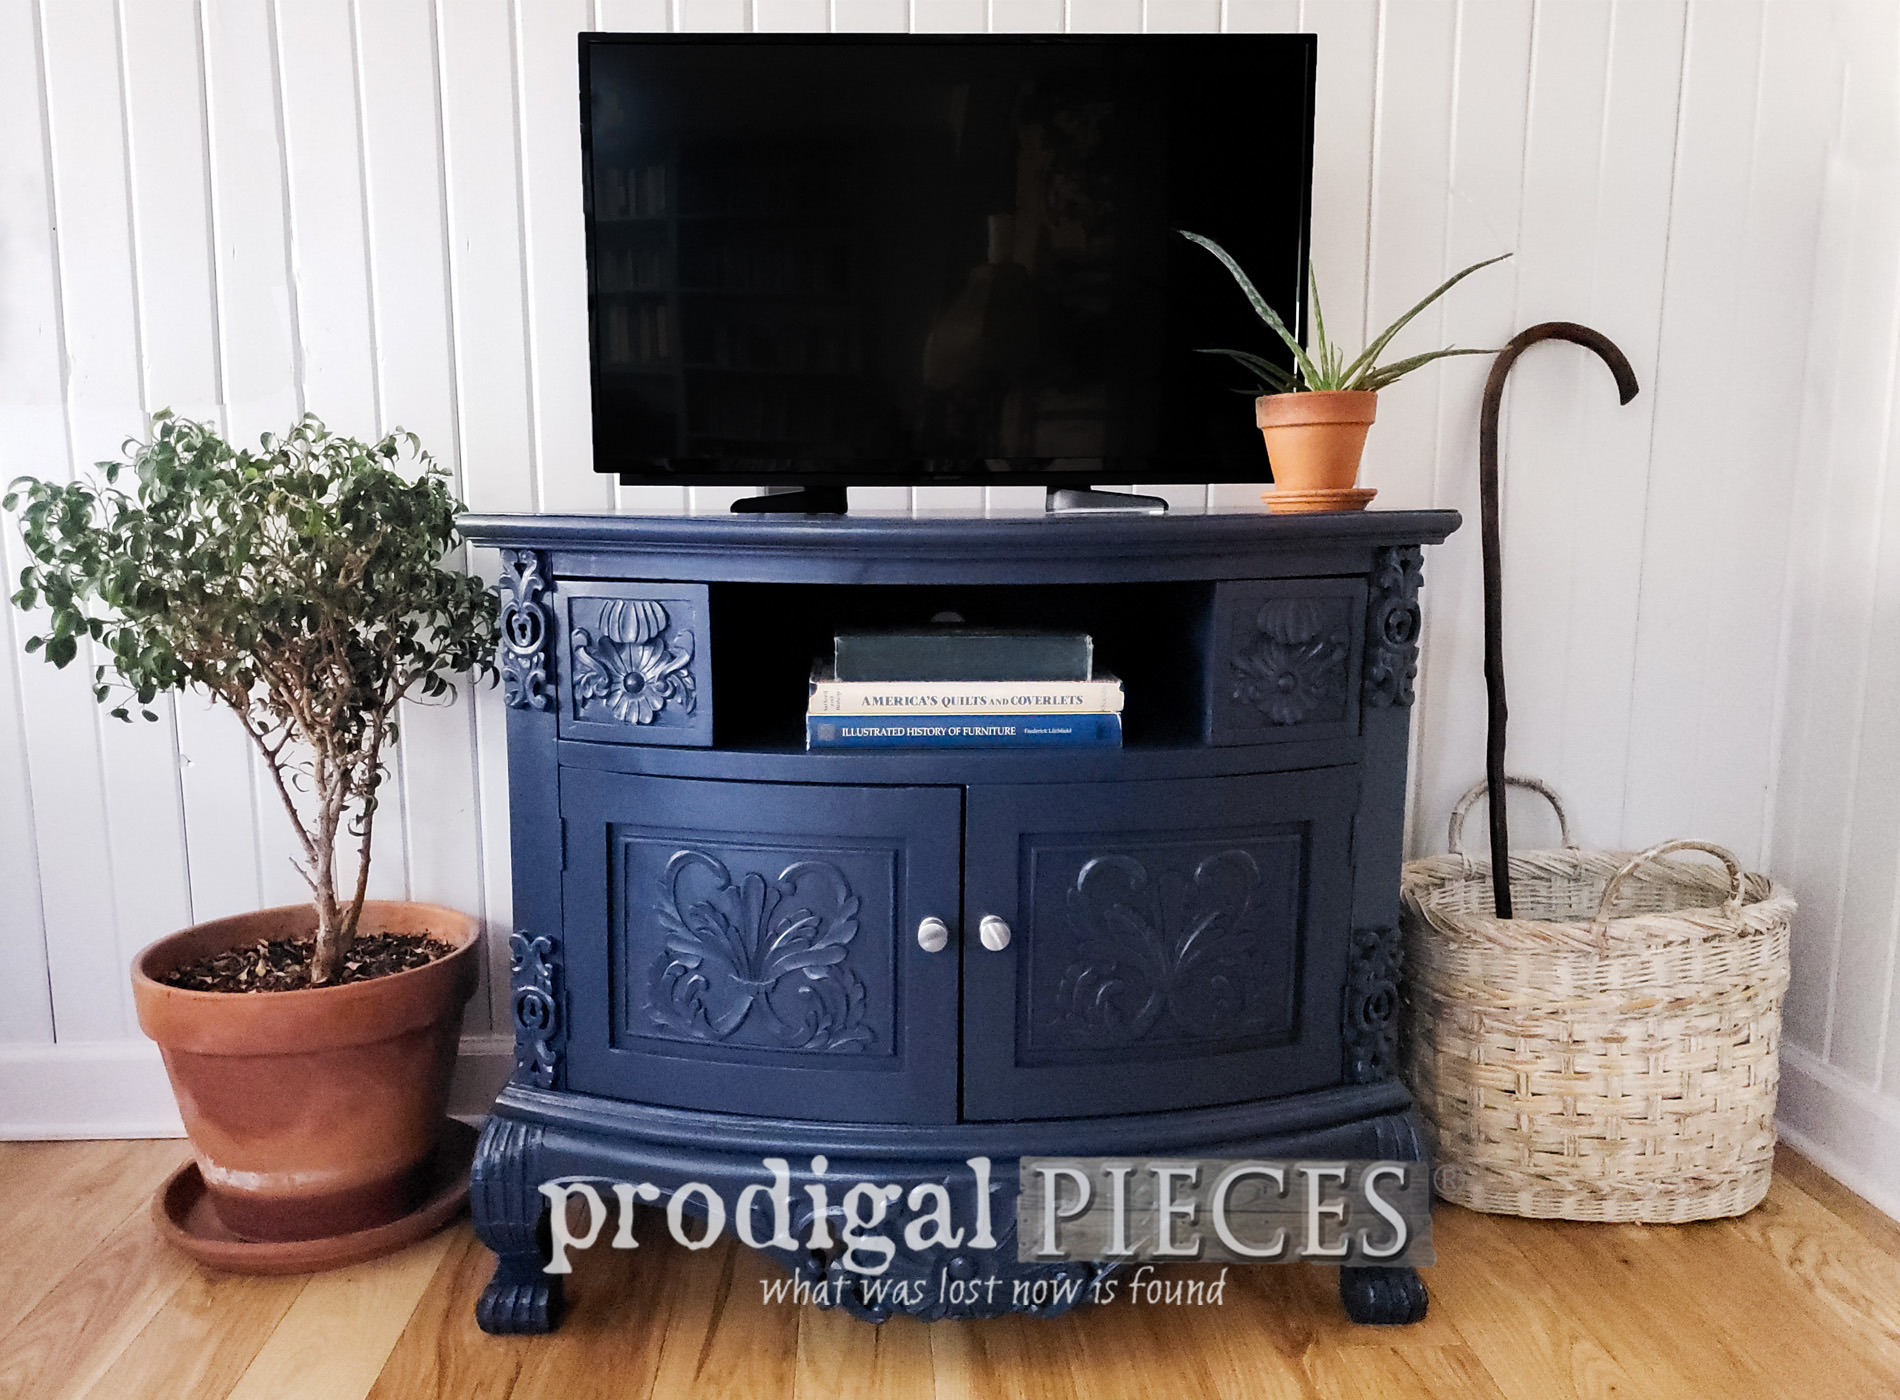
Now for the fun! Because this painted entertainment stand is a custom piece for Kathryn, she is choosing the color and I second the nomination. BLUE. Isn't this a gorgeous color? It's called Hale Navy and is custom mixed into a satin paint.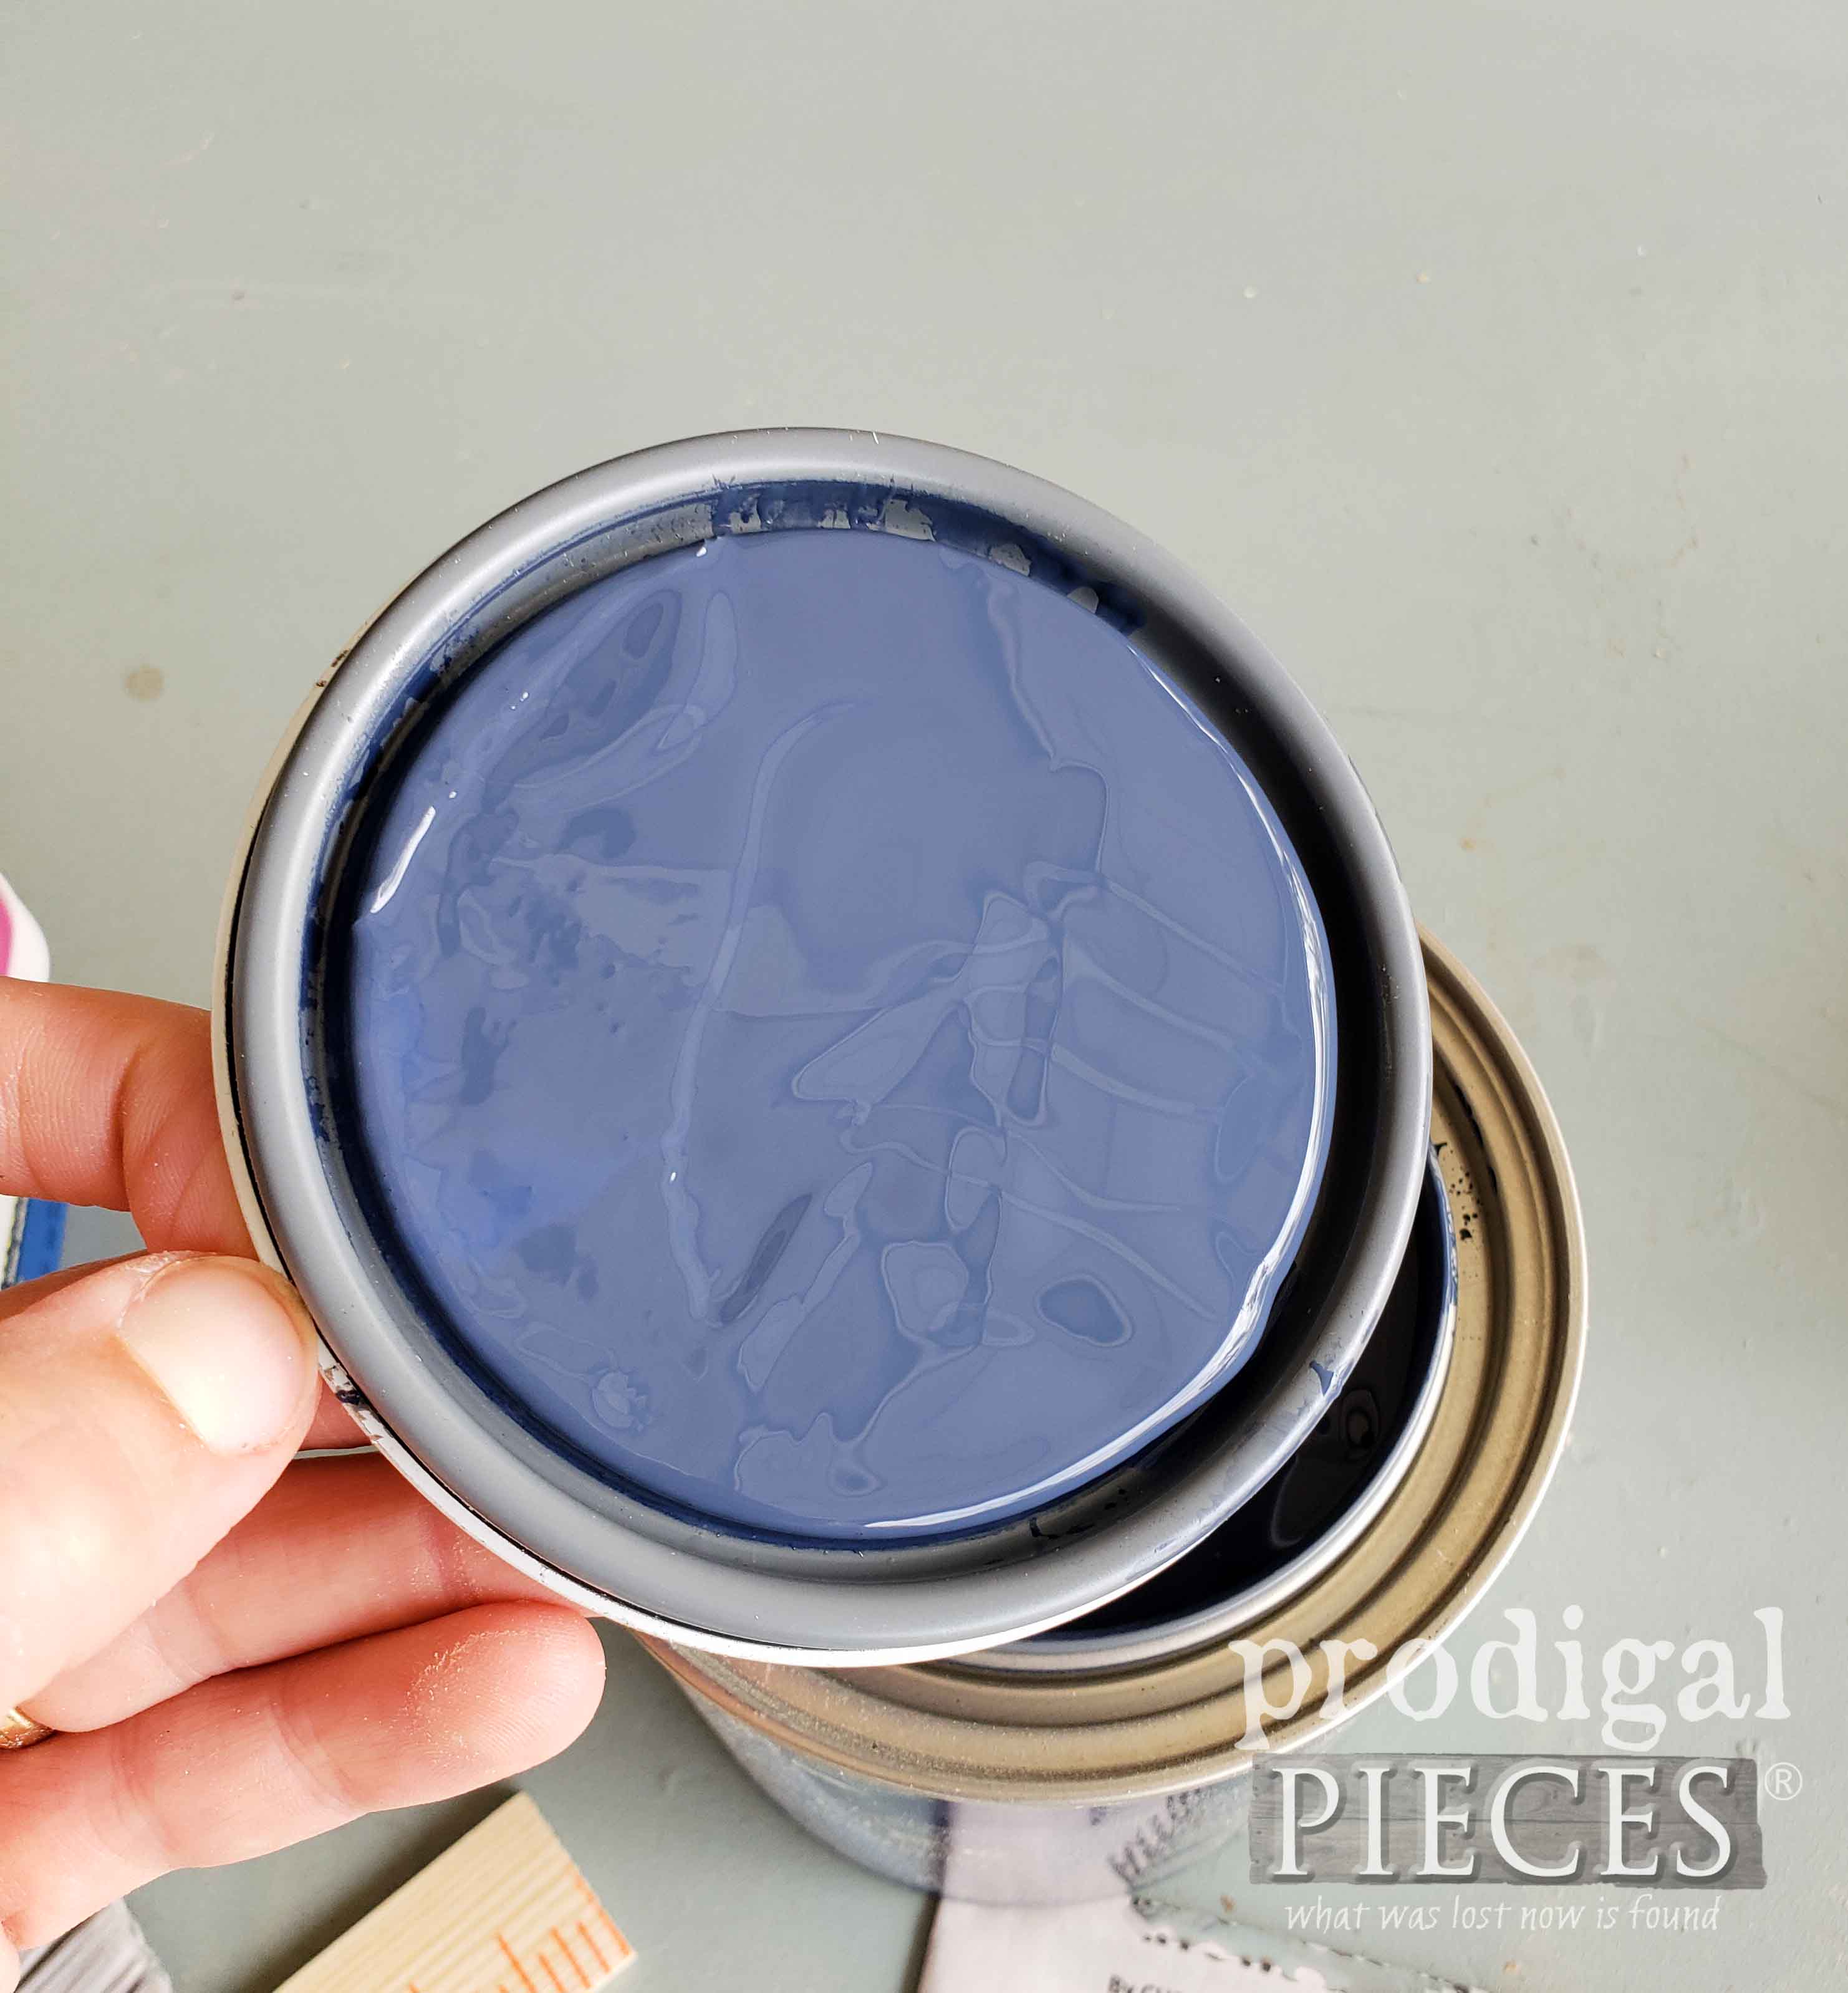 Again, just like before, I follow manufacturer instructions and fill my sprayer canister. The stand is getting two coats of paint, so I want to make sure my undercoat is as good as the finish coat.
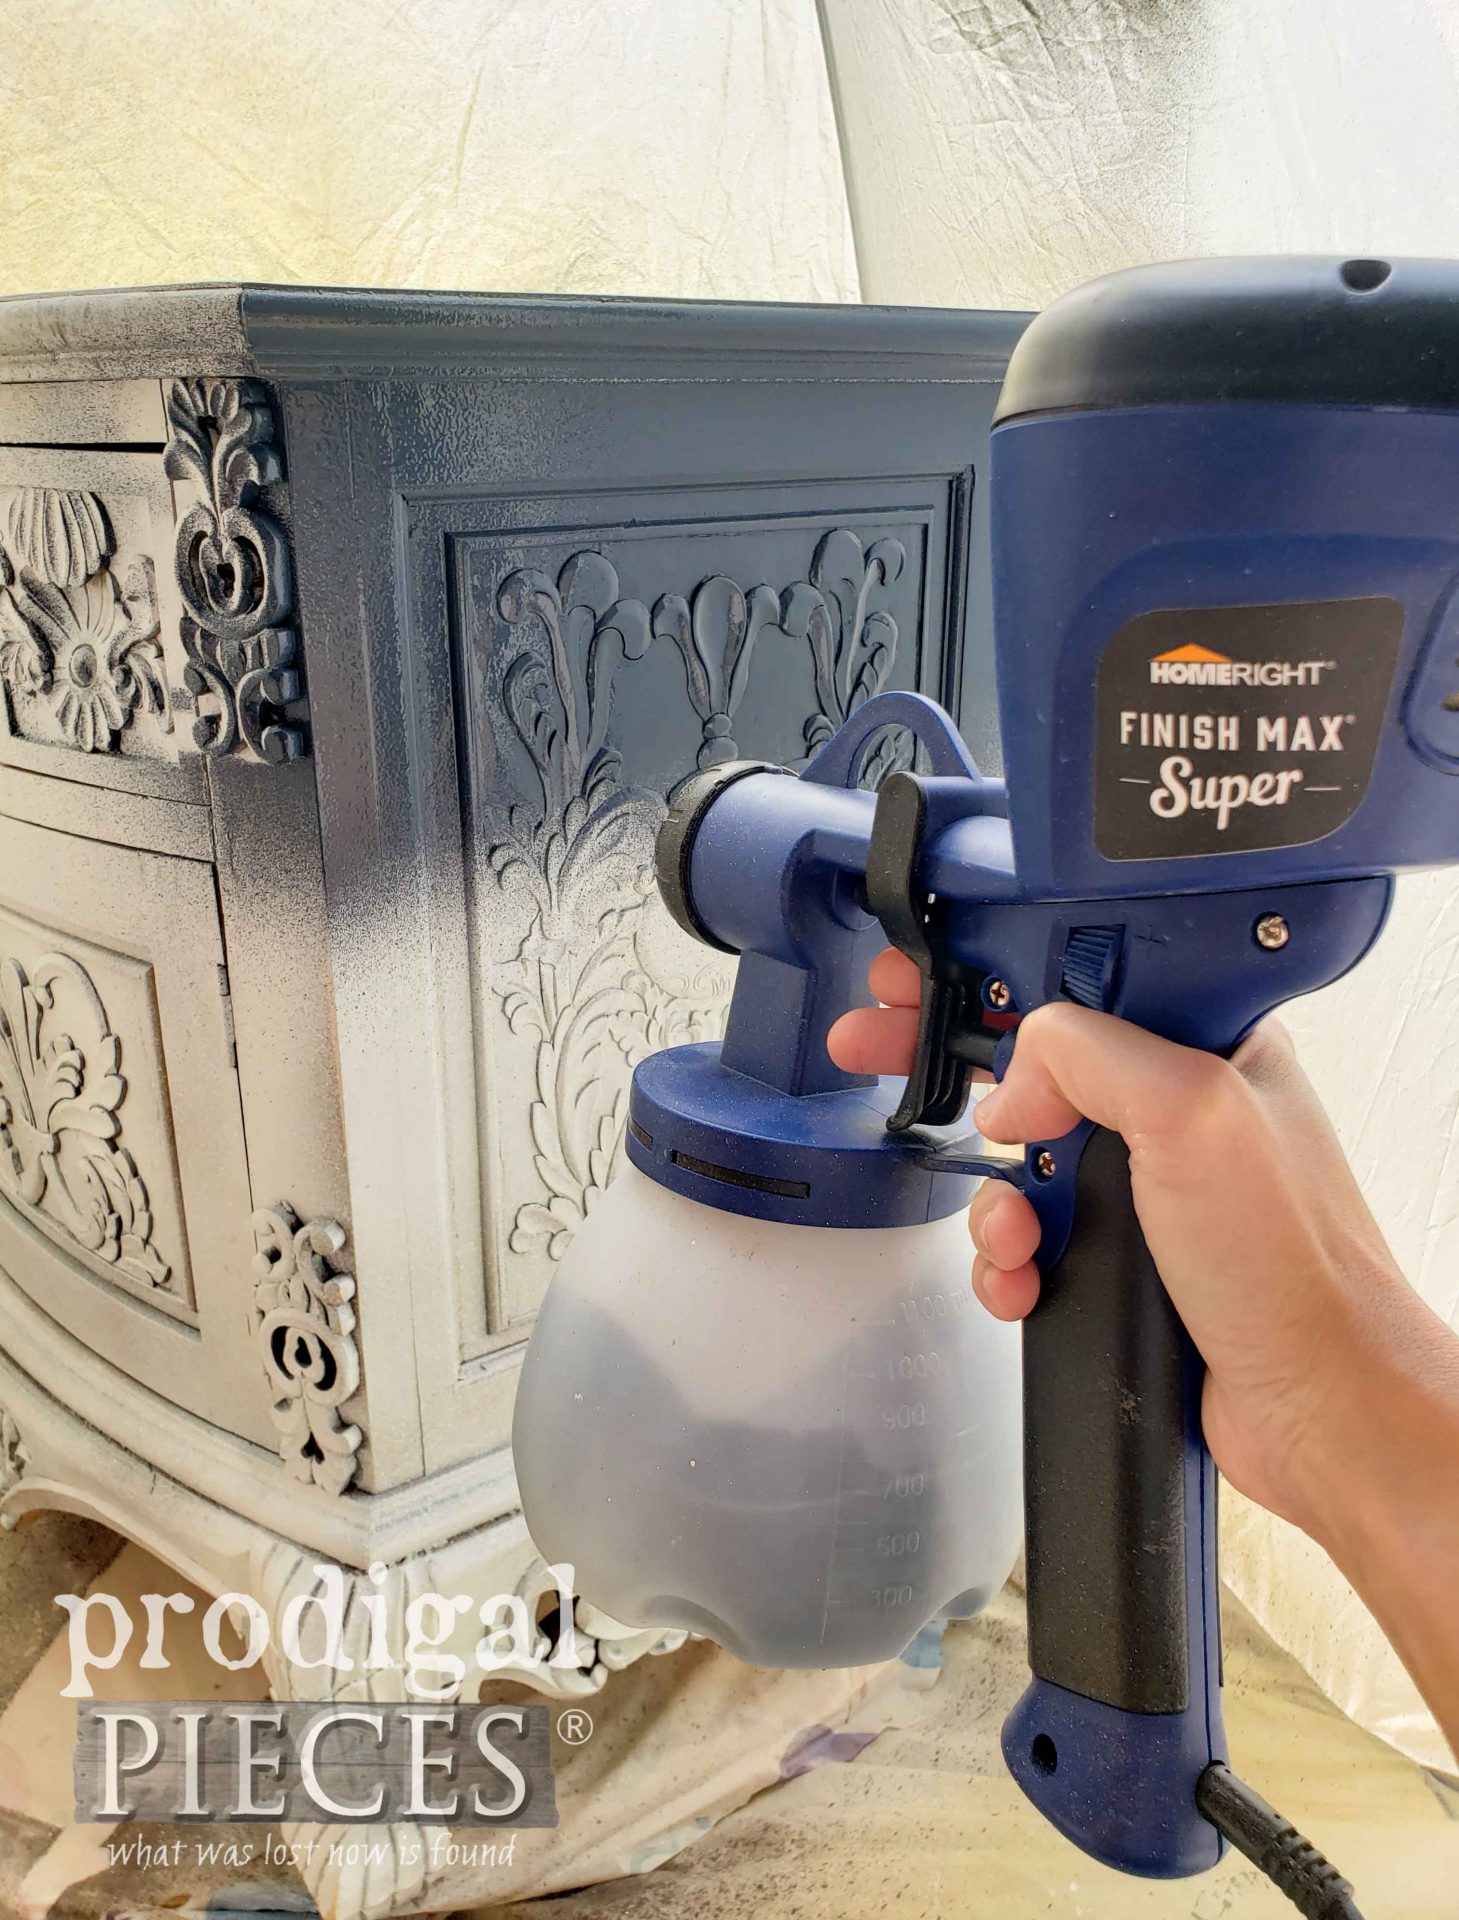 Doesn't this make you go oooh...?
THE REVEAL
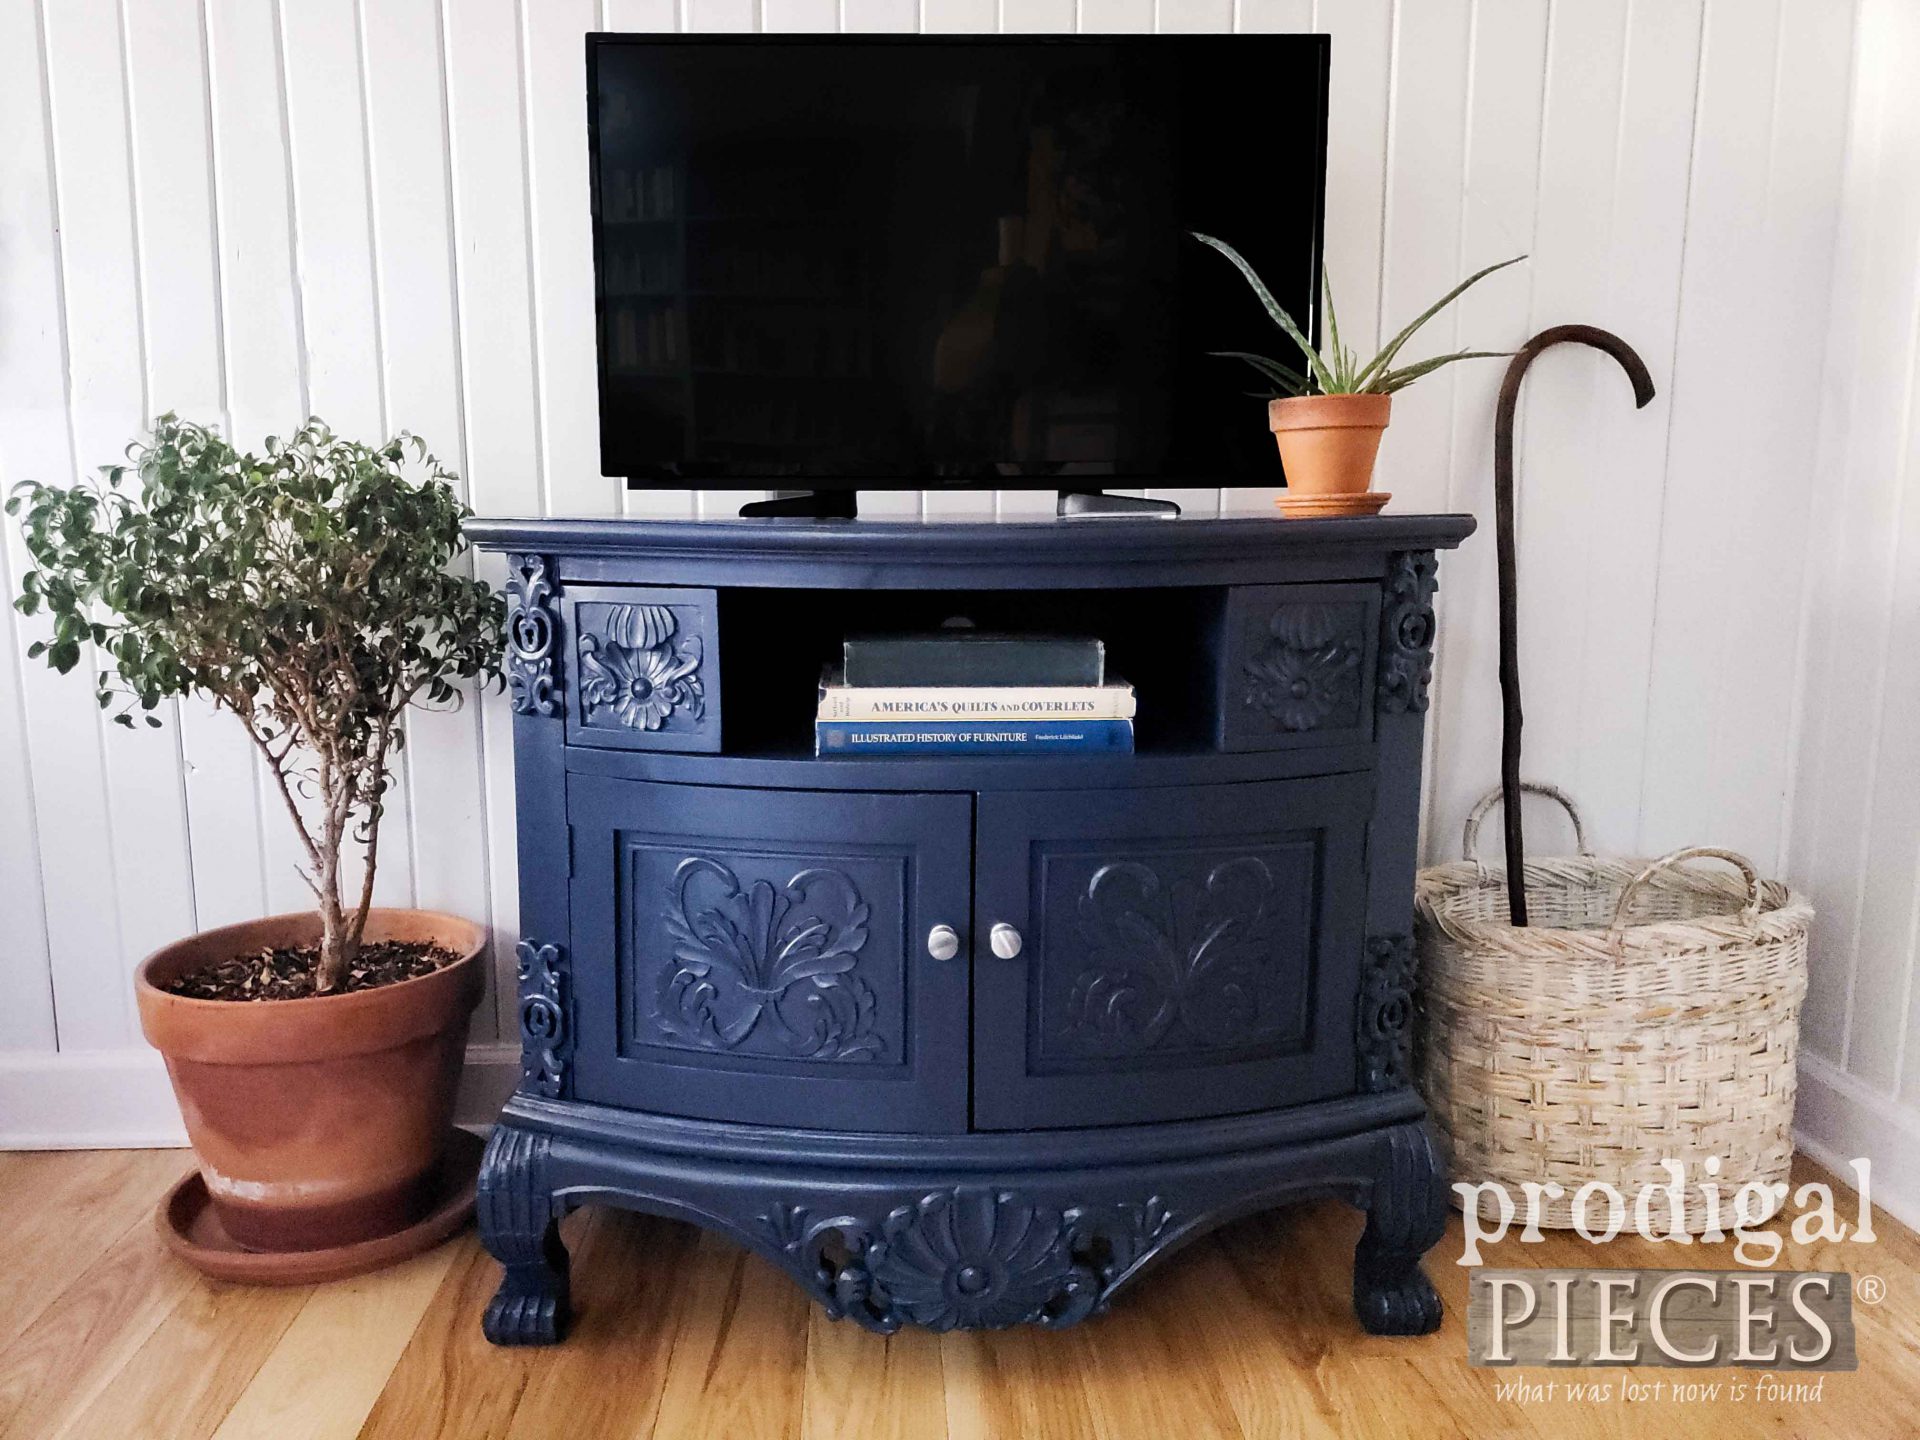
Finally, after all is cured the painted entertainment stand is ready to take center stage.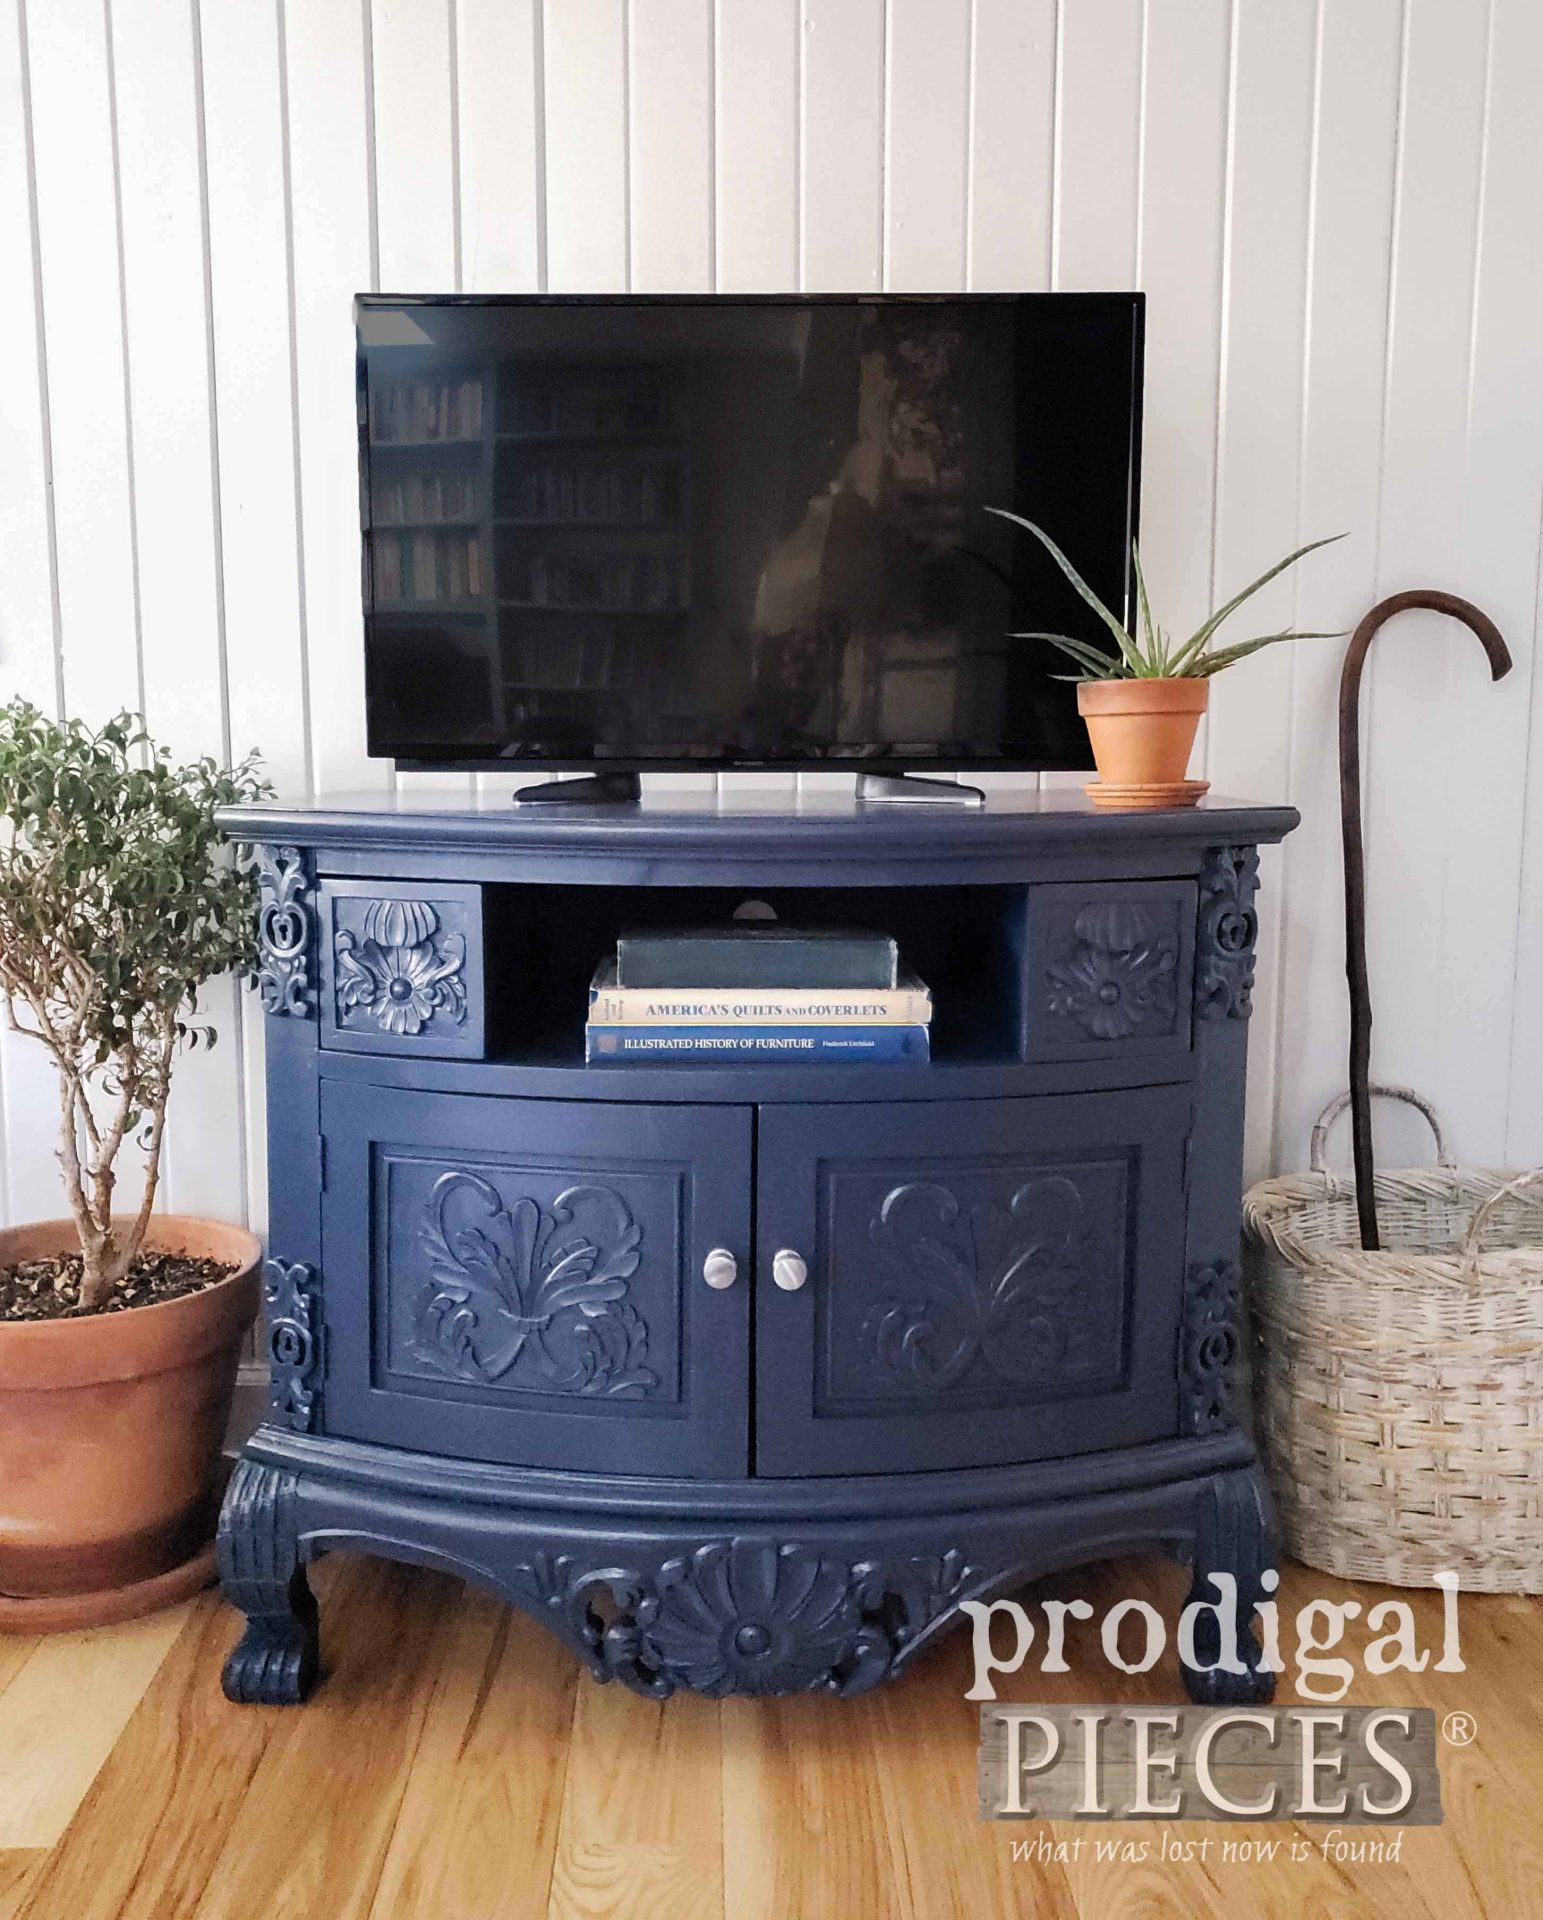
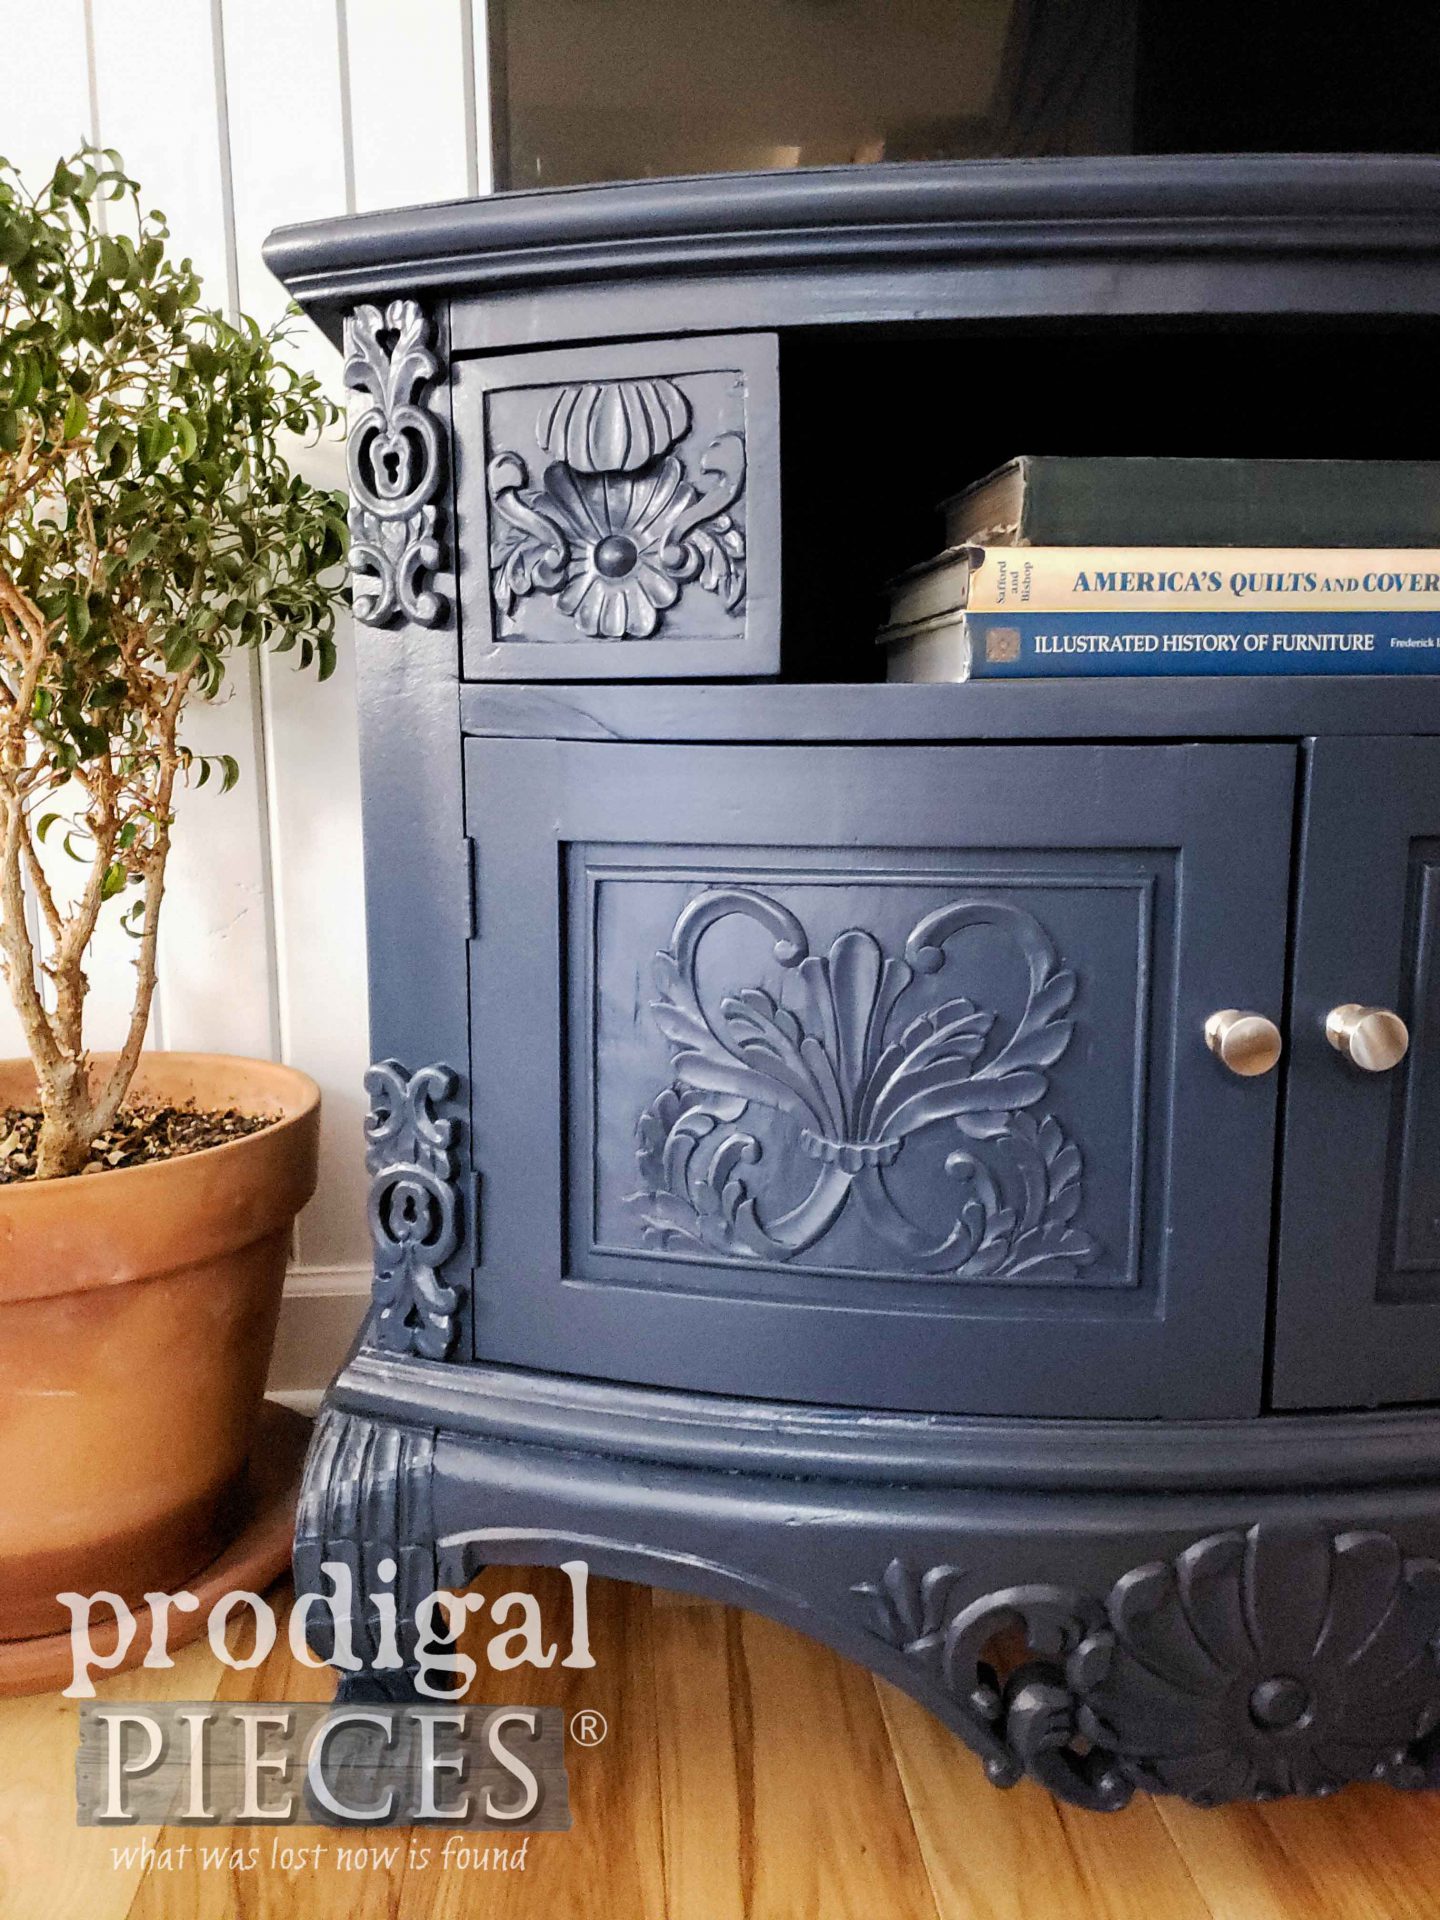
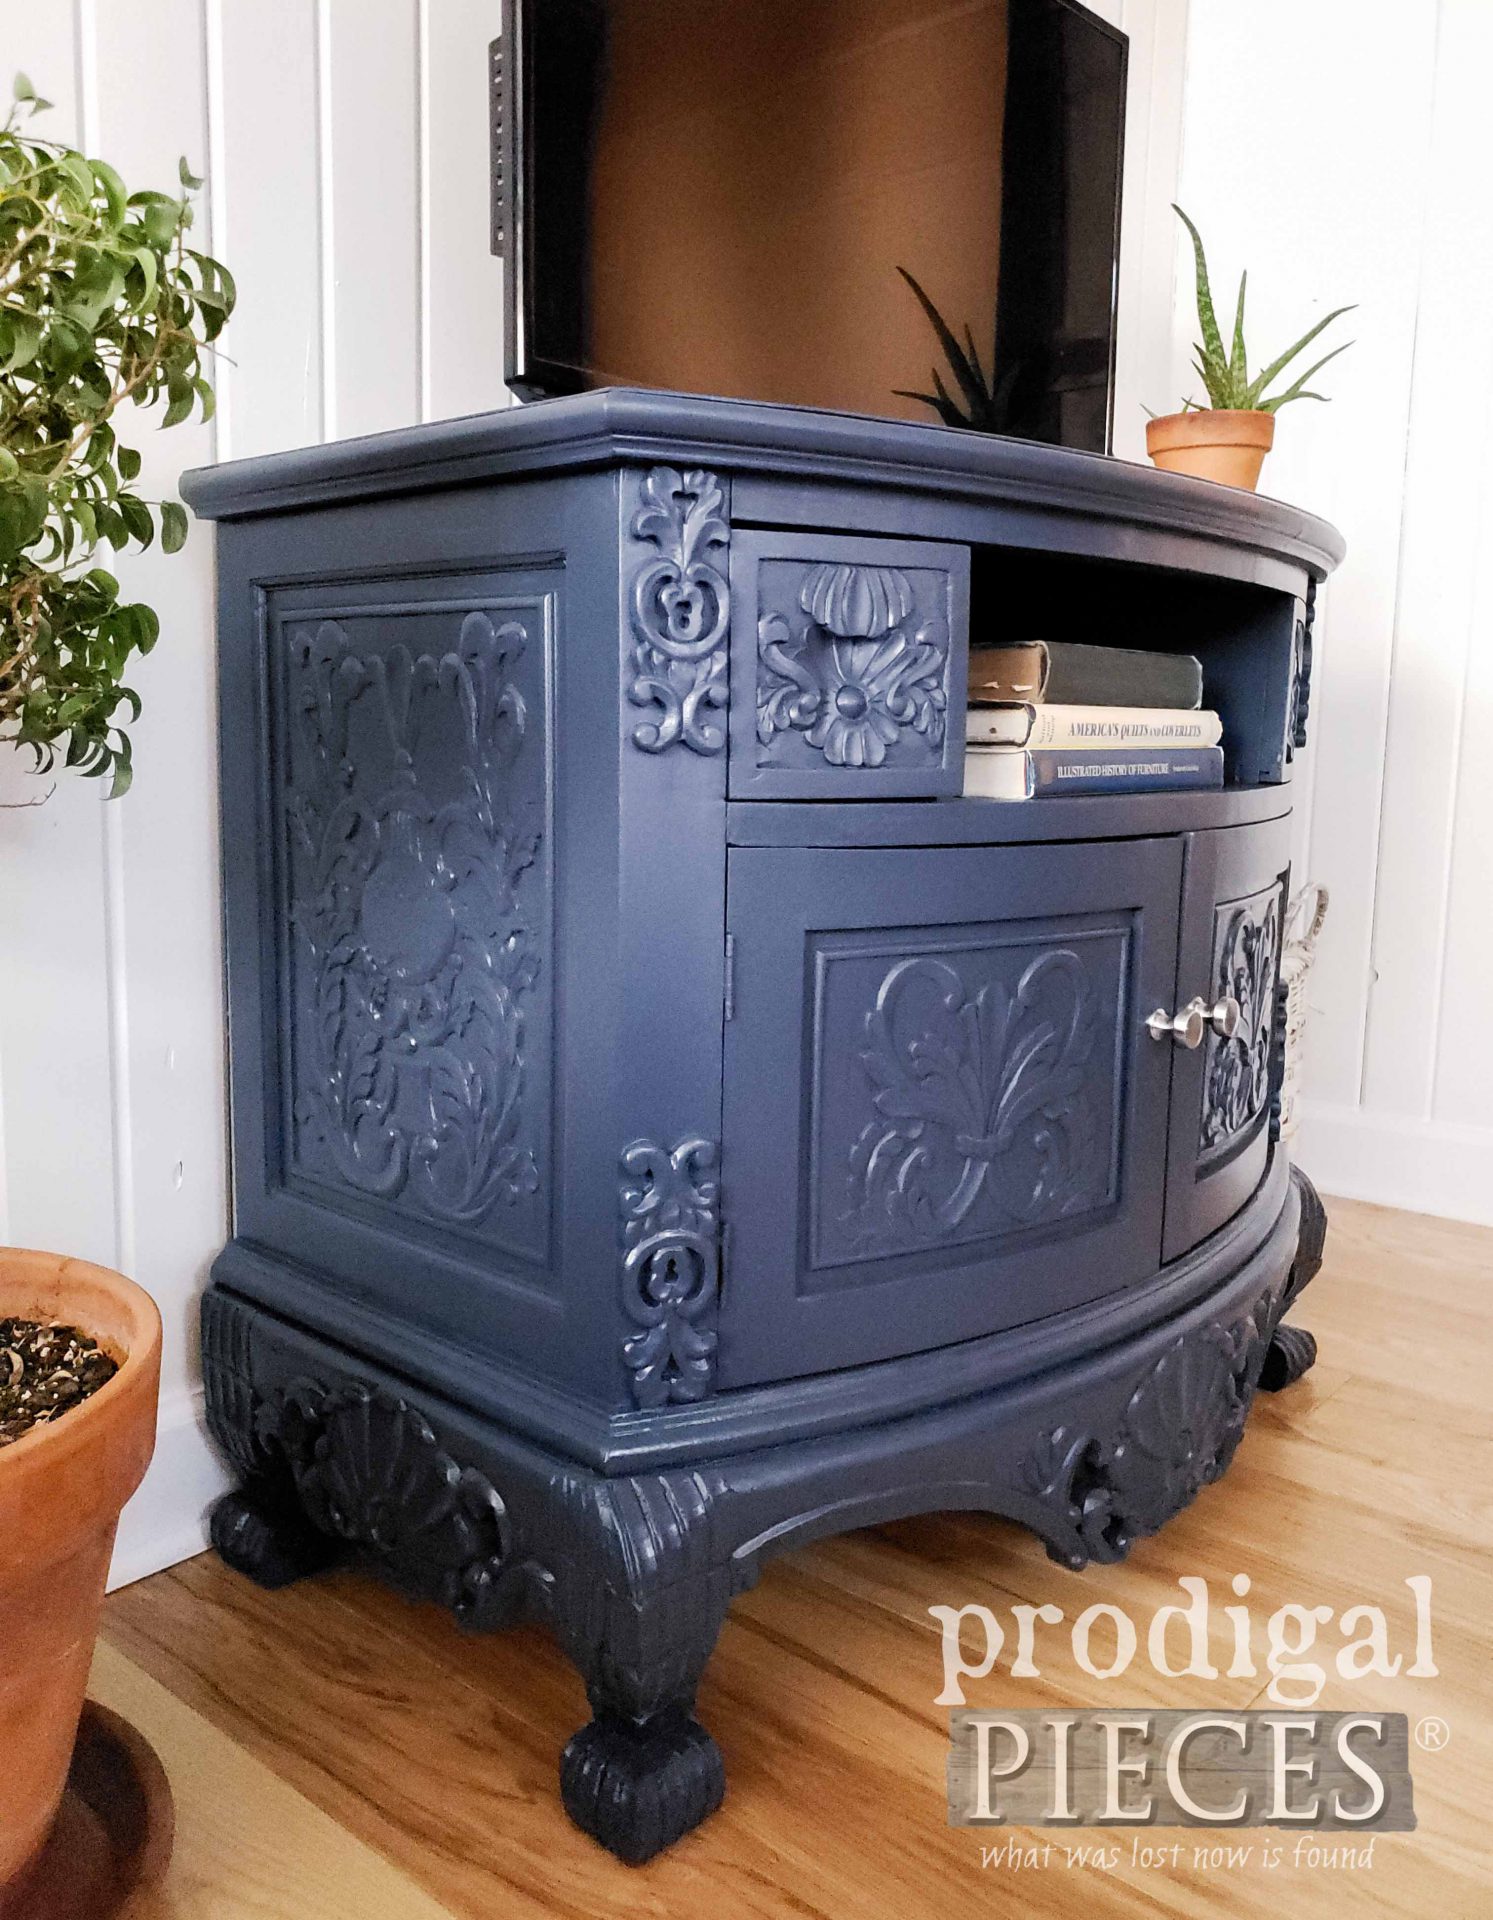 Doesn't that satin blue look perfect? The details of the wood really pop out now. Kathryn had picked out the replacement knobs in a soft silver - a beautiful contrast.
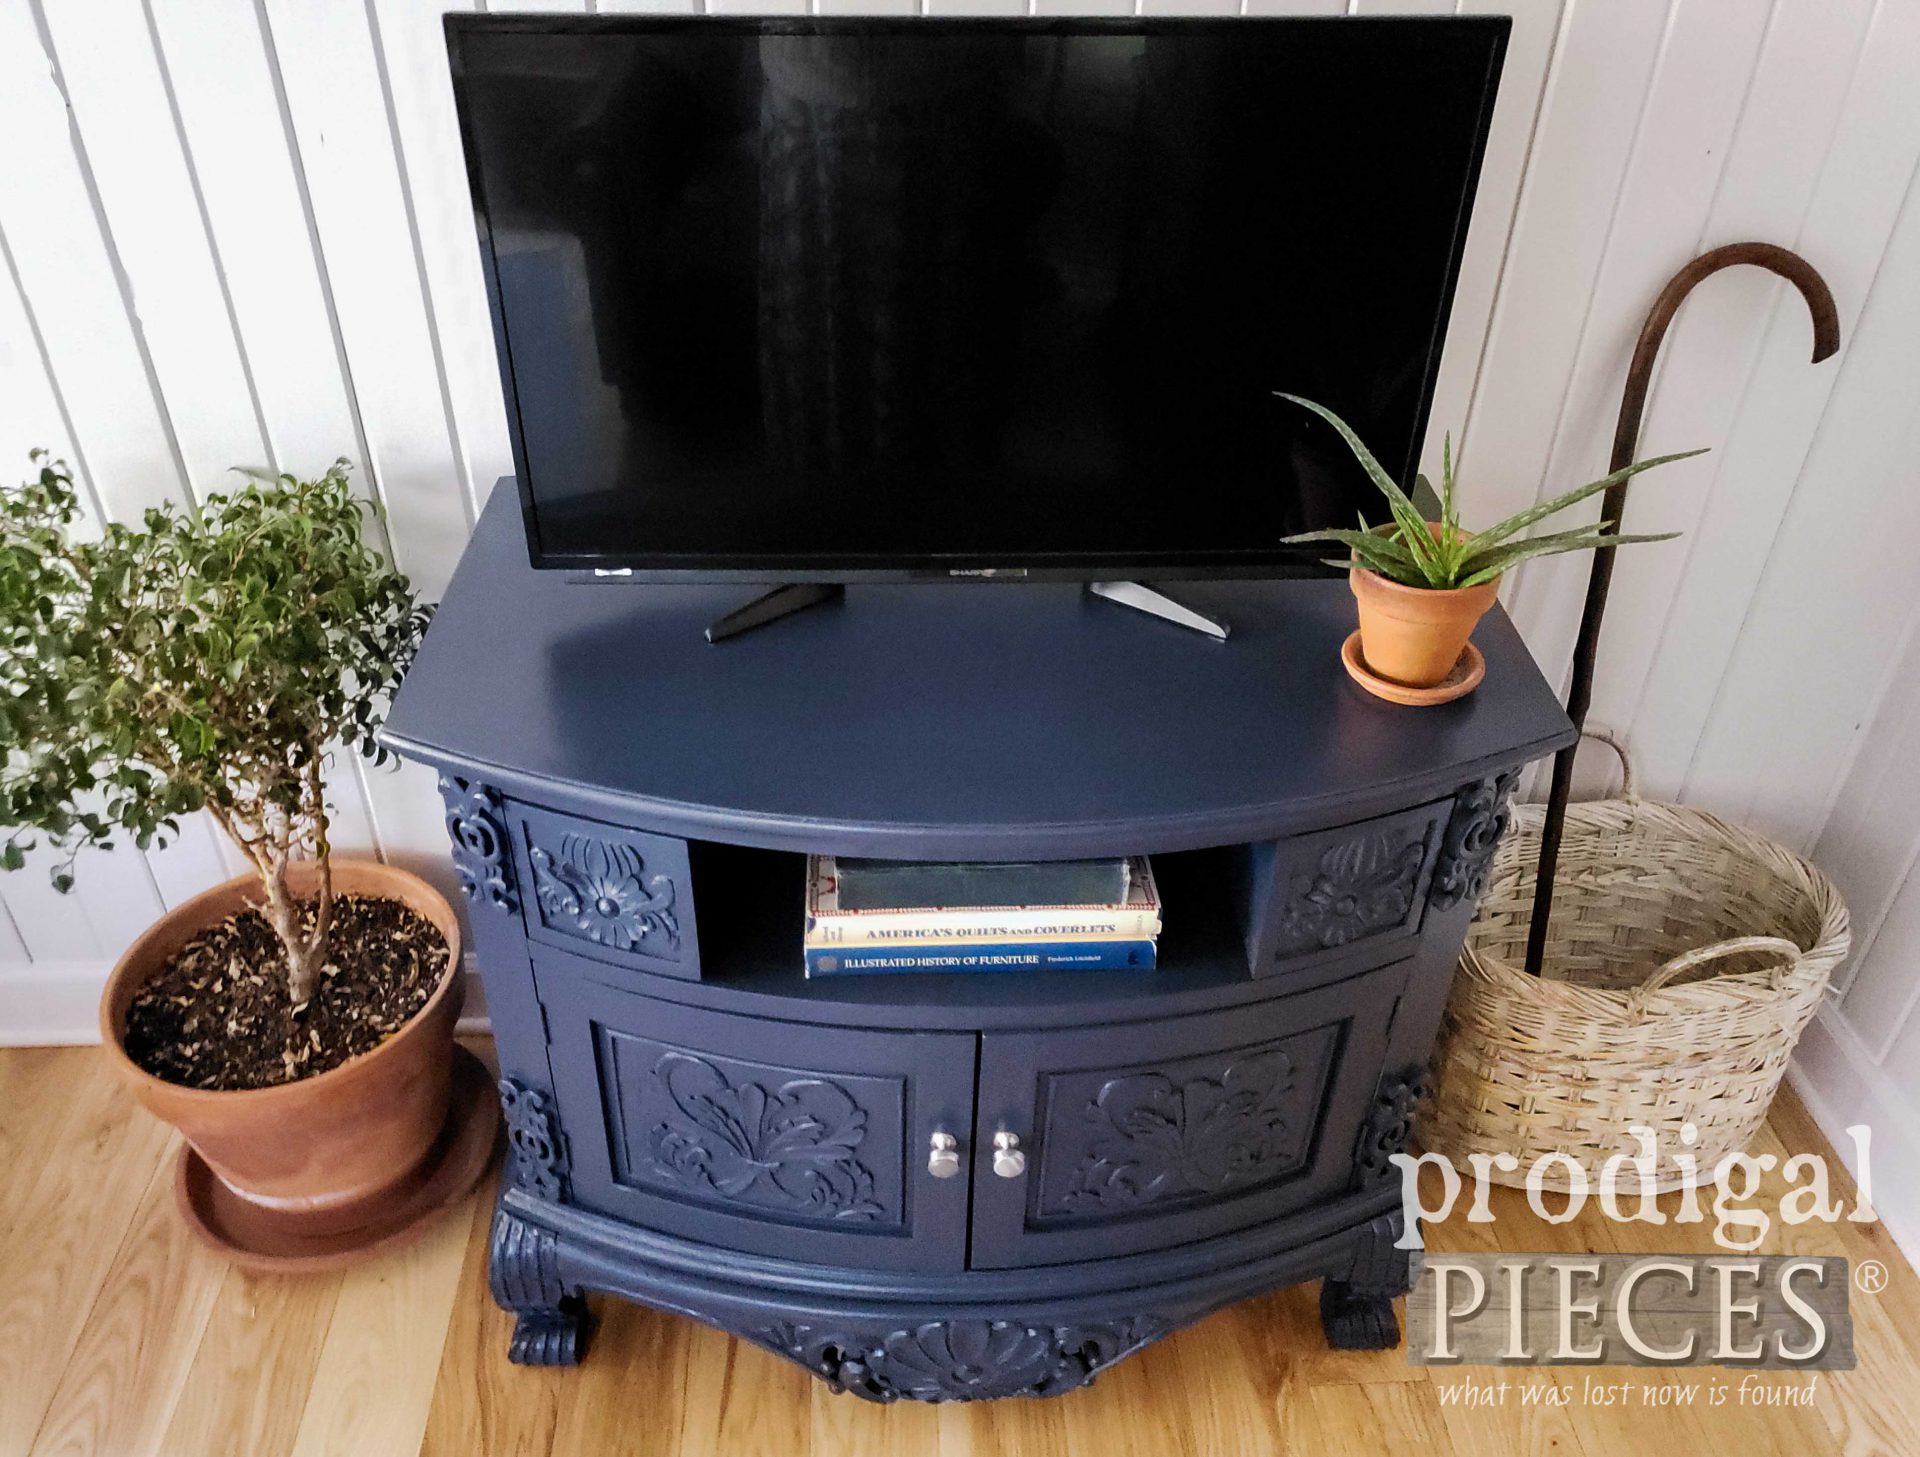
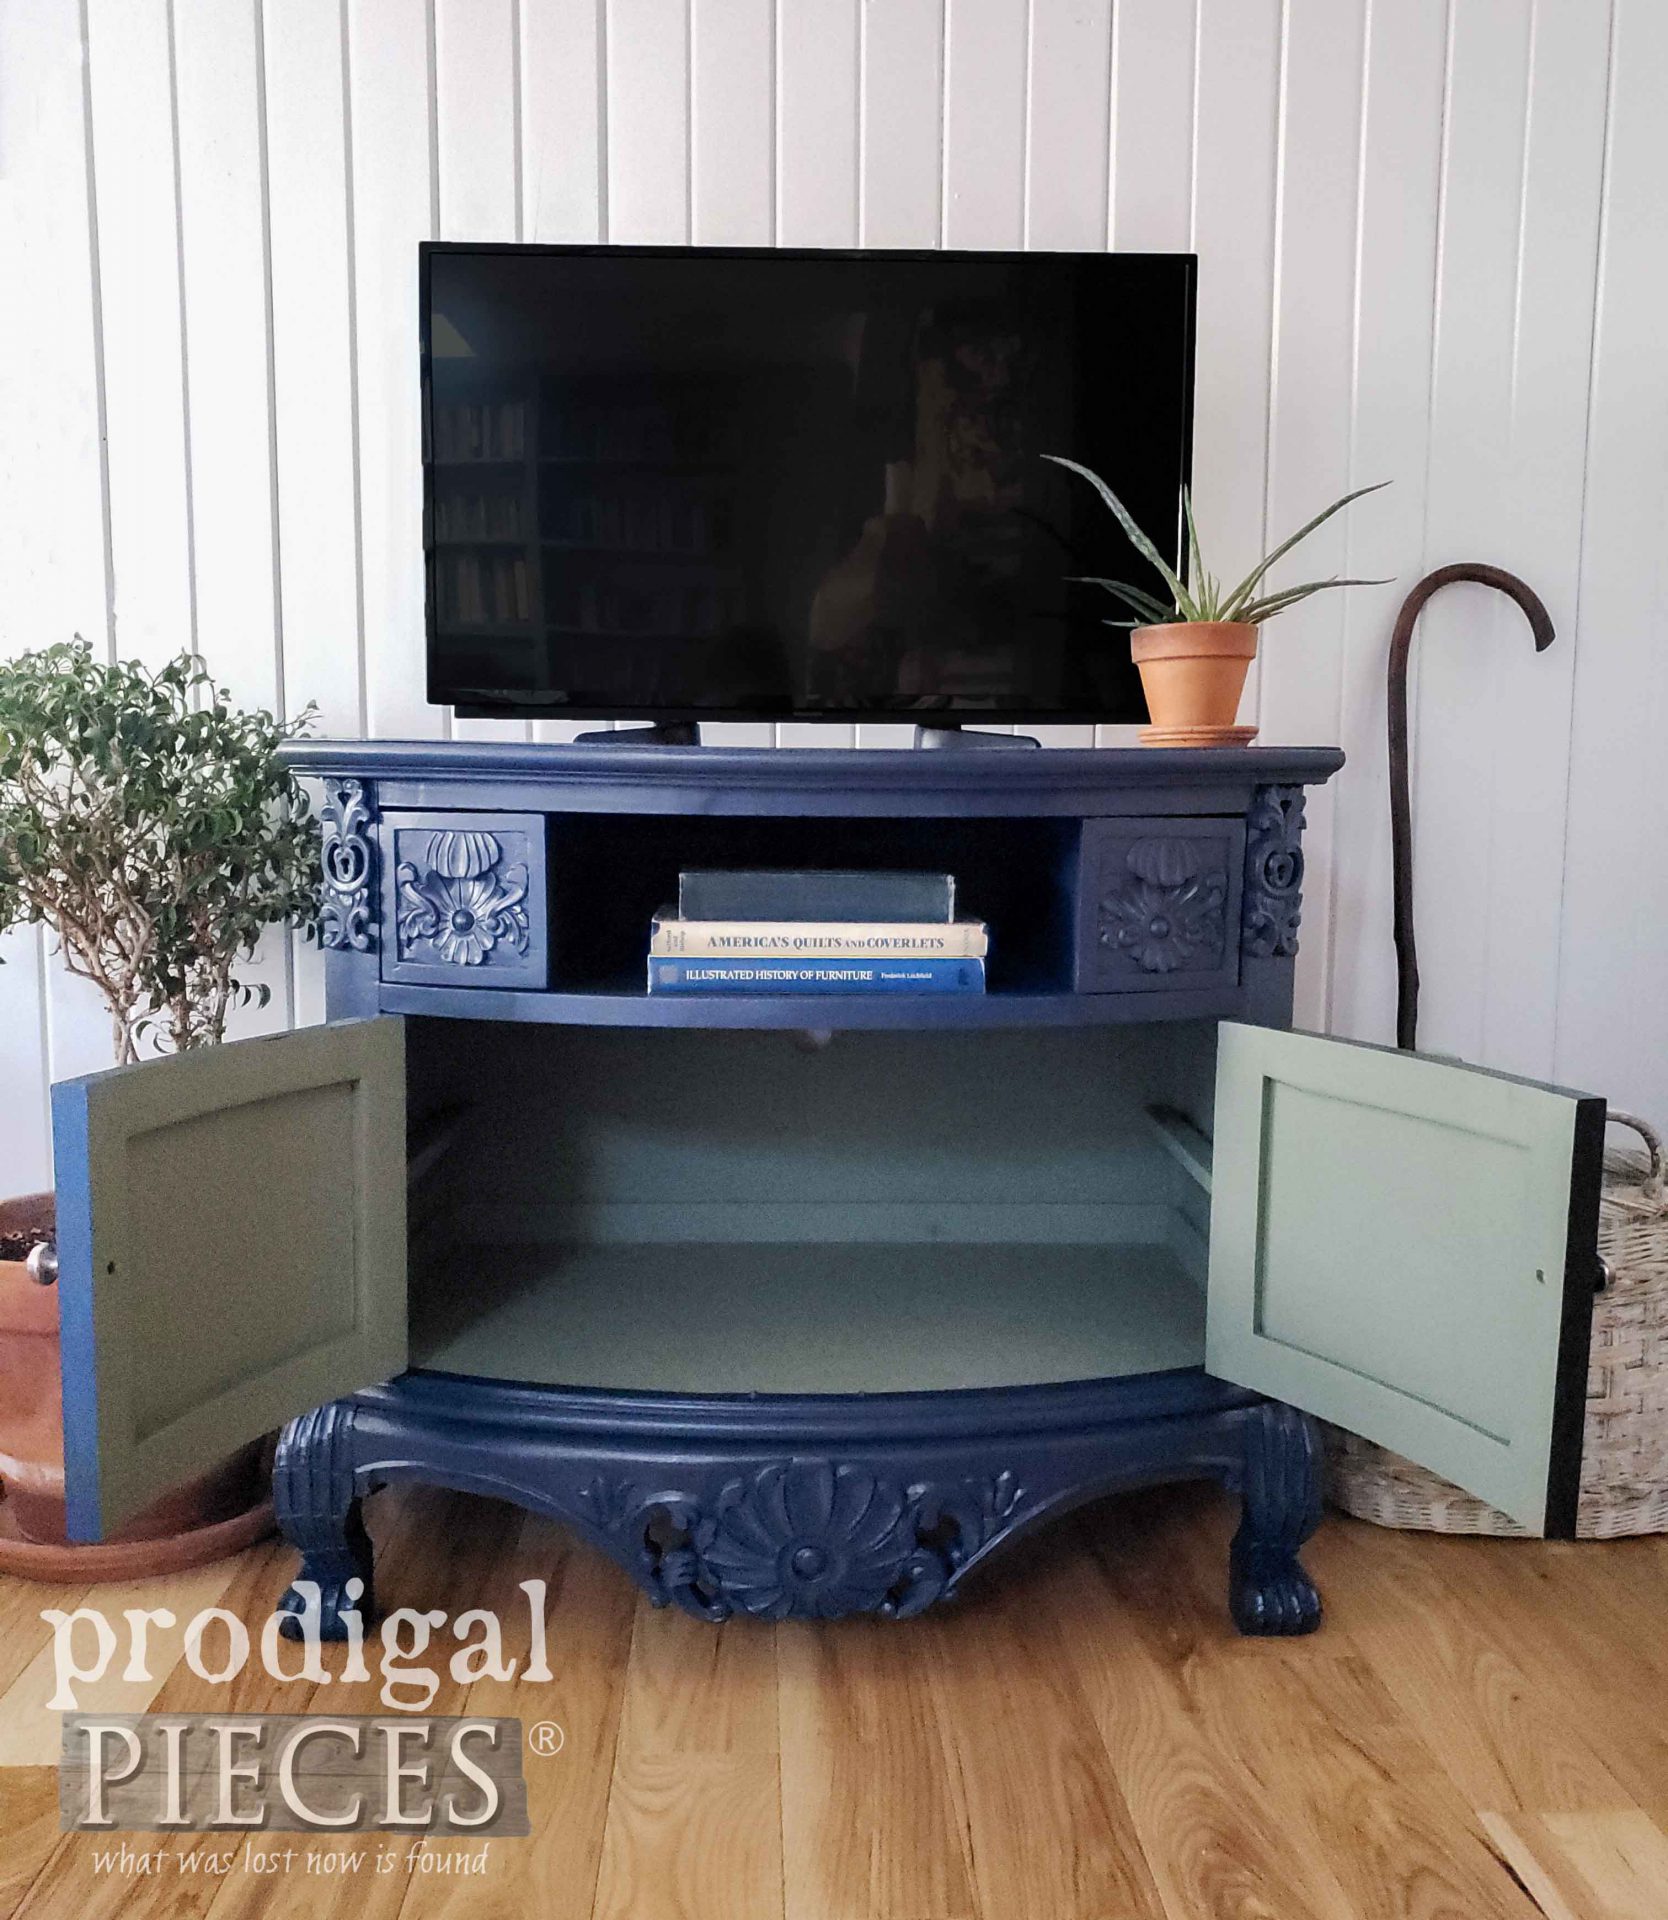
 Also, for a bit of fun, I suggested that Kathryn pick a contrasting color for the interior of the cabinet. It would have been to dark to use the blue in there as well, so she decided on a soft green I custom mixed. It's the same color I used on my upcycled chest into map cabinet.
 I had to giggle at one point when going over colors and such with Kathryn. She said, "Wow, how long have you been doing this?" Well, let's just say over 7 years in blog land, but color and design have always been my thing in every area in my life. Isn't it fun to look back into our past to see our journey to today? Both the good and bad bring us right to where we are. I'm so glad to have worked with Kathryn.
SHARE
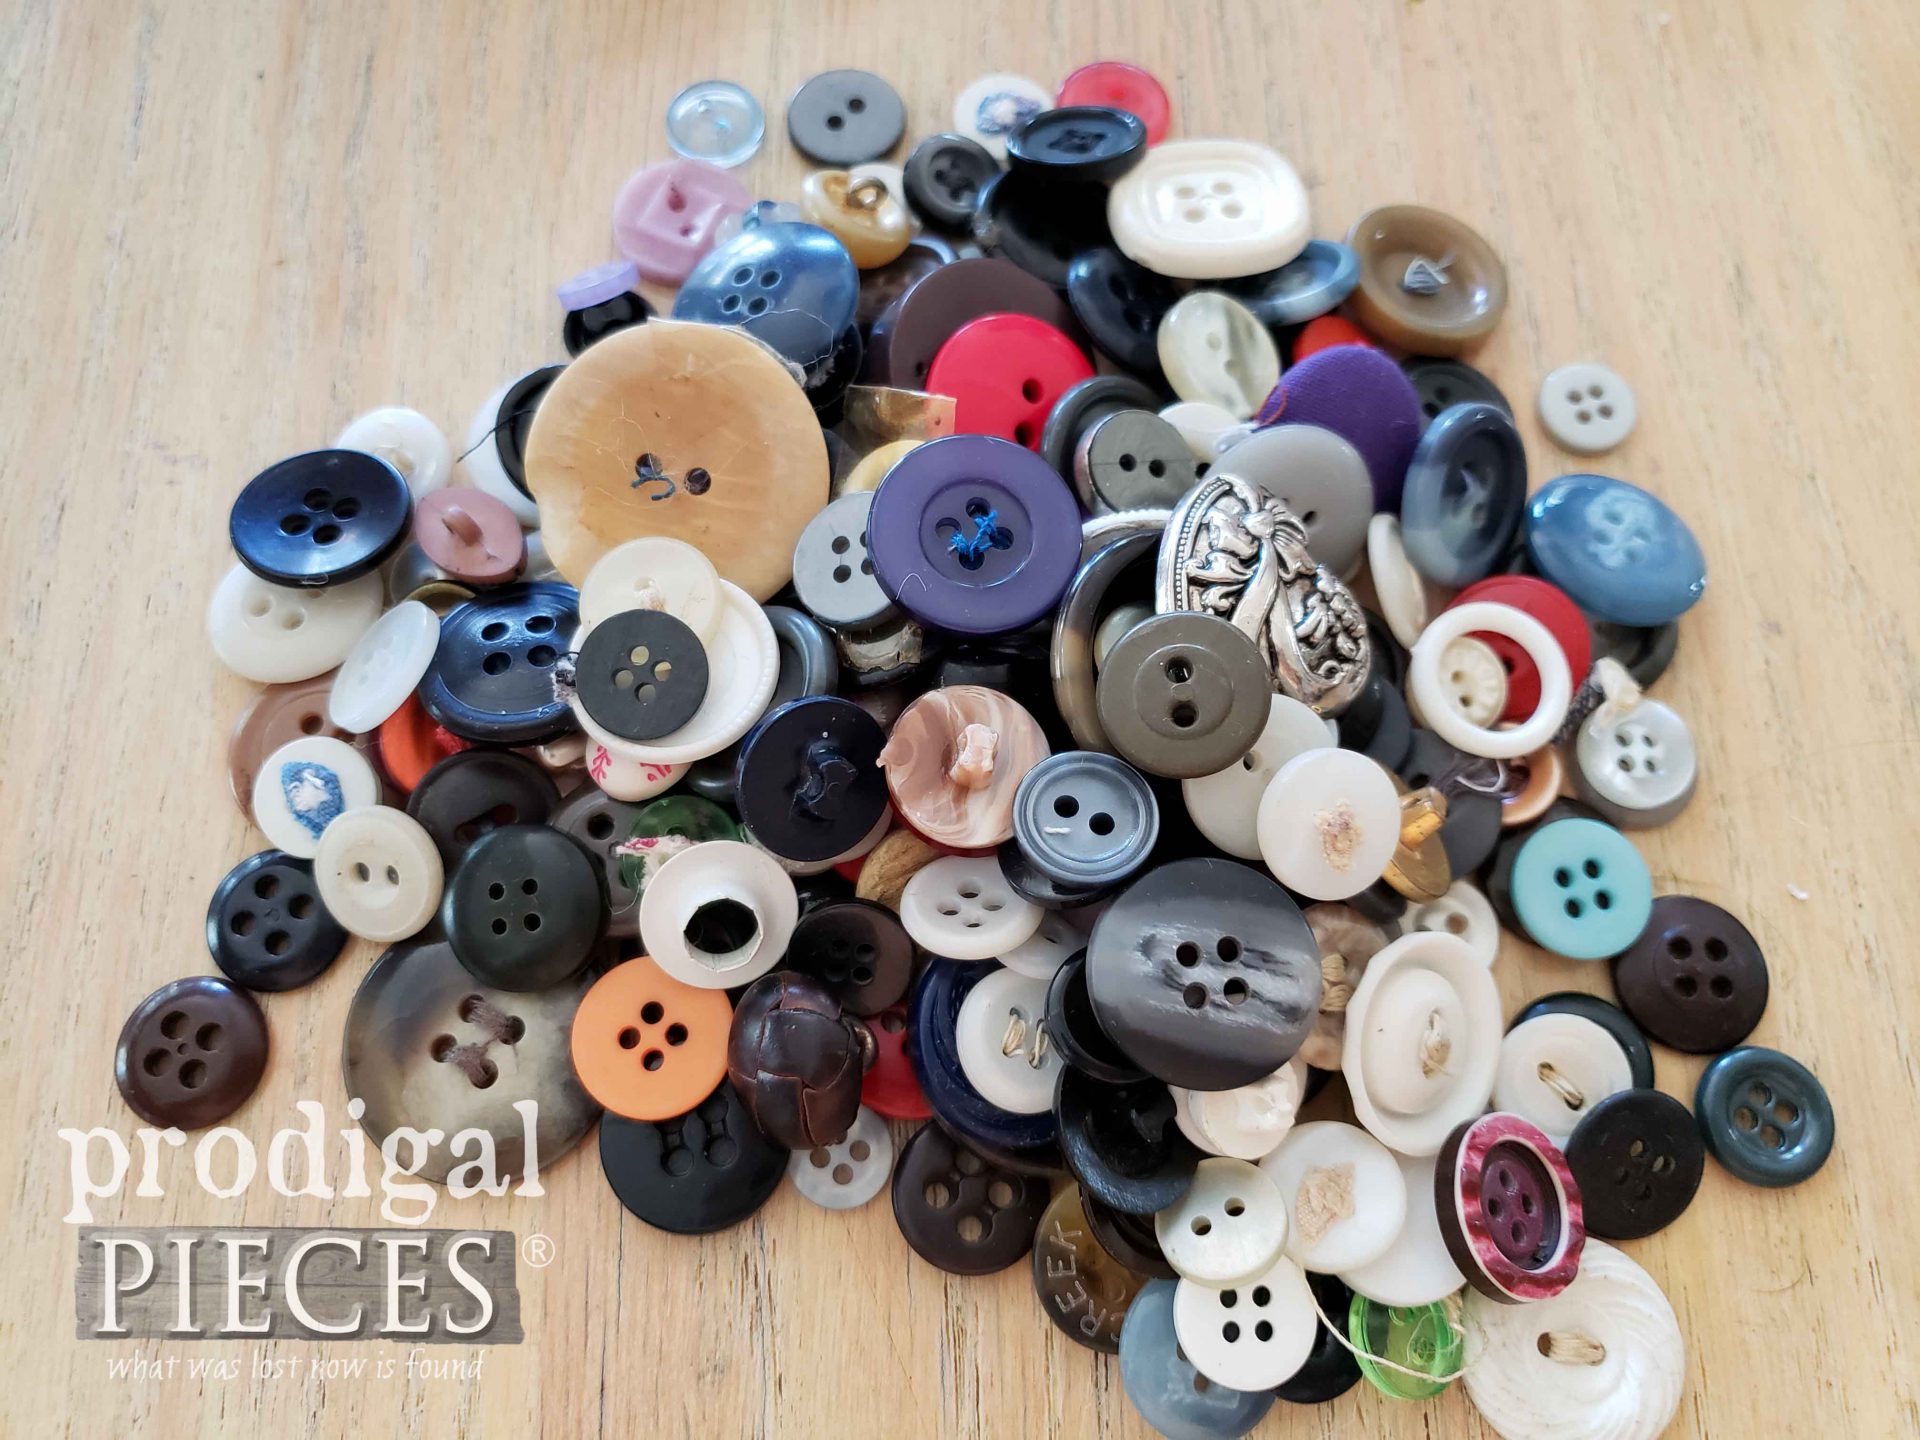
Do pin and share this painted entertainment stand to inspire others to get up and DIY.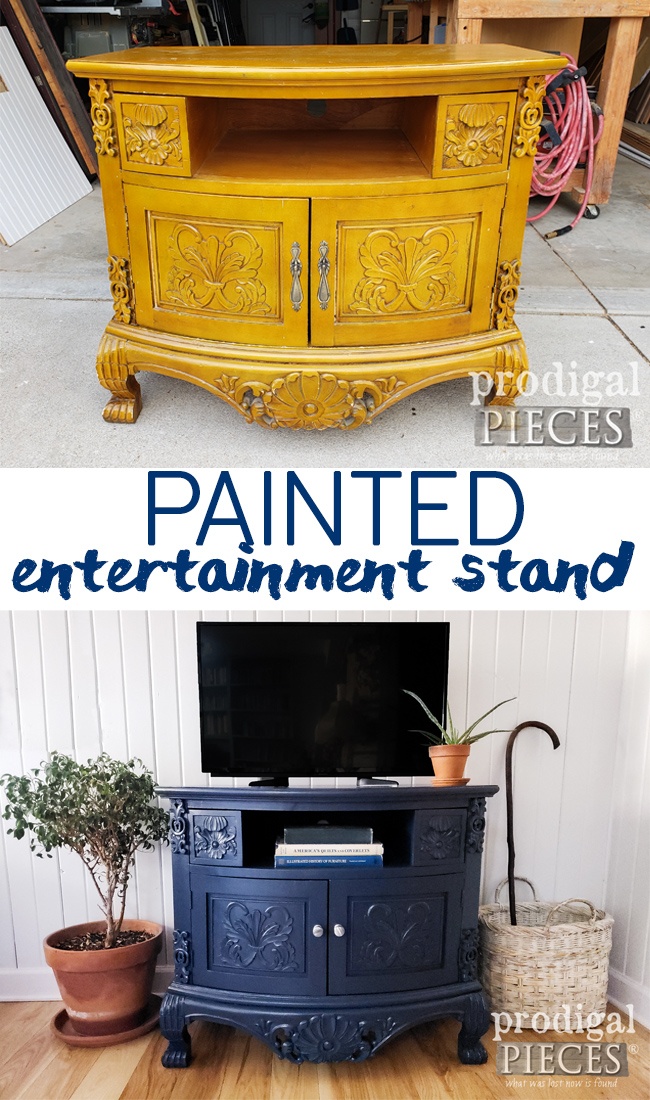 Up next, my kids and I will be back with our Prodigal Pieces Kids CREATE making use of these old buttons. Come join our fun HERE!
 To get these DIY tips & tricks in your inbox, be sure to sign up for my newsletter. Until next time!

Also, more projects like my painted entertainment stand:
