CHIPPY LOVE
Here's my beauty! Don't you just love the character?
 This chippy door sat in my garage until the right idea came to me and I had finished painting the paneling in the room it was to go in. Again, on craigslist, another lady was selling some old barn beam pegs for $5. I went to go check them out and found them to be rougher than I thought, or at least not enough in good condition to use them for what I had originally had in mind. I told her that I would have to pass because they might crumble if I cut them. She said, "Oh, well, in that case you can have them for $1". No problem.
So... the happy ending to my story is that the door and barn beam pegs would have a happy meeting and become a centerpiece to my room.
This chippy door sat in my garage until the right idea came to me and I had finished painting the paneling in the room it was to go in. Again, on craigslist, another lady was selling some old barn beam pegs for $5. I went to go check them out and found them to be rougher than I thought, or at least not enough in good condition to use them for what I had originally had in mind. I told her that I would have to pass because they might crumble if I cut them. She said, "Oh, well, in that case you can have them for $1". No problem.
So... the happy ending to my story is that the door and barn beam pegs would have a happy meeting and become a centerpiece to my room.
 Want to make one? Here's how.
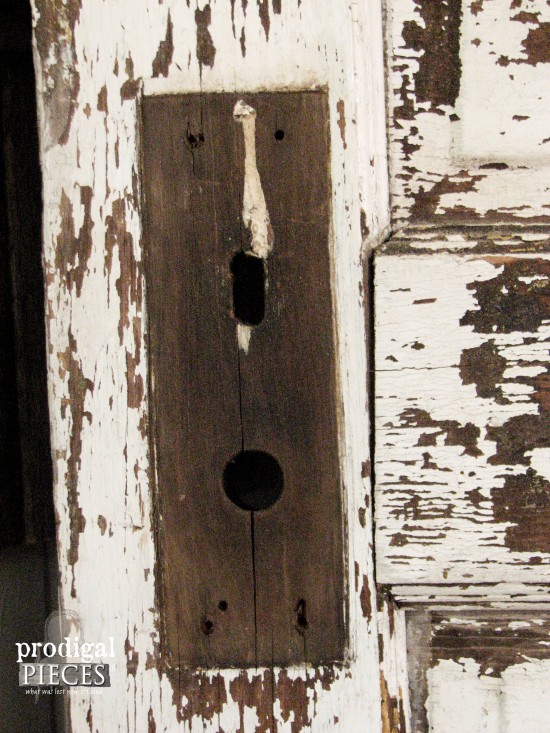
I'm completely positive that you will have horrible trouble trying to locate antique barn beam pegs, so what to do? Just grab some tree branches similar in diameter. Better yet, cut one long branch with similar diameter throughout and then cut them to a 7" length. Take all the bark off with a knife and leave them in the raw, that will create a more rustic effect. Hey, even leave a little bark on for even more dimension.
Want to make one? Here's how.
I'm completely positive that you will have horrible trouble trying to locate antique barn beam pegs, so what to do? Just grab some tree branches similar in diameter. Better yet, cut one long branch with similar diameter throughout and then cut them to a 7" length. Take all the bark off with a knife and leave them in the raw, that will create a more rustic effect. Hey, even leave a little bark on for even more dimension.
DIY FUN
You could even use a store-bought dowel rod and beat it like crazy with a hammer, score with a knife to create hand-chiseled look, then do a wash with a brown paint to give it texture. To make the wash, just take a small amount of brown paint and add a bit of water. Wipe it on, then wipe it back off until you get an uneven effect. Next, grab your drill and a hole saw bit the same diameter of your branch or dowel, and mark where you want your pegs to be. Drill through on one side.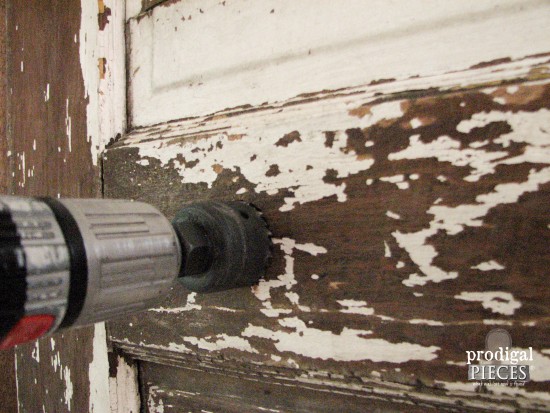 You won't be able to go completely through because your drill bit won't reach. Therefore, use the pilot hole the bit created, just turn the door over and finish the hole from the rear.
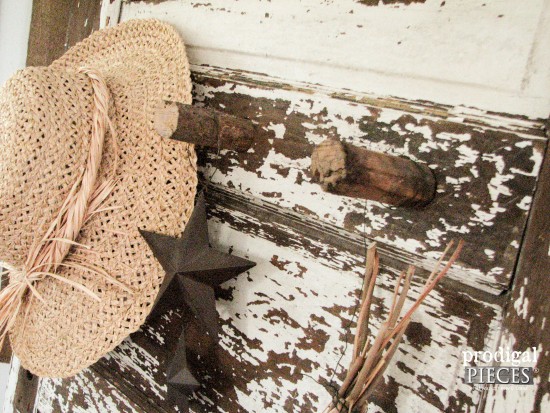
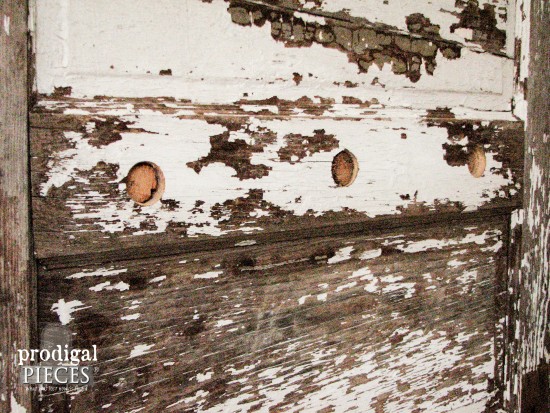 Just tap the pegs in, they should be snug if you used the right bit. I didn't glue or secure mine because I wanted the option of flipping the door when the mood hit me.
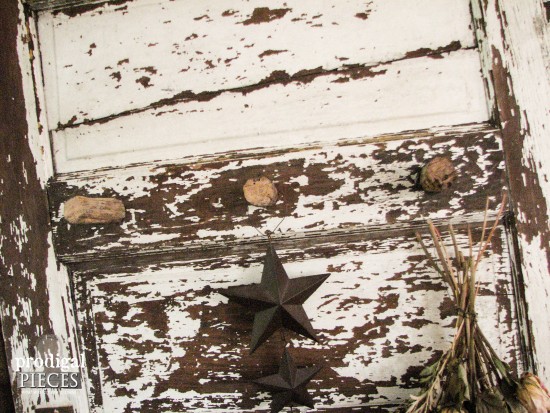 My chippy door changes through the seasons with its decorations. During winter I use a crochet scarf with some ice skates, and a pair of child's knitted mittens. During spring and summer, I like to feature beautiful blooms drying.

I even use it in most of my online store photos as a backdrop. When I sold my very first piece to a photographer, she said she'd love to have it. However, I told her it was priceless.
THE REVEAL
What do you think?
 Join in the chippy love and find that door you've been looking for!
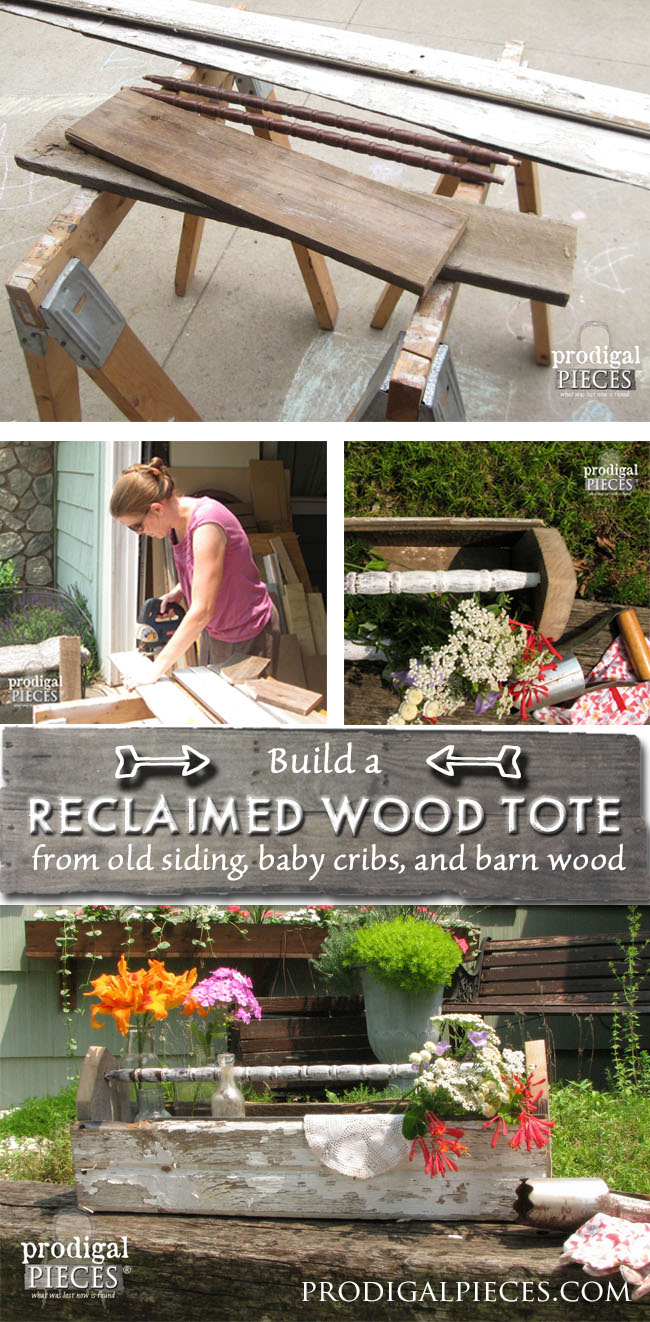
In case you're wondering what I did with that chippy siding, here's how it's currently being put to use:
Can you tell I'm having fun? To get these DIY tips & tricks in your inbox, be sure to sign up for my newsletter. Until next time!

Also, more fun repurposed projects like my chippy door: