It's that time again! The second Tuesday of each month some of my blogger friends and I get together to present to you our latest
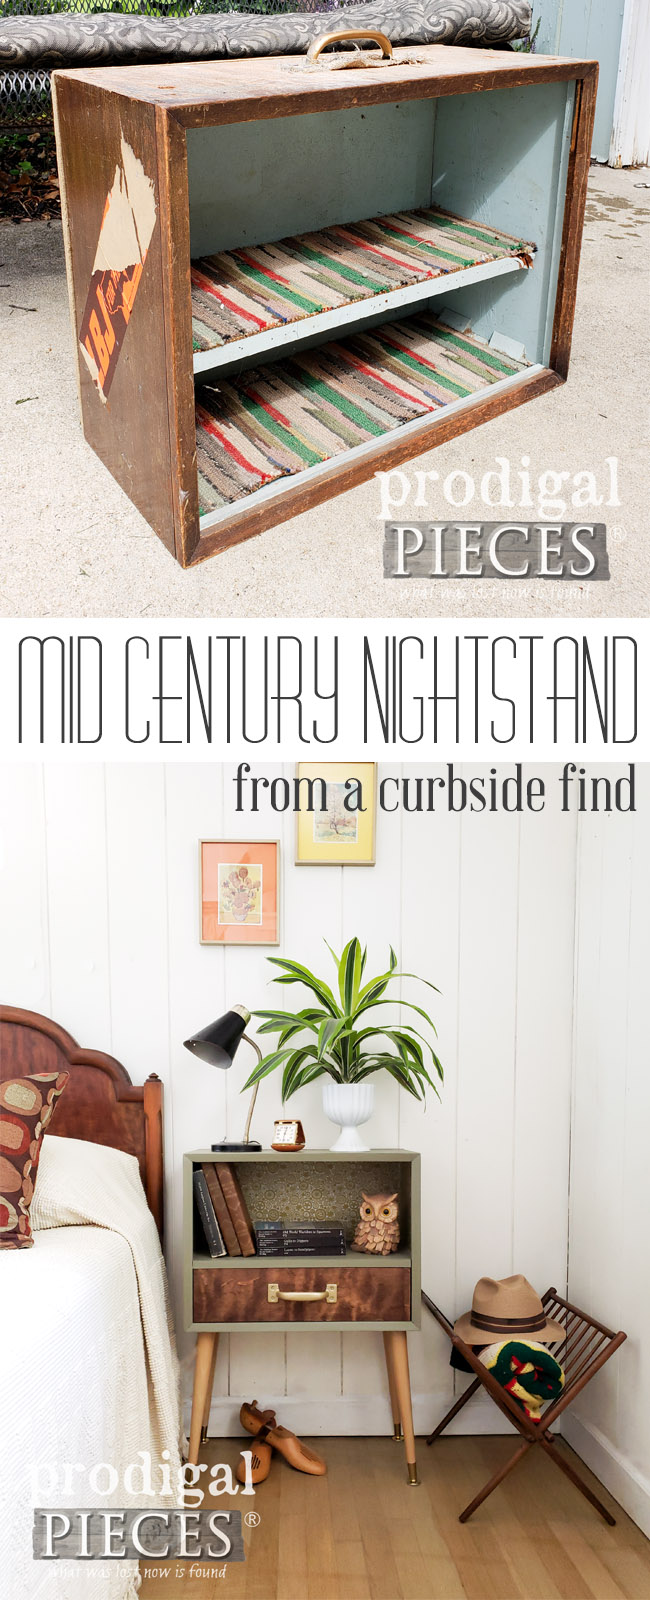
Trash to Treasure makeovers. It's certainly one of my favorite times and hope it is for you too! Today's project is this handmade luggage I found during our spring city cleanup. I've been aching to turn it into the vision I had of a Mid Century nightstand. I can't wait!!
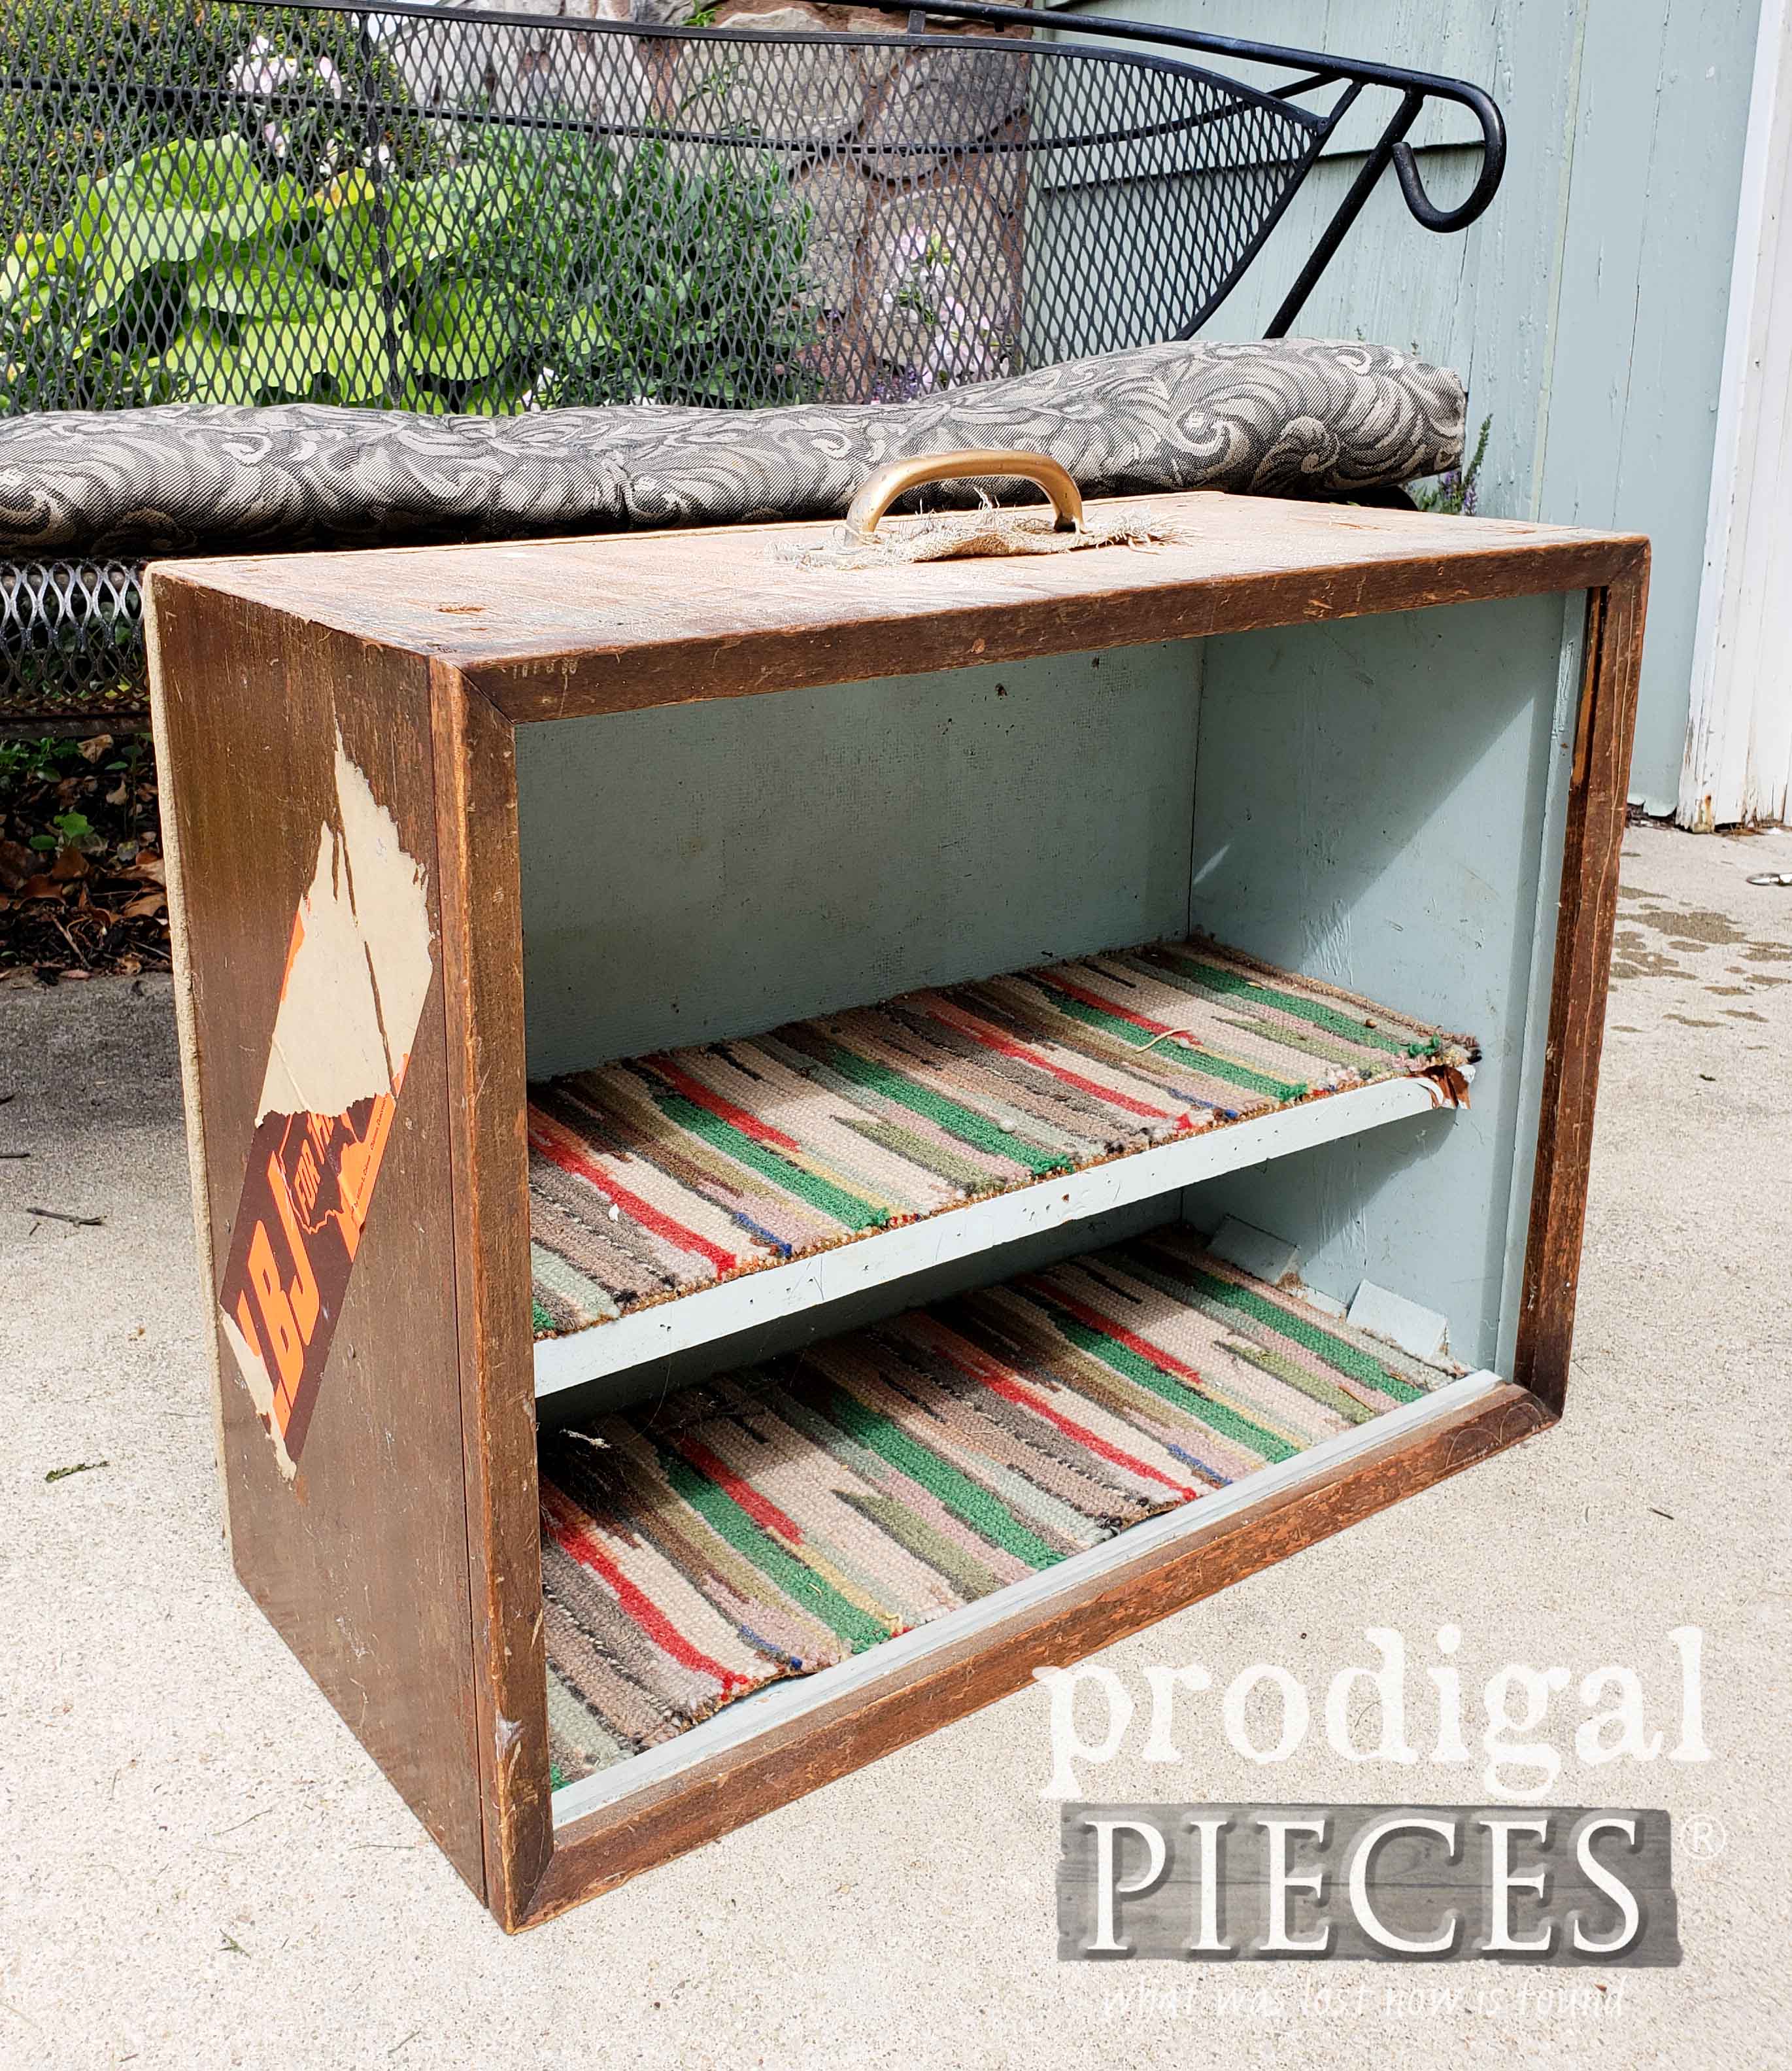
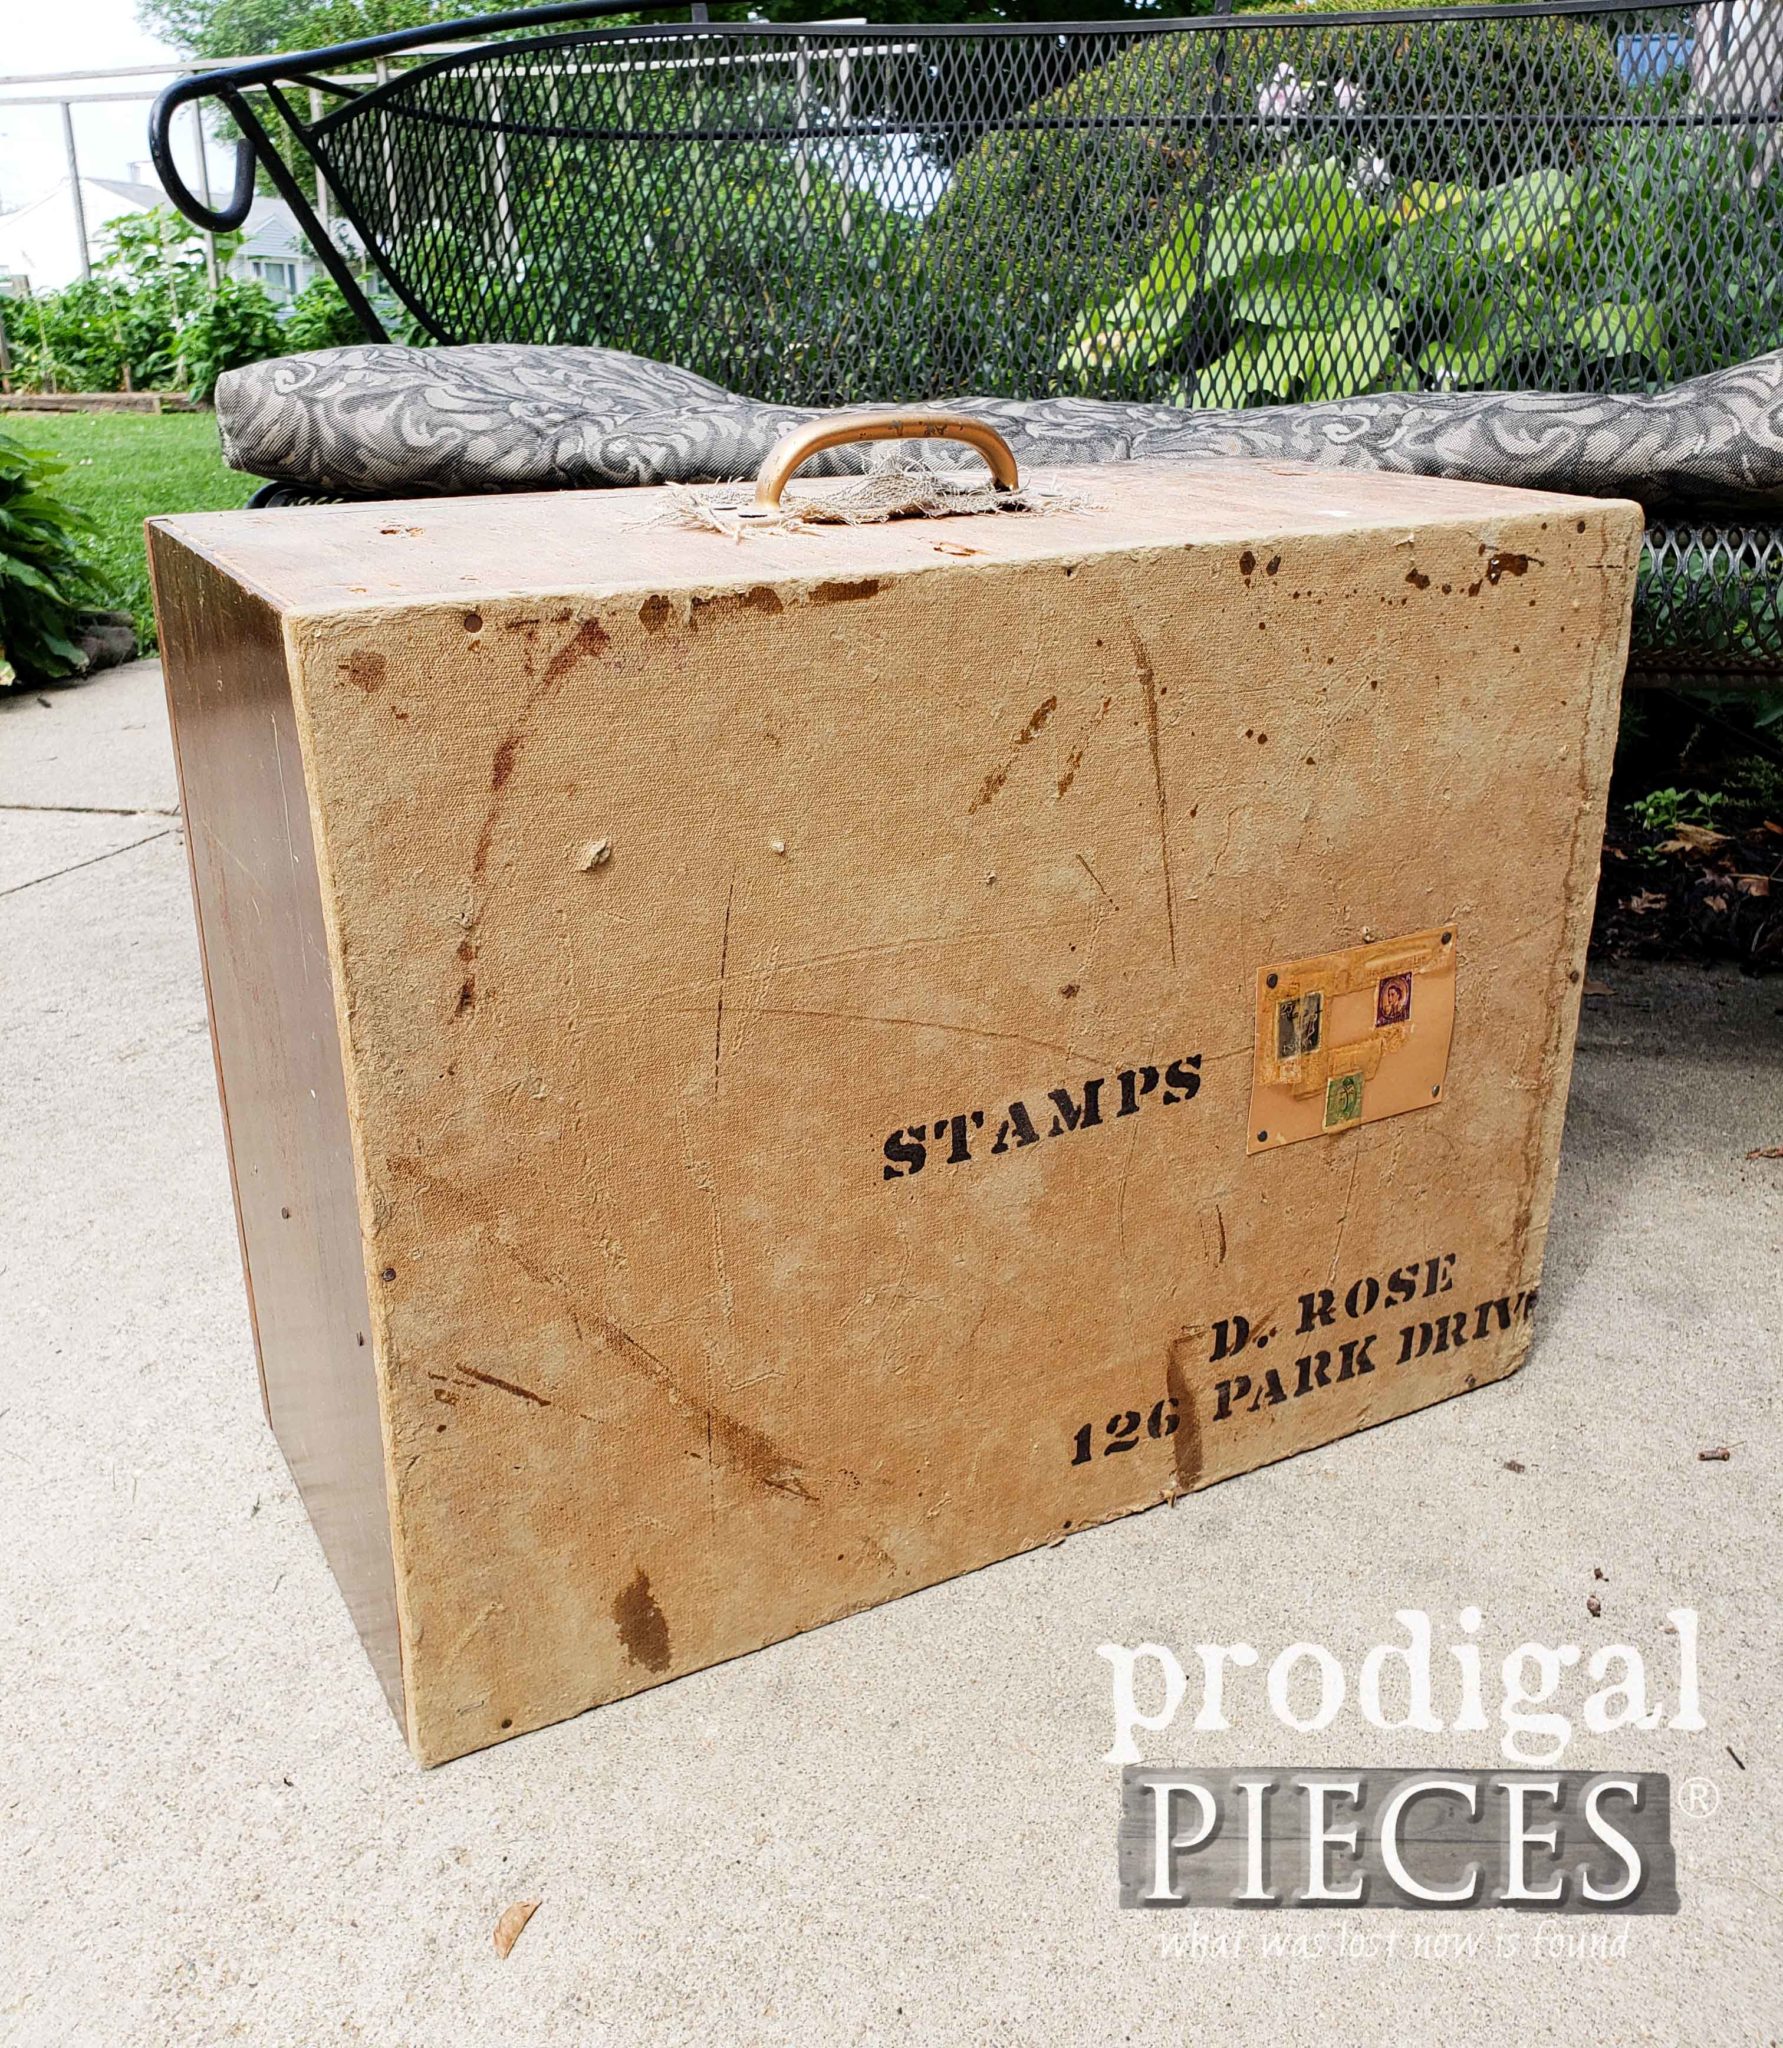
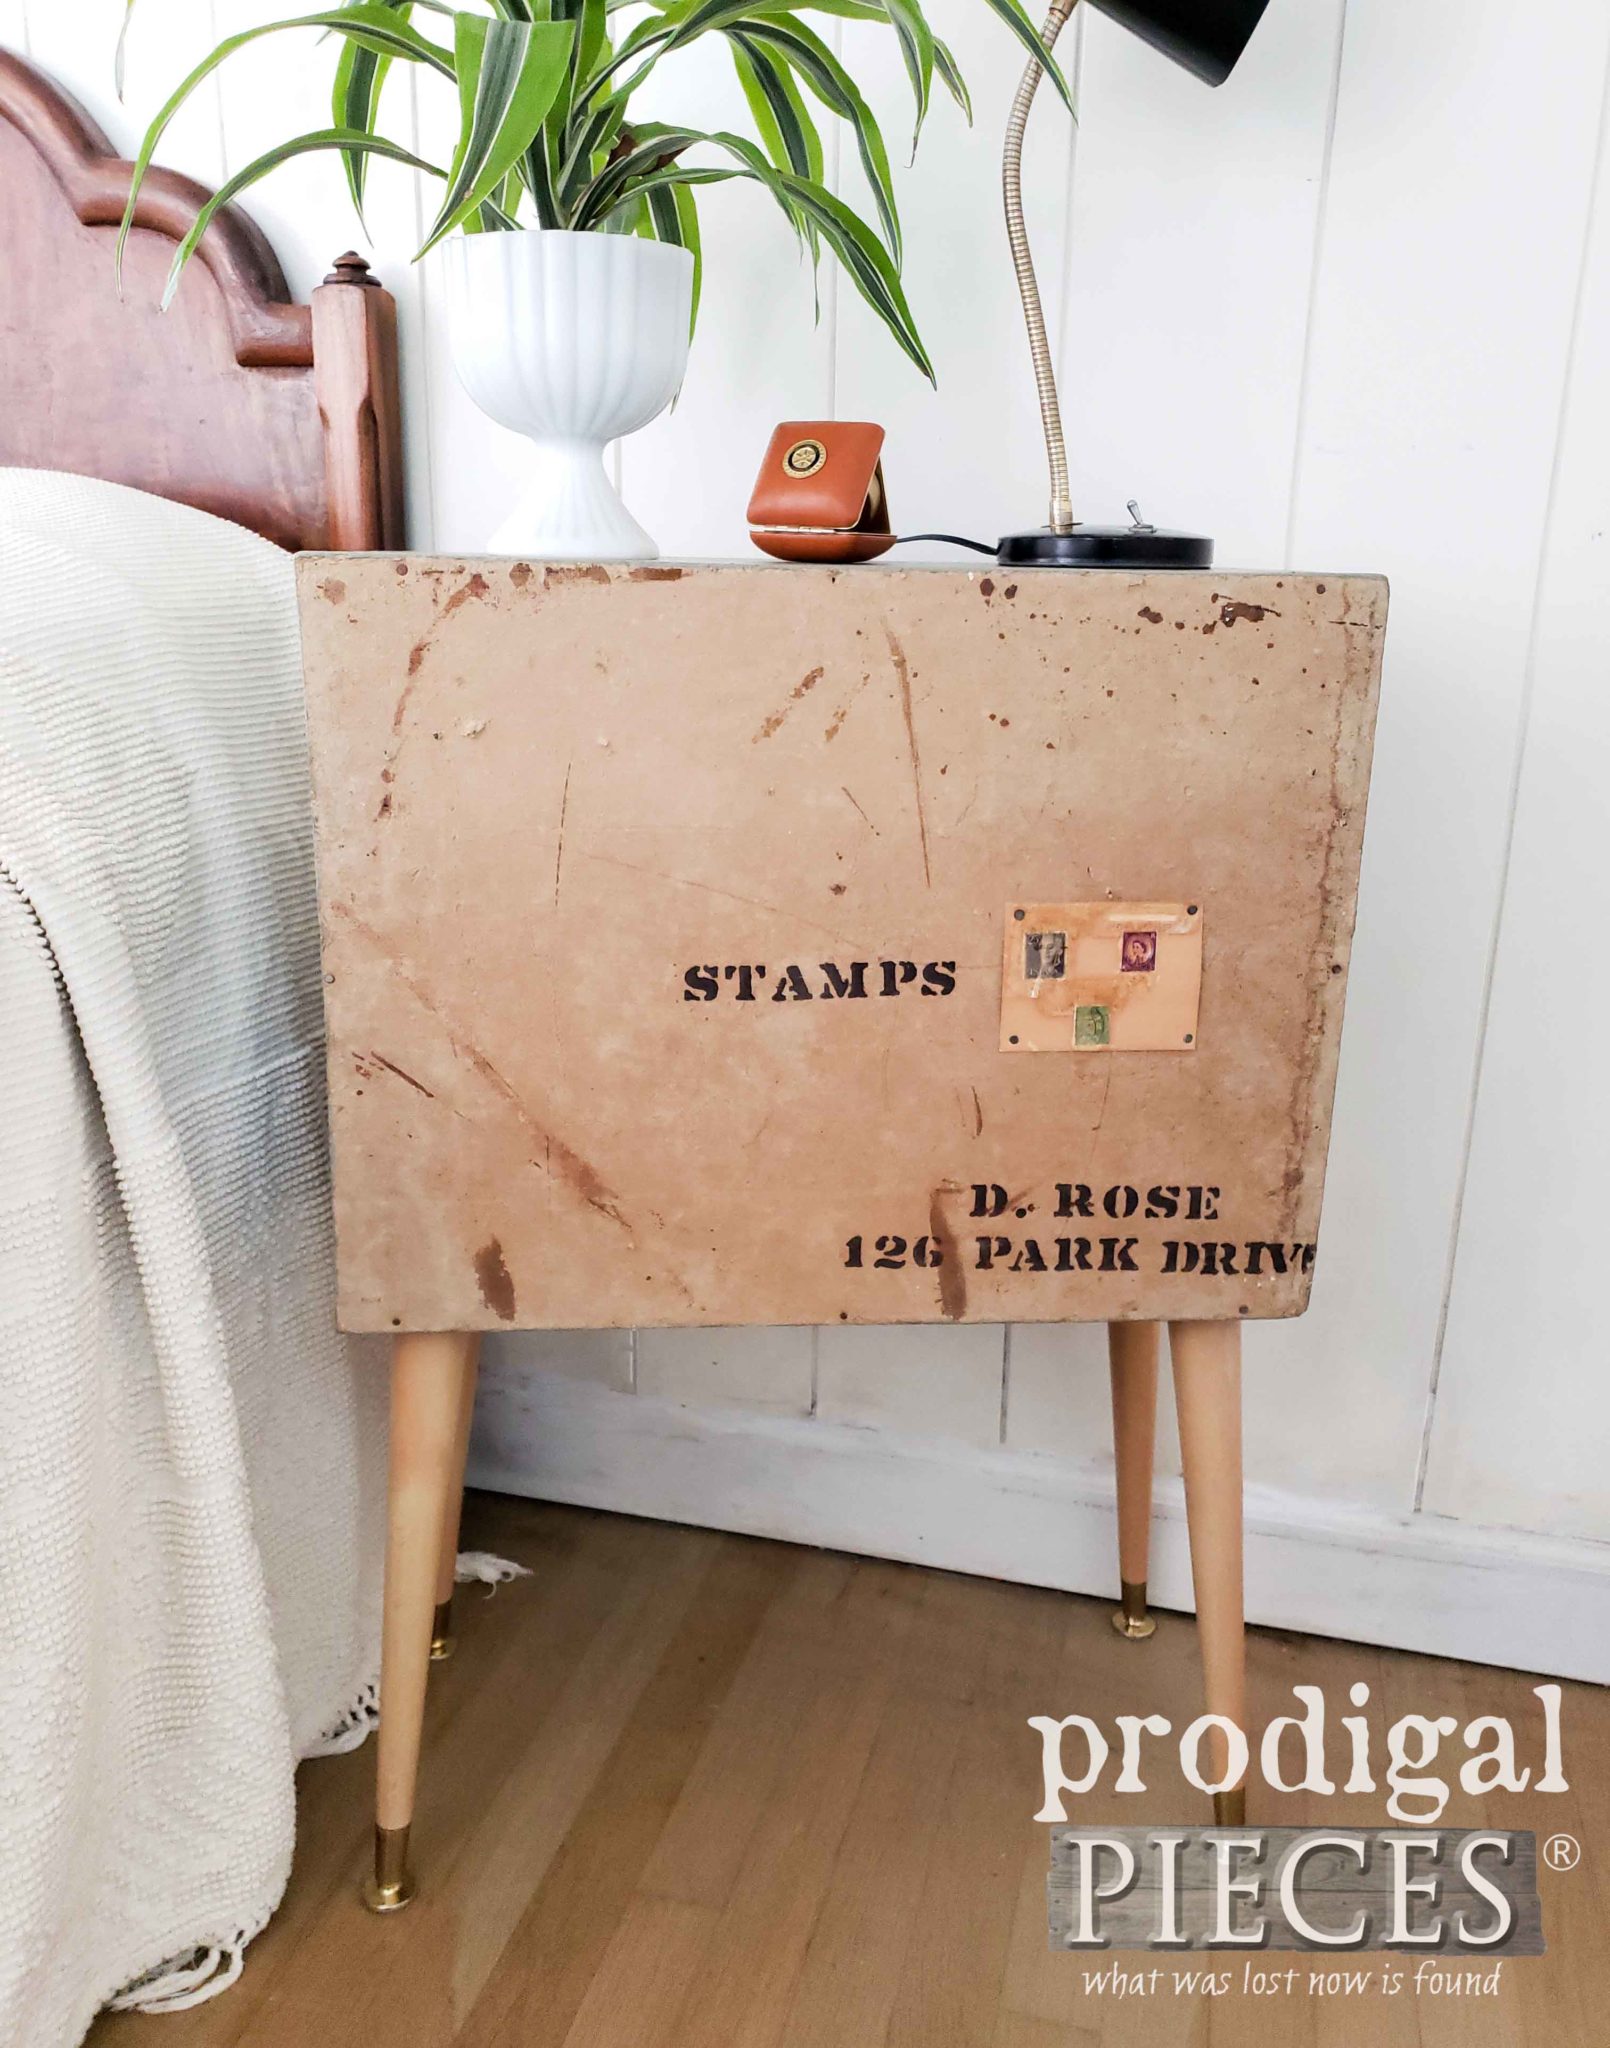
First, I have to ask if you would have grabbed it? It is so super cool. Check out the LBJ bumper sticker, and the...ummm...fantastic carpet lining. And get this...the back has original labels and stamps! eep!
DIY TIME
Like I've said before, it's made of wood, therefore it has potential. Right? Onward we go... First, the middle shelf was busted, so in order to pull it out I had to remove the carpet. My cat's paw tool works wonders for getting into tight spots to remove nails - perfect for mouldings, etc.
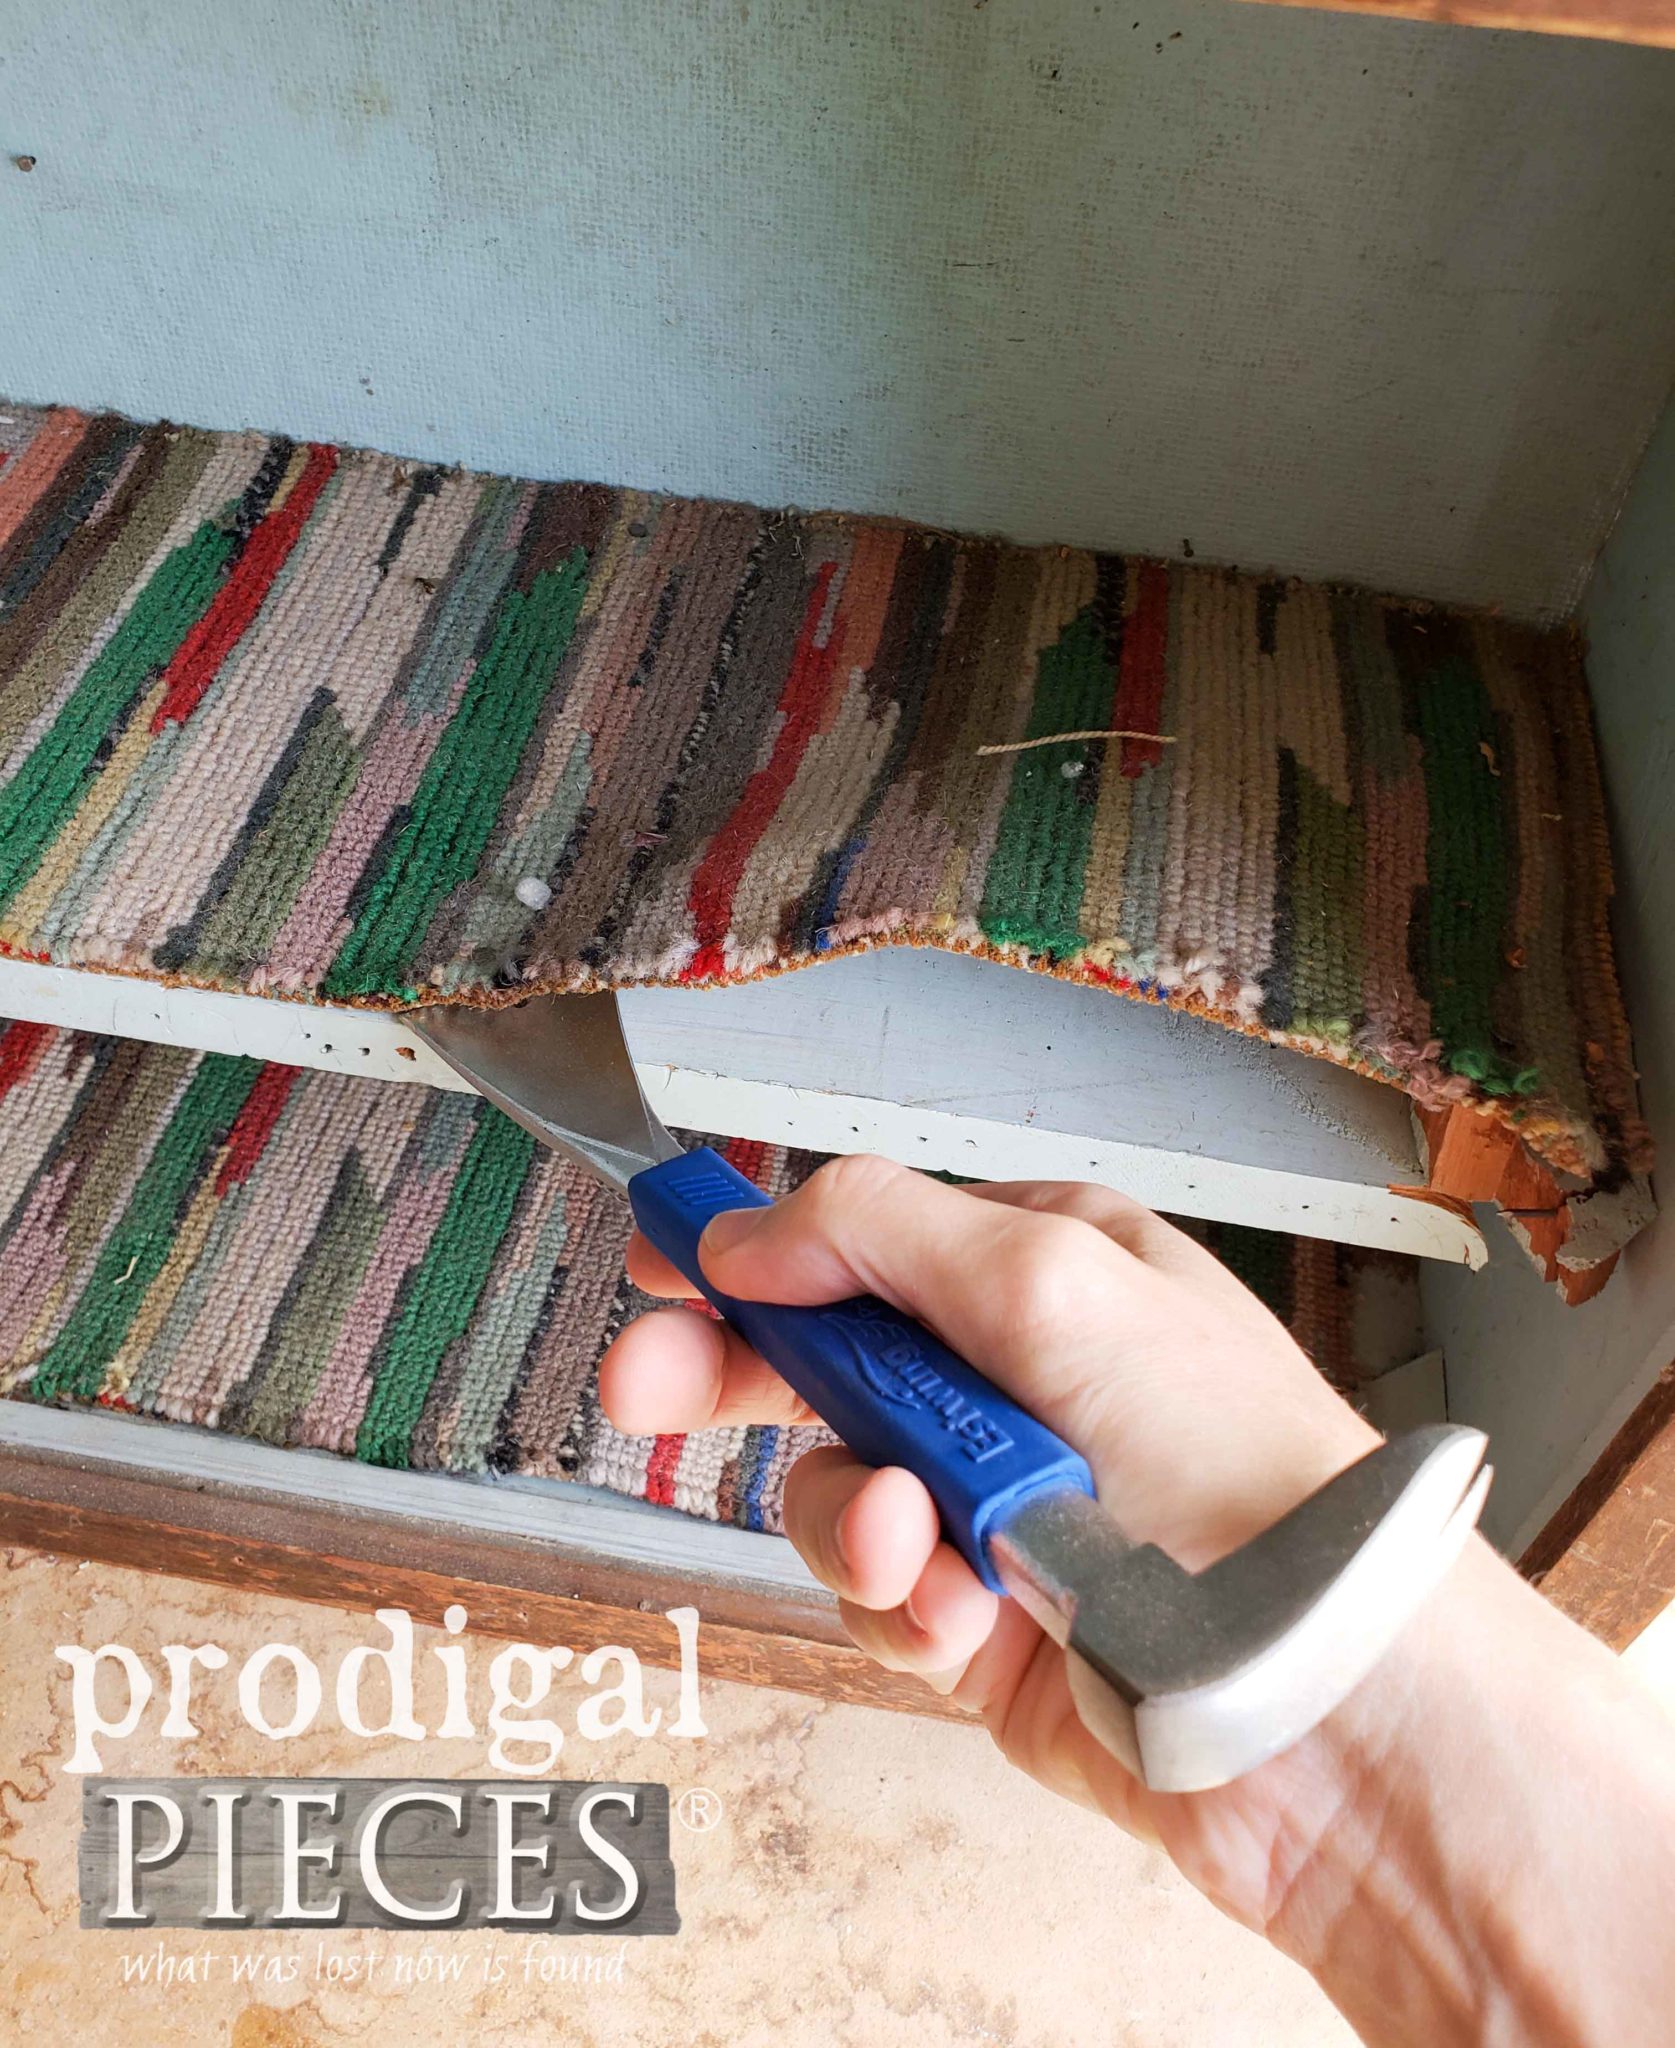
Once the carpet was off, I had to try to remove the nails that held the shelf in place. No worries, I'll be giving the shelf a new life too...stay tuned. hee hee!
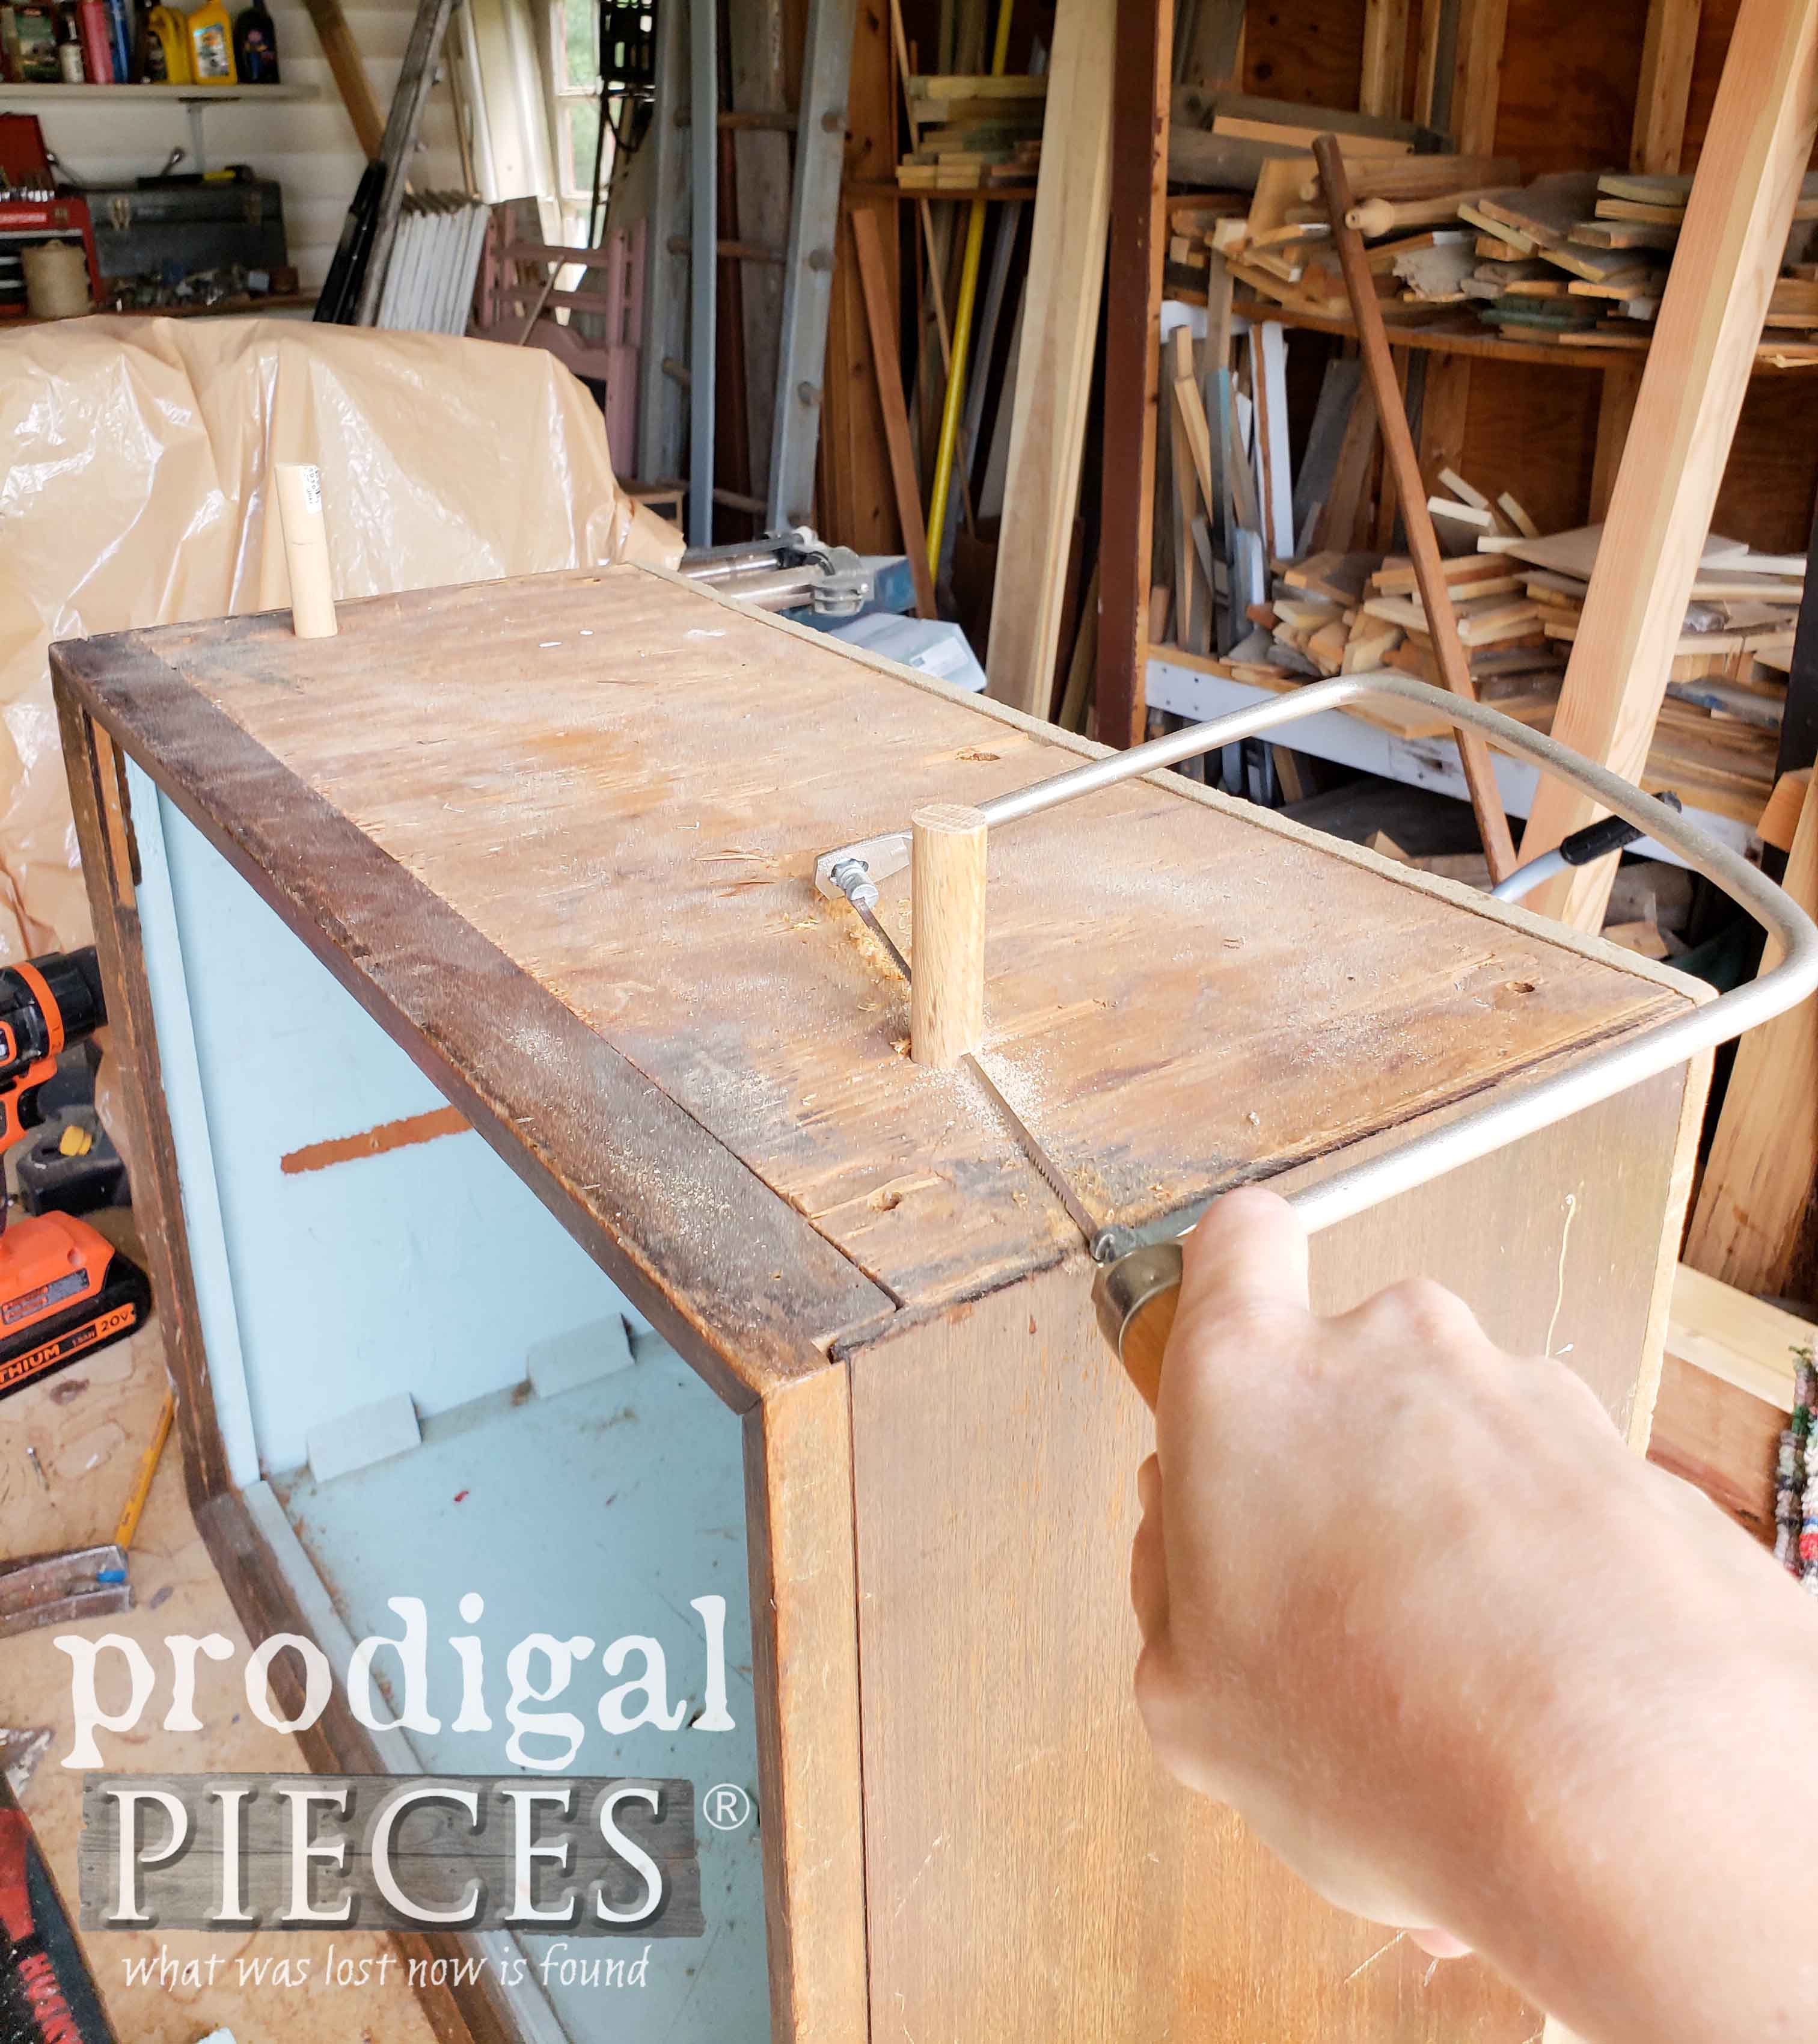
As for the top, it had many holes drilled into it, so I plugged each one with dowel, and cut the flush with my coping saw.
MESS
Now all the holes are plugged, but the top was still pretty ragged. I then filled every living inch with wood filler. That there be a whole lotta wood filler. Whoa!
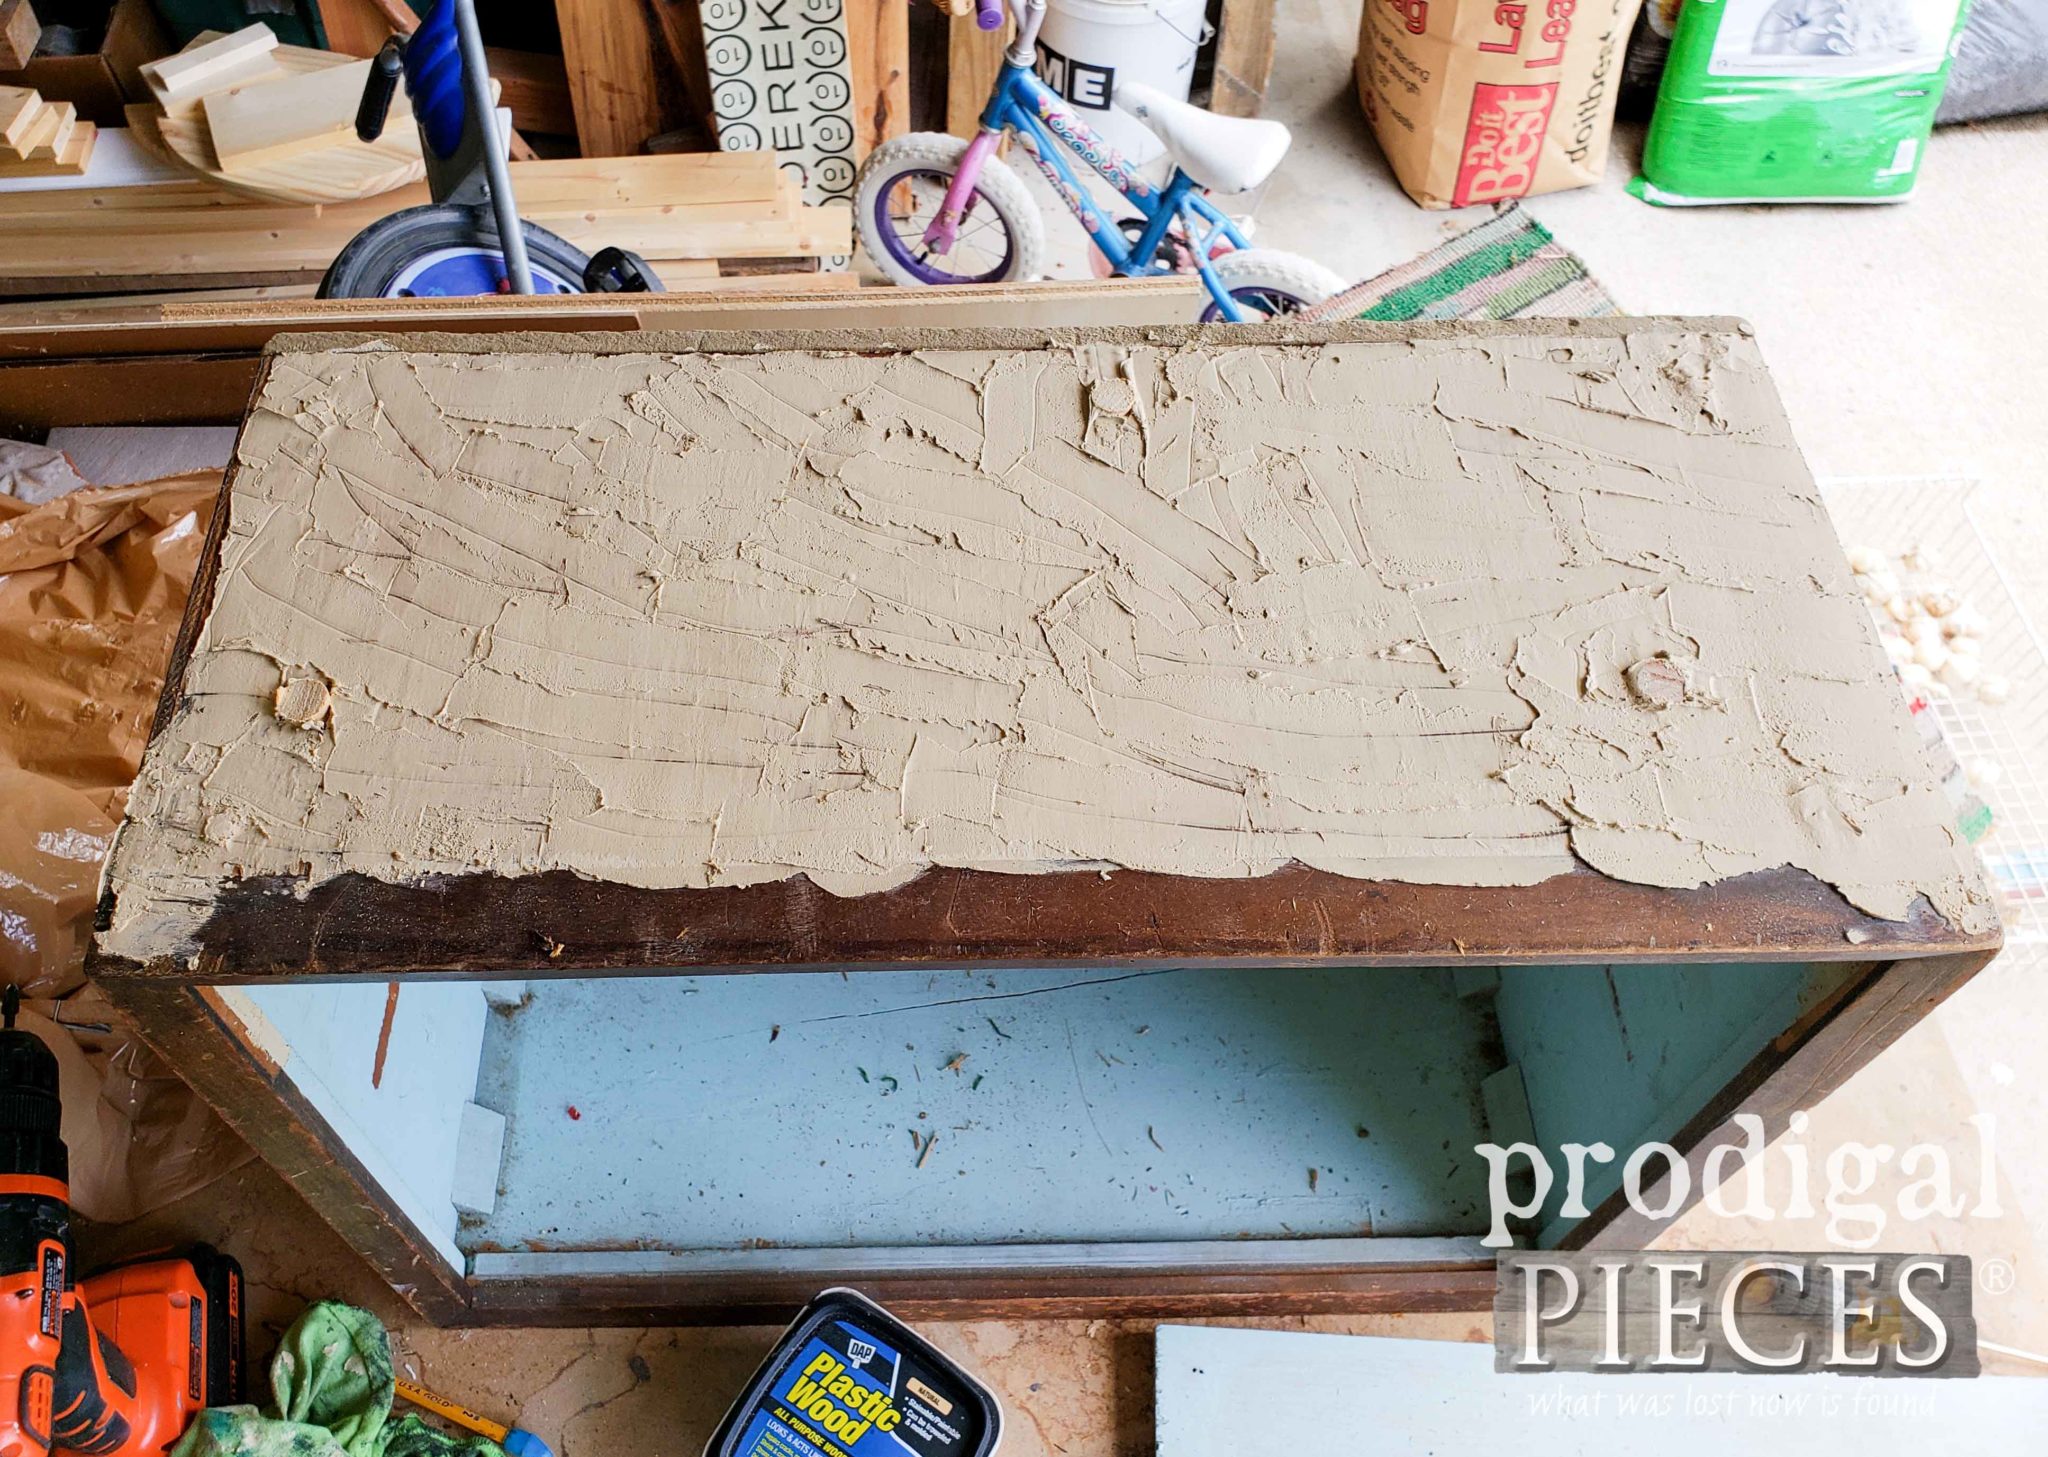
As soon as all that wood filler had cured, I took my sander and knocked it all down smooth. Then it was time to complete the finish work of this Mid Century nightstand project.
I chose to use a soft green to freshen it up. The soft color reminded me of that Mid Century era with all its green, oranges, yellow, and wood tones.
NEXT STEPS
I began by giving everything a good coat on the outside, leaving the interior for later. While the first coat cured, I decided to cut a new shelf. I could have used my miter saw to make the cut (easy, but not everyone has one), and my table saw too (a bit cumbersome with a long plank). However, I thought I would show you an easy way to make cuts using my cordless circular saw and >my Rip Cut jig. This handy jig makes it easy to get straight cuts on big pieces like 4' x 8' panels and such.
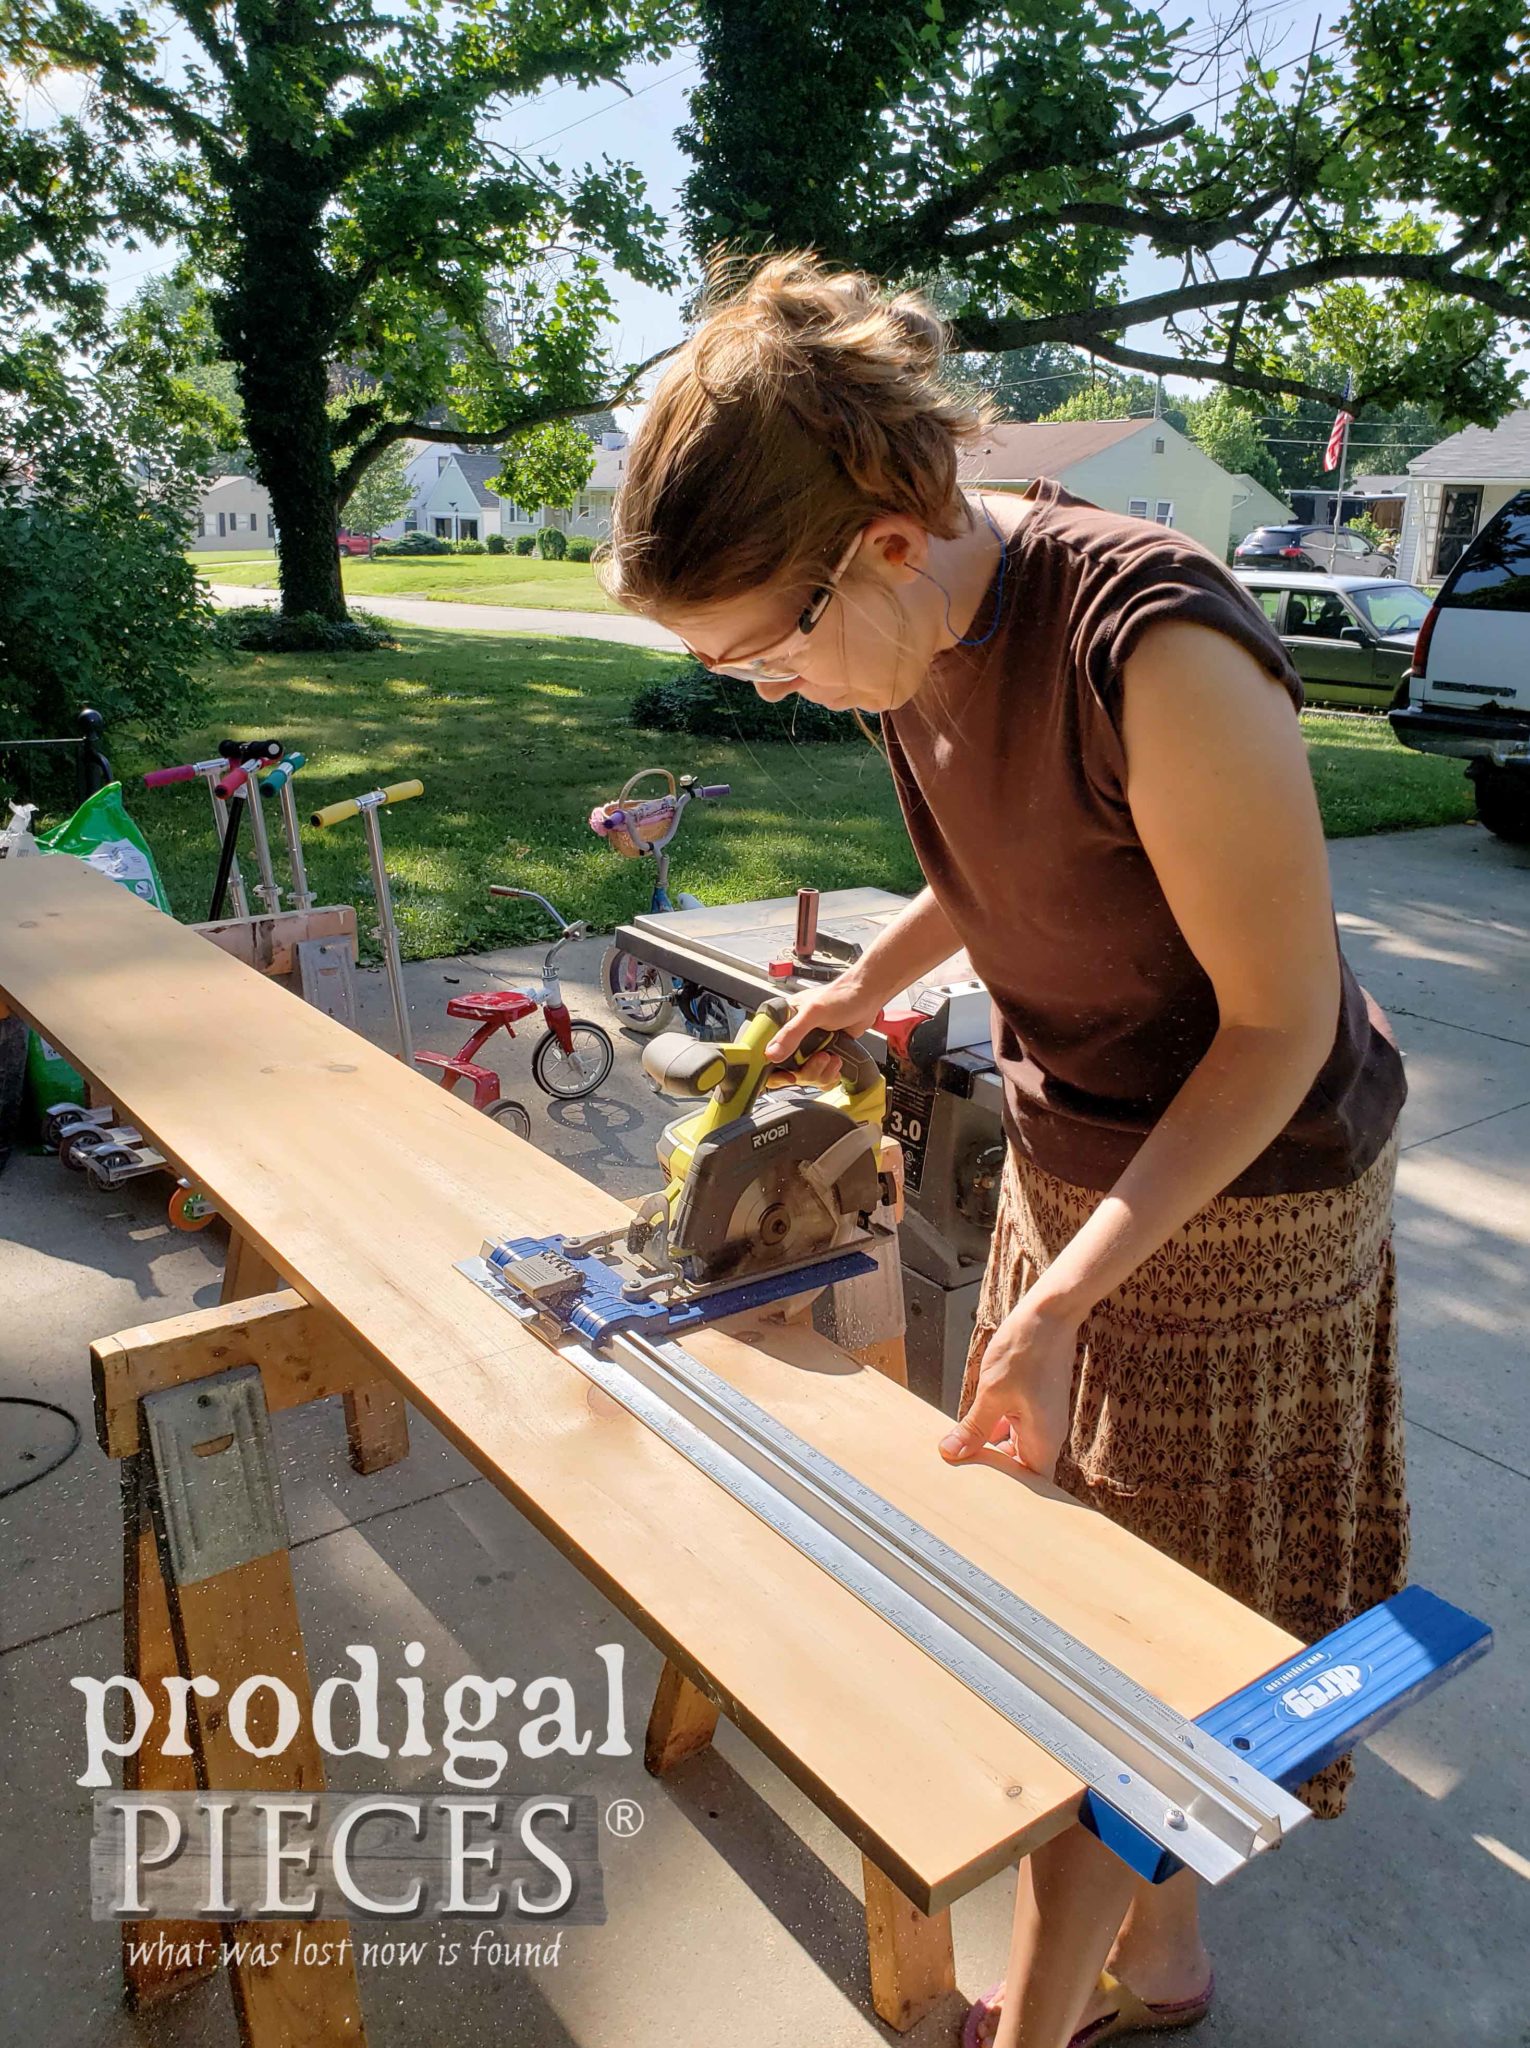
Just set the guide rail to the length you want, and you're done. So easy! I repeat my motto I've had since a teen, toolsoverjewels.
WHATEVER
This is the point when we are working together and I say, "Isn't this fun?" He replies, "IDK, we might as well have built the thing from scratch." I blankly stare back at him while my brain reminds myself why I don't take him junking. I respond with, "But this is a piece of history I save from the trash and we are giving it new life! You can't beat that." His poor self just doesn't get it, but he at least is willing. I think he just needs to come with me anyway so he can experience that thrill of the hunt and victory of the score, am I right? I am convinced he just hasn't found the right thing to get his juices flowing yet.
Okay...so we are nearly done and I'm ready to take this Mid Century nightstand to a new level. One of you awesome readers, Brenda, sent me this set of vintage furniture legs. One set being new in the box, and the other has two left. She found them in her father-in-laws stash and thought I'd love to have them.
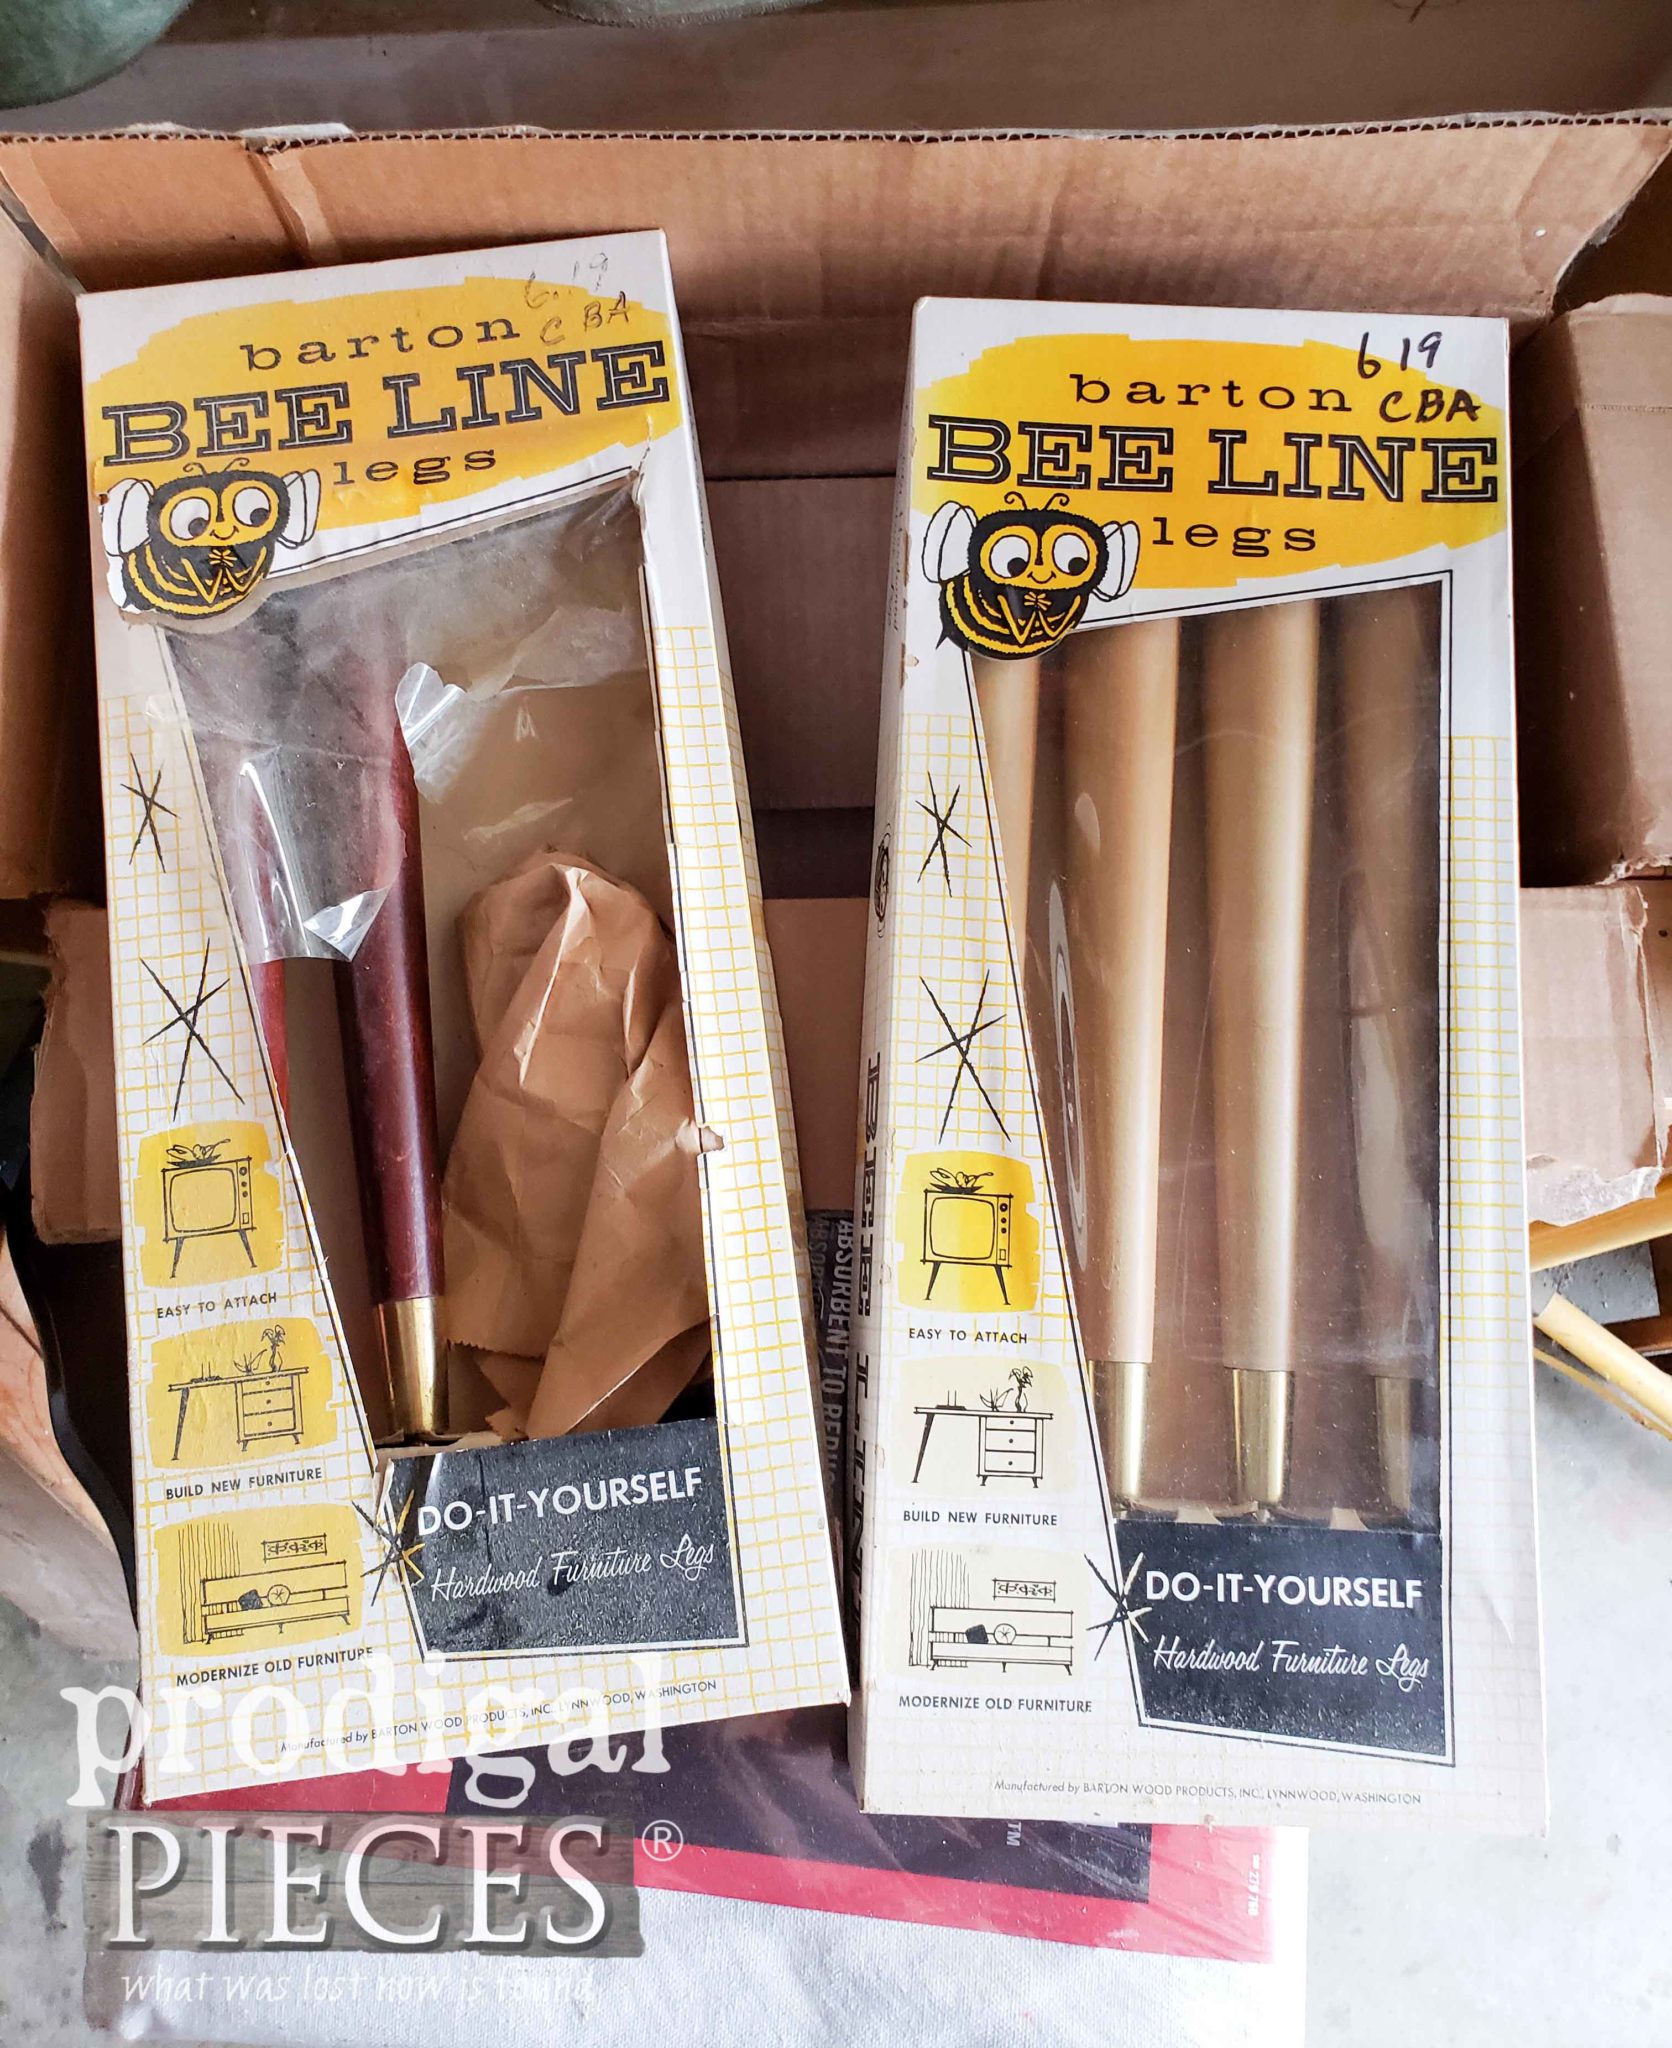
Boy, was she right!! I was over the moon to see these babies arrive in the mail. I've been waiting for just the right time to use them. TODAY! {{applause}} Isn't the packaging awesome?!
THE REVEAL
After much lovin' on this
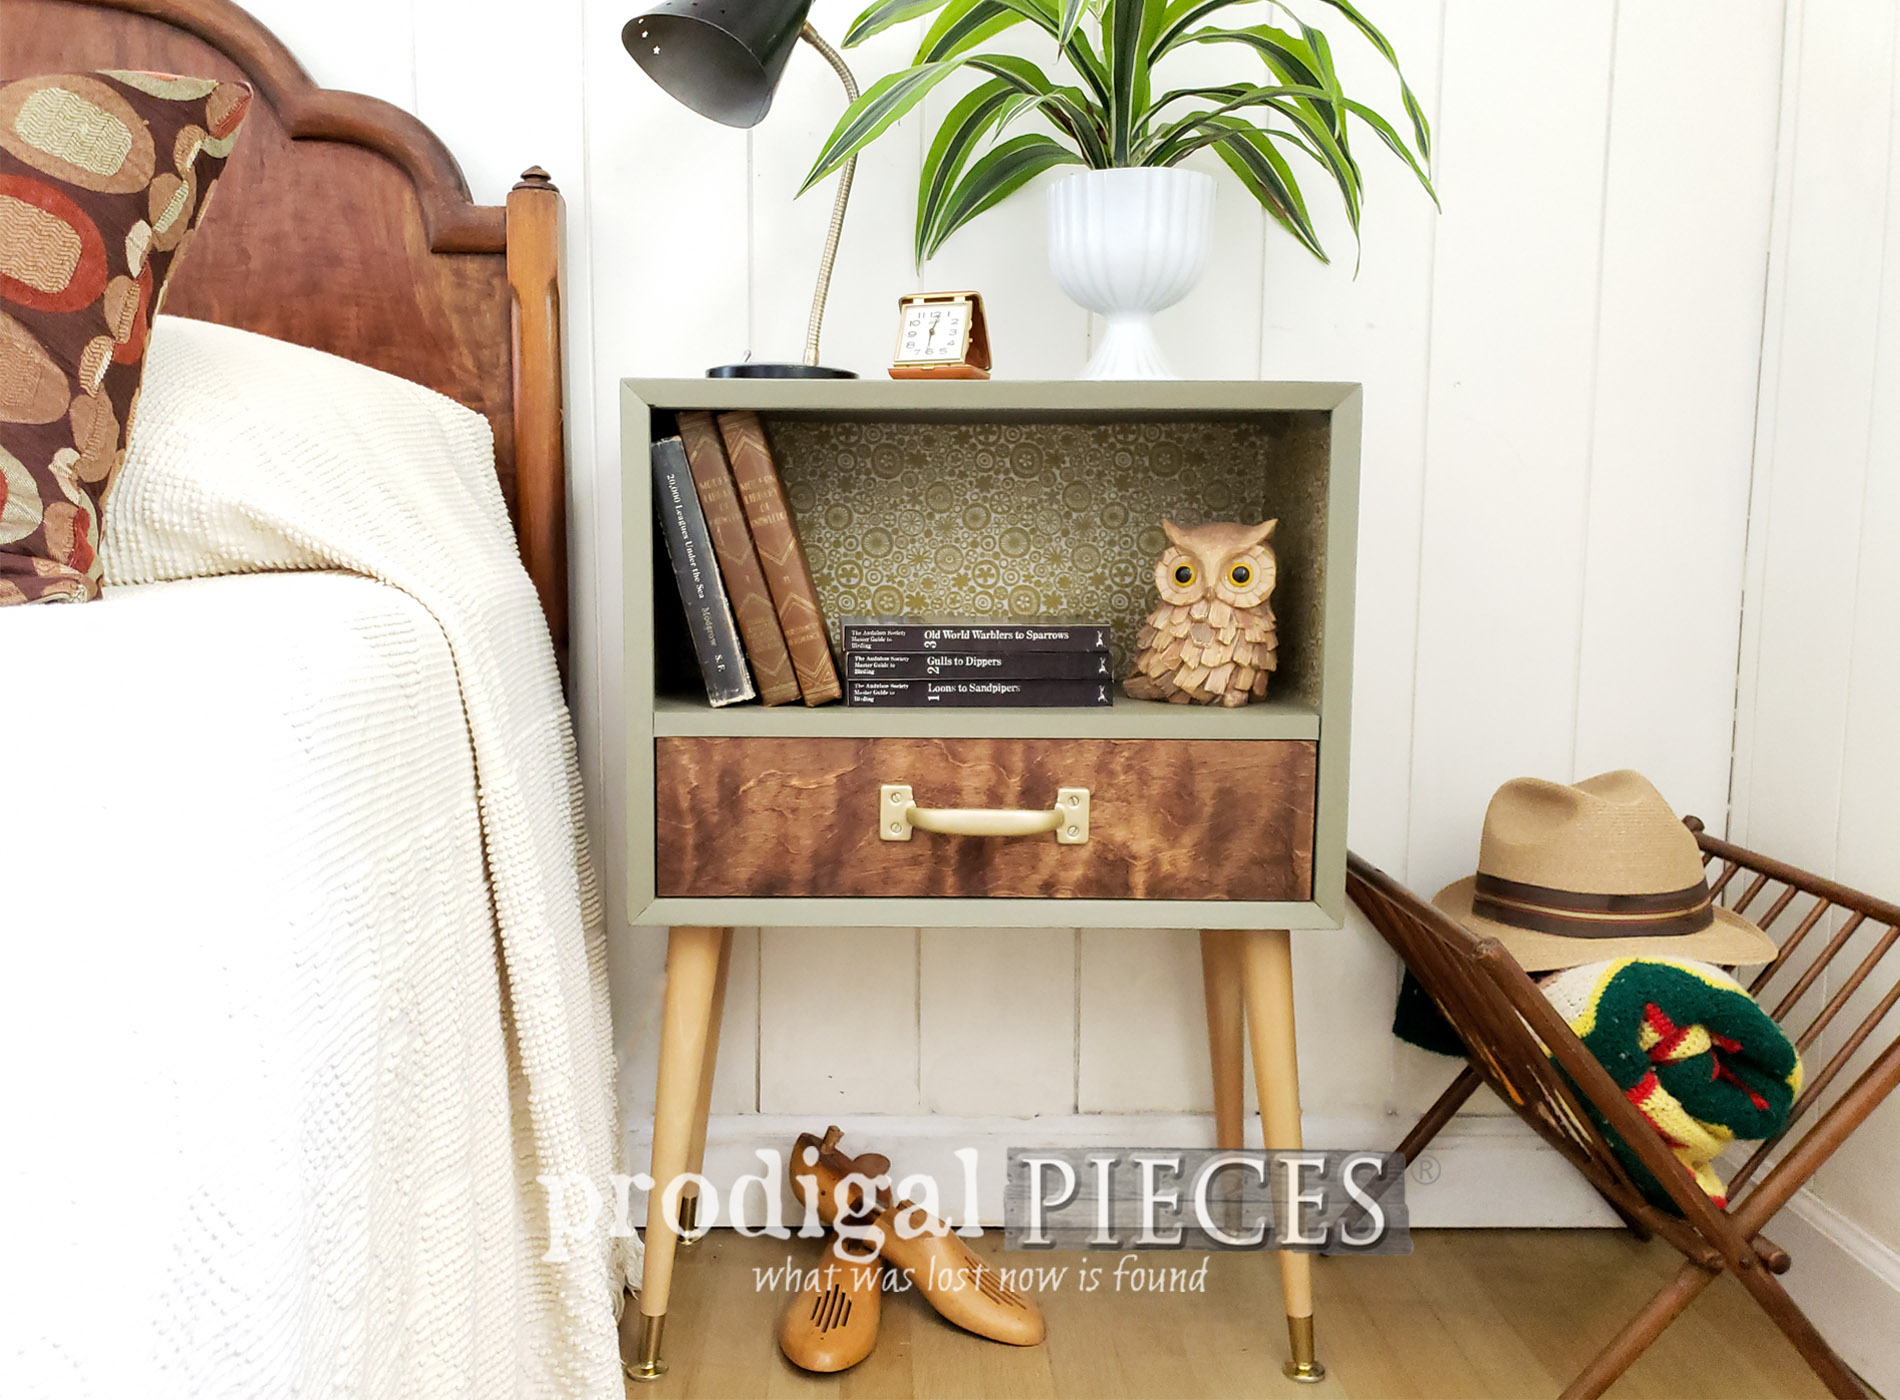
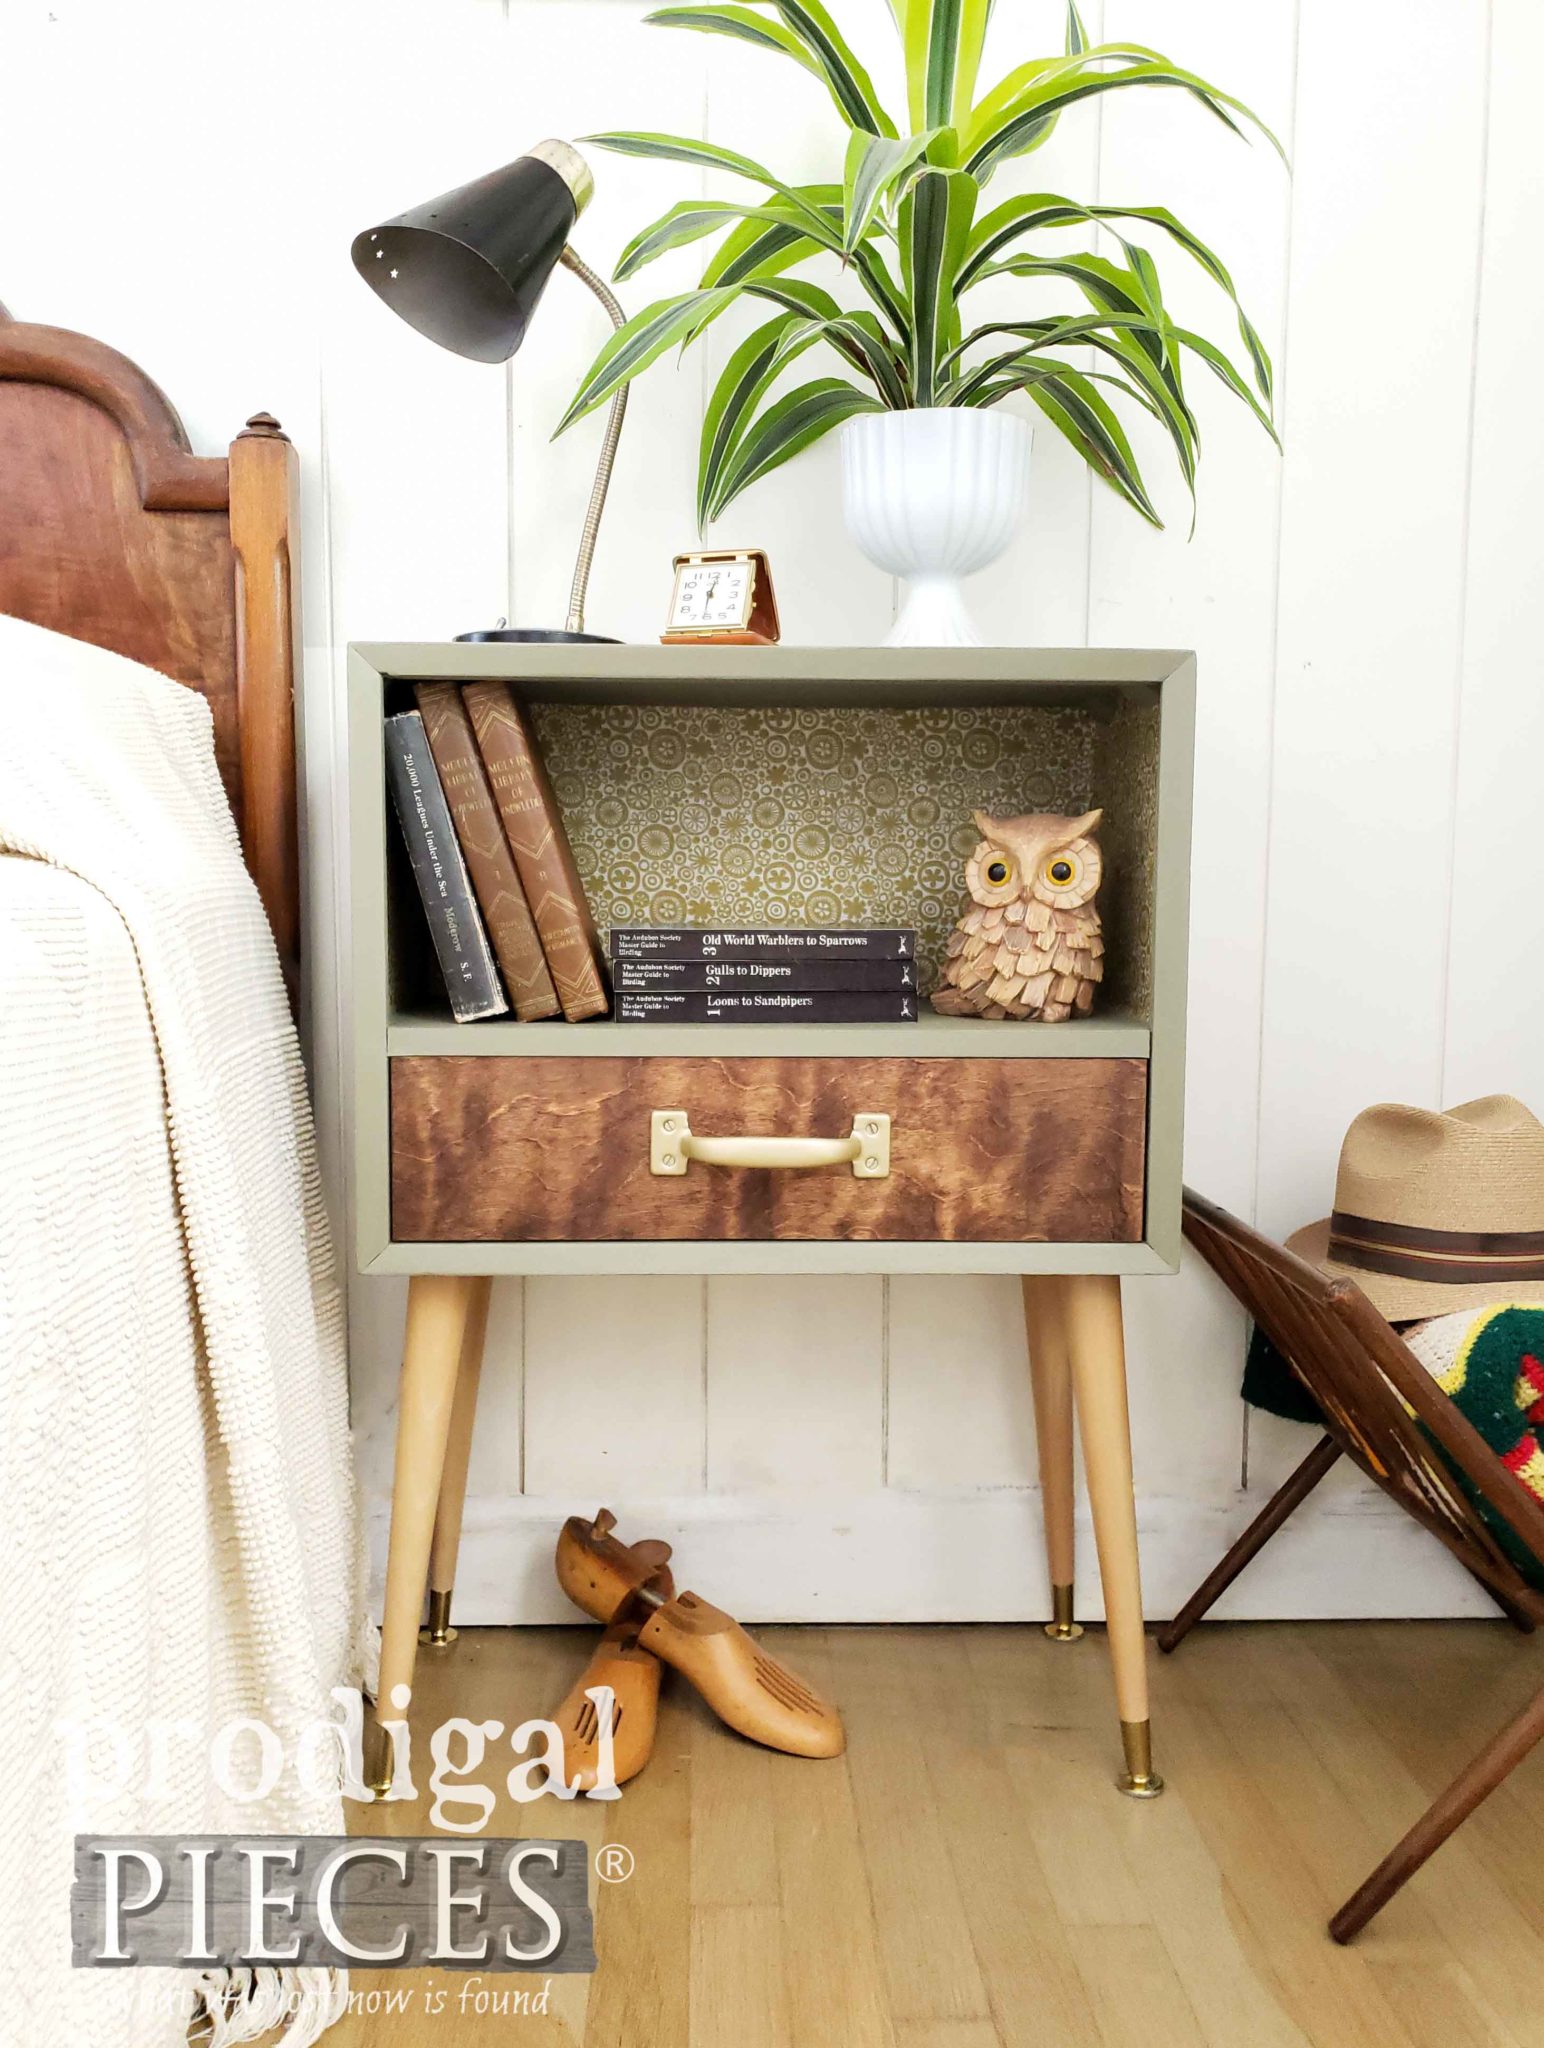
trashure find, here it is all finished and ready with a new lease on life.
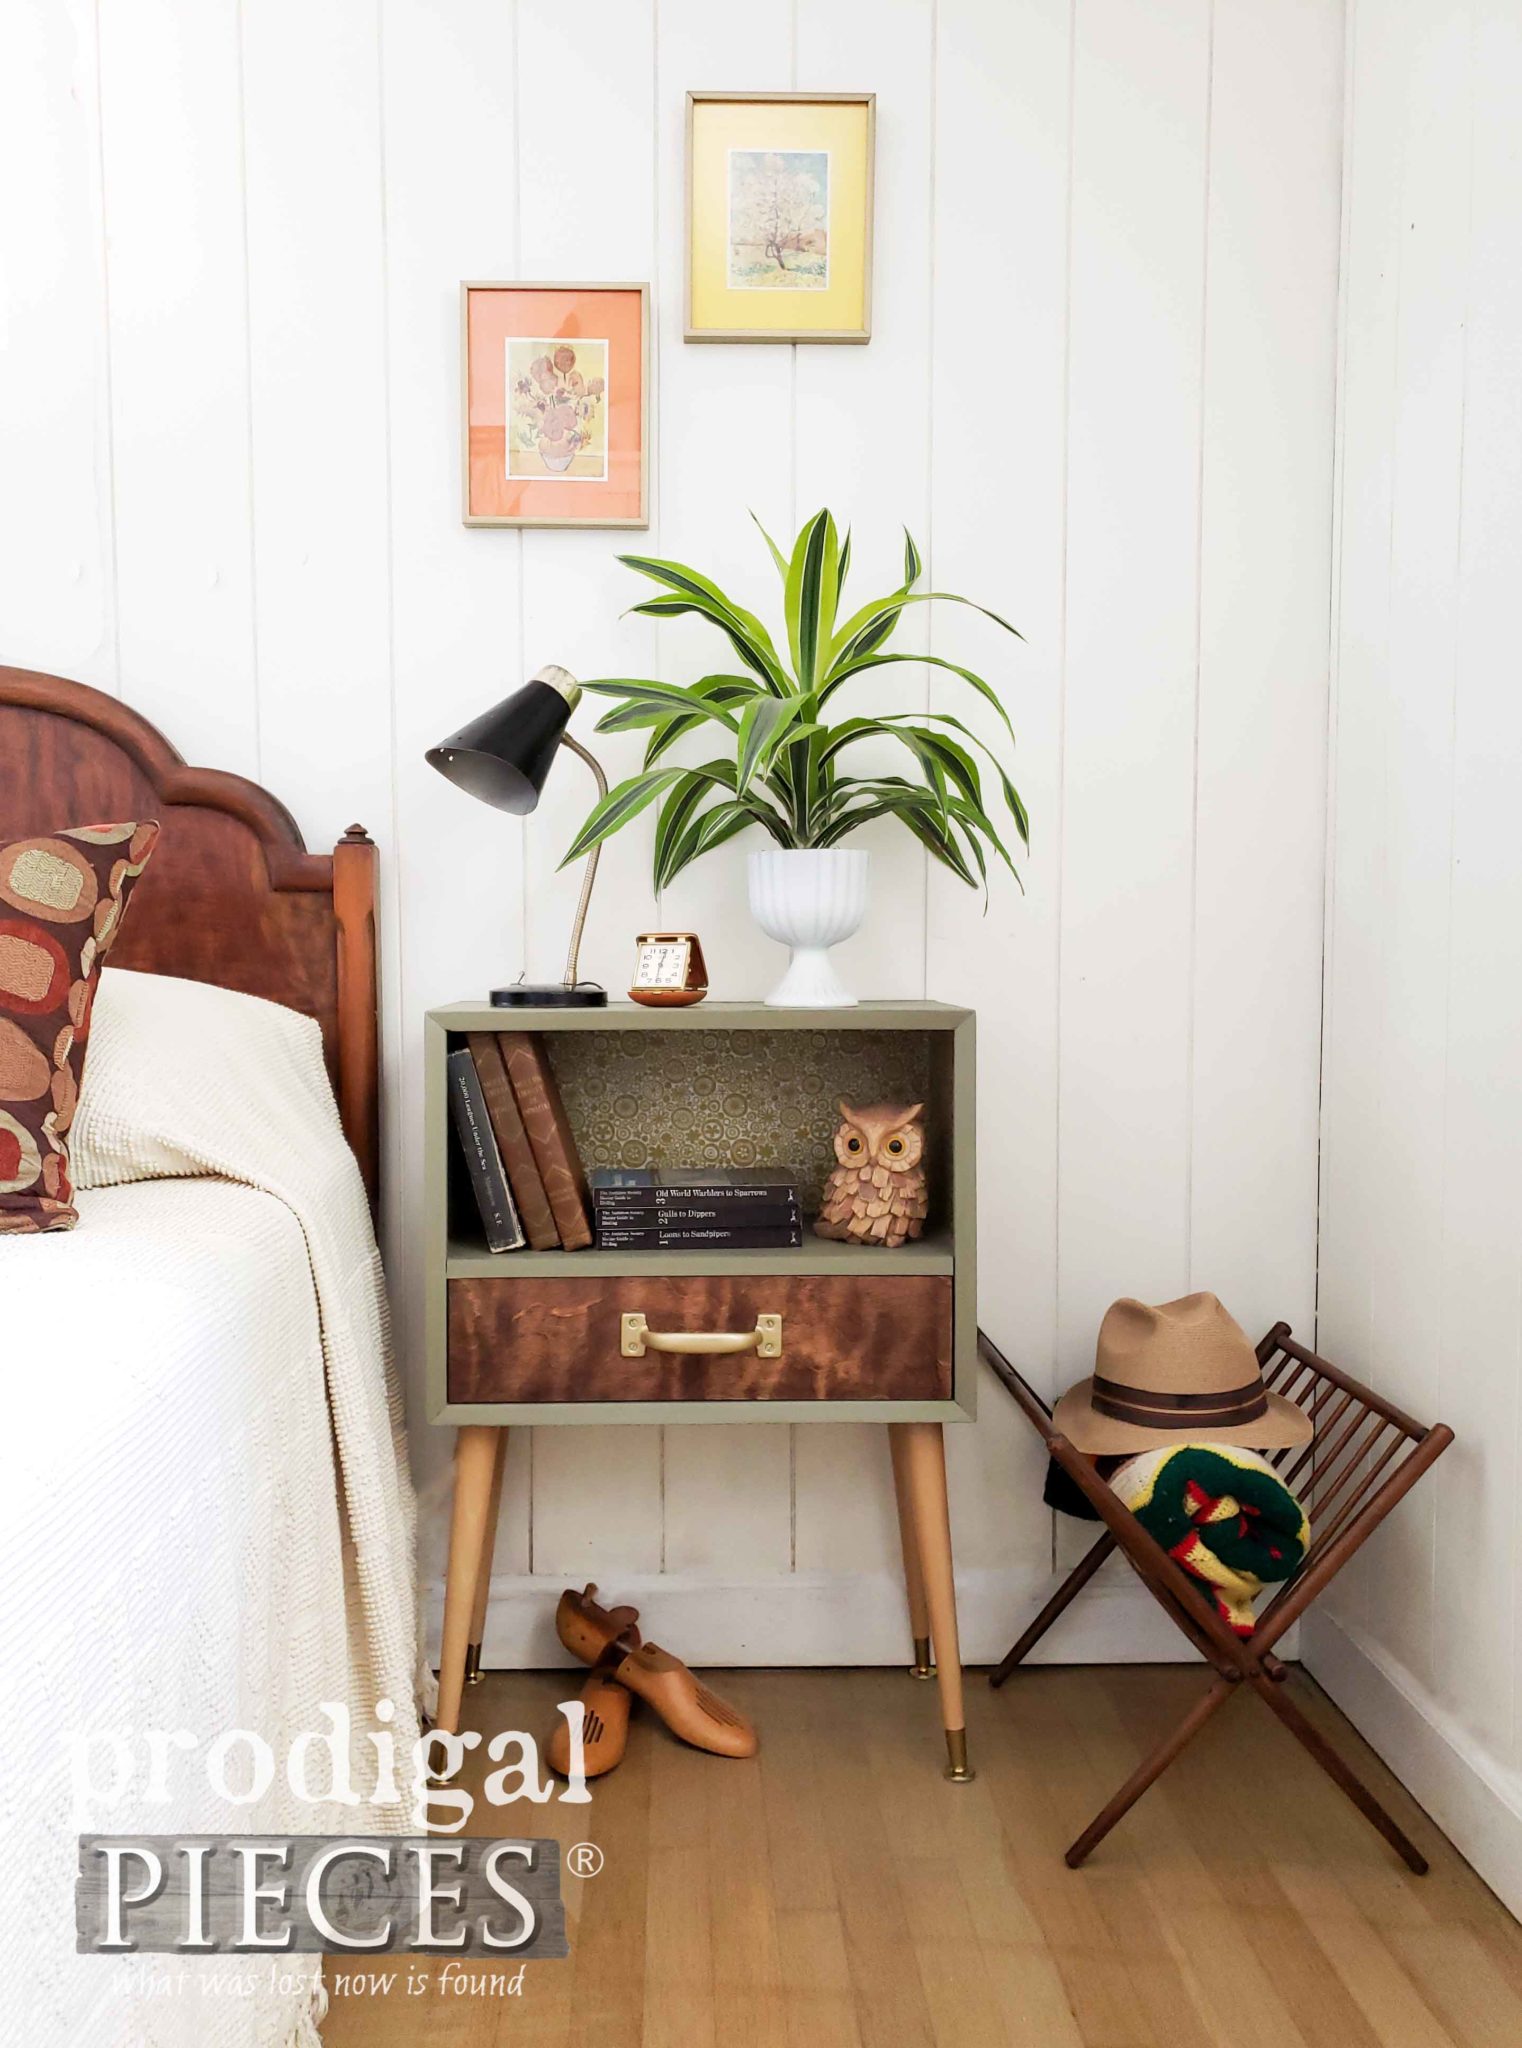
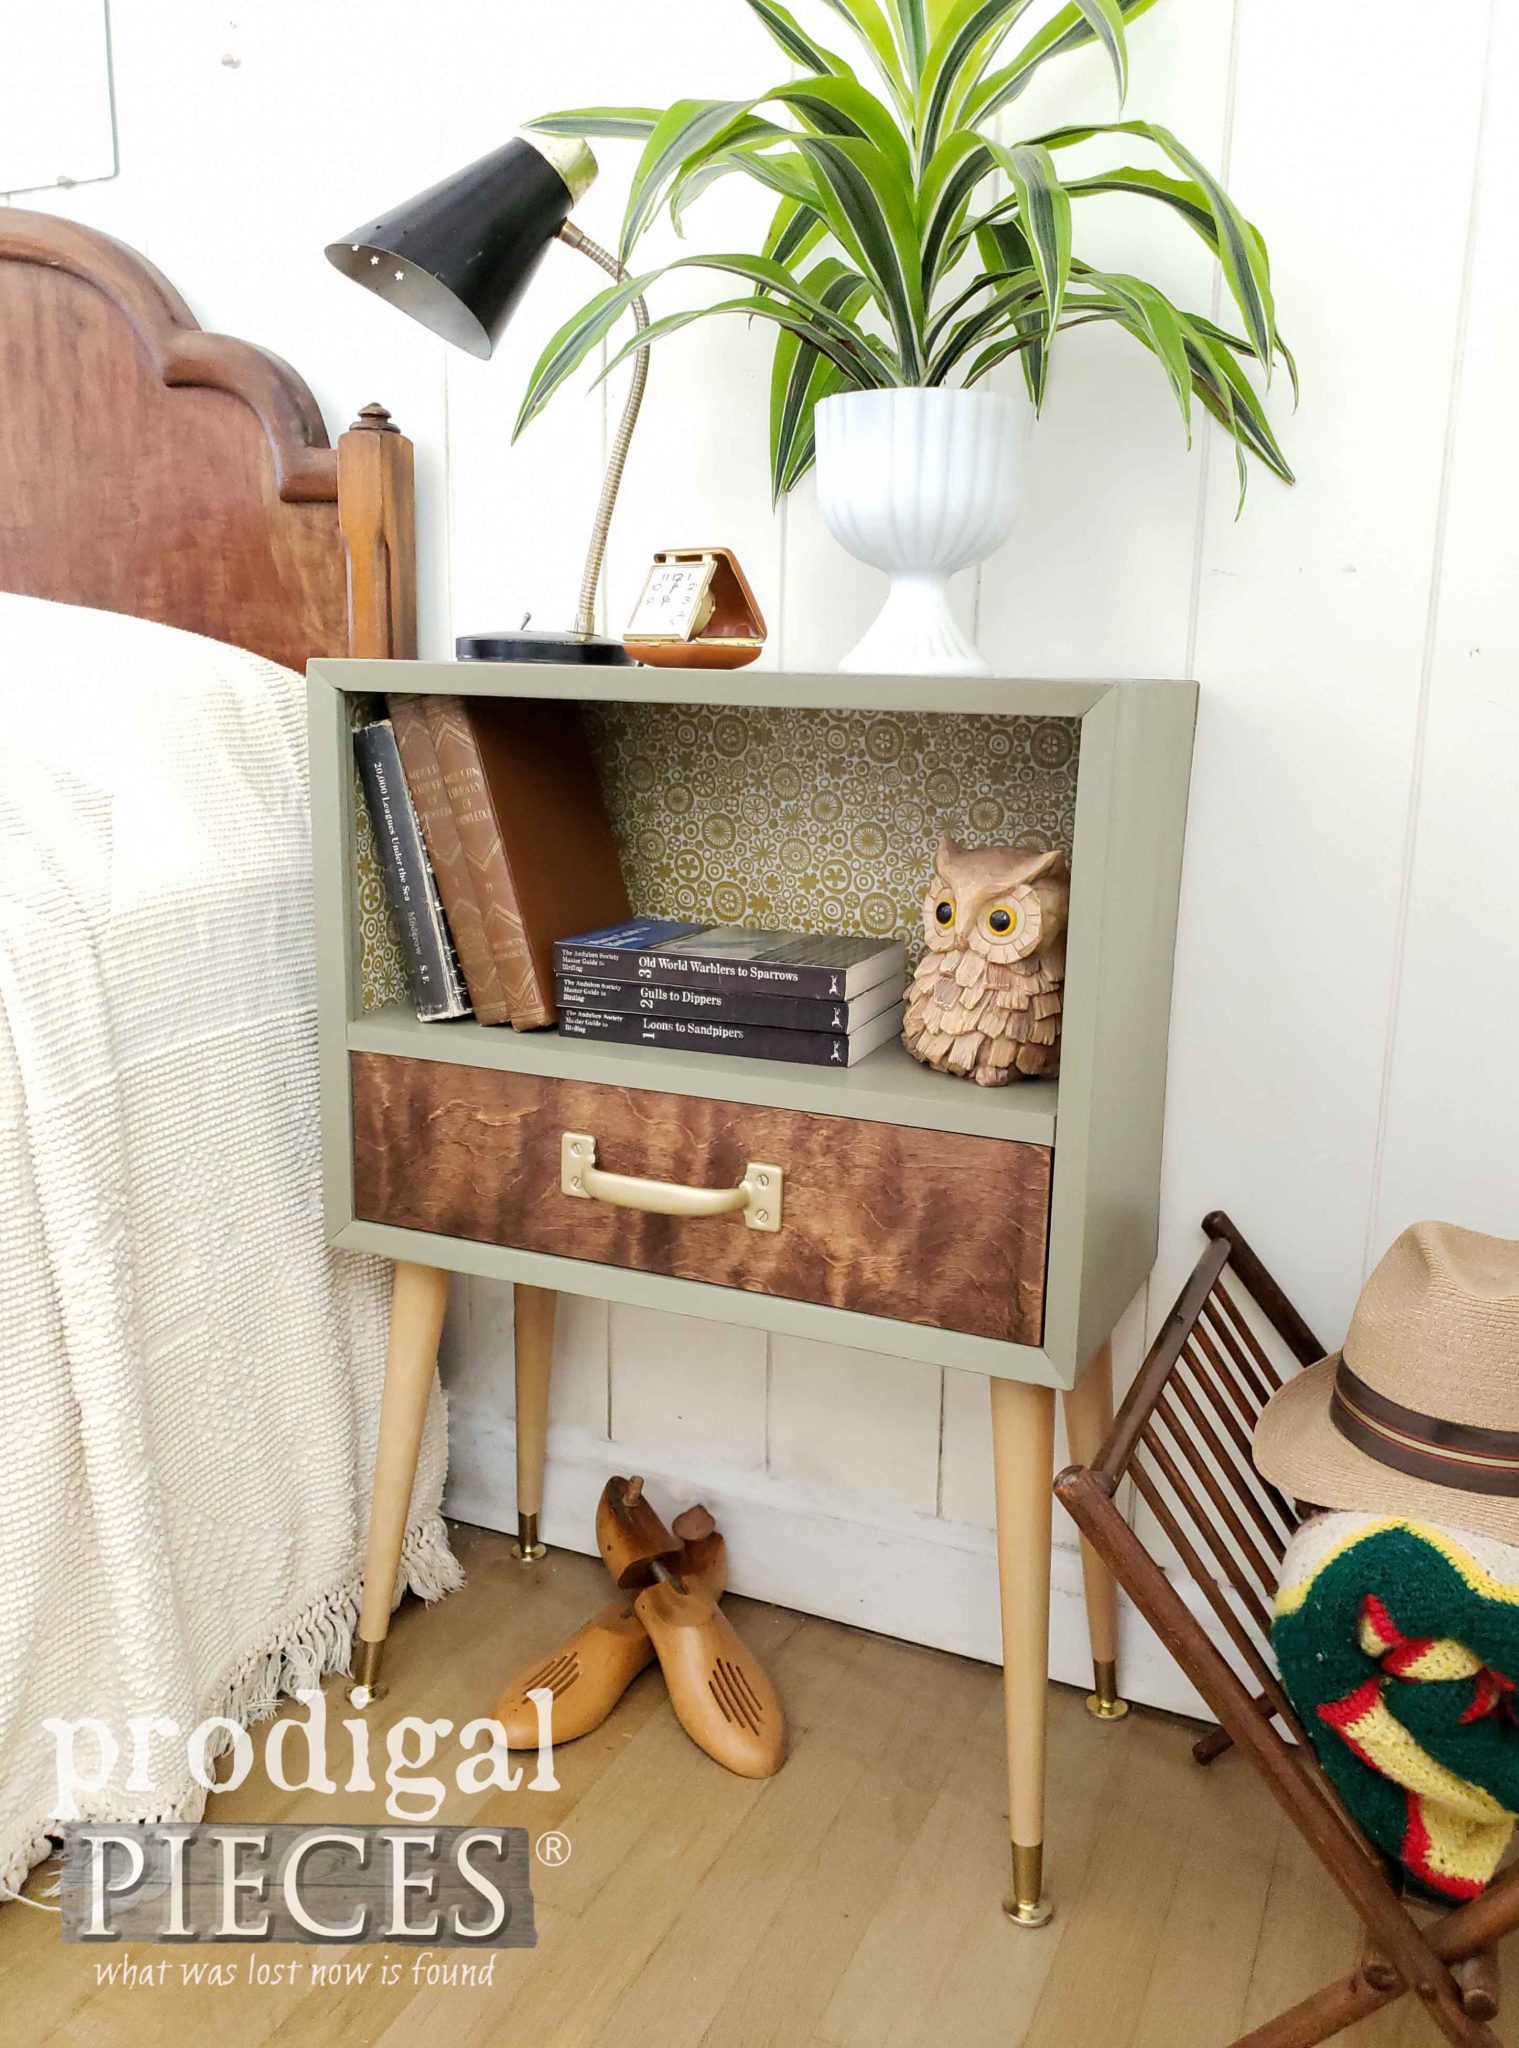
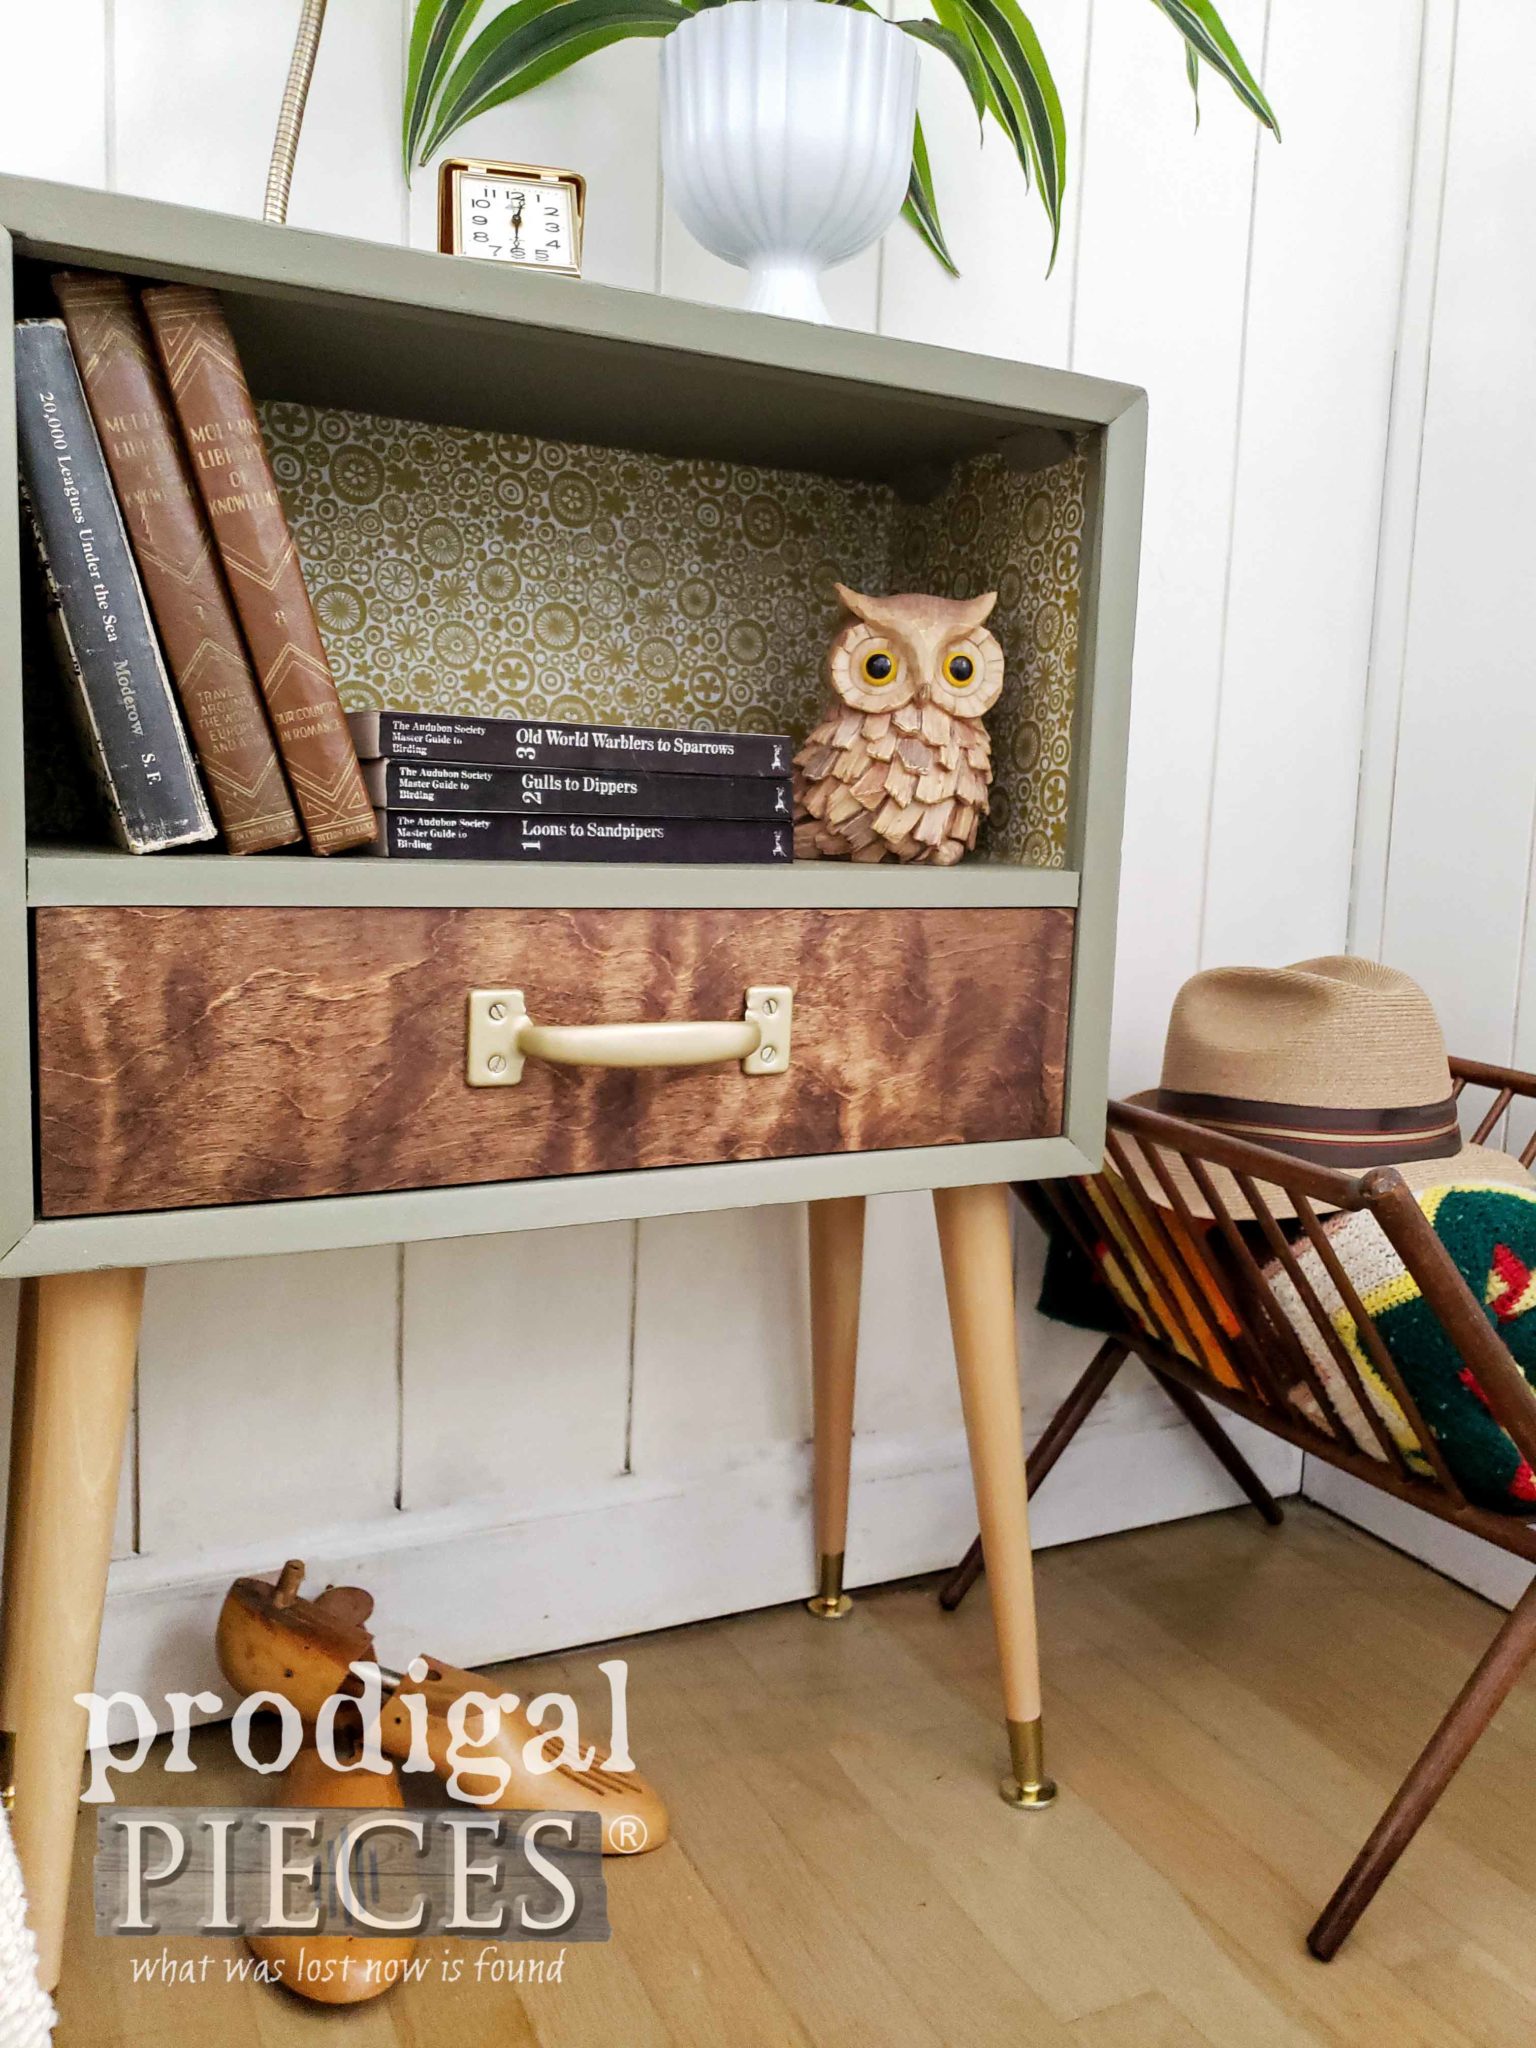
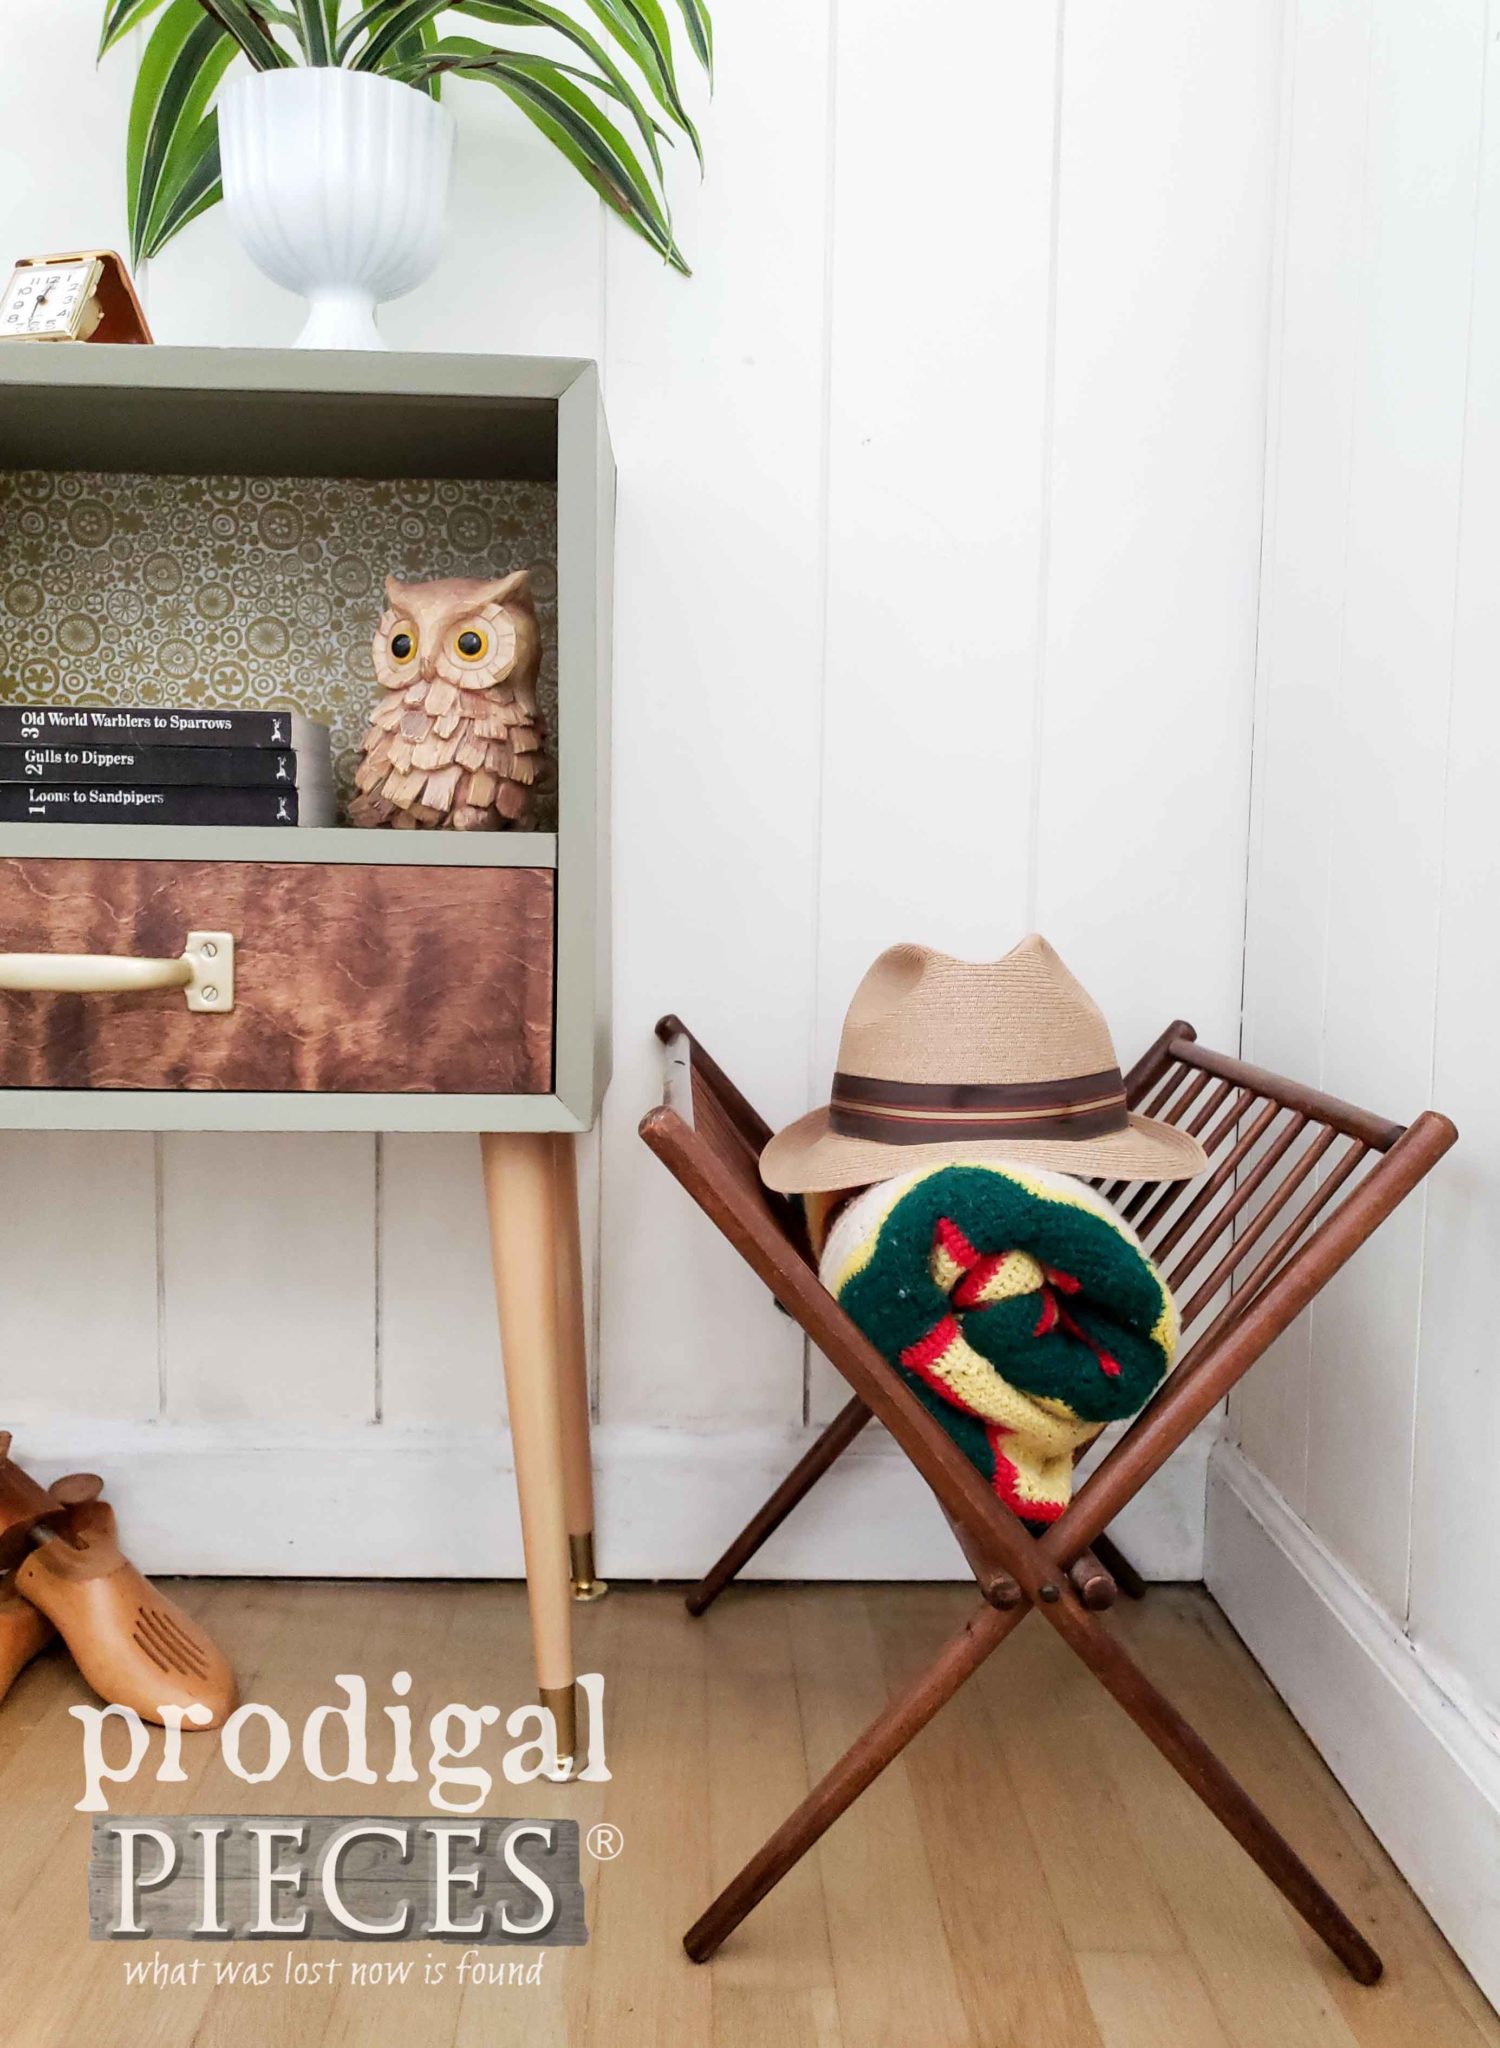
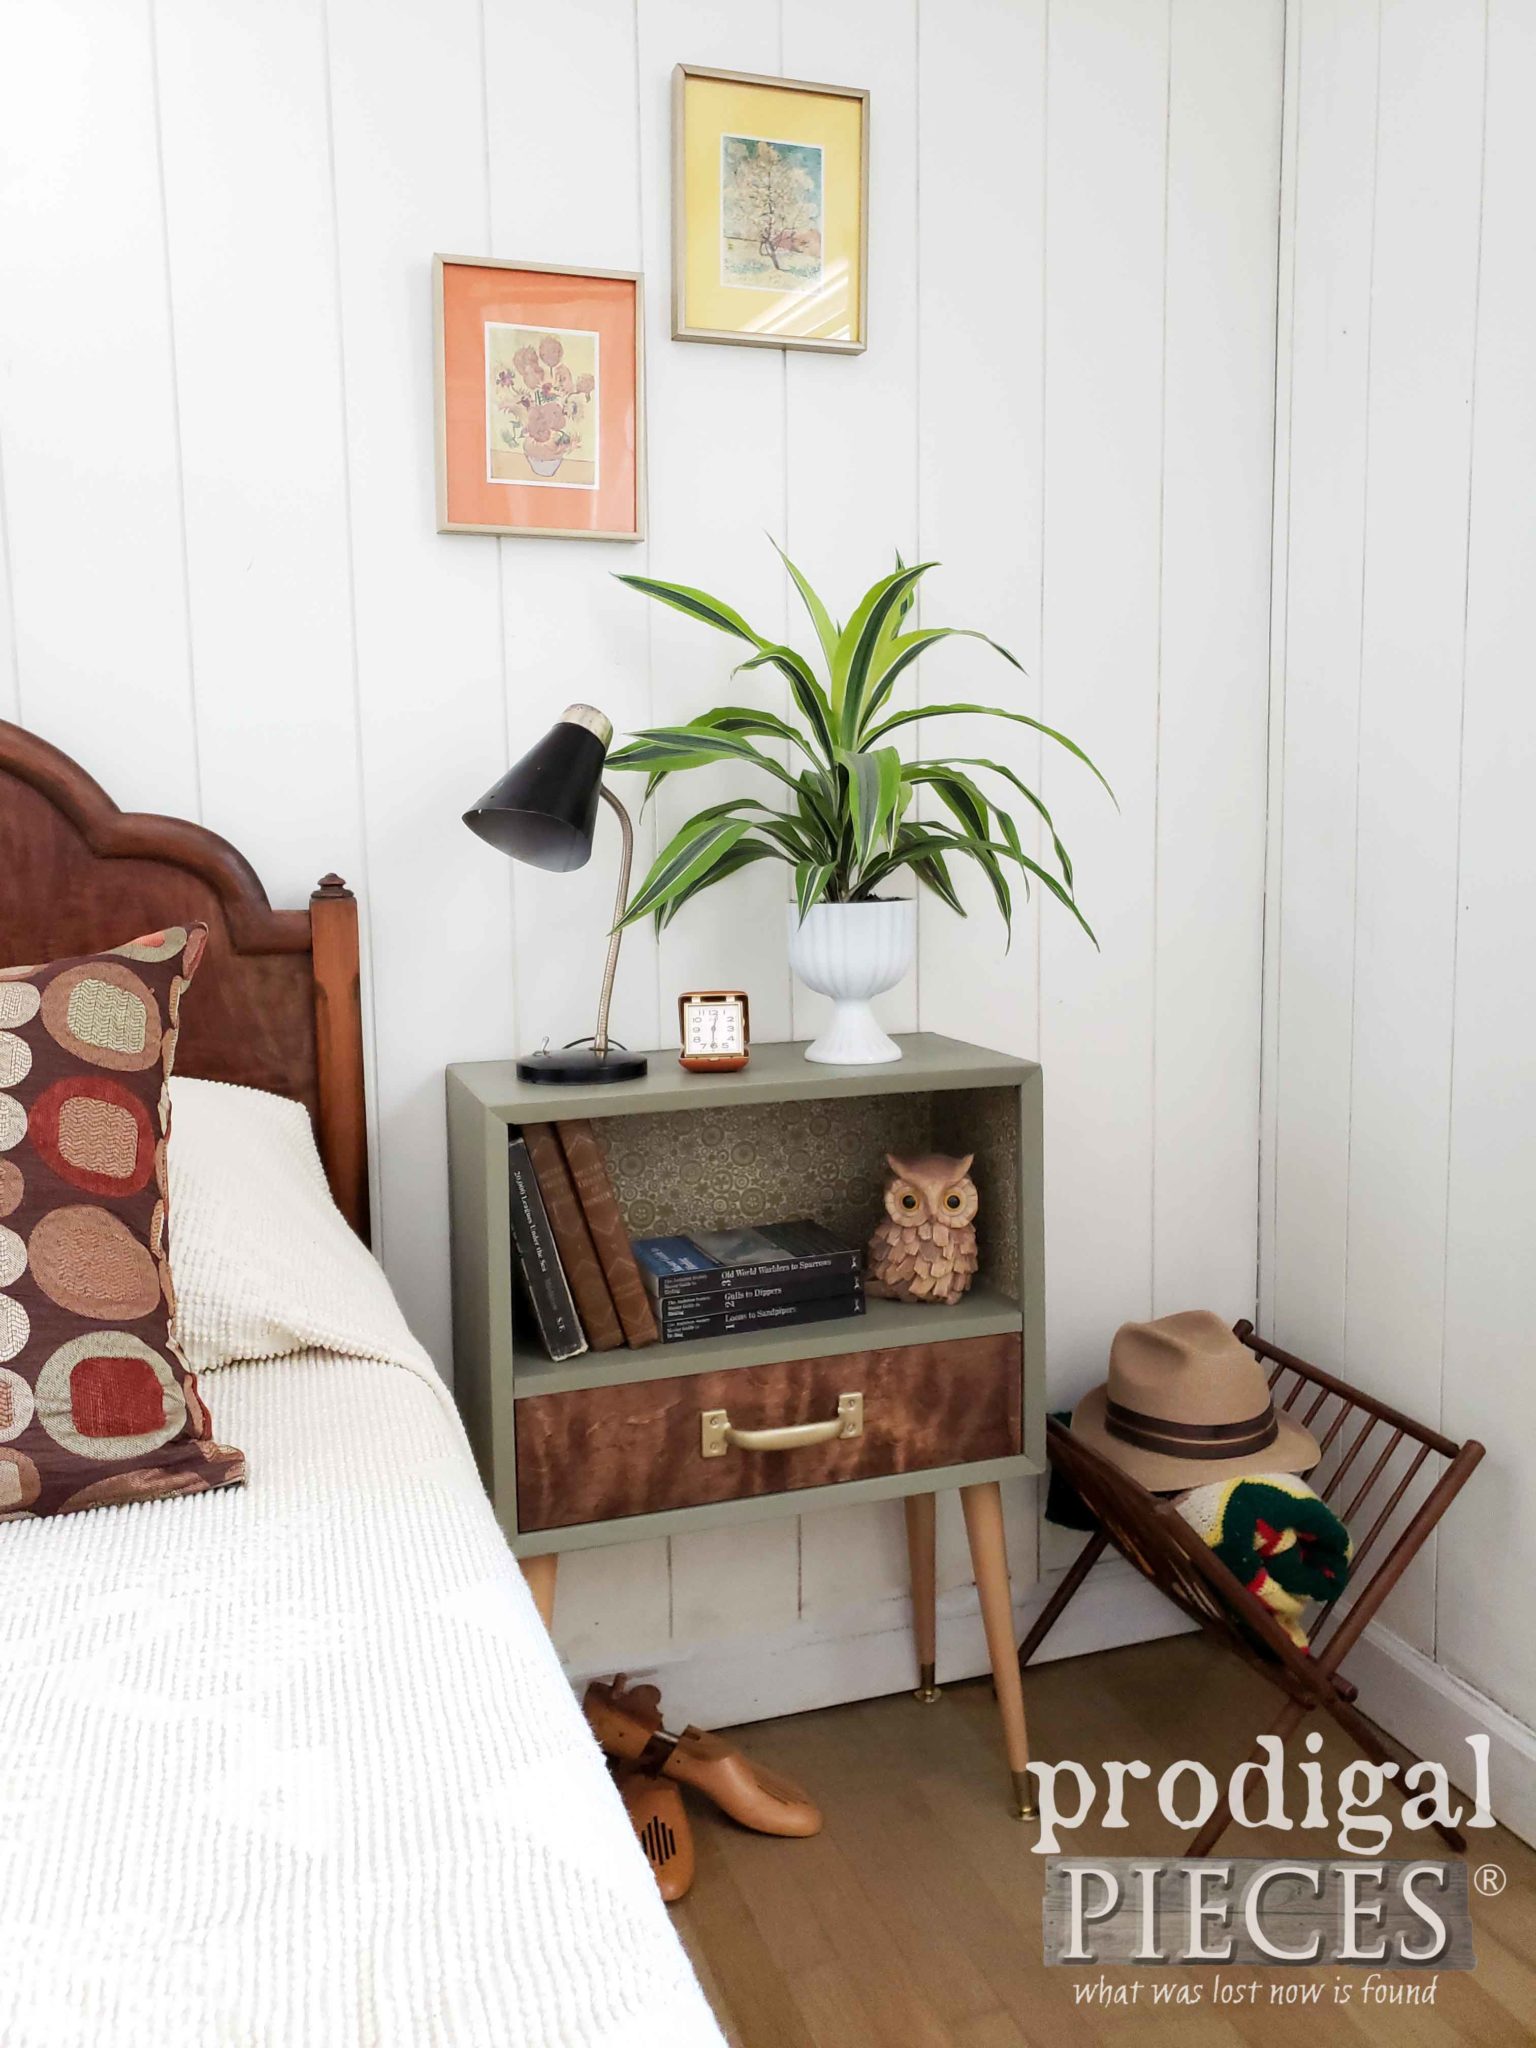
I'm stoked it is just as I had envisioned and the legs look absolutely perfect. Love that blonde wood with brass - so pretty!
PAPER FUN
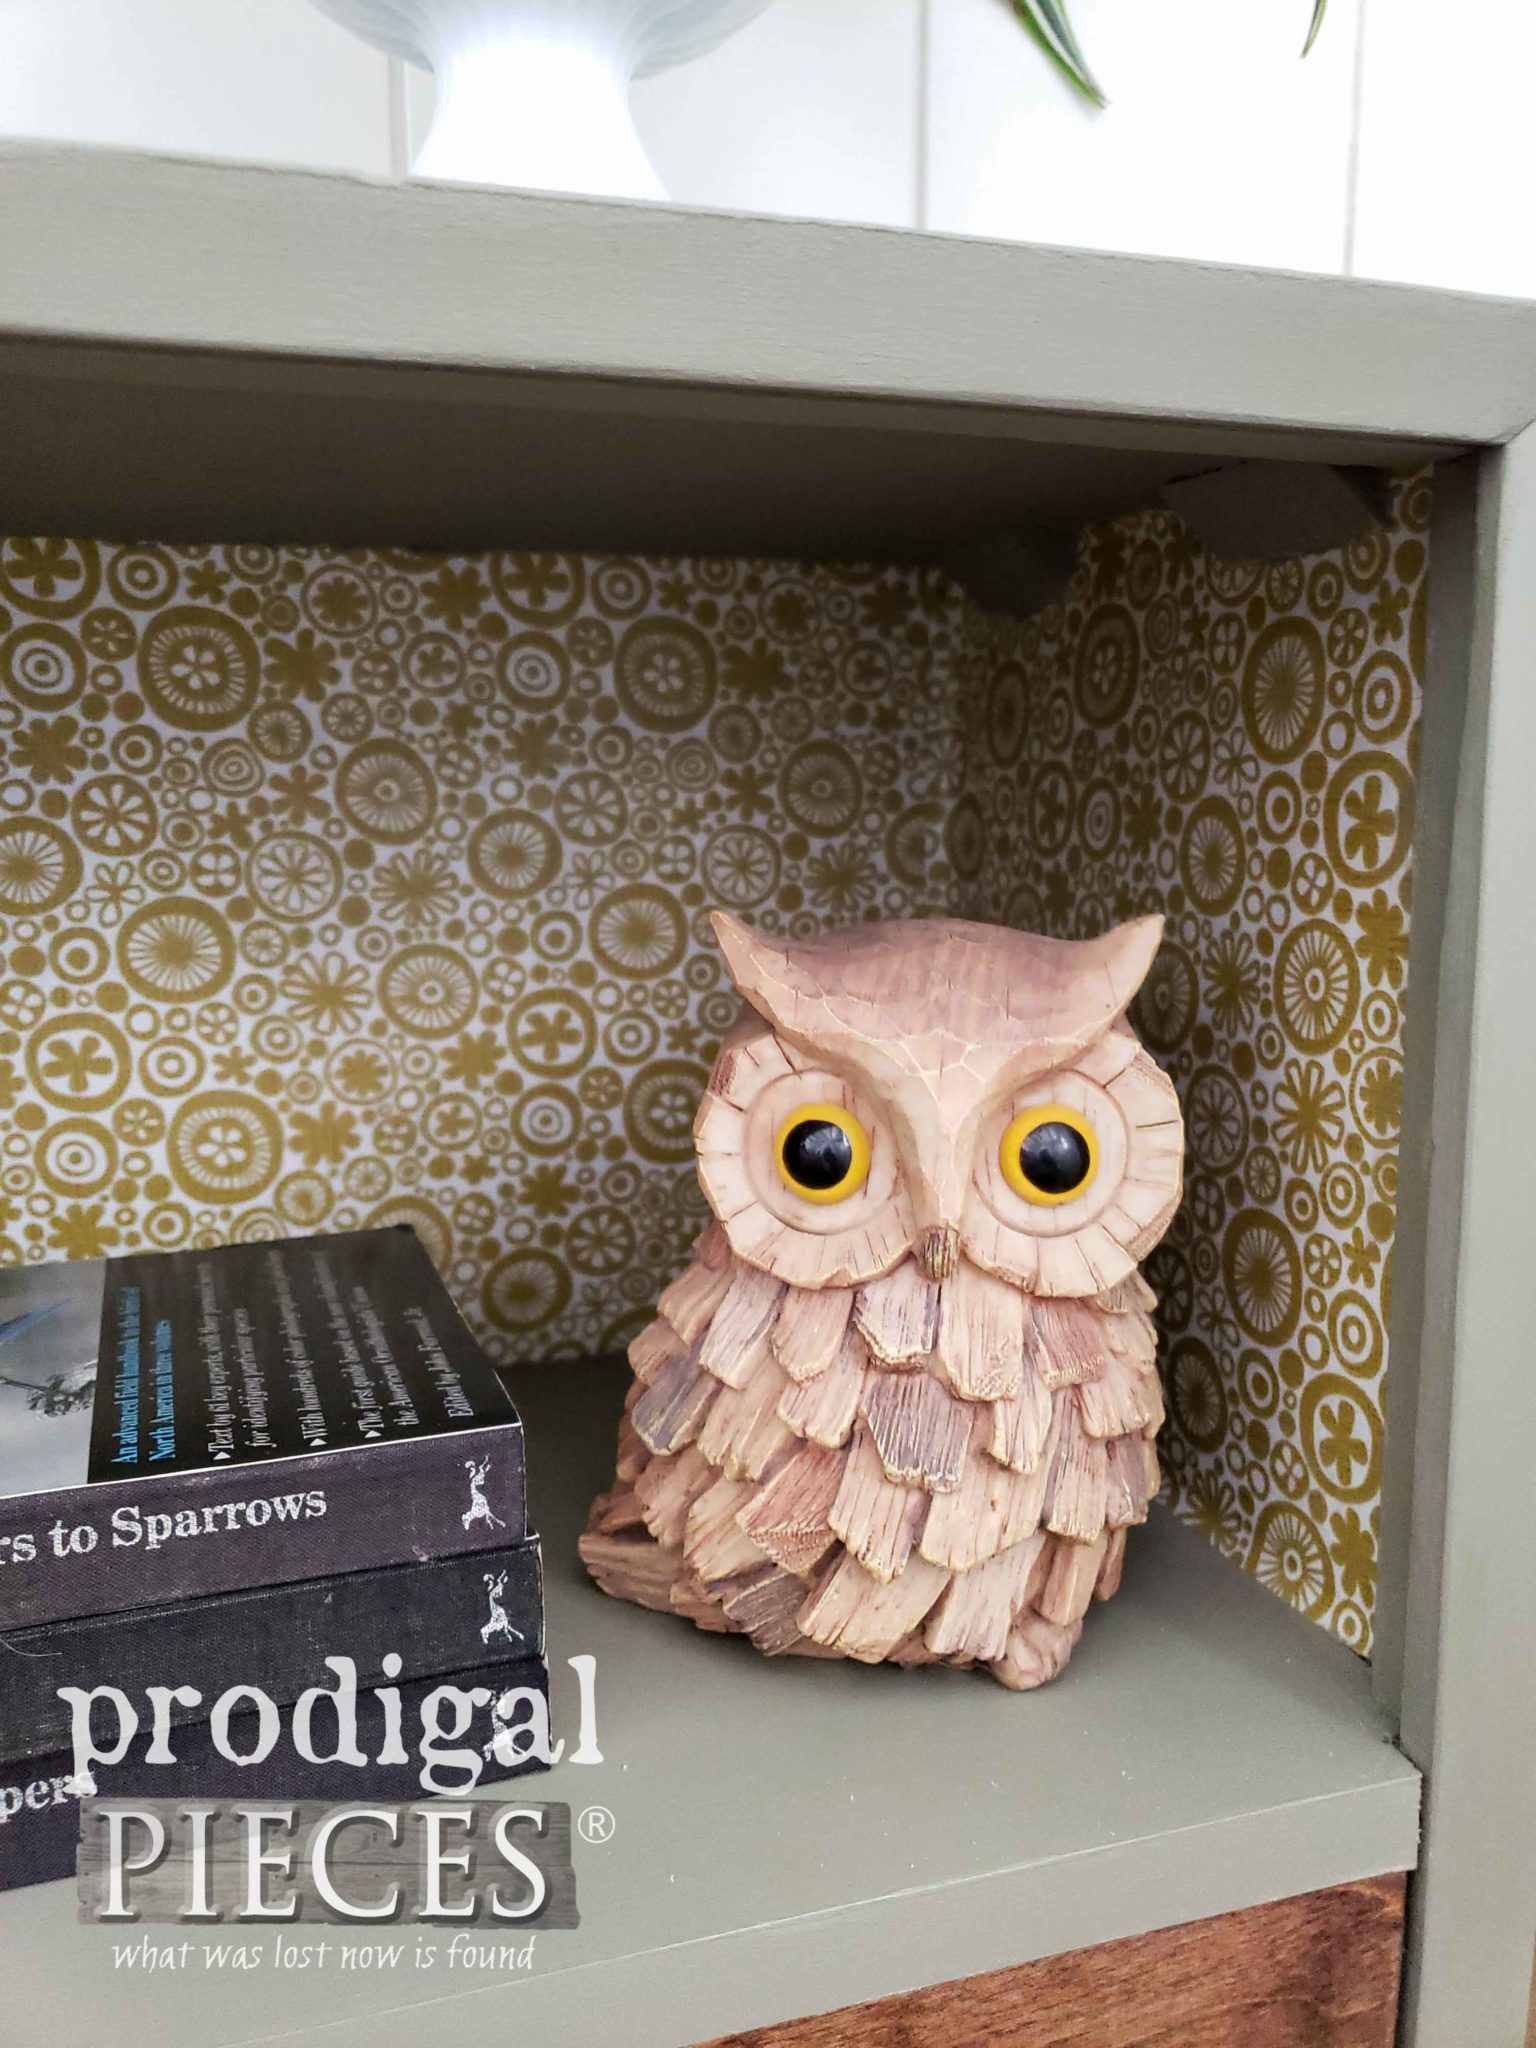
You have to check out the paper I used to line the shelf. I found a couple of rolls of vintage shelf liner at the thrift store, and I knew exactly what I would use it for. I love it!!
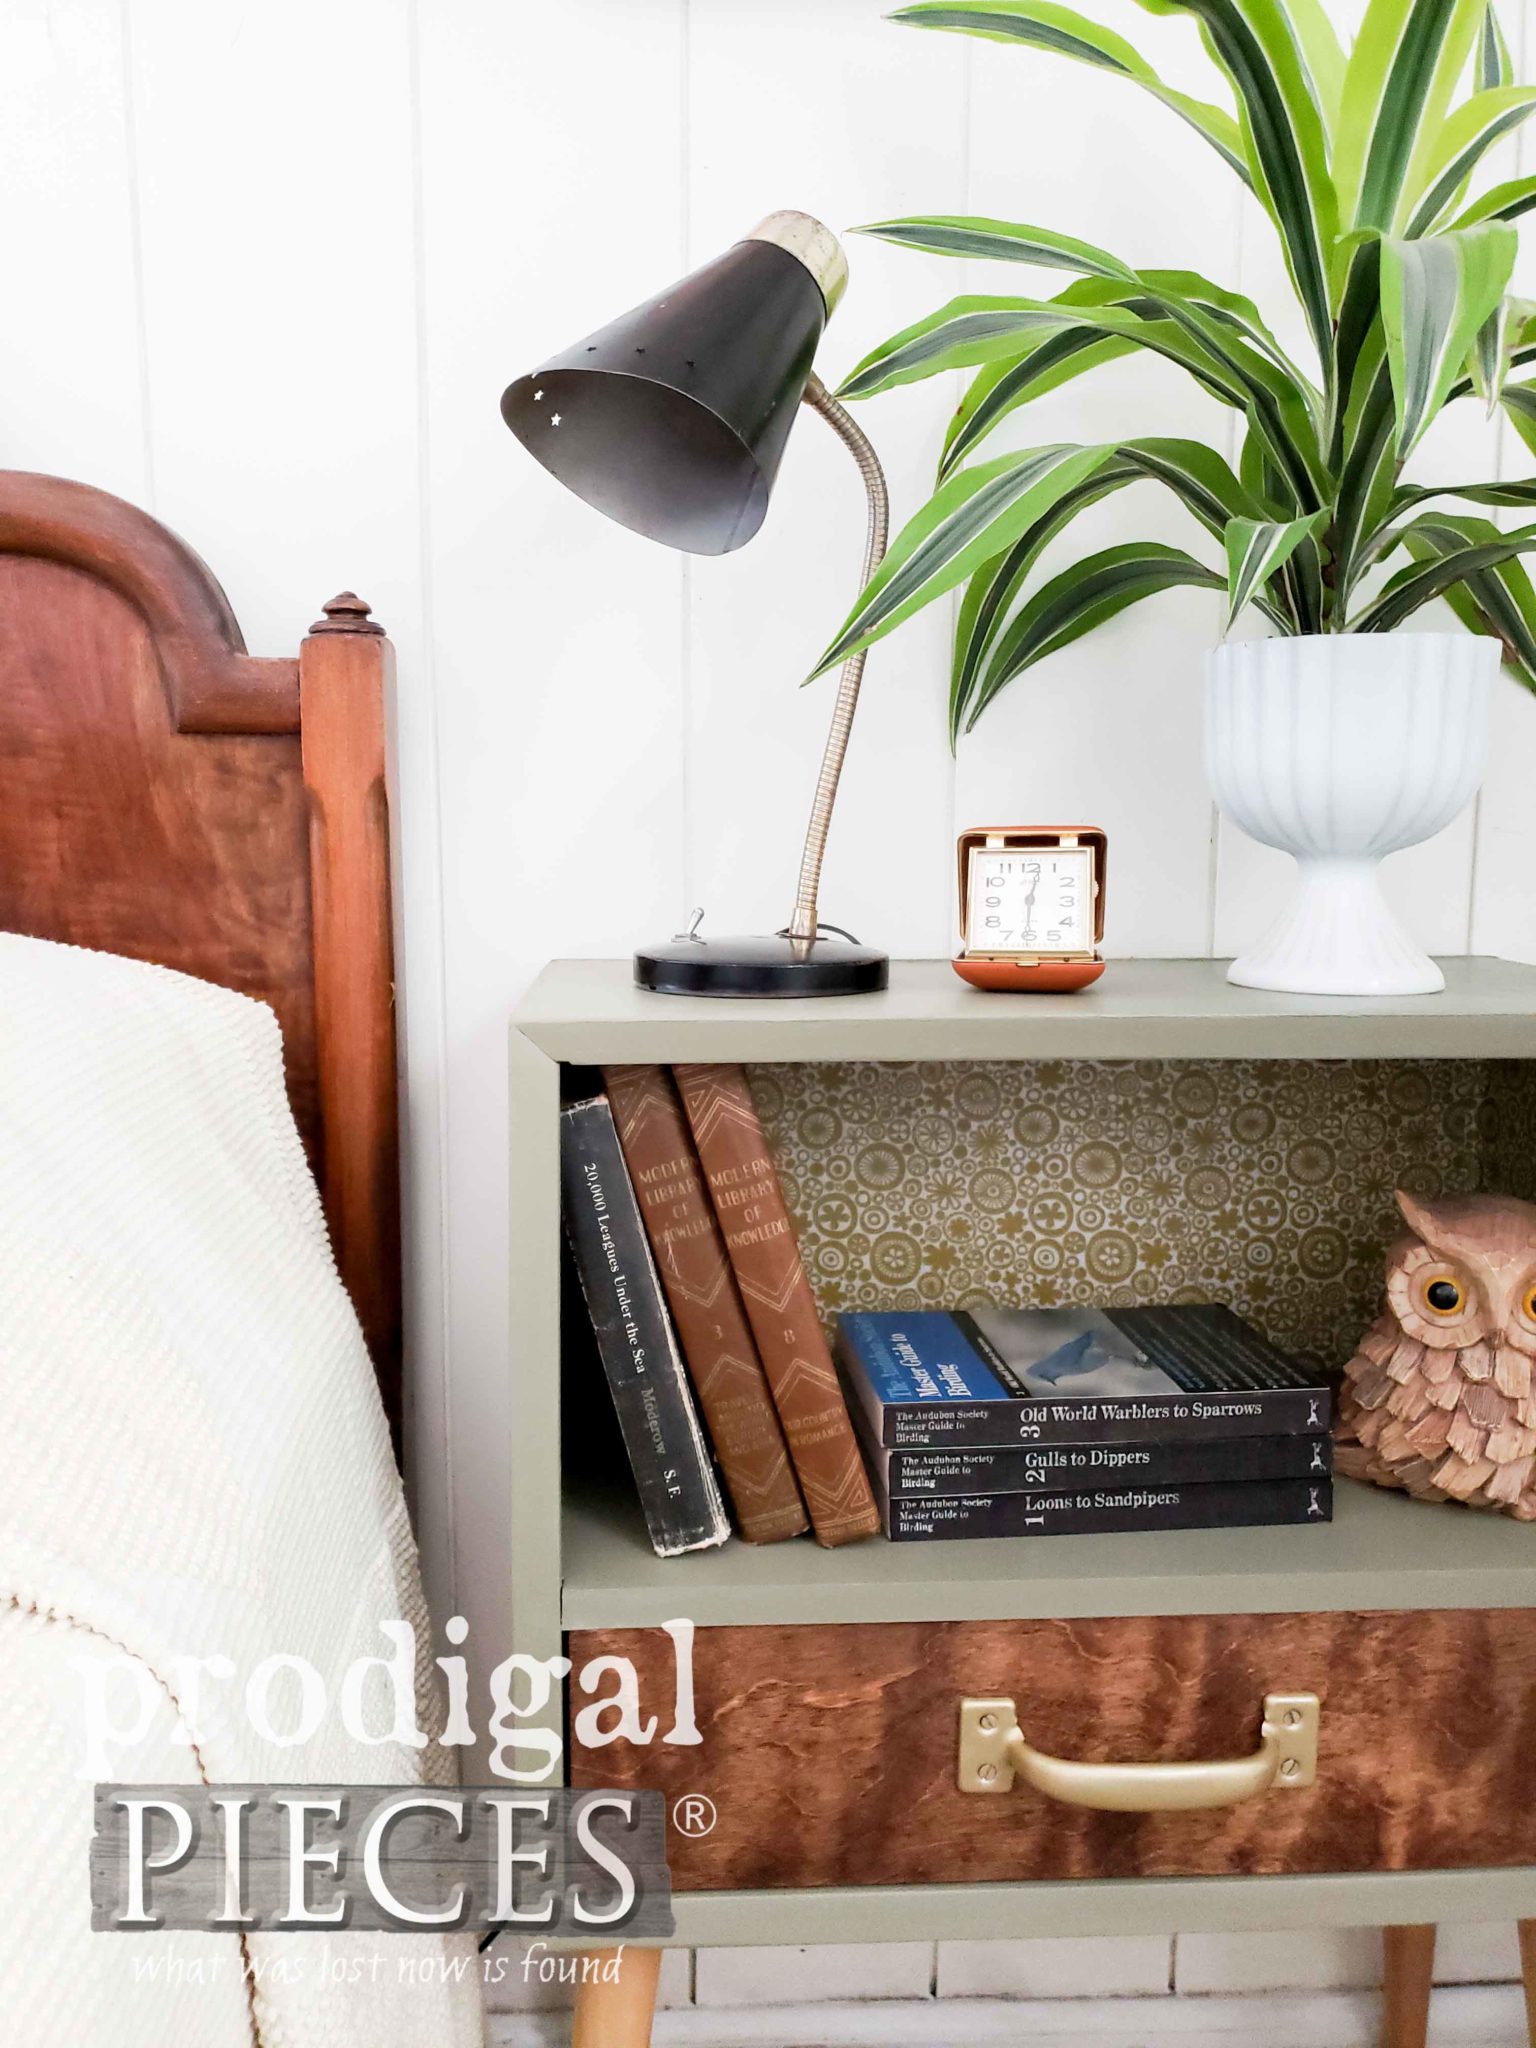
Also, while at the thrift store the other day, I found this pair of van Gogh prints that had those oranges and yellows of this Mid Century era I mentioned earlier. This time period sure had a fun mix.
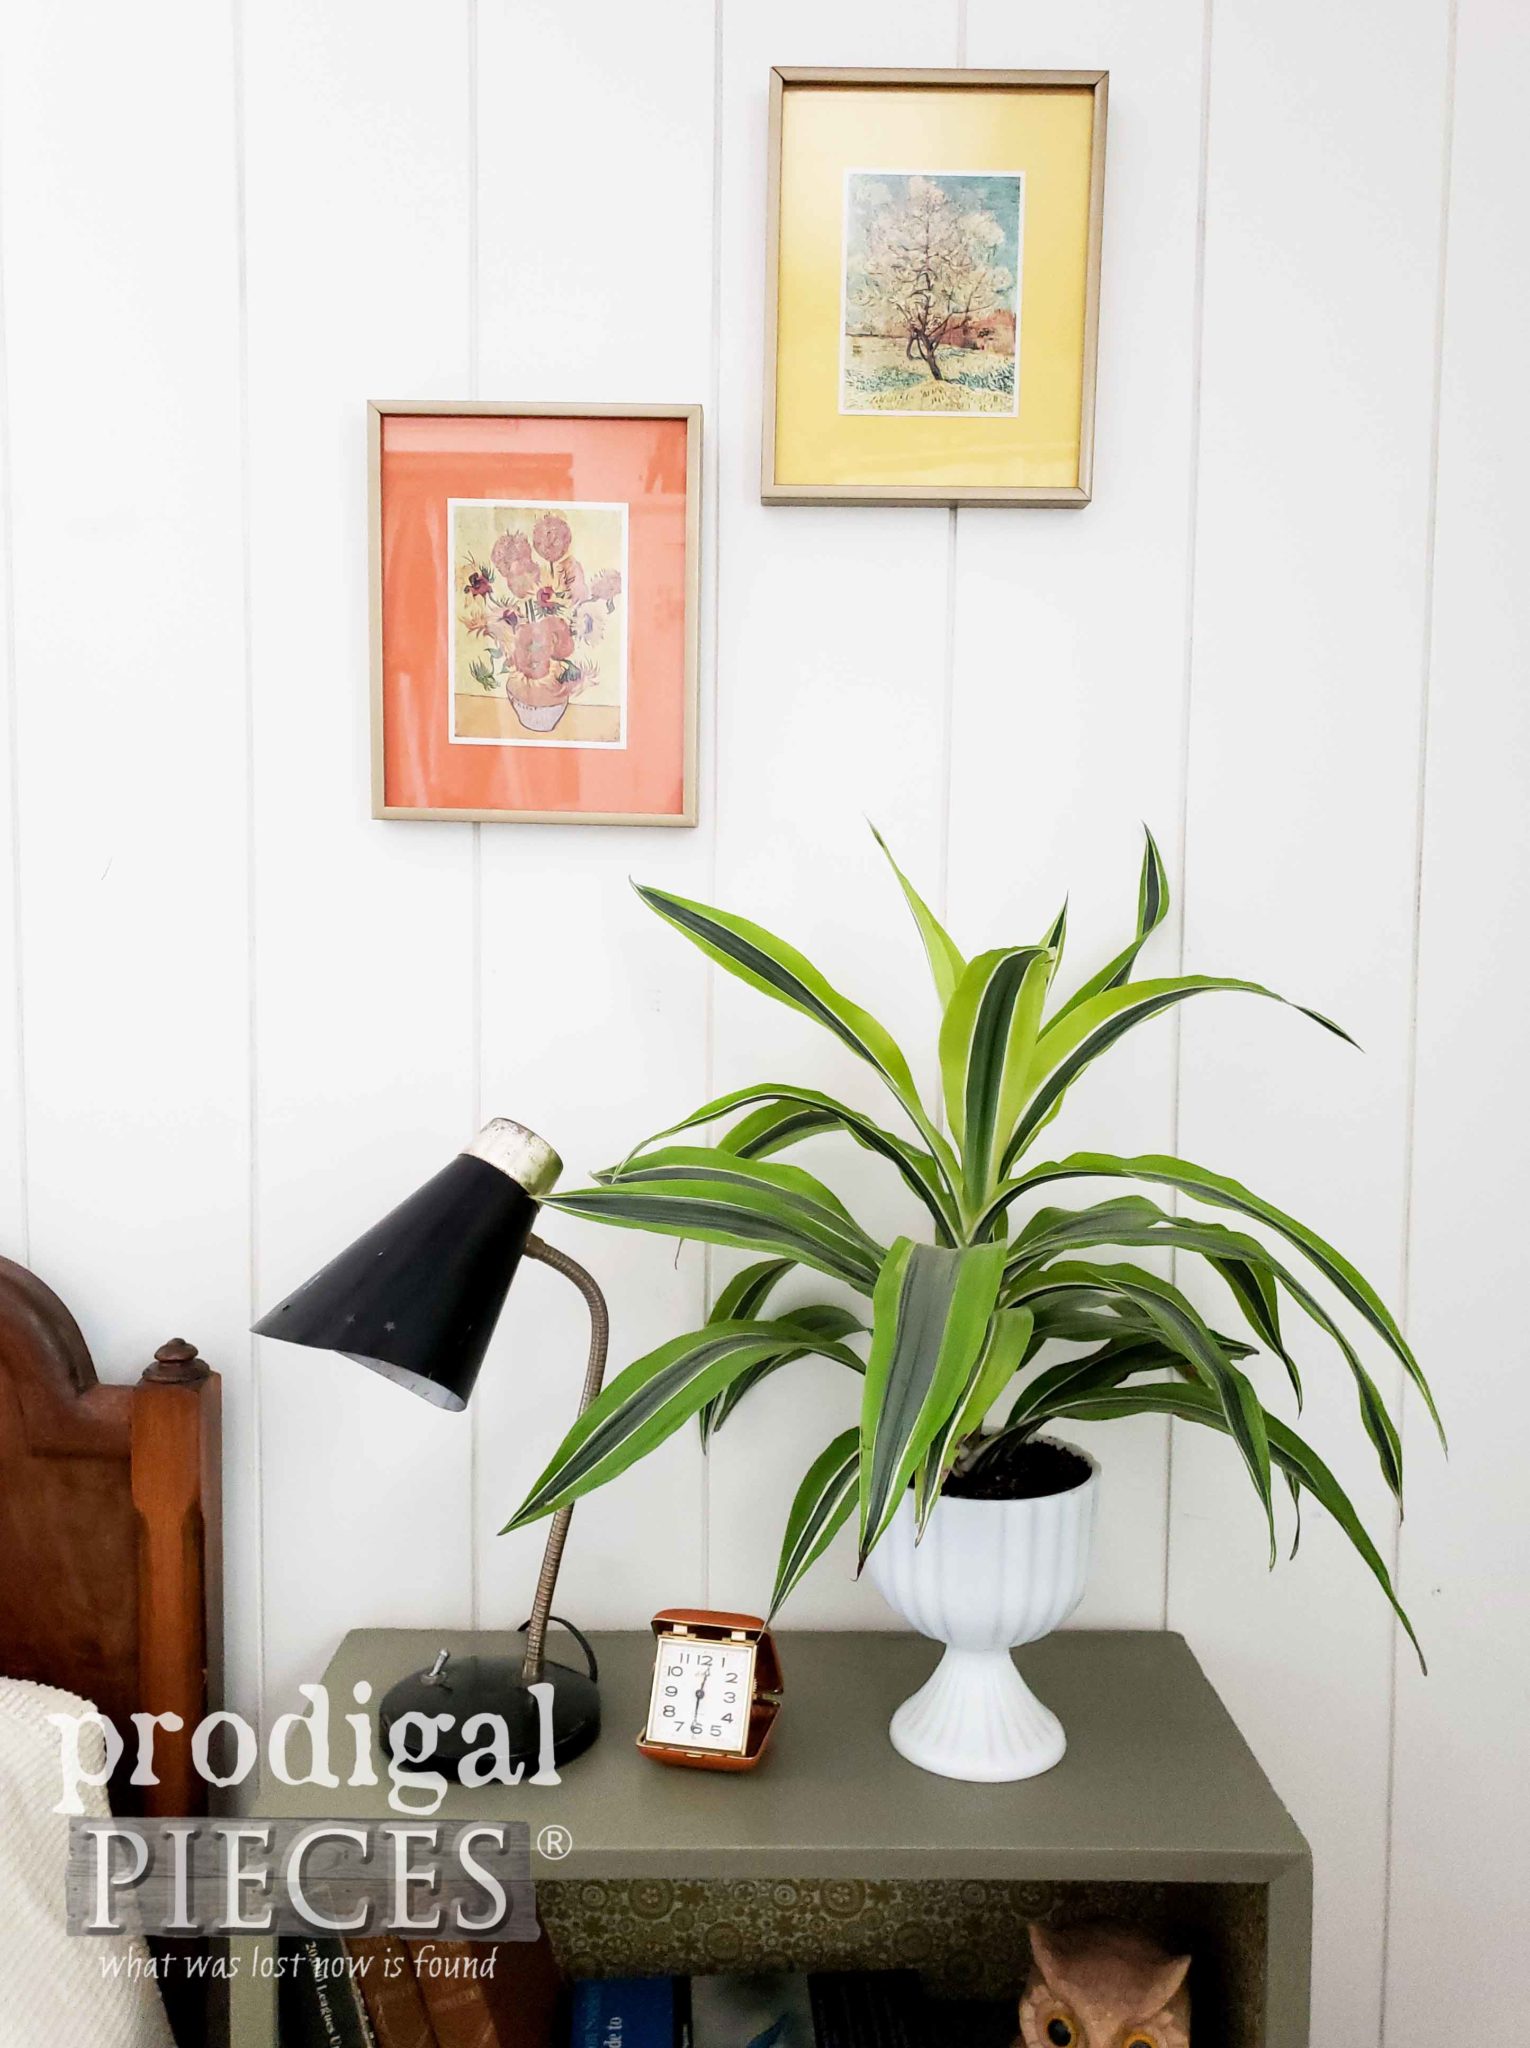
Oh, and did you notice that I reused the handle on the top as a drawer pull on our newly built drawer?
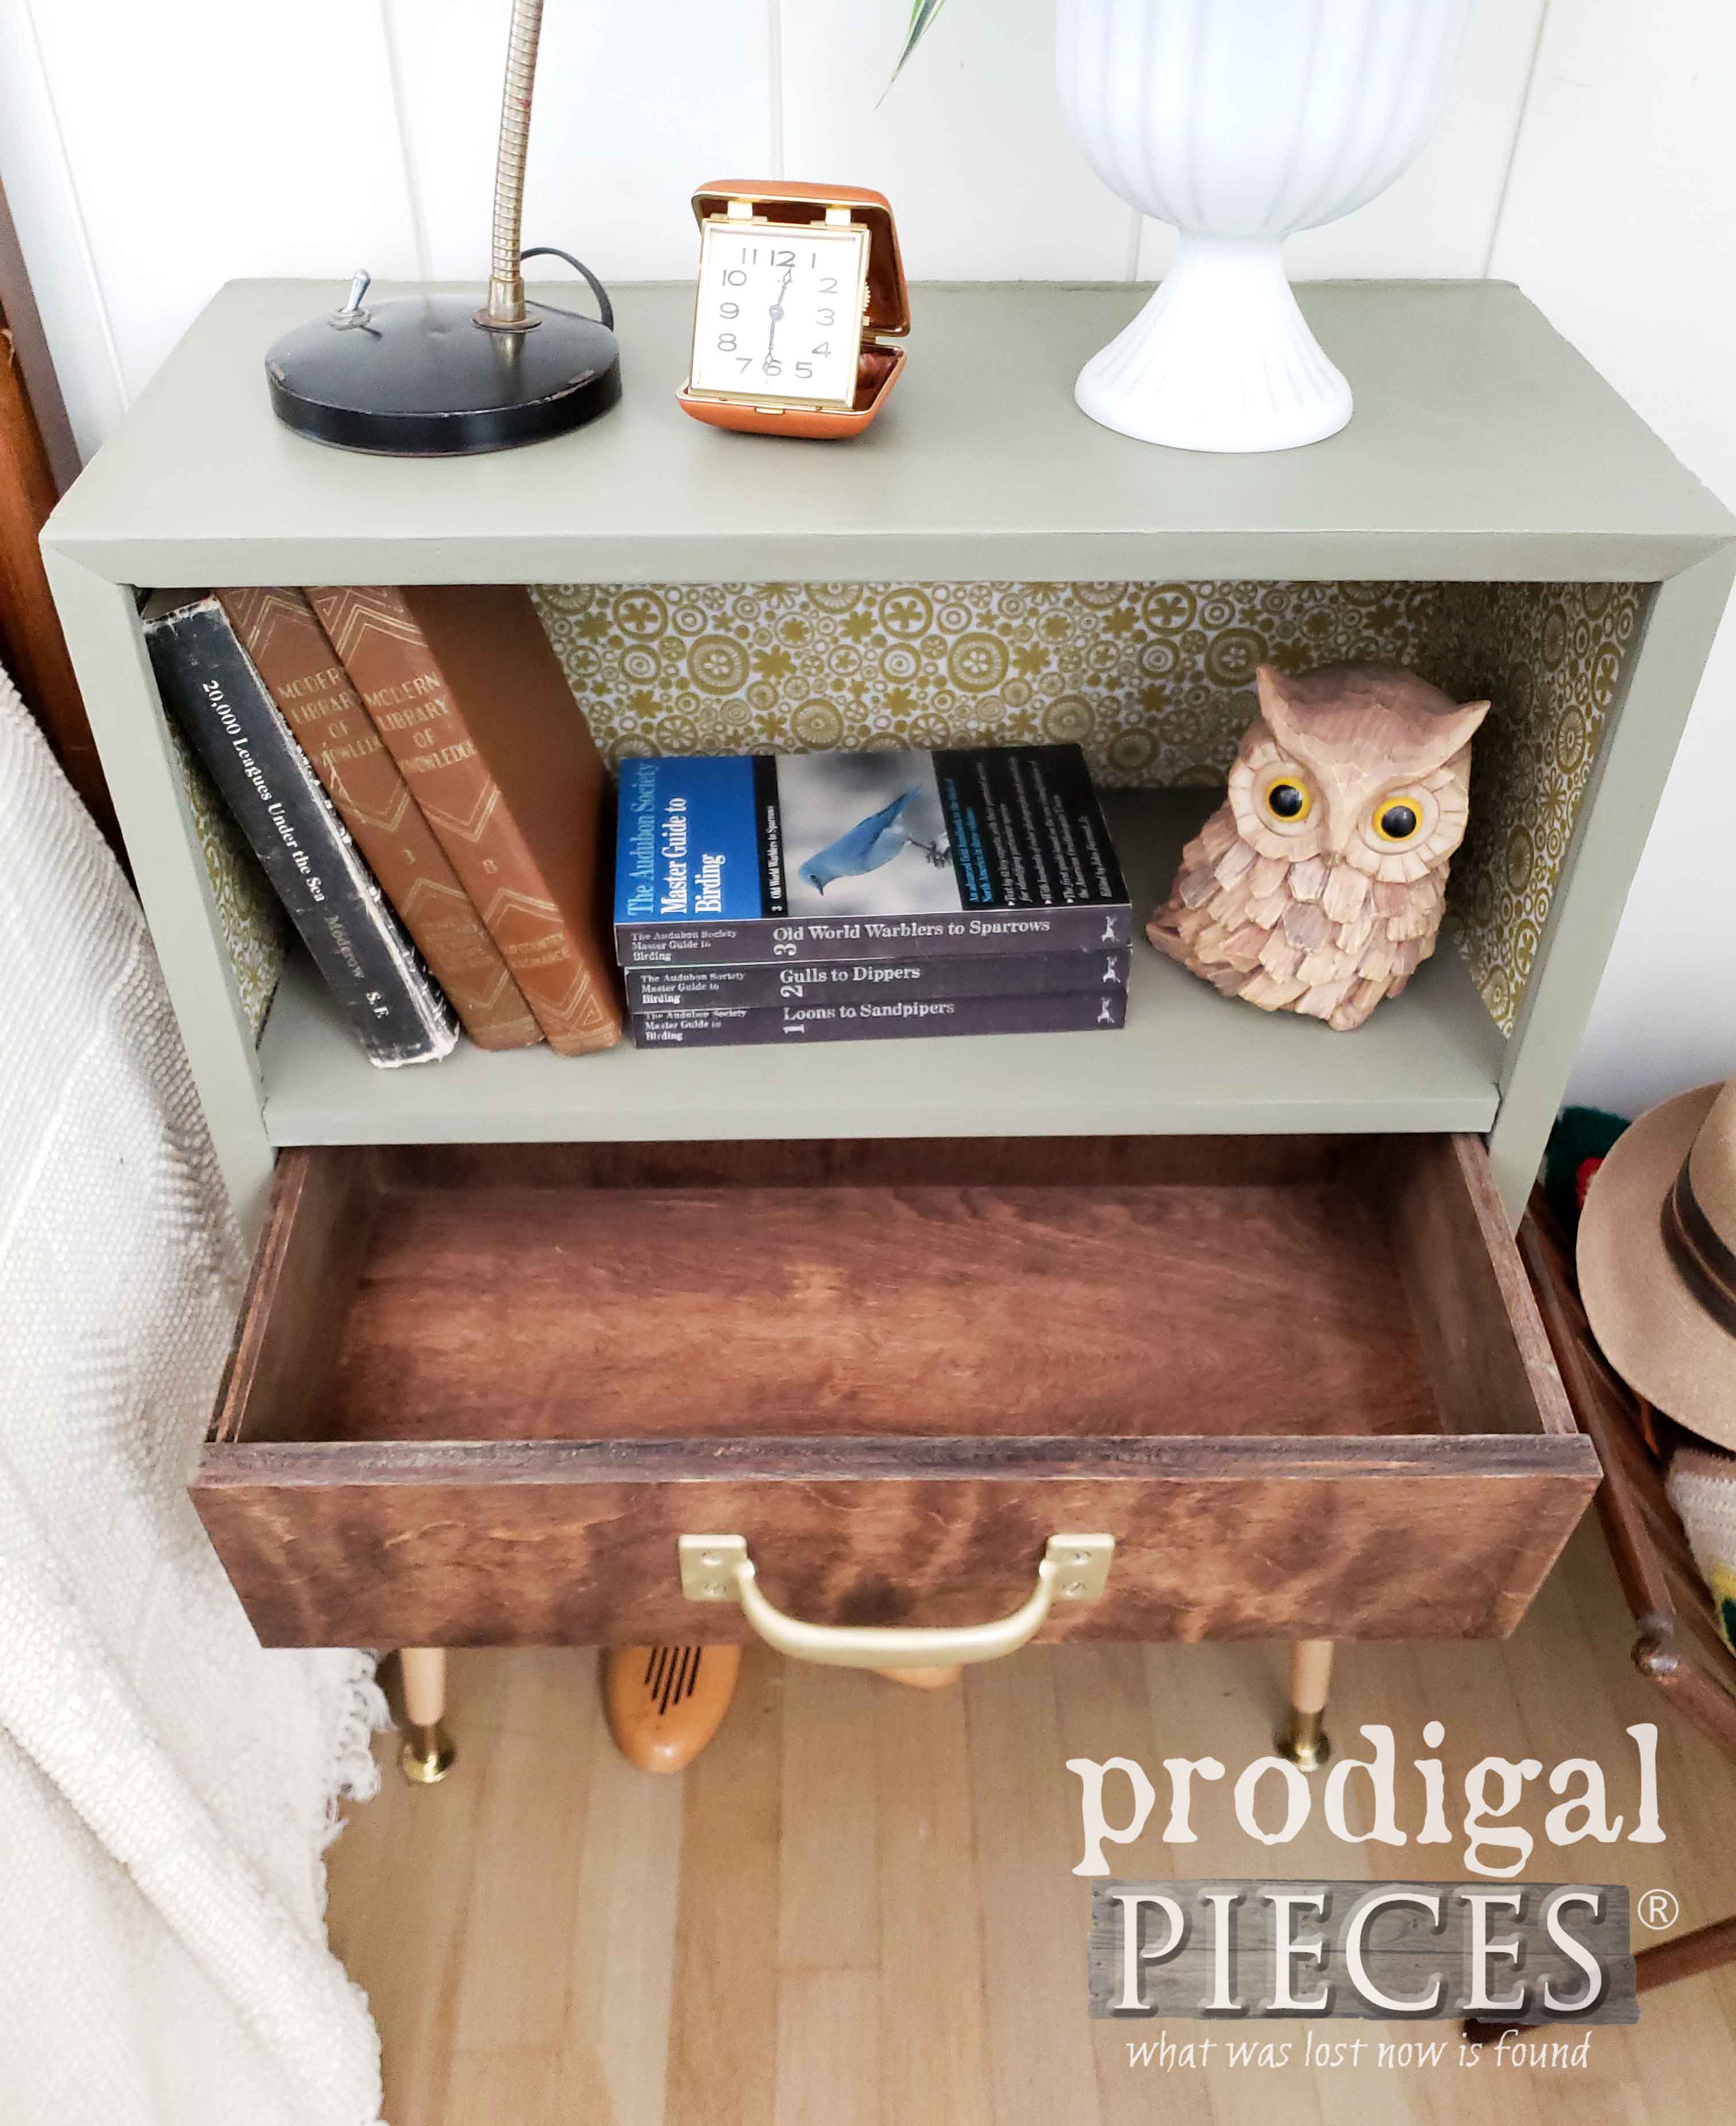
I tried to reuse everything possible on this fun upcycled. I even reused the same nails to hold the shelf in place.
And you gotta love while the party going on at the front is happening, the history on the back is still there too.
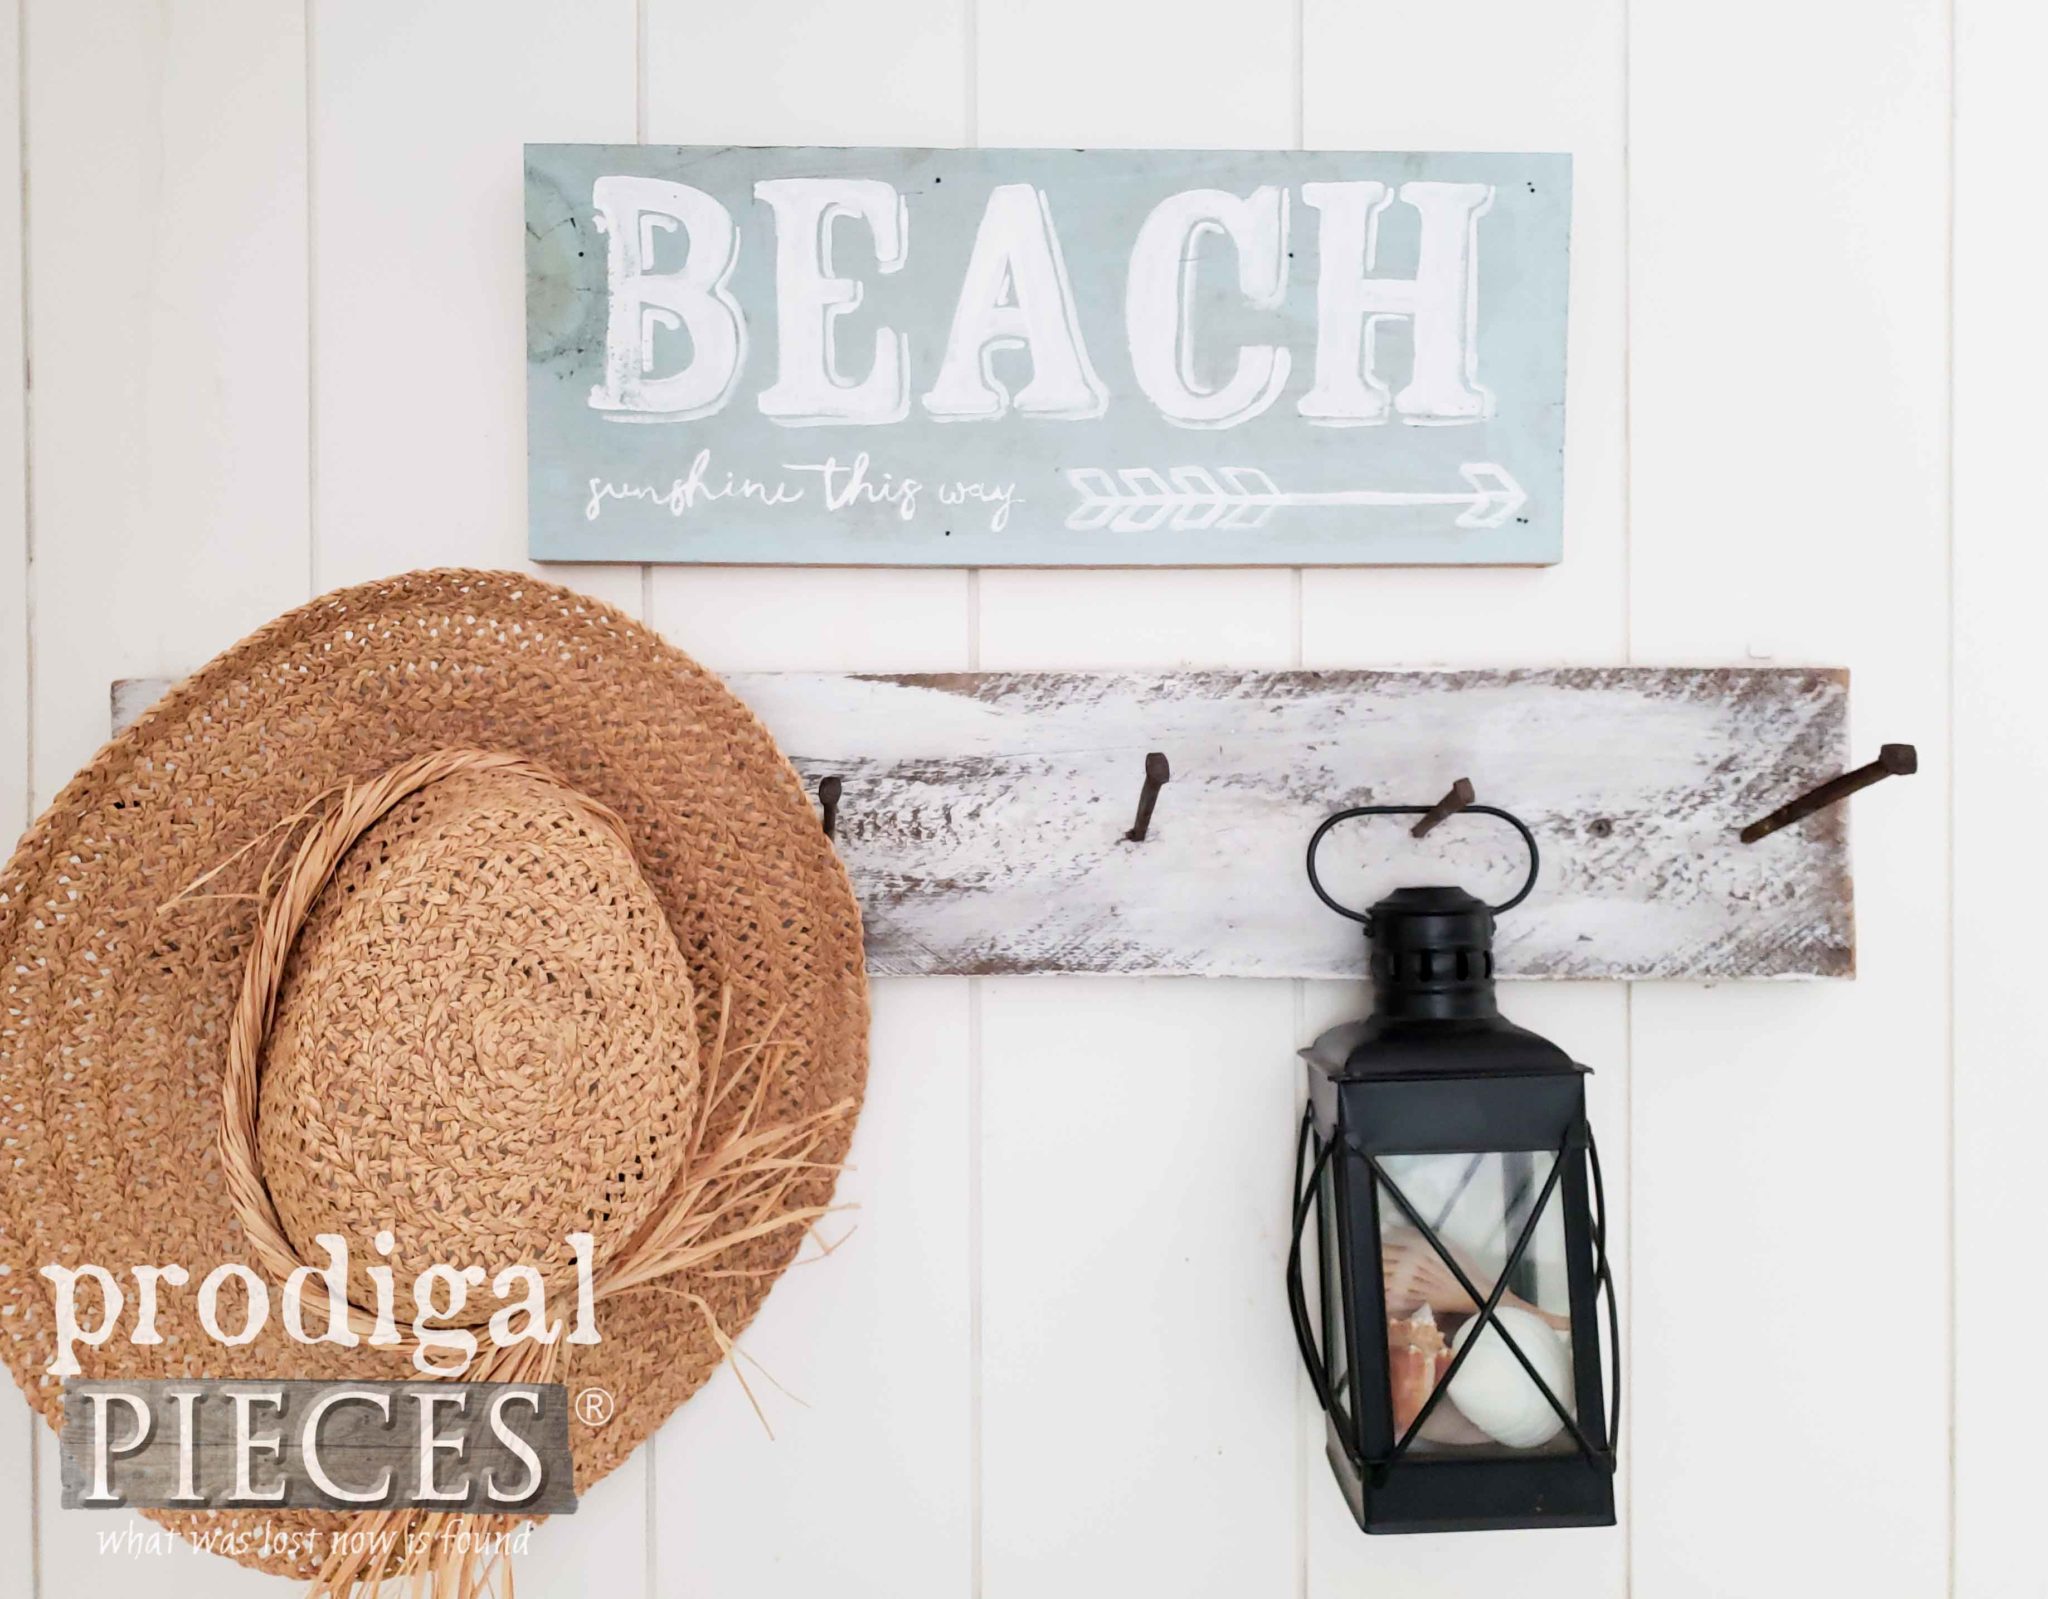
Here is what I did with the old broken shelf...just shortened it up and added some hand-painted goodness. Gotta love the beach - woot!
This entire project really was a blast and I hope you had fun following me on my DIY journey too. If you'd like, you can purchase this nightstand, the prints, the magazine rack, and even the beach sign from
my online store.

SHARE
Finally, what a blast it was to recreate this handmade piece. So...would you have grabbed it? Do tell and do pin and share this Mid-Century nightstand to inspire others to see past the trash and see the trashure potential in cast-off finds.
UP NEXT
Up next is
Finding Home Episode 2, where you will be able to nominate someone you know to receive one of my custom pieces. I'm so excited to do this again! Click the image below for details.

Before you go, be sure to
sign up for my newsletter. Now it's time to see what my Trash to Treasure gals have for you. See below.

 PINTEREST | EMAIL

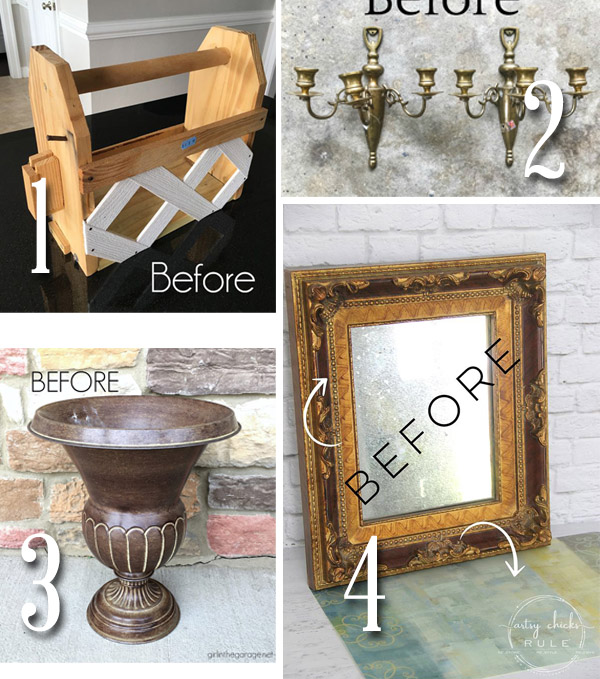
Also, check out these fun and fantastic projects:
- Confessions of a Serial DIYer
- Bless'er House
- Girl in the Garage
- Artsy Chicks Rule
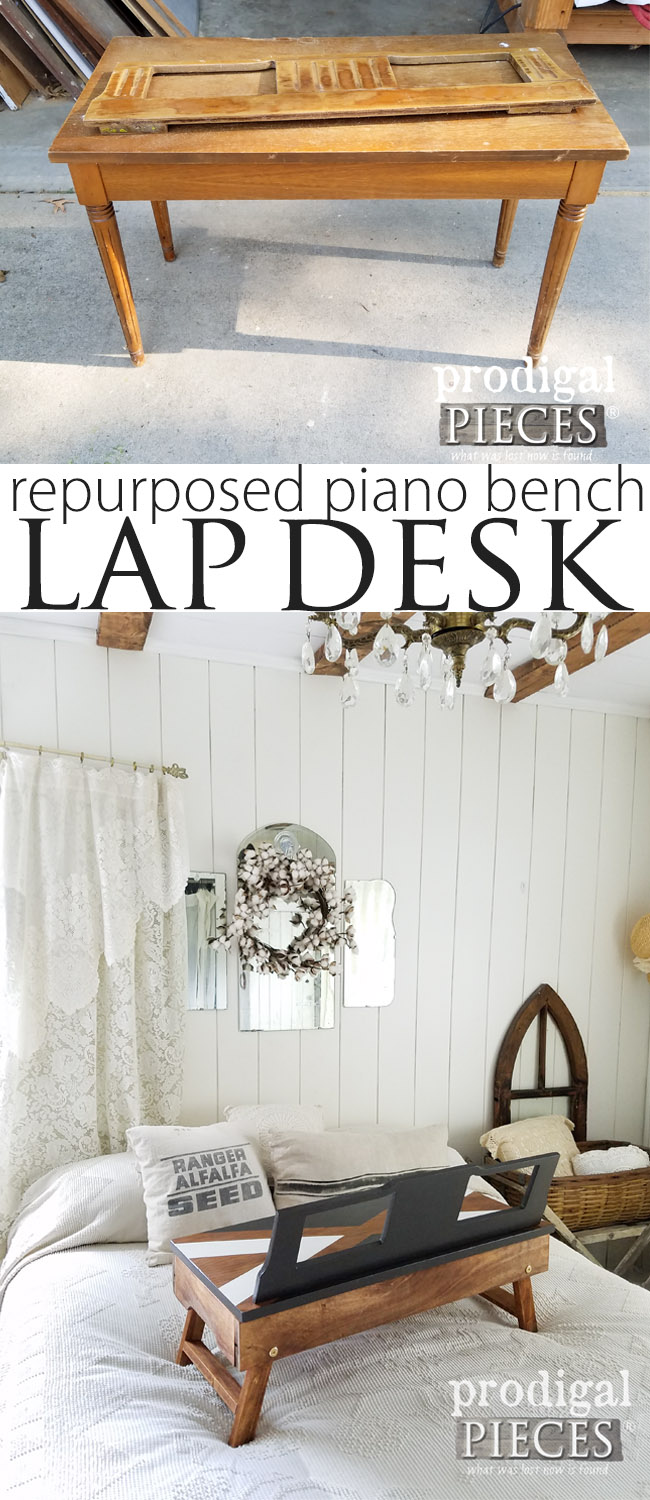
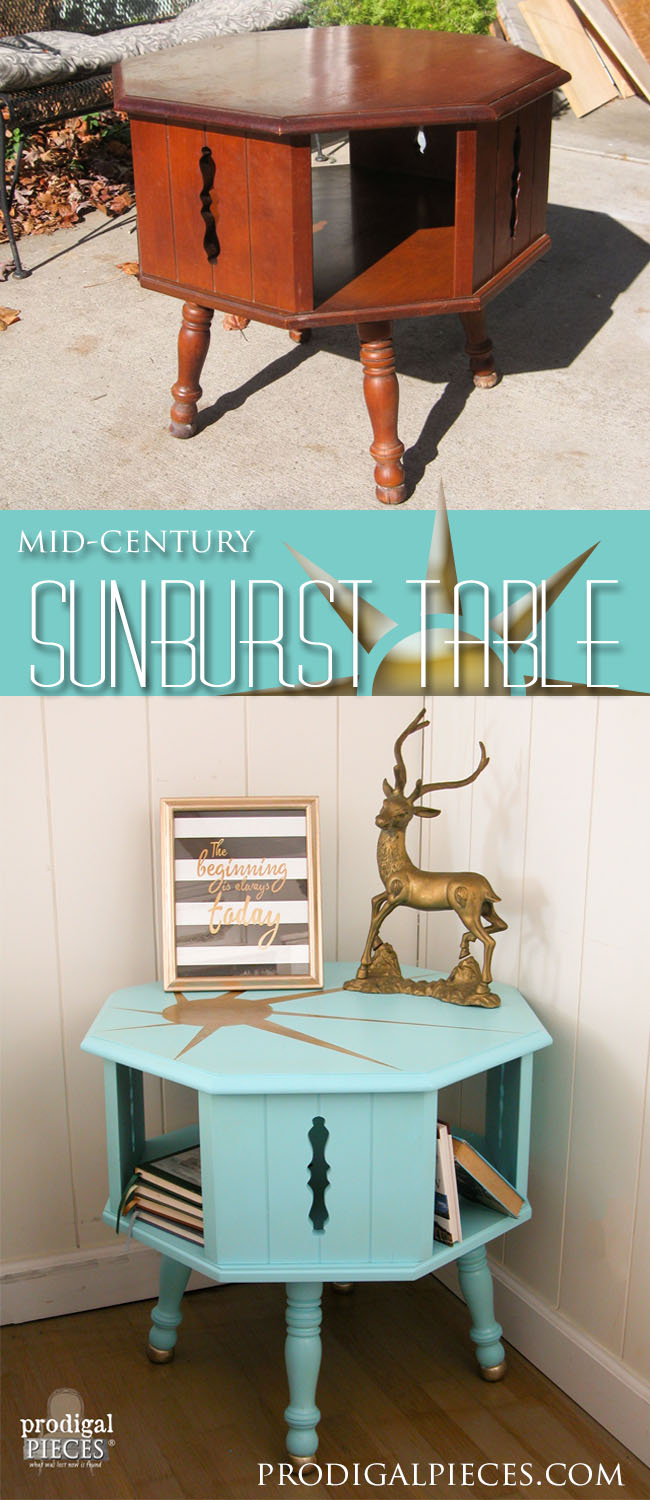
While you're at it, more projects like this Mid-Century nightstand:
 First, I have to ask if you would have grabbed it? It is so super cool. Check out the LBJ bumper sticker, and the...ummm...fantastic carpet lining. And get this...the back has original labels and stamps! eep!

 Once the carpet was off, I had to try to remove the nails that held the shelf in place. No worries, I'll be giving the shelf a new life too...stay tuned. hee hee!
As for the top, it had many holes drilled into it, so I plugged each one with dowel, and cut the flush with my coping saw.

 As soon as all that wood filler had cured, I took my sander and knocked it all down smooth. Then it was time to complete the finish work of this Mid Century nightstand project.
I chose to use a soft green to freshen it up. The soft color reminded me of that Mid Century era with all its green, oranges, yellow, and wood tones.
 Just set the guide rail to the length you want, and you're done. So easy! I repeat my motto I've had since a teen, toolsoverjewels.
 Boy, was she right!! I was over the moon to see these babies arrive in the mail. I've been waiting for just the right time to use them. TODAY! {{applause}} Isn't the packaging awesome?!

 I'm stoked it is just as I had envisioned and the legs look absolutely perfect. Love that blonde wood with brass - so pretty!


 Also, while at the thrift store the other day, I found this pair of van Gogh prints that had those oranges and yellows of this Mid Century era I mentioned earlier. This time period sure had a fun mix.
 Oh, and did you notice that I reused the handle on the top as a drawer pull on our newly built drawer?
 I tried to reuse everything possible on this fun upcycled. I even reused the same nails to hold the shelf in place.
And you gotta love while the party going on at the front is happening, the history on the back is still there too.
 Here is what I did with the old broken shelf...just shortened it up and added some hand-painted goodness. Gotta love the beach - woot!
 This entire project really was a blast and I hope you had fun following me on my DIY journey too. If you'd like, you can purchase this nightstand, the prints, the magazine rack, and even the beach sign from my online store.


 Before you go, be sure to sign up for my newsletter. Now it's time to see what my Trash to Treasure gals have for you. See below.


 Also, check out these fun and fantastic projects:


