 What you see above is the left side of our back yard and the right side is below.
 If you've been following me for long, you know we have been working hard (maybe too hard) over the last few years to make major improvements to our outdoor spaces. Here is a list with links to all of our fun DIYs:
- DIY Pergola
- DIY Faux Fireplace
- Video tutorial for DIY Fire Pit
- Build plans for Concrete & Solar Lamp Tables
- Build plans for DIY Arbor
- DIY Cedar Bike Shed
- Shed Makeover
GETTING GOING
Per our usual, the entire family chips in to get the job done. Who could ask for better help? They're eager and oh so fun workmates. Not all of our 8-person crew is shown, but believe me, they all helped tirelessly. Likewise, they couldn't wait for this fence. We rented a one-man post hole auger, and that tool is a lifesaver. Amazingly, it punched right through our clay soil, and we had our posts up in a matter of a few hours. JC and our son worked the auger, while the rest of us cleaned up each post spot with shovels and wheelbarrow.


*post sponsored by HomeRight (see full disclosure)
Instead of putting up a crack fence (a fence installed piece by piece), we chose to use pre-assembled panels. That made the job even easier for installation. Then, after all assembly, we waited a few weeks to let the pressure treated wood cure a bit. But thar she is! We all did the happiest of happy dances. Even our pets are stoked to have this space to ourselves. During the time this fence was curing, we also began installation of a trellis with pergola and a stone path.
 In addition, we also installed a cedar split rail to run the front of the property. So, like I said, our summer has been work, work, work.
BRING ON THE FUN
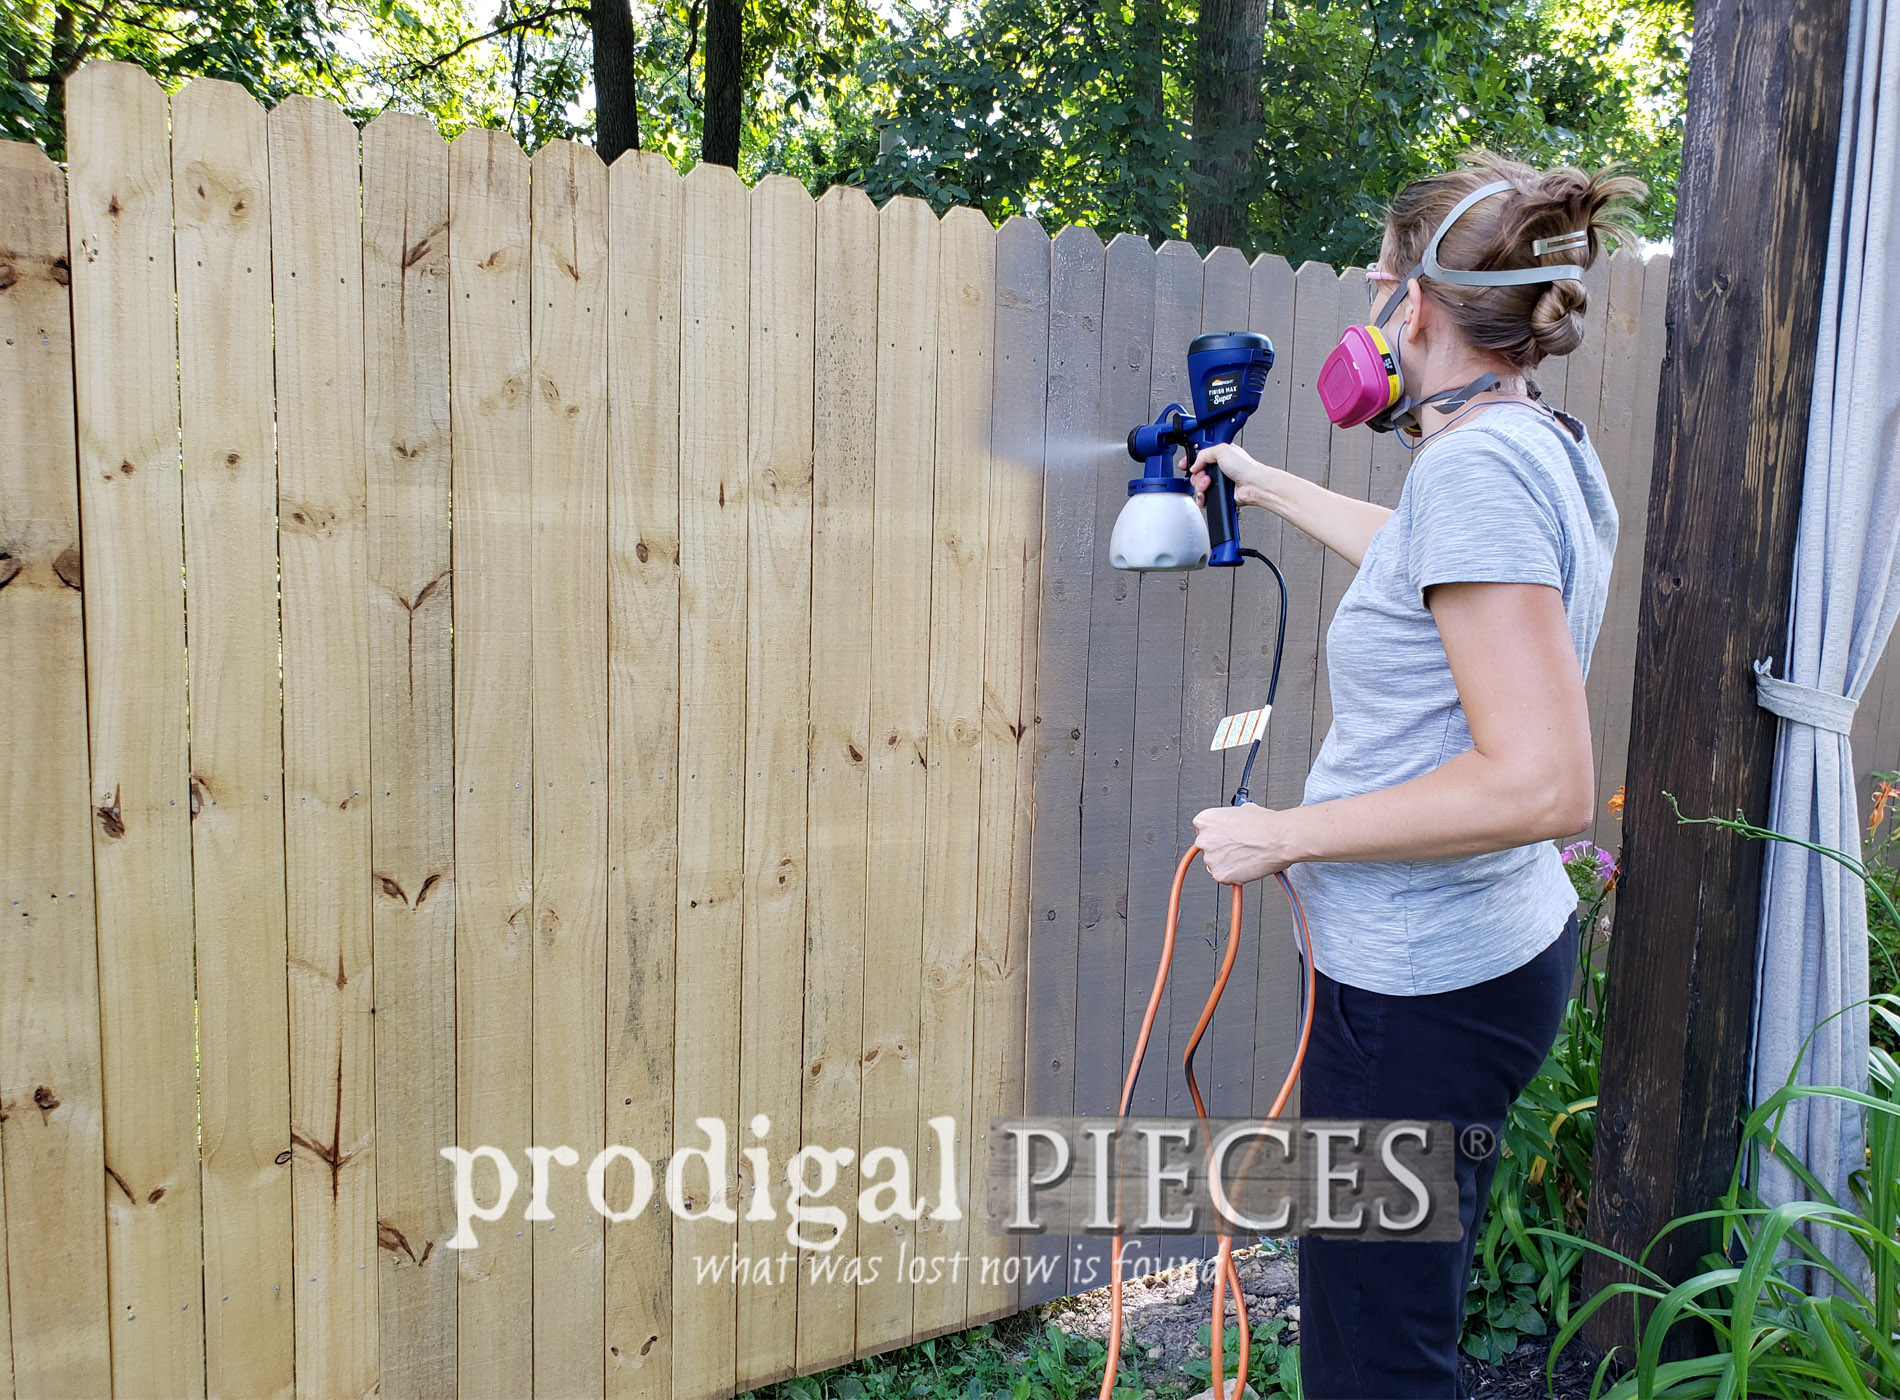
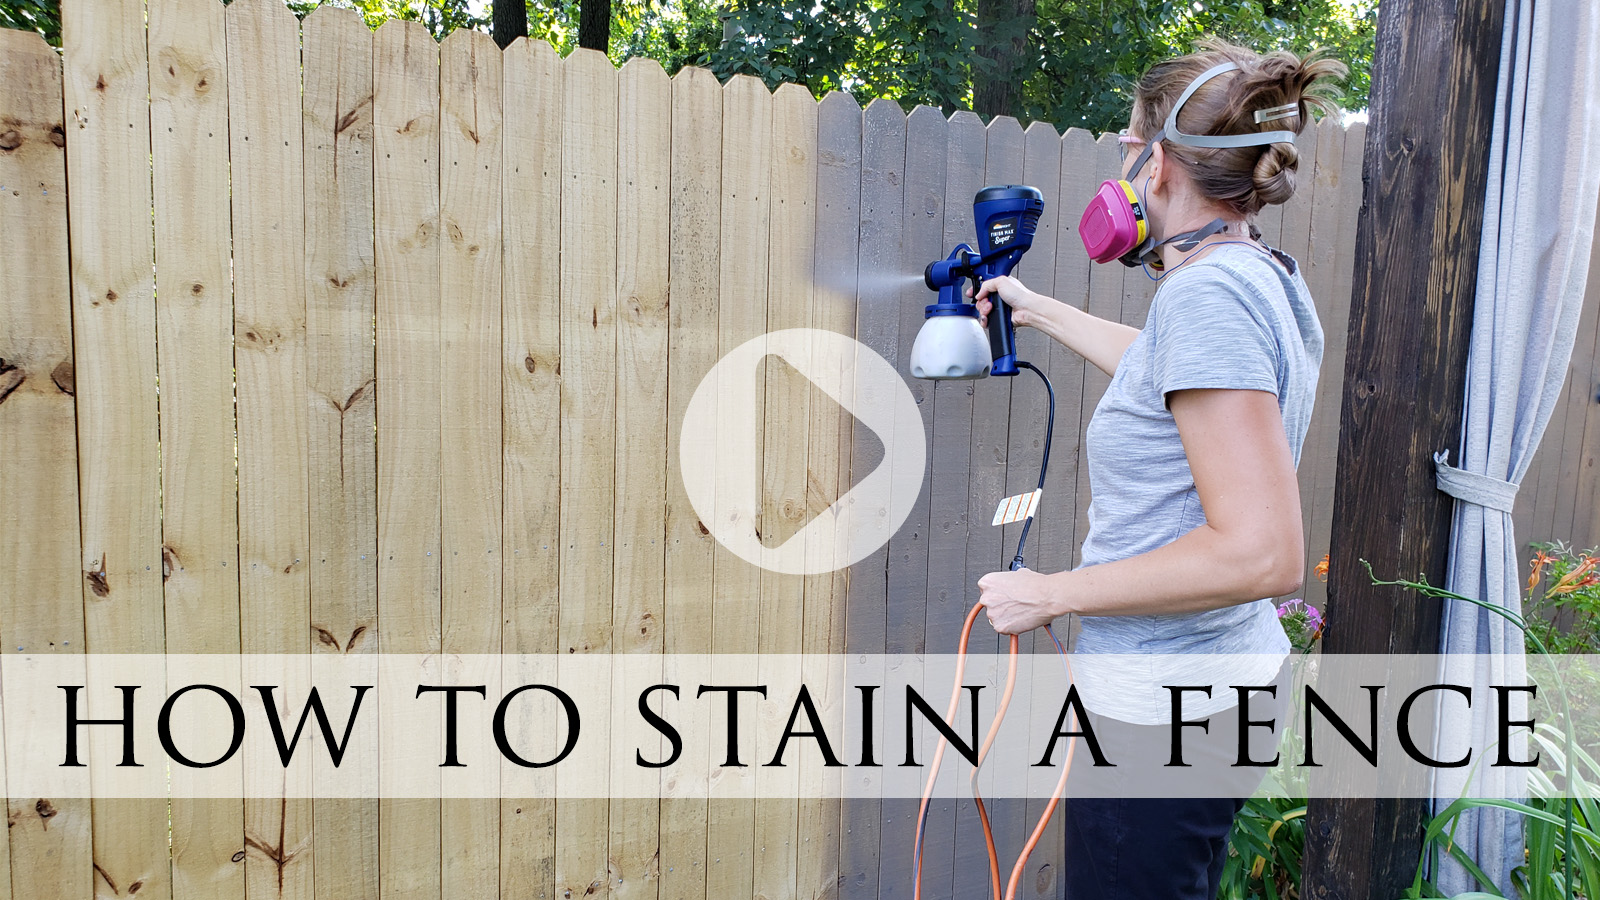
Finally, it is time to finish up our handiwork and have some play time. We've created a video tutorial of how to stain a fence for you below, but also outline the steps here. You know I adore my tools for obvious reasons (fast, easy, affordable), but also because they make the job fun. One of my favorite tools is my sprayer. I use it for paint, poly, and stain. We chose to use a semi-transparent stain in a color called Boot Hill Gray. It's the perfect match to our current color scheme. You can watch my video tutorial below.
 Truth be told, I wanted to use a solid stain because a solid offers more longevity than a semi-transparent. However, JC wanted to see the wood grain. This brand is the most highly rated at the present time. FYI: Painting a fence is completely different than a solid stain. Paint sits on the wood, whereas stain penetrates. Your best options for longevity in your fencing protection is solid stain, followed by semi-transparent, transparent, then paint.
You can see my video demo of what the 3 different tips are for and how to set it up HERE. First, I always suggest practicing setting your flow on a piece of scrap or cardboard. Get the feel of using your elbow and shoulder to promote even coverage (avoid bending your wrist).
Truth be told, I wanted to use a solid stain because a solid offers more longevity than a semi-transparent. However, JC wanted to see the wood grain. This brand is the most highly rated at the present time. FYI: Painting a fence is completely different than a solid stain. Paint sits on the wood, whereas stain penetrates. Your best options for longevity in your fencing protection is solid stain, followed by semi-transparent, transparent, then paint.
You can see my video demo of what the 3 different tips are for and how to set it up HERE. First, I always suggest practicing setting your flow on a piece of scrap or cardboard. Get the feel of using your elbow and shoulder to promote even coverage (avoid bending your wrist).

CURE TIME
Then, once the first coat is on in about 30 minutes, and it takes about an hour to cure before I add a second coat. Manufacturer instructions recommends two coats. It even says you can apply it to new wood. However, our panels were pretty wet with treatment. While you're waiting you can cap off your canister and clean your sprayer so it's ready for the next coat. Having an extra canister is handy because I chose to work on other staining projects while the fence cured. Would you want to stain this lattice by hand? NO WAY.
 Again, see the video demo below to watch how fast it works. Amazing!!
TIME FOR ROUND TWO
Like most instances, the second coat is faster, and you can see the fruition of your work coming about. Here's a look at the second coat against the first coat. That second coat is a necessity for the full effect of that color. Over time the stain will fade and need reapplied. Most likely in about 5 years or so. In even less time, I have the second coat on the first side. Then, I tackle the back side. Finally, we step back and smile.


 Even Lily came and made an appearance showing how she approves of the fence and a few other things.
 We have since finished our trellis we were adding alongside the rest of the house. However, we still have a bit more we are adding to the front of the house too.
 Do pin and share this DIY project because I'm sure we're not the only ones who would like a bit more privacy.
 Up next, I'll be sharing what I do with this thrifted find. Head here to see!
 To get these DIY tips & tricks in your inbox, be sure to sign up for my newsletter. Until next time!

More home improvement projects like this how to stain a fence:

