A couple of weeks ago we revealed
our patio makeover complete with pergola, 10 ft. dining table with benches, a faux fireplace (get the tutorial
HERE), and a faux shipping crate table. Today, I am sharing how to create that industrial style crate table with a wood round and a tree stump.
When working on our patio makeover, I needed to fill in the big gap that lay between the bench and chair. I wanted to create a piece that had character and also functioned for our family. I originally intended to just do a weathered look to the table, but after we started our patio, I found out I was a runner-up in the DecoArt paint finishes challenge for
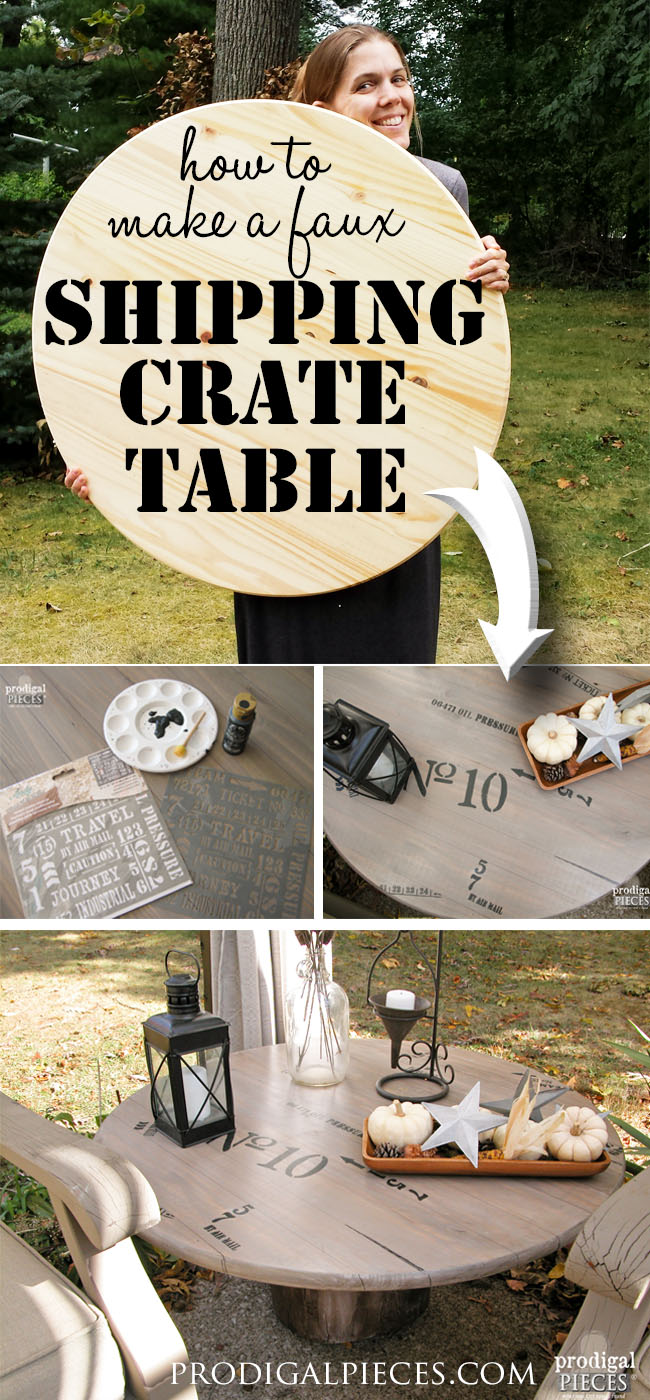
this dresser and won $250 of product. (wahoo!!) At the last minute, I decided what better way to put all my fun stuff to use than in a funkified table! Follow along as I take you through the steps to create your own faux shipping crate table for around $50.
TOOLS & MATERIALS:
- 36" solid wood round
- 12" diameter or larger tree stump that is approximately 2' long.
- 4 - 3" corner braces
- DecoArt Andy Skinner Industrial Elements stencil
- DecoArt Americana Decor Olde World Numbers stencil (optional)
- ½" round foam brush or small stencil brush
- Varathane Sunbleached stain
- Varathane Early American stain
- 2 - 3" foam brushes
- paint tray
- old cotton rags (or t-shirt)
- DecoArt Wrought Iron Black paint
- charcoal glazing (or homemade glazing - see below)
- flat white paint for whitewash (see below)
- Polycrylic (or other preferred topcoat)
- high-density foam roller and tray
- neoprene chemical-resistant gloves
- medium black Sharpie marker
- planer (optional for the tree stump)
- safety goggles
- drill
- sander
- 150 grit sandpaper
- level
- 4 - 1" or larger swivel casters (optional)
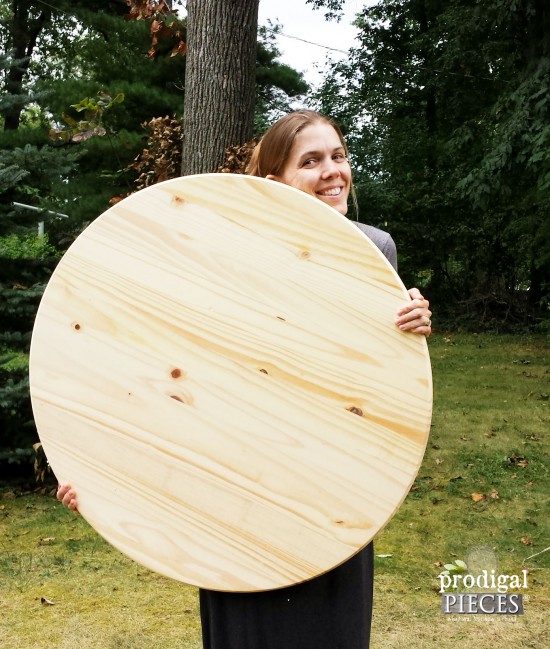
As you can see, those wood rounds you can find at home improvement stores are in the raw and perfect for creating some fun furniture. This shipping crate table is perfect for indoors or out, so don't limit yourself to location or design.
DIY TIME
To get started, lightly sand down your surface with your orbital sander and 150 grit sanding disk. This will help open up the grain and get rid of any unwanted burrs.
Next, using your 3" foam brush, give one surface an even coat of the Varathane Sunbleached stain and let dry. We used this stain in our
master bedroom makeover and it's one of my favorites!
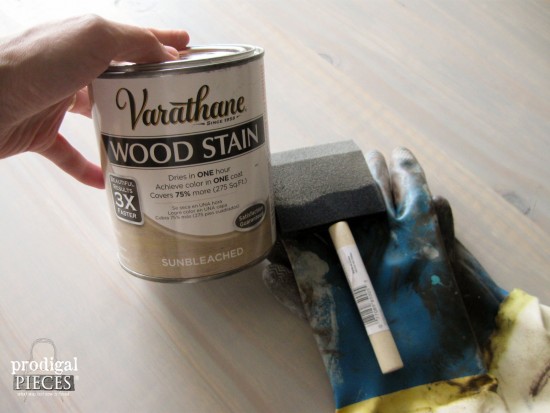
Once dry, flip over and stain the other side. During those drying times, let's work on our tree stump. I seriously just grabbed a chunk of wood from our wood pile that was about 2' long and had about a 12" diameter.
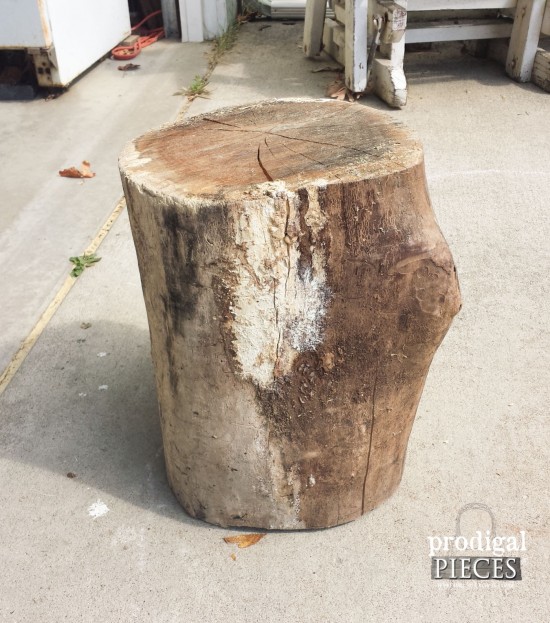
My stump was in need of cleaning up, so I got out my planer and gave it a few passes to make it level.
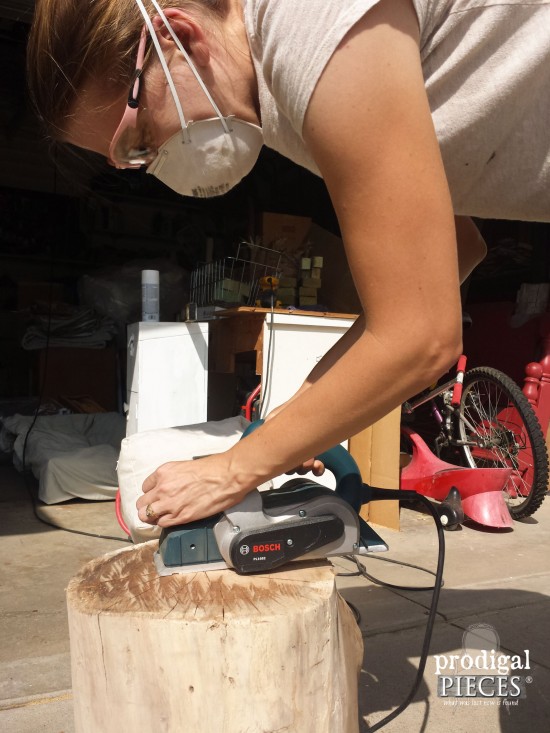
After that, you will want to sand down the sides just enough to get rid of the weathered and dirty exterior, but leave some of the character marks for fun.
NEXT STEPS
For my table, I wanted to create age and since sanding makes the wood look new, I wanted to make it look old again. So, in order to replicate that you will need to stain the stump with your Early American stain. Let dry. Next, you're going to whitewash the stump. With a little bit of flat white paint that's been slightly watered down (or use cheap ceiling paint), brush the stump in small patches in vertical strokes, then quickly wipe off to create a washed effect.
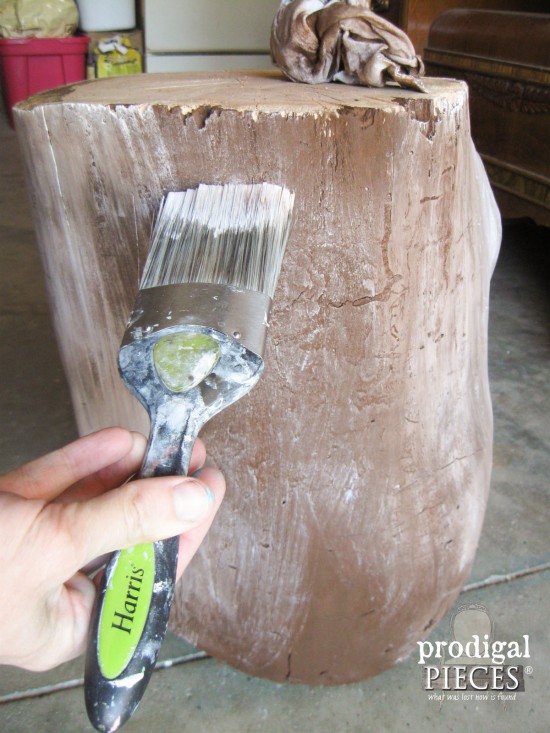
See how it allows the nooks and crannies to pop out creating a fun texture? Once your whitewash has dried for about a half-hour, go ahead and give your stump a good coat of polycrylic to keep it weather-proof.
Now, back to our wood round for our shipping crate table. After the stain has cured for about 2 hours, you're going to give the top a wash using a charcoal glazing. (I make mine with a bit of charcoal colored paint mixed with a little water - about 1 cup paint with 2 T. water) You can see how I made my garage door glazing in
this post.
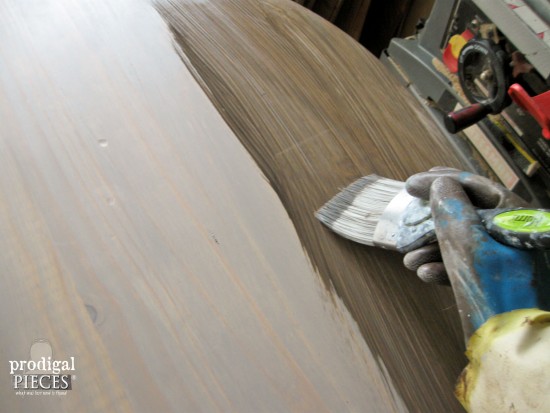
Again, working in small batches, apply the glazing across the round following the direction of the grain. Quickly wipe off the glazing leaving some behind to catch the grain. This will make the top have some depth.
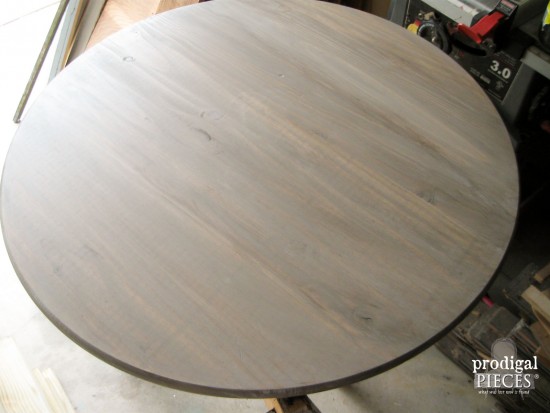
Here is the round after glazing...
PAINT TIME
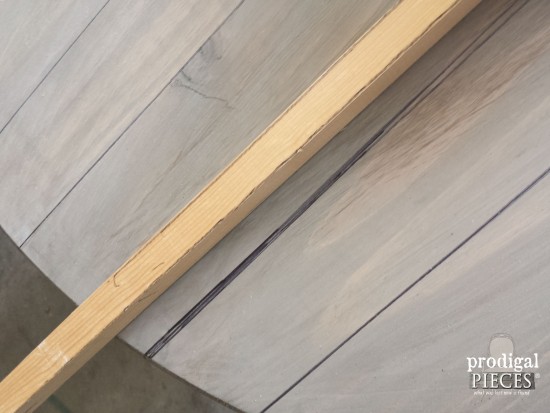
Now for the fun part! Grab your sharpie marker and a strip of wood or yardstick. You're going to draw your shipping crate marks by making randomly space lines across the round.
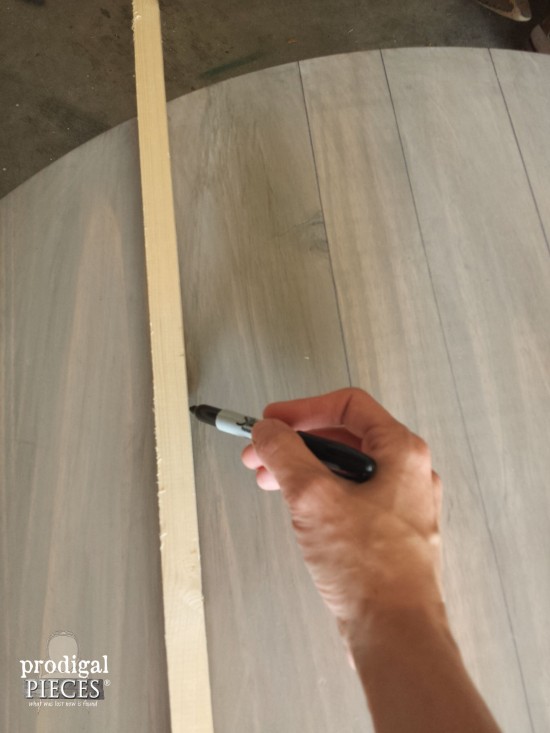
Make sure to continue your strips over the edge of the round.
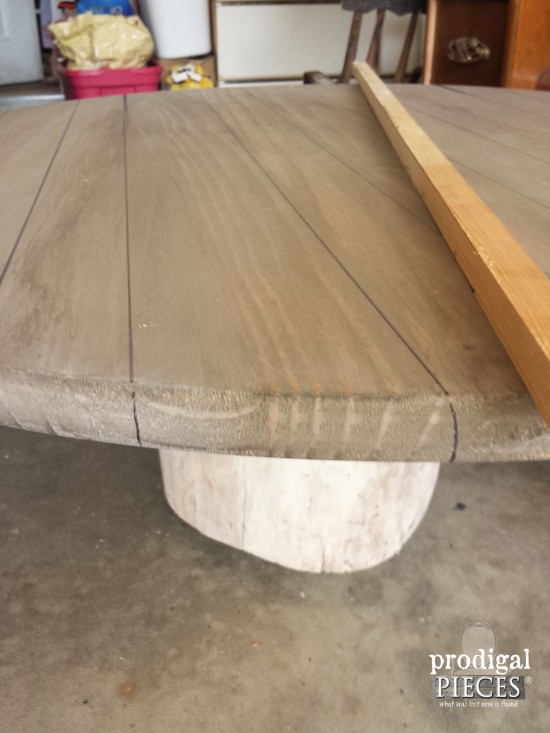
To create some texture, make a few wedged drawings at the end of your strips to create the look of gaps and spaces in your "boards".
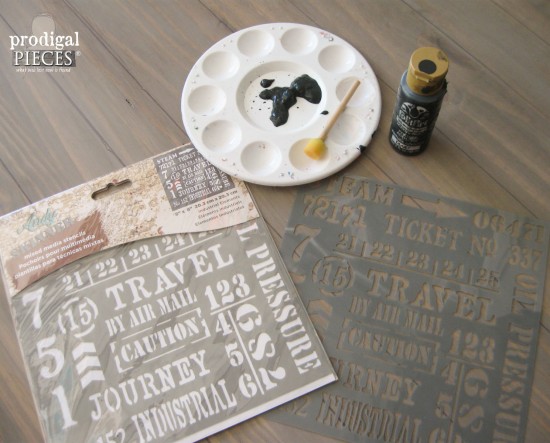
Now you will need your stenciling materials: pouncer, stencils, tray, and iron paint.
STENCILING
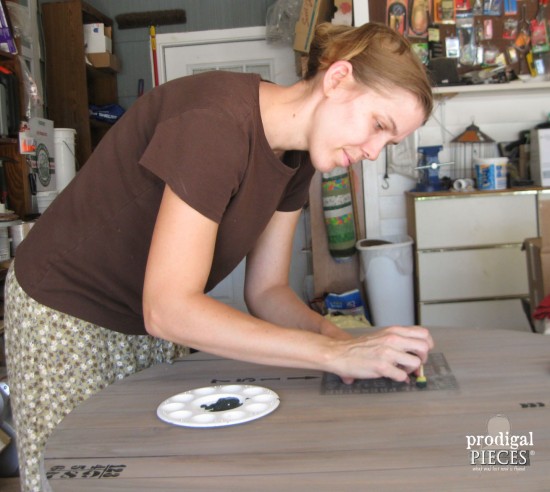
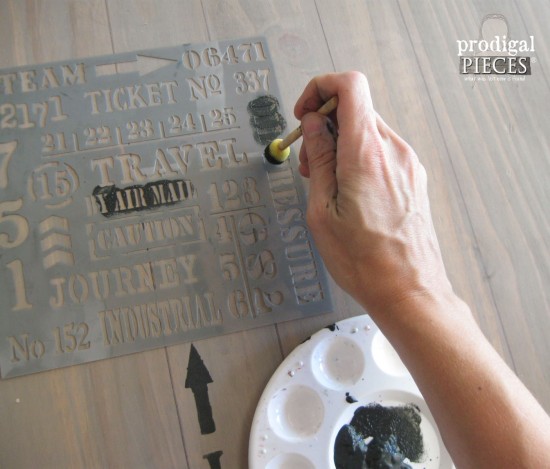
Start to apply your stenciling by pouncing the round foam brush into the paint then dabbing off a bit to create an even coat on your brush. Less is more when you're stenciling so that it doesn't bleed. Make sure to wipe down your stencil with a damp cloth between each application to prevent unwanted transfer of paint. I find it hand to have a bucket of water nearby so I can wipe it off easily.
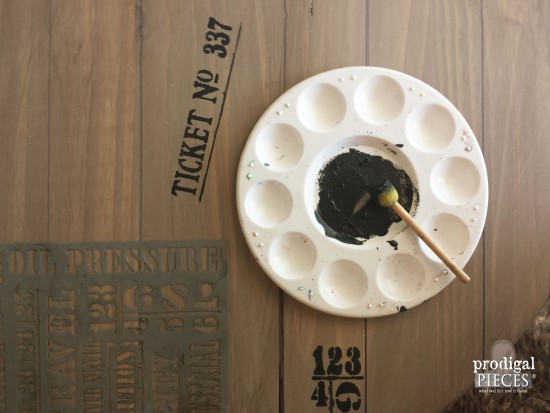
I encourage your to mix up the stenciling a bit. Use one set of numbers with different text. Feel free to change it up and have fun with it. Twist the stencil, run it into a line to look like a piece was cut off...just experiement and make it funky.
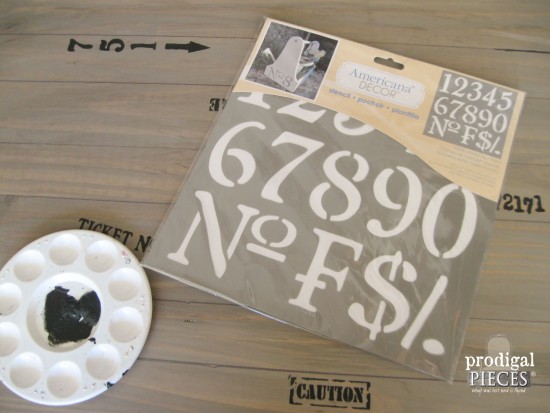
I even used my Olde World Numbers Stencil to create more dimension.
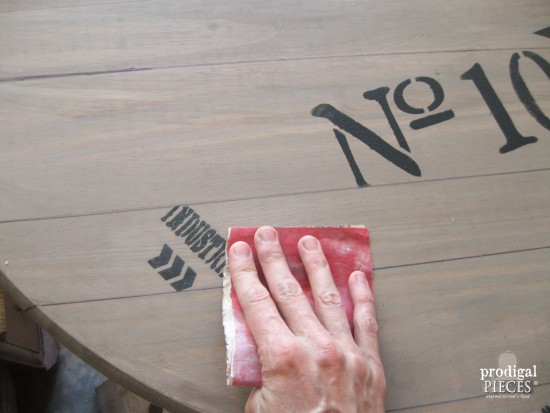
Once you've allowed your stenciling to dry, give the text a light distressing to create a time-worn effect.
Then, it's time to add your polycrylic topcoat. Use your high-density roller and apply an even coat. I like to run a dry 3" foam brush in one direction after the roller is done to get rid of unwanted bubbles and create a desirable finish, like I mention in
my furniture essentials post.
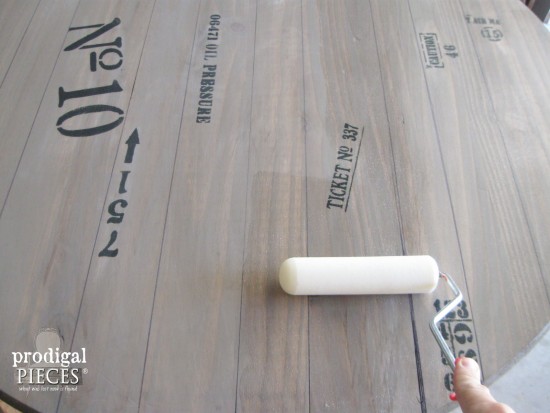
For added protection, let the coat cure for a two hours, then lightly sand with your 150 grit sandpaper and add a second coat. This will give long-lasting protection.
LAST STEPS
After the second coat has cured for another two hours, it's time to attach the stump to the top. For my table, I added 1" swivel casters to keep the stump off the ground because we have a downspout that runs onto our patio, and I didn't want the stump to rot out. You can add your casters to the bottom or leave them off - it's completely up to you.
To attach the round to the top., you will need your 3" corner braces, a level, and drill.
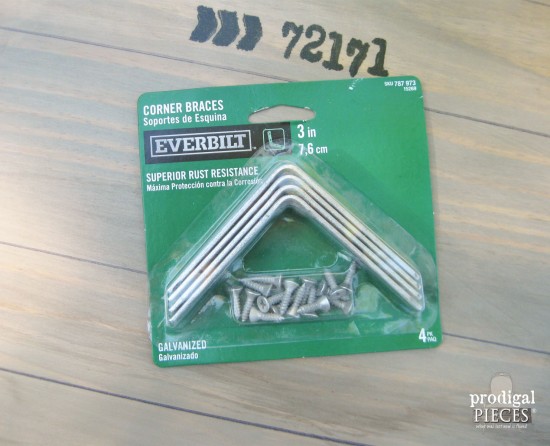
Since a stump is round and random, just begin by attaching one of the braces with one screw, making sure it's as level as possible to the surface of the stump as well as vertically. Attaching only one screw initially allows you to make adjustments.
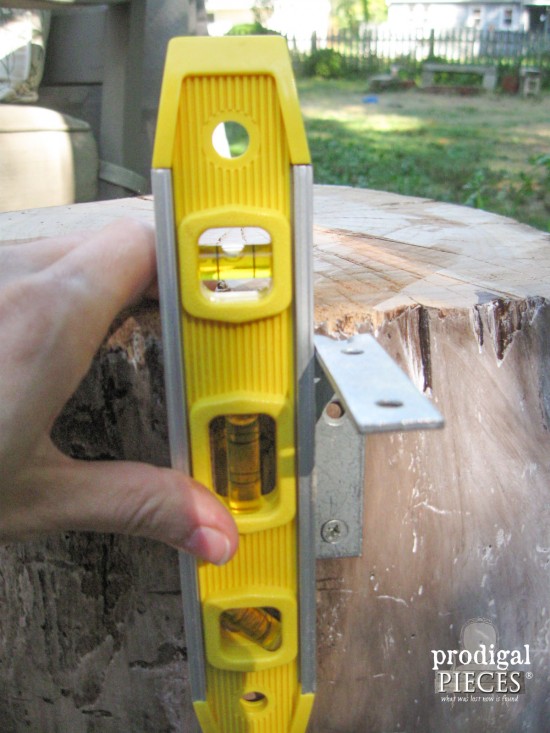
Once you find the level spot, attach the other screw through the brace. Continue to work around the stump until you get this pattern.
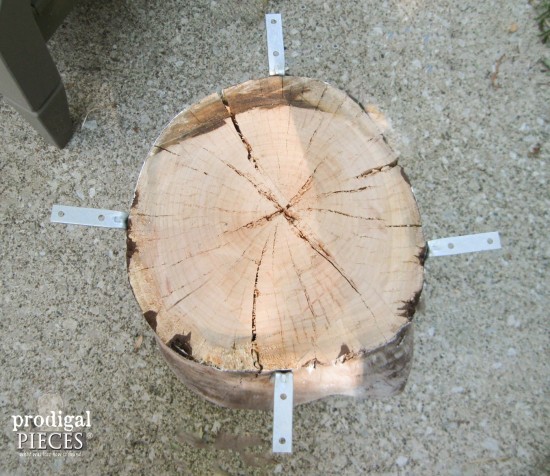
Now place your round on your stump and check for level. The nice part is you can bend those braces by tapping with a hammer to get the table level. When you've got it where you want it, attach the top to the braces. (a helper will come in hand to keep the table from shifting while you're drilling in the screws)
THE REVEAL
And...now you're done!
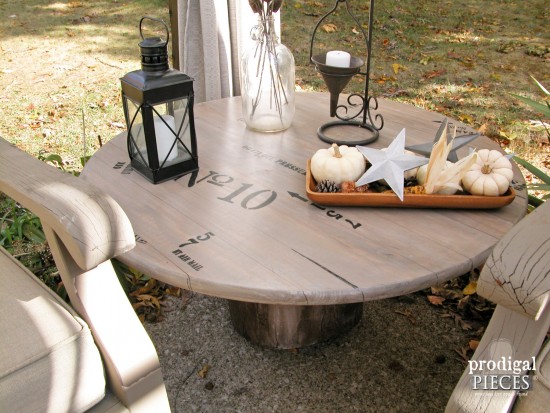
You've got an awesome new piece of furniture that looks as if it's been created with loads of work by putting together shipping crate pieces. It's full of character and will be an awesome conversation piece in any decor. Since these wood rounds are available in numerous diameters, you could even create a small stand or table too. Fun!
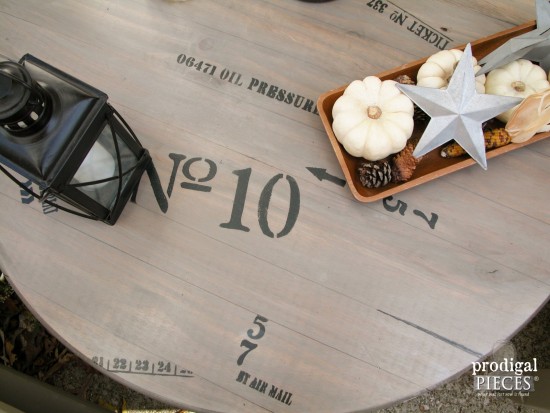
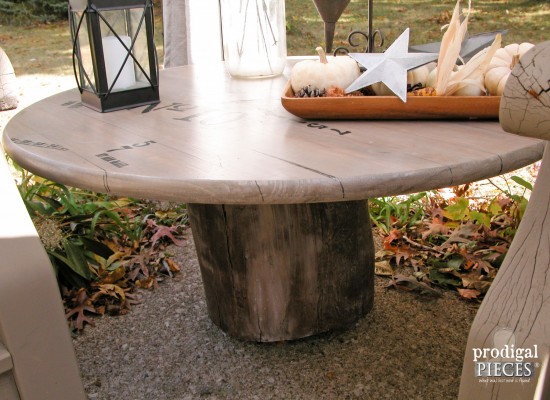
Don't have a tree stump to use? Then add any style of table leg, like hairpin legs, or spindles...be creative and make it suit your style.
I hope you've enjoyed this tutorial and I'm so excited about the versatility of the industrial stencil, I'm going to give one to one of you! To enter this sweet giveaway just leave me a comment telling me what other kind of project you would do with this stencil. Want an extra entry? Pin this project and tell me you did so in a separate comment.(it's on the honor system here - the idea is to empower others to create their own budget-friendly decor). Winner will be announced on Thursday when it's Themed Furniture Makeover Day.
Pin and share! ♥
To get these DIY tips & tricks in your inbox, be sure to
sign up for my newsletter. PLUS, you will get your FREE Furniture Buying Checklist and special discount to
my shop. Until next time!

 MEWE | PINTEREST | GAB
Also, more DIY projects like this shipping crate table:

 Once dry, flip over and stain the other side. During those drying times, let's work on our tree stump. I seriously just grabbed a chunk of wood from our wood pile that was about 2' long and had about a 12" diameter.
 My stump was in need of cleaning up, so I got out my planer and gave it a few passes to make it level.
 After that, you will want to sand down the sides just enough to get rid of the weathered and dirty exterior, but leave some of the character marks for fun.
 See how it allows the nooks and crannies to pop out creating a fun texture? Once your whitewash has dried for about a half-hour, go ahead and give your stump a good coat of polycrylic to keep it weather-proof.
Now, back to our wood round for our shipping crate table. After the stain has cured for about 2 hours, you're going to give the top a wash using a charcoal glazing. (I make mine with a bit of charcoal colored paint mixed with a little water - about 1 cup paint with 2 T. water) You can see how I made my garage door glazing in this post.
Again, working in small batches, apply the glazing across the round following the direction of the grain. Quickly wipe off the glazing leaving some behind to catch the grain. This will make the top have some depth.
 Here is the round after glazing...

 Make sure to continue your strips over the edge of the round.
 To create some texture, make a few wedged drawings at the end of your strips to create the look of gaps and spaces in your "boards".
 Now you will need your stenciling materials: pouncer, stencils, tray, and iron paint.

 I encourage your to mix up the stenciling a bit. Use one set of numbers with different text. Feel free to change it up and have fun with it. Twist the stencil, run it into a line to look like a piece was cut off...just experiement and make it funky.

 I even used my Olde World Numbers Stencil to create more dimension.
 Once you've allowed your stenciling to dry, give the text a light distressing to create a time-worn effect.
 Then, it's time to add your polycrylic topcoat. Use your high-density roller and apply an even coat. I like to run a dry 3" foam brush in one direction after the roller is done to get rid of unwanted bubbles and create a desirable finish, like I mention in my furniture essentials post.
 For added protection, let the coat cure for a two hours, then lightly sand with your 150 grit sandpaper and add a second coat. This will give long-lasting protection.
 Since a stump is round and random, just begin by attaching one of the braces with one screw, making sure it's as level as possible to the surface of the stump as well as vertically. Attaching only one screw initially allows you to make adjustments.
 Once you find the level spot, attach the other screw through the brace. Continue to work around the stump until you get this pattern.
 Now place your round on your stump and check for level. The nice part is you can bend those braces by tapping with a hammer to get the table level. When you've got it where you want it, attach the top to the braces. (a helper will come in hand to keep the table from shifting while you're drilling in the screws)
 You've got an awesome new piece of furniture that looks as if it's been created with loads of work by putting together shipping crate pieces. It's full of character and will be an awesome conversation piece in any decor. Since these wood rounds are available in numerous diameters, you could even create a small stand or table too. Fun!

 Don't have a tree stump to use? Then add any style of table leg, like hairpin legs, or spindles...be creative and make it suit your style.
I hope you've enjoyed this tutorial and I'm so excited about the versatility of the industrial stencil, I'm going to give one to one of you! To enter this sweet giveaway just leave me a comment telling me what other kind of project you would do with this stencil. Want an extra entry? Pin this project and tell me you did so in a separate comment.(it's on the honor system here - the idea is to empower others to create their own budget-friendly decor). Winner will be announced on Thursday when it's Themed Furniture Makeover Day.
Pin and share! ♥
 To get these DIY tips & tricks in your inbox, be sure to sign up for my newsletter. PLUS, you will get your FREE Furniture Buying Checklist and special discount to my shop. Until next time!


