Do you love the look of grain sack like I do? Seriously, I could put it on anything and never tire of it. In a minute I am going to share how to make a grain sack table. But first, in times past, I've created my own faux grain sack fabric for this
antique rocking chair see below.
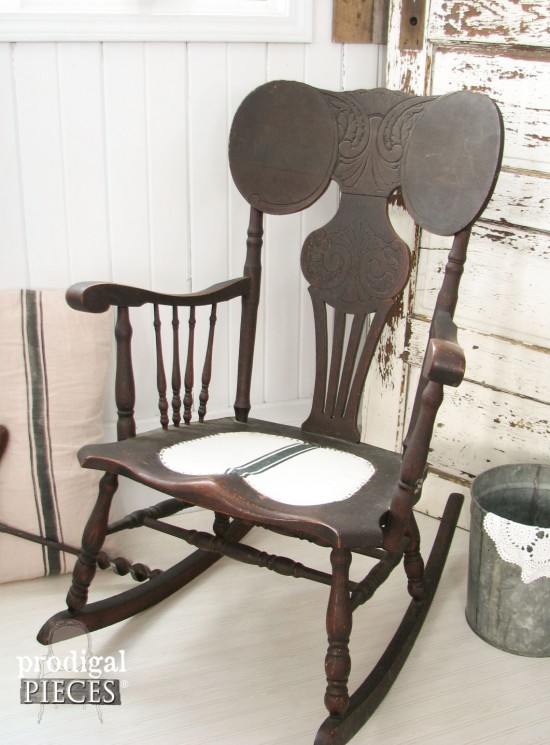
this
sweet little ottoman...
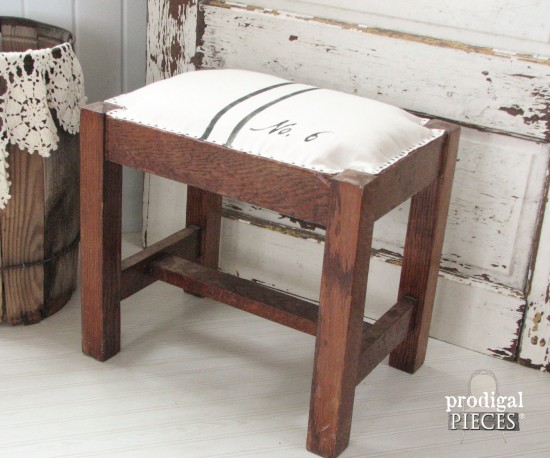
...and my own pillows, decor...you get the idea. I love it!
DIY TIME
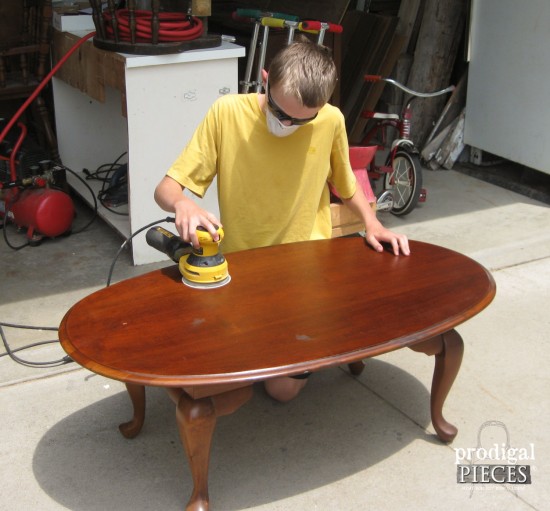
For this post, I'm going to introduce you to my oldest son, Mr. I, so he can show you how easy this method is - that even a teenager can do it. He is one of my six budding apprentices, and has been working alongside me for quite some time. Mr. I enjoys creating his own masterpieces, and selling them in
my shop and locally to create a nice savings for himself.
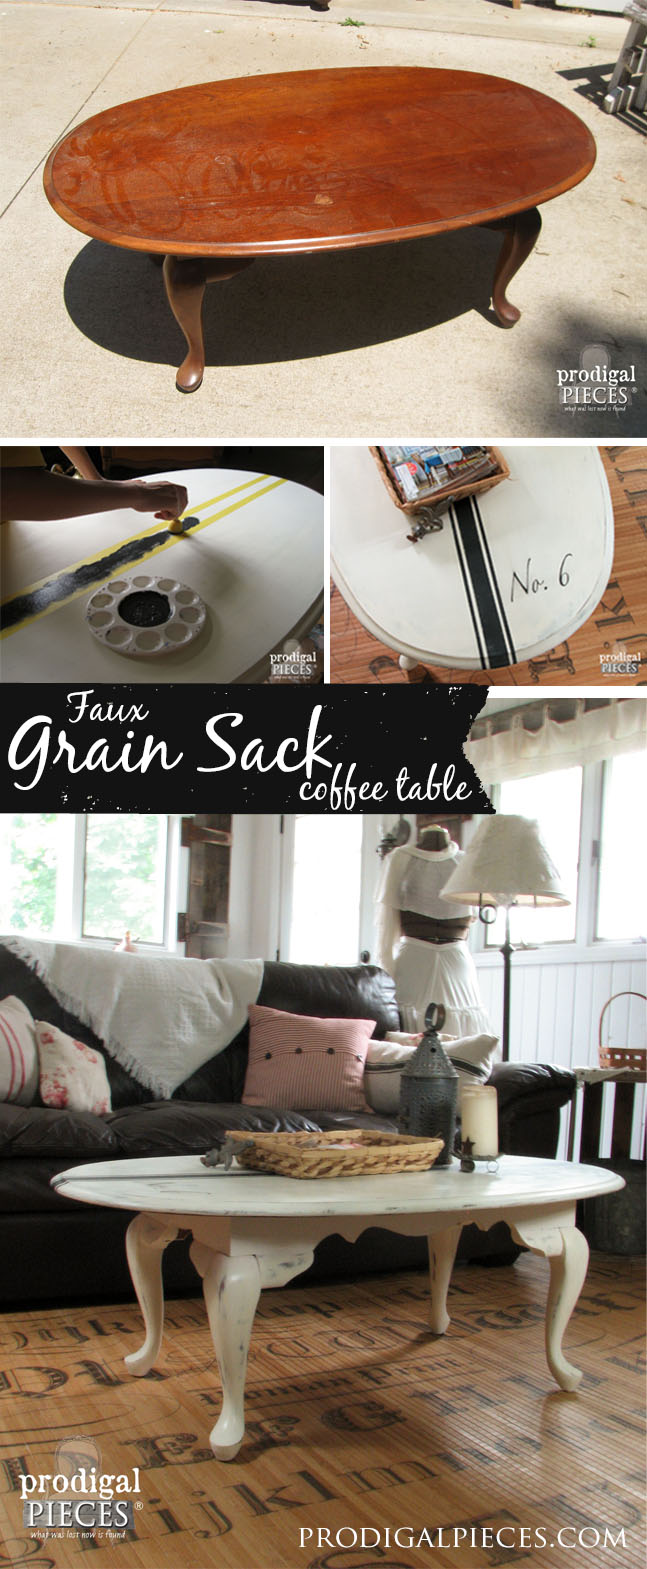
It's fun to help him find pieces that are deemed worthy of a makeover, and assist here and there, but for the most part, he does all the work. Here's his latest vintage garage sale find...a solid wood Queen Anne coffee table.
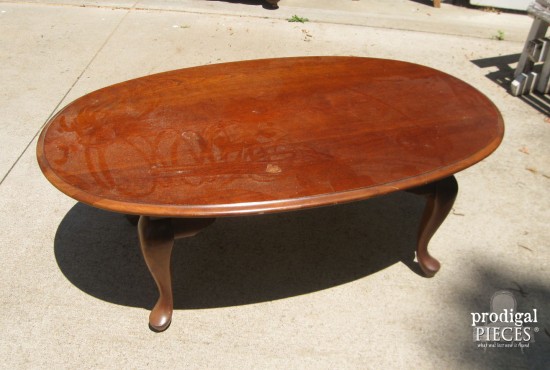
American made and quality cherry wood, but has some water damage and wear to the surface that makes it a good candidate for his project. I do believe this is his largest project so far.
He has already learned how to do basic sanding and knows how to get a workable surface - to give it "teeth" (something for the paint to stick to).
NEXT STEPS
Once done with the sanding, it's time to paint to get that grain sack table look. Though French shabby chic isn't his style, he knows that he wants it to sell and goes with what we feel the table is lending itself to. The Queen Anne legs and skirted bottom, all create that shabby feel.
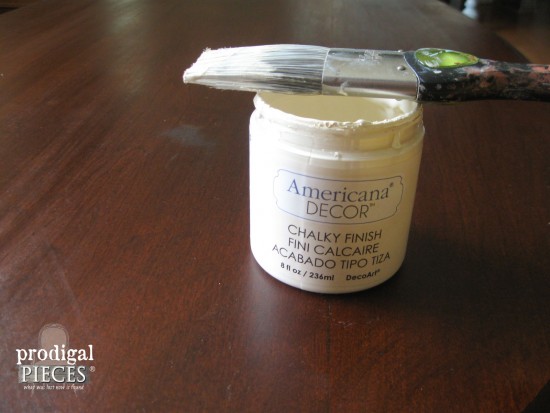
Since I had enough Deco Art Chalky Finish paint in Lace leftover from
my recent blue beauty (you've got to see this one!), he went with that color for the table.
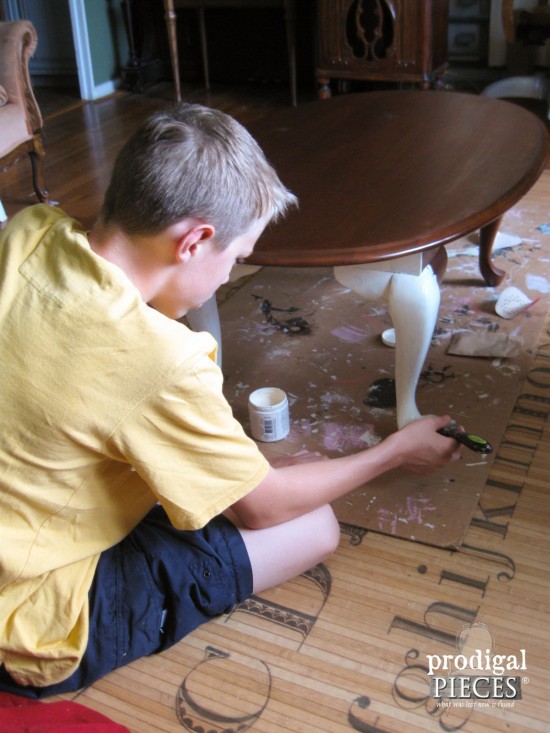
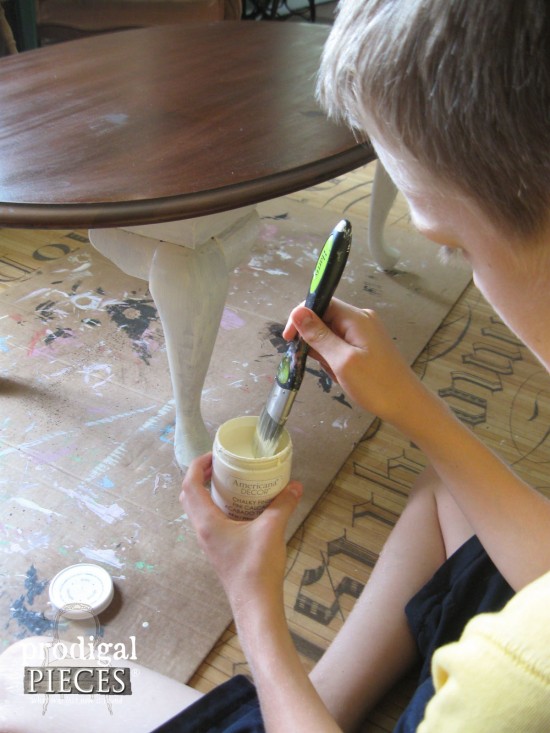
Mr I. has already learned about brush strokes, and such, so I just let him have at it. Cool, huh?
DETAILS
I've taught him how important it is to have a smooth base coat, because no matter how hard you try, it's going to come through your topcoat even though the topcoat is good.
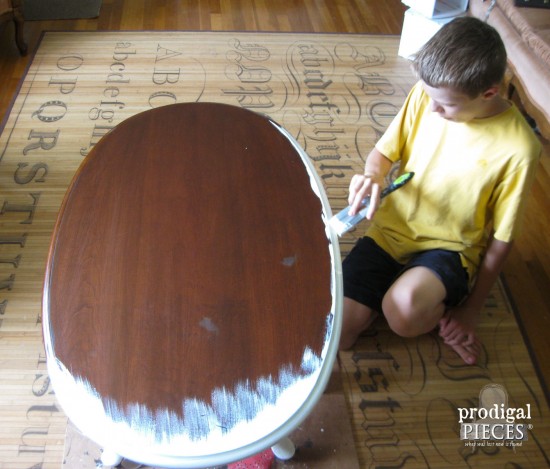
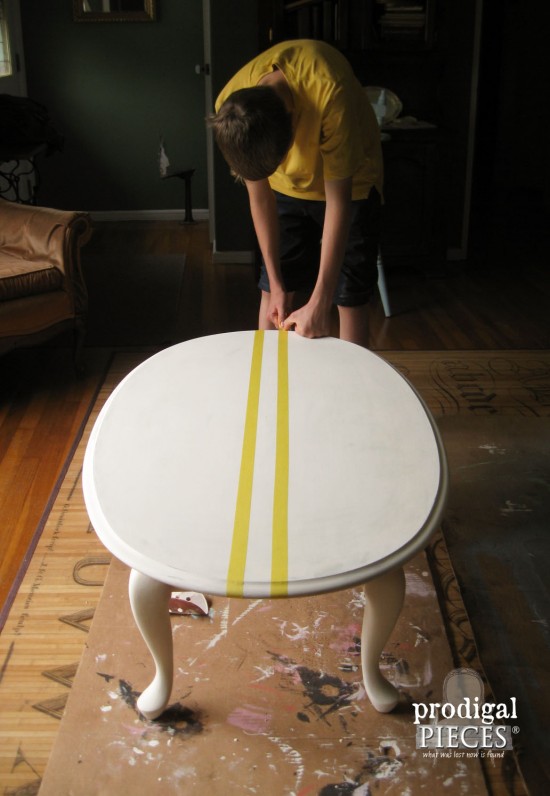
After two coats of paint, he agreed with me that this table needed some pizzazz. I really felt this table needed a faux grain sack stripe to take it to the next level. So, with our Frog Tape for delicate surfaces in hand, we laid out the first main stripe about 1½" wide on center.
PAINT TIME
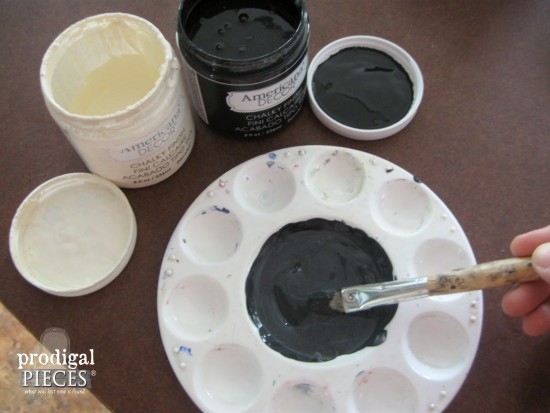
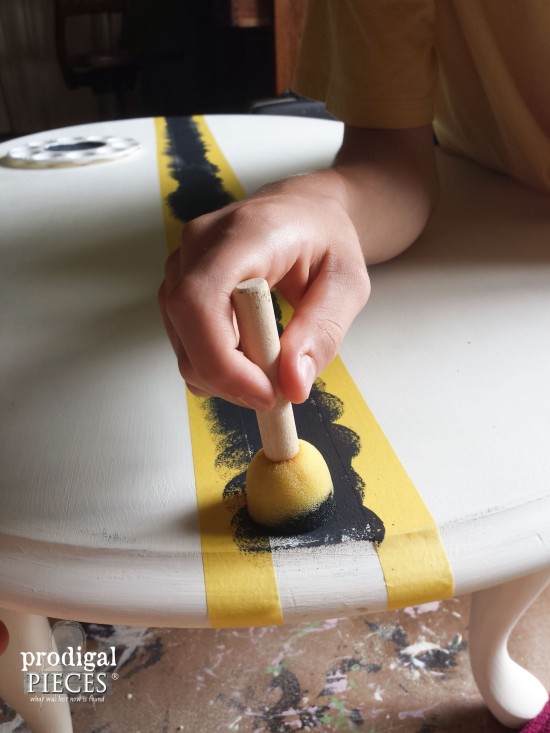
Once the taped lines are laid on, it's time for the fun. PAINT! We were after a smoky gray stripe, and wanted to use more of the Deco Art product, so we used the Carbon color mixed with Lace to create a custom color.
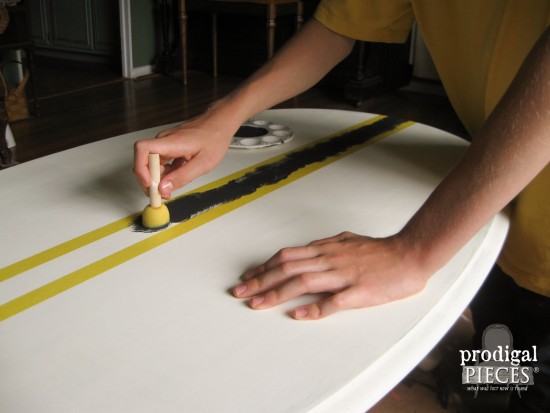
With a small round sponge brush that's lightly coated, he pounced in the lines, not quite filling it solid so that the paint resembled woven fabric.
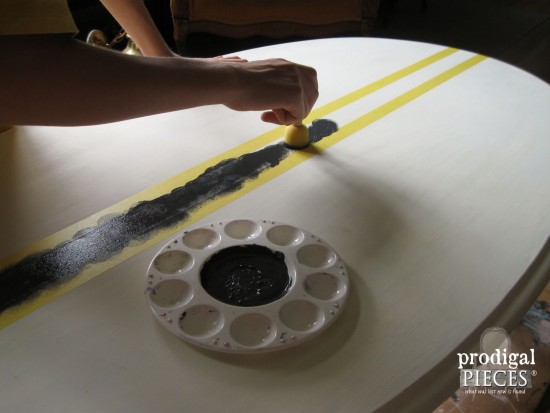
For added dimension, we wanted a triple stripe, and to do that we just wait until the first stripe has dried, and then tape for the second stripe about ¼" away from the large one and is also itself ¼" wide. A ruler is your friend in this instance. You will do the same for the third stripe on the other side after the second has dried.
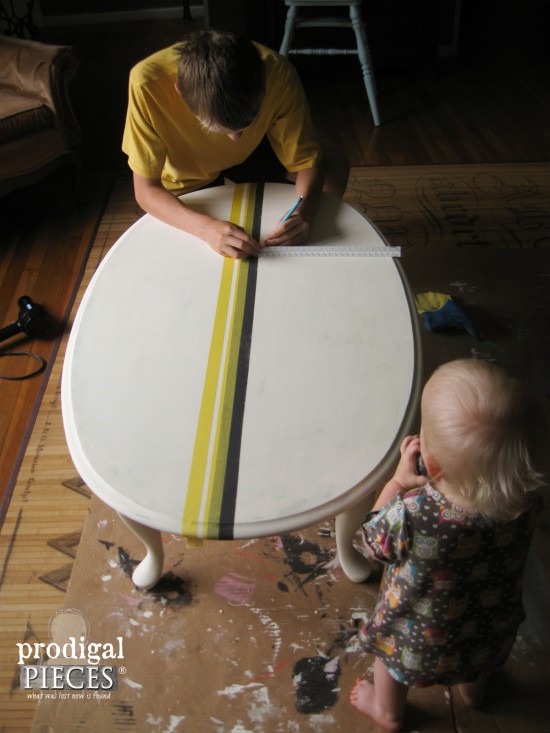
We have our youngest apprentice looking on and taking notes. tee hee hee.
NEXT STEPS
Again, for added dimension, we wanted to add some typography to make this table unique. Sometimes I use my
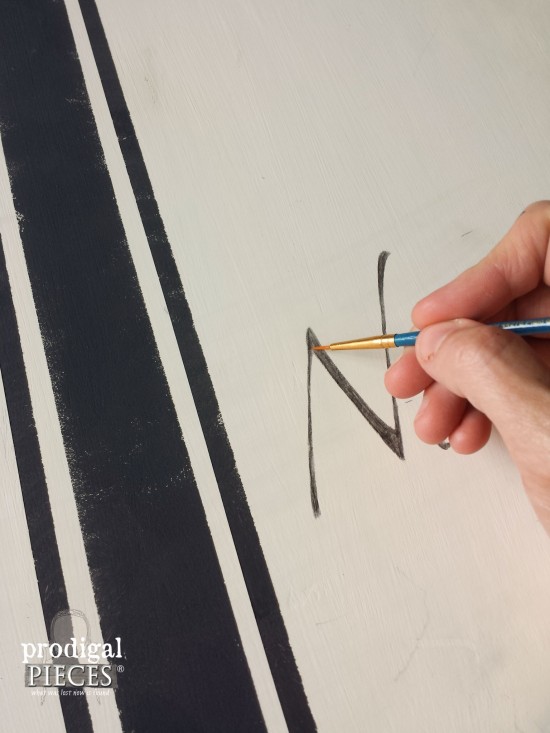
artist's pastels transfer method, but this time I created my graphic in Photoshop (you could use a Word document), printed it in mirrored (reversed) method onto freezer paper cut into office paper size (8½" x 11"). Being careful not to touch the printed side, place the image ink side down, and use tape to hold it in place.
Next, using a firm edge of a credit card or ruler (whatever you have), rub firmly all over. Once you lift it up it will look pixellated, and you can leave it like that, but I like to take the tiniest bit of water and an artists' brush to gently brush the ink around and fill in the text.
After that, he distressed the table with a 150 grit sandpaper to show time-worn wear, then finished with two coats of hand-rubbed paste wax. Yay! His faux grain sack table is done.
THE REVEAL
Are you ready for my big man's reveal? I'm one proud Mama!
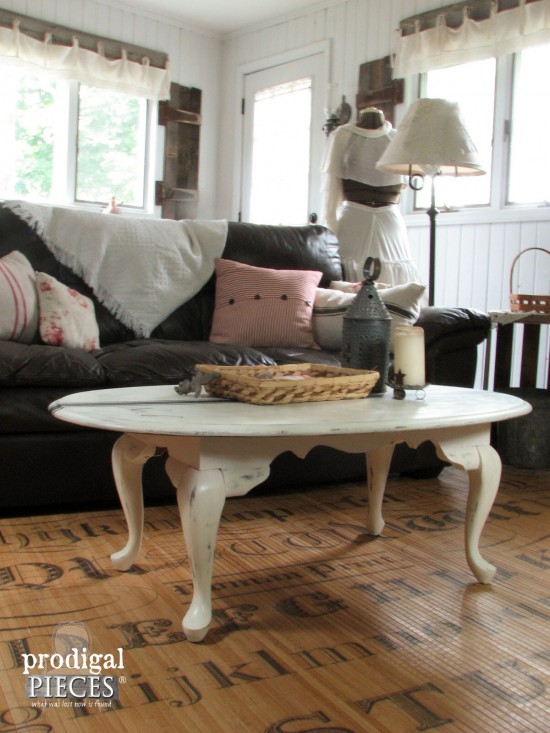
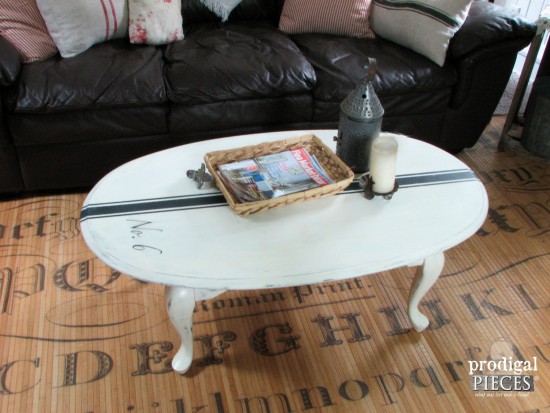
Mr. I did a wonderful job in not only painting, but creating that rustic feel and a truly one-of-a-kind piece.
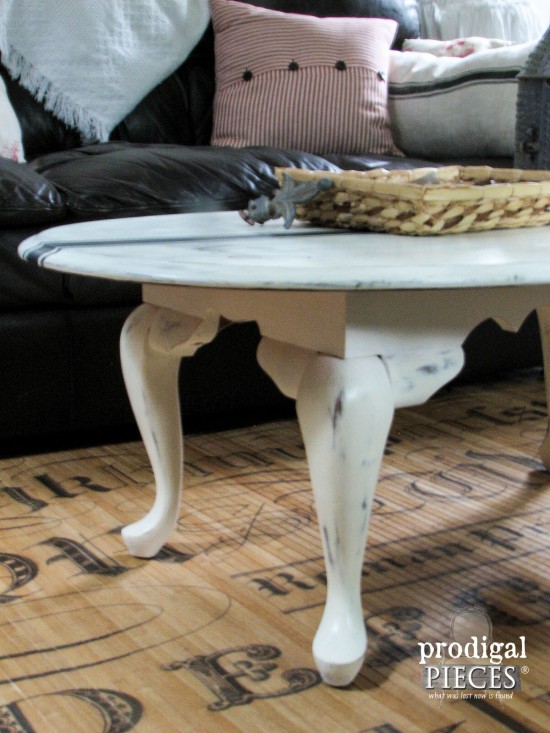
From the legs right up to the top, you wouldn't know this was once a lonely garage sale table.
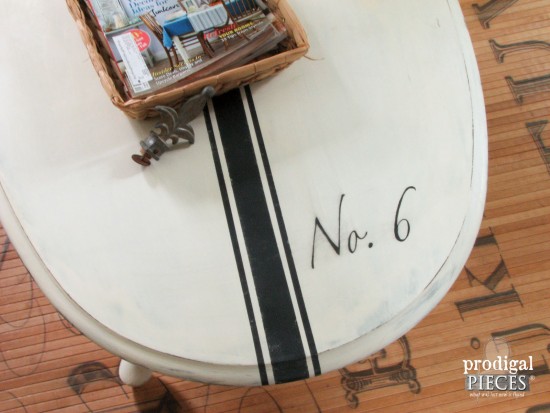
Doesn't it look so farmhouse chic? You can see my hand-painted linen pillows in the background. I told you I loved that me some grain sack. However, this mama would faint using the real deal grain sack with 6 kids, a dog, and a cat around.
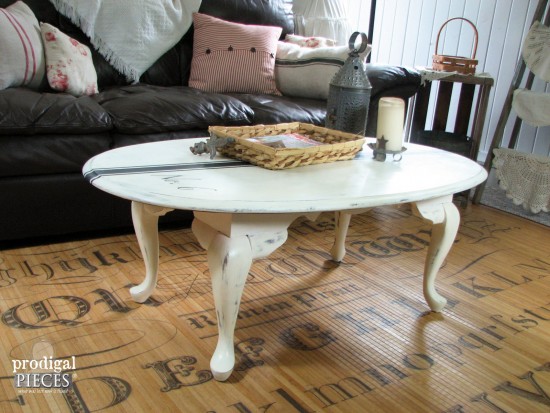
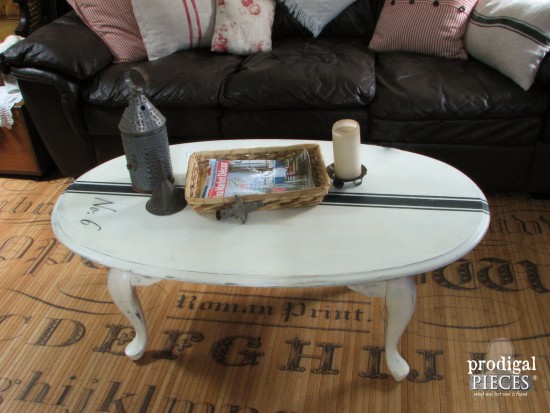
So you see, if my teenage son can do this grain sack table, I KNOW you can! If you have your sights on this sweet piece, you can find it available in
my shop. UPDATE: His table sold in an hour! YAY!!

Share so others can try it too! (and so you don't forget - wink, wink)
Get these DIY tips & tricks in your inbox, be sure to
sign up for my newsletter. PLUS, you will get your FREE Furniture Buying Checklist and special discount to
my shop. Until next time!

 MEWE | PINTEREST | GAB
More DIY projects for you like this grain sack table:

 this sweet little ottoman...
 ...and my own pillows, decor...you get the idea. I love it!
 American made and quality cherry wood, but has some water damage and wear to the surface that makes it a good candidate for his project. I do believe this is his largest project so far.
He has already learned how to do basic sanding and knows how to get a workable surface - to give it "teeth" (something for the paint to stick to).

 Mr I. has already learned about brush strokes, and such, so I just let him have at it. Cool, huh?


 After two coats of paint, he agreed with me that this table needed some pizzazz. I really felt this table needed a faux grain sack stripe to take it to the next level. So, with our Frog Tape for delicate surfaces in hand, we laid out the first main stripe about 1½" wide on center.

 With a small round sponge brush that's lightly coated, he pounced in the lines, not quite filling it solid so that the paint resembled woven fabric.


 For added dimension, we wanted a triple stripe, and to do that we just wait until the first stripe has dried, and then tape for the second stripe about ¼" away from the large one and is also itself ¼" wide. A ruler is your friend in this instance. You will do the same for the third stripe on the other side after the second has dried.
 We have our youngest apprentice looking on and taking notes. tee hee hee.
 After that, he distressed the table with a 150 grit sandpaper to show time-worn wear, then finished with two coats of hand-rubbed paste wax. Yay! His faux grain sack table is done.

 Mr. I did a wonderful job in not only painting, but creating that rustic feel and a truly one-of-a-kind piece.
 From the legs right up to the top, you wouldn't know this was once a lonely garage sale table.
 Doesn't it look so farmhouse chic? You can see my hand-painted linen pillows in the background. I told you I loved that me some grain sack. However, this mama would faint using the real deal grain sack with 6 kids, a dog, and a cat around.

 So you see, if my teenage son can do this grain sack table, I KNOW you can! If you have your sights on this sweet piece, you can find it available in my shop. UPDATE: His table sold in an hour! YAY!!
 Share so others can try it too! (and so you don't forget - wink, wink)
 Get these DIY tips & tricks in your inbox, be sure to sign up for my newsletter. PLUS, you will get your FREE Furniture Buying Checklist and special discount to my shop. Until next time!


