BACK STORY
My mom knew how to sniff out a deal at a garage sale and also knew how to haggle over prices. She would usually allow me to pick some sort of treasure while on our hunts, and like most garage sailing, sometimes you come up empty and sometimes you strike it rich. Oh...those were the days. My parents are my treasures that I feel sometimes I have yet to fully appreciate. Do you ever long for a rewind button? My days fly by and it seems time is slipping away too fast. One thing that hasn't changed is their love for me. Take this oak desk for instance. It could have been cast aside as my dad went through the newly purchased property he had acquired. He's been a fixer upper long before that title became a household word, and, I must say, the best one there is. When he asked me if I'd like to have it, I said, "Sure!" I mean...who wouldn't, right? At first glance, the only major issue was with the top. Somehow, one of the boards had been attached out-of-line, and there was the chemical stain damage.
 No problem. heh, heh, heh.
TIME TO START
First, I took apart the top to take a look at why that board had separated from the rest. It looked as though two of the boards had been joined properly and this one was just butted up. Hmm... Next, I whipped out my trusty sander and gave that lone board a sanding to see if those stains were as bad as I thought. Yep. No can do. I was tempted to run with it and have some fun with that stain by turning it into something artistic like I did with my Farmhouse Desk, but then and idea dawned on me. Flip all the boards and start fresh on the other side. {{head smack}} Oh, and in case you're curious, I could have easily sealed that stain and hide it with Kilz like I did with these pieces.
NEXT STEPS
Now I had a fresh surface to work with and no fussing with those stains. Yay! Because I flipped the boards, I had to fill some holes with wood filler and make everything look new because this top wasn't going to be painted. Same was true for the drawers. Sanded those down and even found some fun pieces of history while working, like this text on the drawer back. There was even some text written on the inside of the cabinet frame. I love finding bits to the story. Sometimes it even makes my hair stand up and I get goosebumps to think about the person that put their life into their work.
However, though I had no intention of painting the top or drawers, the cabinet was a different story. Since my favorite way to finish a piece is a paint/stain combo, you know I had to do it. tsk.
First, I apply a fresh coat of Provincial Stain. Then to deepen the color, I used another layer of Espresso.
There was even some text written on the inside of the cabinet frame. I love finding bits to the story. Sometimes it even makes my hair stand up and I get goosebumps to think about the person that put their life into their work.
However, though I had no intention of painting the top or drawers, the cabinet was a different story. Since my favorite way to finish a piece is a paint/stain combo, you know I had to do it. tsk.
First, I apply a fresh coat of Provincial Stain. Then to deepen the color, I used another layer of Espresso.

PAINT TIME
While the top and drawers are curing, I tackle the cabinet. After adding a bit of whimsy to the drawers with my stencil and waiting for all to cure, the last step is to topcoat it.
THE REVEAL
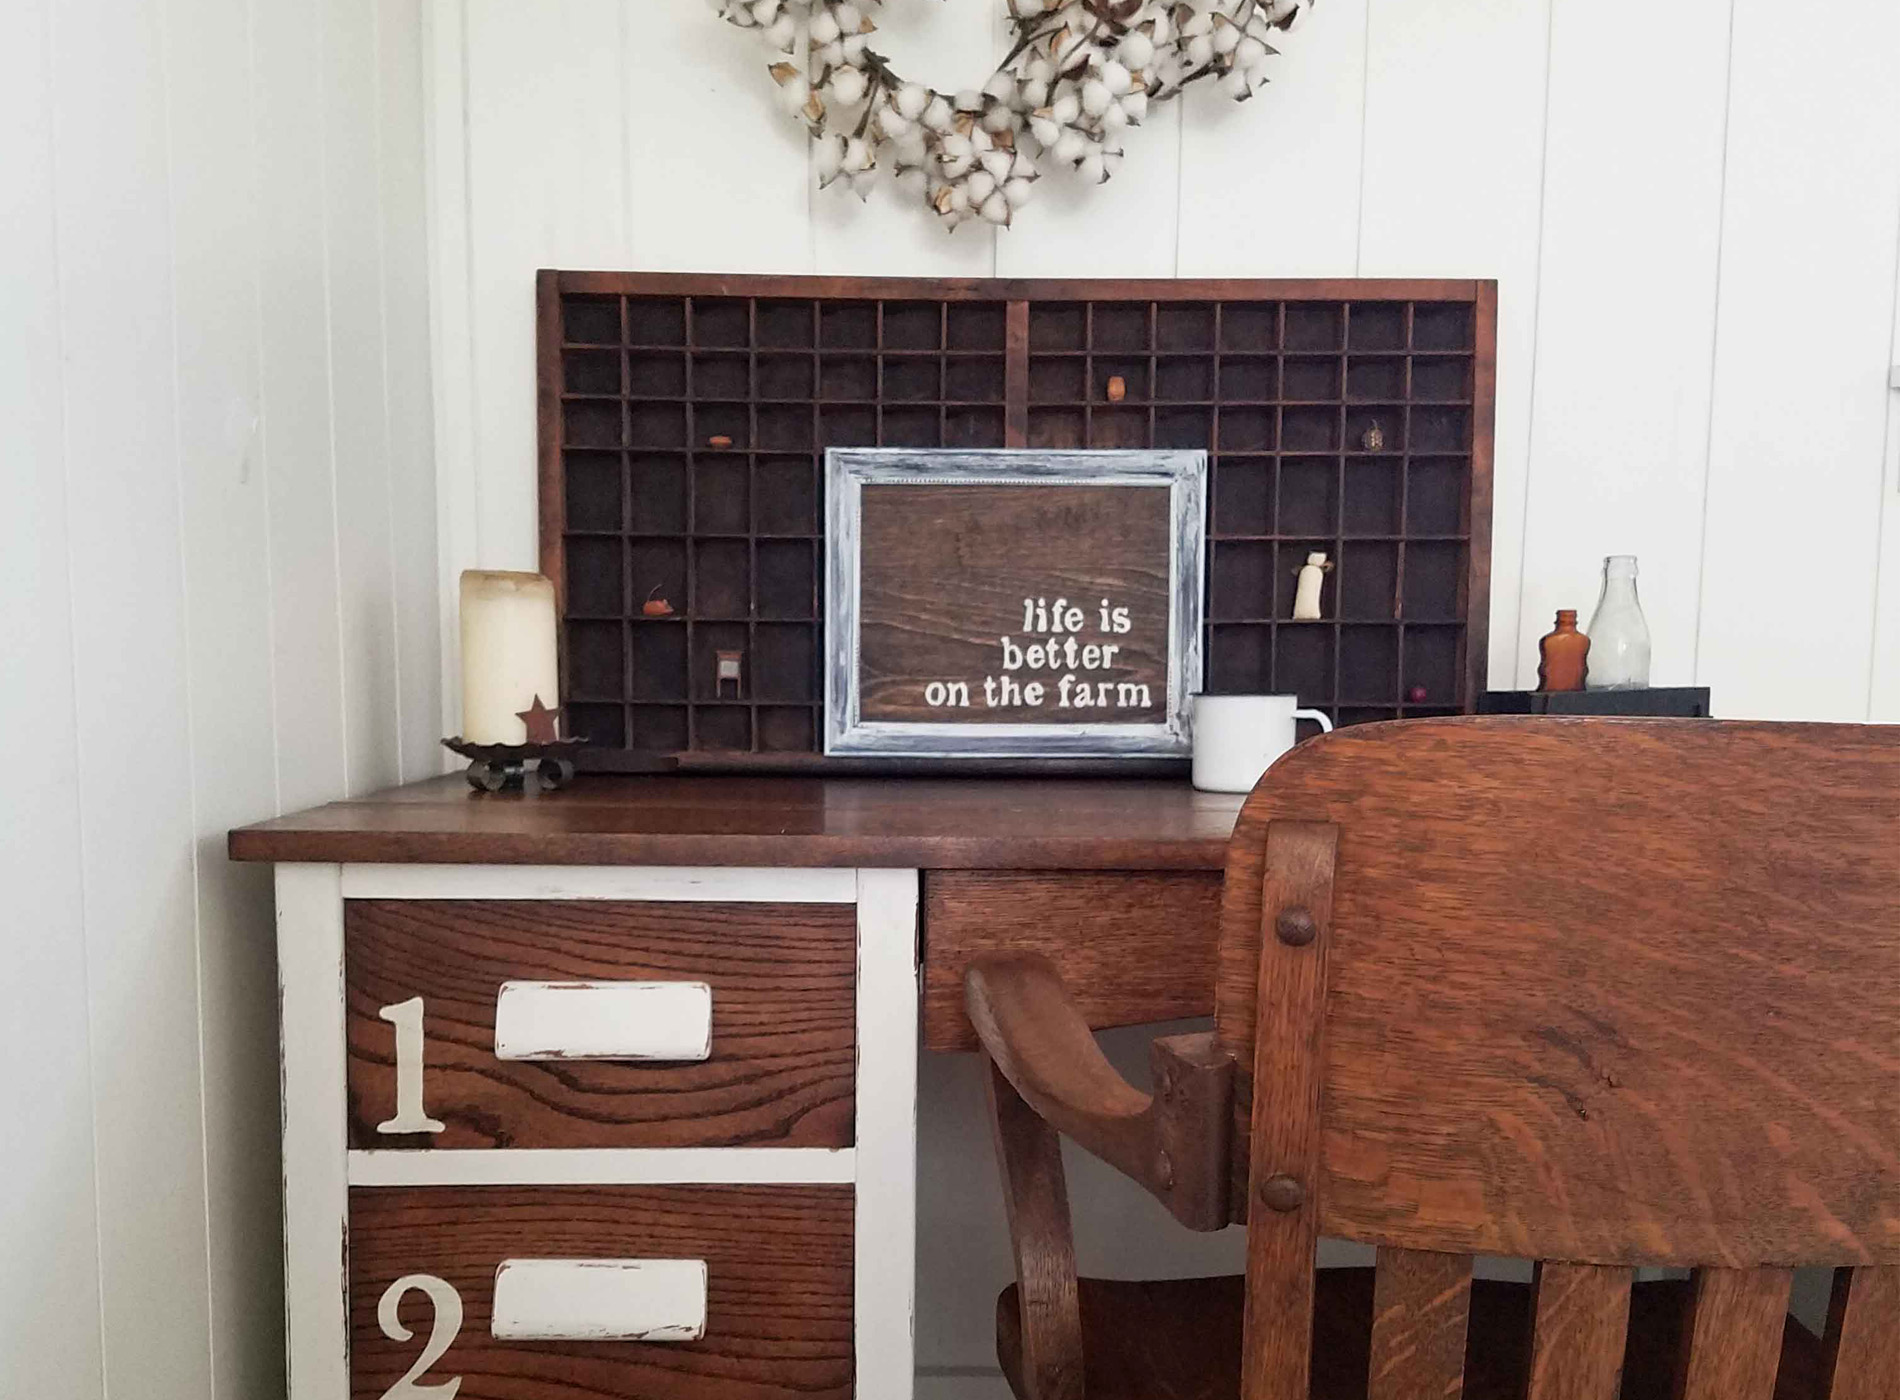
You may be thinking to yourself that a desk isn't much good without a chair. Well, that's when I head to my favorite Craigslist. By golly, don't you know the first listing I find is the one I want. A 1940's oak desk chair with a gorgeous patina and a story to tell. Don't they look fantastic together? The top came out wonderful and I am always loving that rich dark color of wood.
 The stenciling added that bit of fun to bring more of an industrial twist to the oak desk.

EXTRA FUN
I even whipped up a little sign with one of my favorite sayings. You can find both this oak desk and sign available in my online shop.[metaslider id=30251]

 This makeover was fun and got the itch out of my system to see this desk redone. Now, I just need to give my parents a hug and thank them for all they do.
Additionally, I encourage you to pin and share this project so you can inspire others to get out there and DIY too!
This makeover was fun and got the itch out of my system to see this desk redone. Now, I just need to give my parents a hug and thank them for all they do.
Additionally, I encourage you to pin and share this project so you can inspire others to get out there and DIY too!
 While you're at it, be sure to sign up for my newsletter. Until next time!

Also, more projects like this oak desk makeover:

