Gotta love it when friends and family enjoy what you do and even encourage you in your love of
trashure. haha. I mean that. Who else do I know that receives someone else's junk and gets to play with it? It's a challenge I welcome, even though at times I want to turn it down because of stash overload. In the case of this shelf below, I felt sorry for it. My dad brought it to me and I just had to give it a shot. Let me show you how I rebuilt it into farmhouse kitchen storage.

When he first showed it to me my first thought was, "hot mess". Even the look on his face told me he thought the same. He had saved it from one of his rental properties and I'm proud of him for bringing it to me instead of burning it. I've always said if it's made of wood, it can be saved.
FUNNY, NOT FUNNY
Funny thing is that when he handed it to me it wobbled like jelly in my hands. You could tell it was handmade, full of flaws, but...I saw potential. My first order of business was to take this puppy apart. It seriously only took one knock of my hammer to make it crumble.

I had to be careful because it had nails sticking out everywhere since I'm assuming the previous owners just nailed it to the wall. Looked as though when they painted their wall they just painted around it too.
Here it is in pieces and ready for a new lease on life. My goal was to not only make this a more sturdy assemblage, but for the farmhouse kitchen storage I was after I wanted a new design.

I kept that top arched piece to save for a later project. Without anything attached, here's what I had in mind. Instead of the wonky layout the original shelf had to that they could nail pieces together, I wanted a more squared up shape.

DIY TIME
In order to do that I needed to whip out one of my favorite tools, the Kreg Pocket Hole Jig. You can build anything with this thing! It allows you to create tight joints in a snap. See my other posts making use of it
over HERE. Remember my motto: toolsoverjewels!

I took each shelf board and gave it pocket joints on each end making sure to offset them so when I assembled the boards the screws wouldn't run into each other.

Once all the shelves were prepped, I whipped out my wood filler and went to town. I think I used half a tub! haha! Do you see the joints I created?

TIME FOR PAINT
The next step was to sand it all with my sander and get it ready for paint. Bring on the fun times! The main shelf got a fresh white coat in a semi-gloss spray paint that made a world of difference instantaneously.
For a bit of charm, I chose to add a piece of beadboard I had in my stash to the back. You can't go wrong with beadboard, right? {{high five}} Since the shelf was white, I wanted a bit of contrast, so I chose a dark gray paint and applied it with my paint brush. Then, I attached it with my AirStrike stapler in snap.
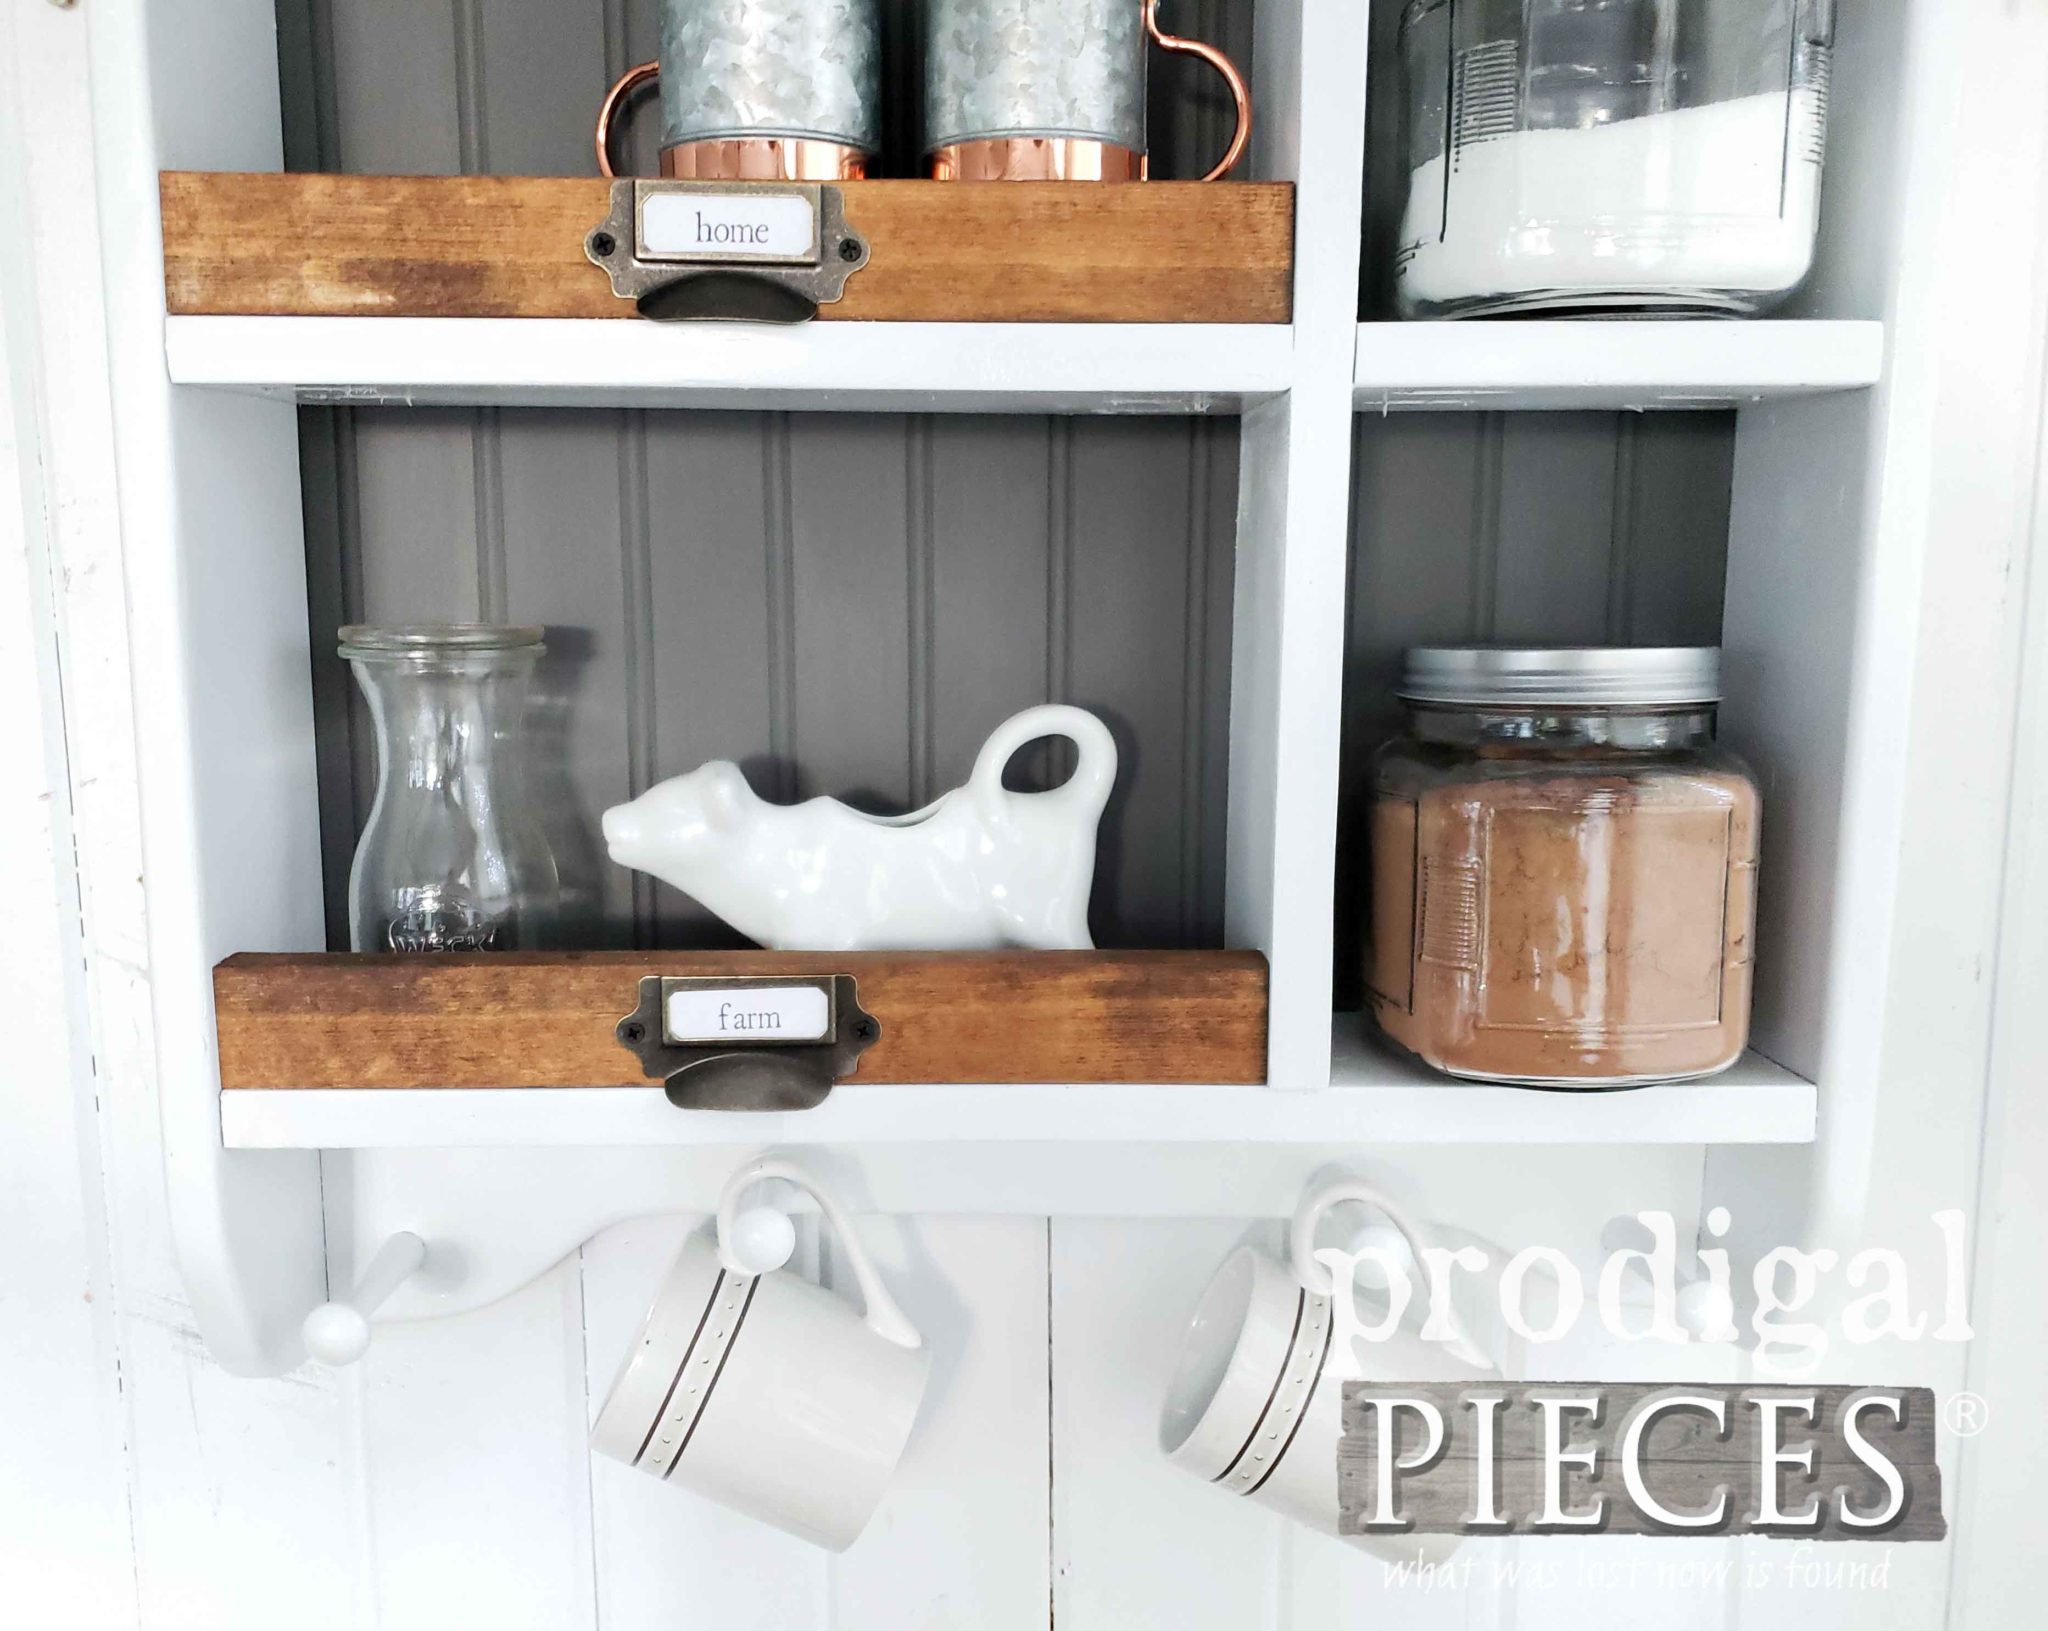
At this point, my busy bee self got into a fun sprint of adding bits here and there. Ready to see this farmhouse kitchen storage made new? Check it out...


You can see I added some Shaker pegs to hang mugs, towels, etc, and a few pieces of wood with apothecary pulls. I also created a peg rack to display daily grind essentials.

Can you tell I had fun with this? I spent a whole lotta time on it, but just goes to show you can make your house your home without a big budget, just some DIY spirit.


ALL DONE
If you'd like to own this cubby, you can find it available in
my shop, (
SOLD) along with the option to add the measuring cups and spoons, the salt & pepper shakers, and dry goods glass storage.


Do pin and share this farmhouse kitchen storage cubby to inspire others to take on the disheveled and make it new. DIY decor is fun!

Up next this thrifted magazine holder gets a new lease on life. It's a cutie of a makeover you'll want to see.
Head HERE to see.

To get these DIY tips & tricks in your inbox, be sure to
sign up for my newsletter. PLUS, you will get your FREE Furniture Buying Checklist and special discount to
my shop. Until next time!

 MEWE | PINTEREST | GAB
More projects like this farmhouse kitchen storage cubby:


