When I head to the thrift store and see country blue and geese with hearts, I instantly have a flashback to 1980's. My childhood home definitely featured that kind of style at one point. It's cute, but totally not my style. My last thrifting visit produced this haul and looked like someone cleaned house. For the next few projects, I'm going to be transitioning these pieces into a farmhouse state. Today is all about those country blue benches becoming farmhouse benches.

I literally laughed out loud when I spied the bench set stacked and hiding in a corner of the store. It was as if they knew how dated they were. IDK...Maybe it will come back in style? (let's hope not...haha)

DIY TIME
So, which one do you like? The garden scene or the dolls? Since I felt like having some DIY therapy, I set about removing these poor benches from their papered bondage. I won't say it was super easy, but pretty straightforward. I used a sponge to wet it, and scraped, and kept going.

My littlest kiddo loved to help me - peeling paper is addictive! At one point I asked her what she thought about the paper on the benches and she replied, "Wallpaper is for walls." bwahaha!! She nailed it. But...I told her I used wallpaper on furniture all the time. She said that my paper was pretty paper though. Good girl. If you want to see my wallpaper creations, take a peek
HERE.
Once the paper was removed, I made repairs with my nailer, and used my sander to get them prepped for the next step.

Here they are ready for paint. The fun part! Notice how the person who created these didn't finish the paint down the middle? hmmm...

TIME TO PAINT
I chose to spray my farmhouse benches to be with a flat black spray paint as a base color.

Inevitably I get a leaky spray can once in awhile. Yes, I could wear gloves, but thought I'd share my tip: just use an olive oil, hemp oil, etc. to wipe off the paint. No chemicals needed and it works like a charm.

Now my farmhouse benches are like little black sheep, but we're not done yet. Since I have a strong affinity for feed sack, as you can see
in these past posts, I decided to add some stripes down their middles.
ACCENTS
While I can use my FrogTape for some of the stripes as-is, I often use my cutting mat and cutter to make thin strips.

I center up the lines and get ready for the next step...more paint. BIG surprise, right? yahoo!

Since the farmhouse style usually incorporates distressing, I didn't want that blue to peek out, so to create the look I wanted, I used an old candle to wax the spots I wanted black to peek out.

To create some rustic charm, I used a whitewash of paint using my paint brush. Dry brushing basically means getting on the very tip of your bristles wet and working the paint around with minimal coverage.

Only one dry brush layer is all I need. After it cures, I lightly distress those previously waxed spots to reveal some black base layer. Then, I decided to take it up a notch using my Old World Numbers stencil. After that, I used a fun layer of gray wax to add depth, protection, and texture using my brush.

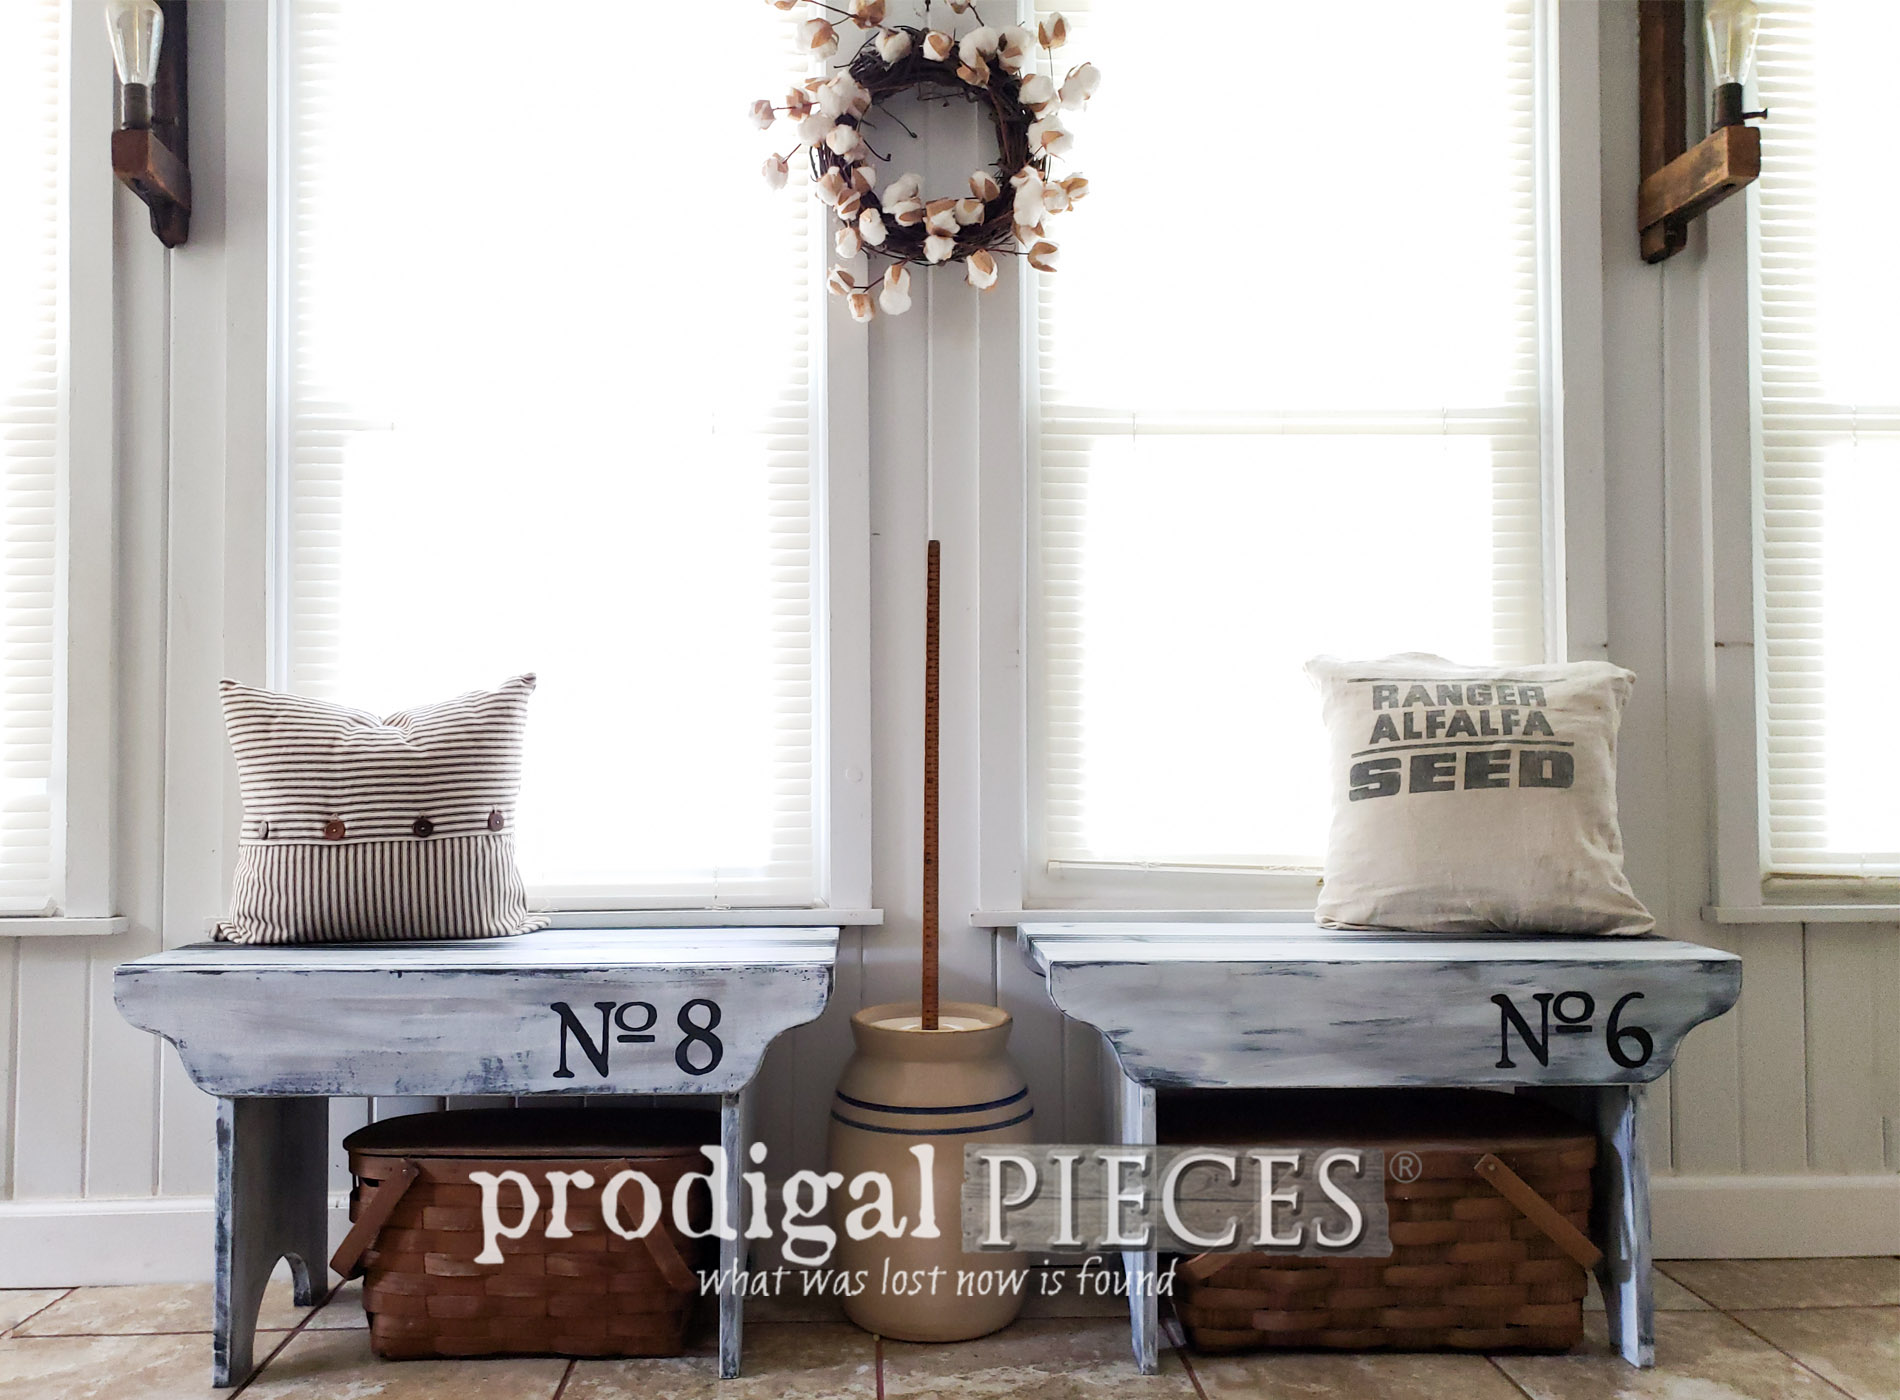
THE REVEAL
The wax gets a good buffing and then my farmhouse benches are ready to go.


Well, we've said buh-bye to that country blue and hello rustic farmhouse. {{breathes sigh of relief}} Aren't they fun now?


Gotta love them stripes and the bit of whimsy they offer with the numbered stencils. One got a No. 6 and the other a No. 8. Had to mix it up, ya know.


Which one suits you? Both are available in
my online shop along with all my other handmade and vintage furniture and finds.


SHARE
My hope is that you are inspired to see past the obvious either in what's already in your own home, or when you're out thrifting. A DIY update is easy and makes it fun to create your own home story. In addition, pin and share to inspire others too!

Up next is that goosey barrel. You know those have to go...right?
See the after HERE.

To get these DIY tips & tricks in your inbox, be sure to
sign up for my newsletter. Until next time!

Also, more of my projects like these farmhouse benches: