THE BACKSTORY
When we bought our home in 2003, this is what the bathroom looked like. In case you're wondering, this is a scanned and uploaded photo, so you could get the full effect. Now I am really dating myself. ahem.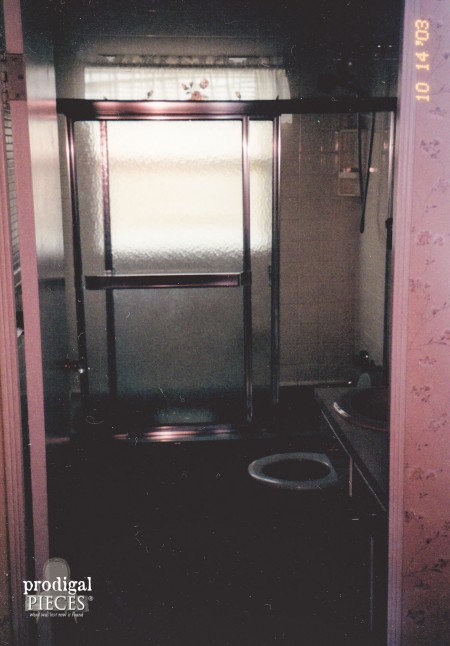 Cast iron green bathtub with matching green commode, glass shower doors, 3" creamy white square tiles on the bottom and 1" white with gold square tiles on top. Berber carpet on the floor, clear corrugated plexiglass type drop ceiling, an indoor/outdoor light complete with outlet attached, and a single mirrored medicine cabinet. Oh yeah, total room for improvement.
First makeover included painting upper tiles dark maroon and the ceiling panels and grids white, added green floor tile, plus mirror and light fixtures, and took out the shower doors.
Second makeover, yanked out the tub and toilet for new fiberglass tub with surround, and put in new floor tile. (another uber old scanned picture)
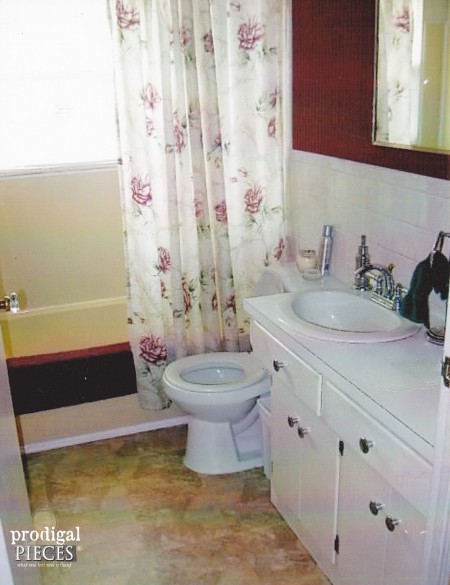 It wasn't until a couple years later I painted the upper tile a soft green and changed up the decor. This picture shows after we already tore down the ceiling and getting into gutting it from top to bottom.
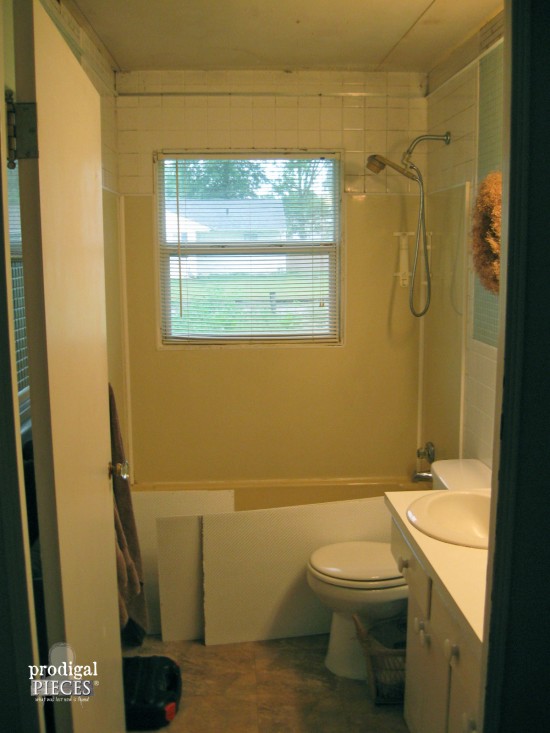 Third times a charm, right? tsk.
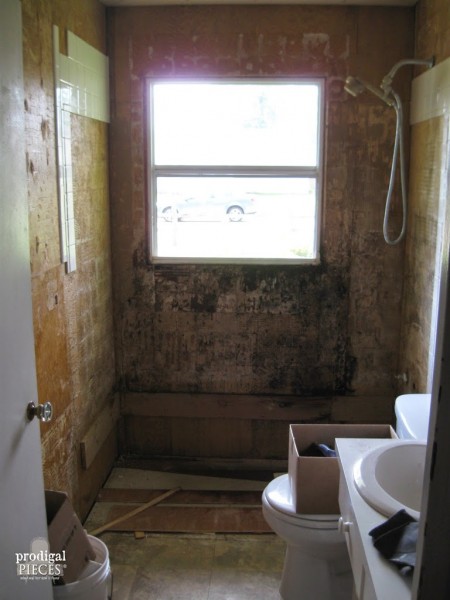
LONG LAST
Well, this time was for good because we have to replace that window. Plus, we want a clean start, a GIGANTIC do over. All the details about the start of our project, including how we got a massively heavy tub in there are here, and the latest upgrades are all here. Take a minute and catch up...it's a good read. Are you ready? We are!!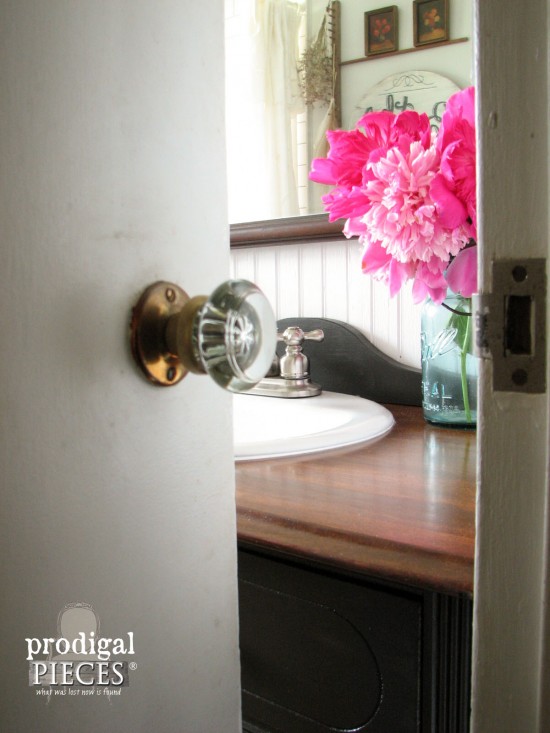 A big gigantic shout-out to my hubby who is key to this happening. Also, to our kids who were patient as we worked, and my Lord for giving us the ability to take this project on to completion.
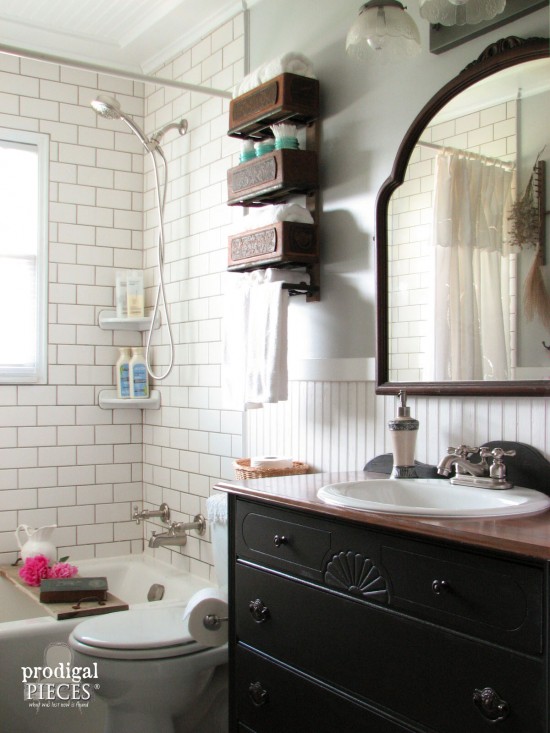
Welcome to our new bathroom...
*many thanks for the product provided for our project from Hickory Hardware and eFaucets. (see full disclosure )
For the sake of understanding how this all came together, let me explain all the pieces to this fantastic puzzle.LOOK UP
Let's start with the top. The ceiling is now one sheet of wood beadboard. Then, we add a coffered setting with pine boards and trim. I could just sit and look at it forever. So much better than that corrugated plastic drop ceiling.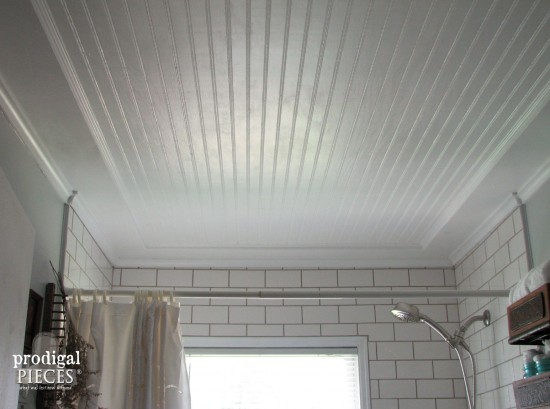 Now for our vanity in our farmhouse bathroom. After a year or so of searching for the perfect fitting dresser, I found this treasure on Craigslist while taking a brain break during my stay in the NICU with our daughter. God has a sense of humor.
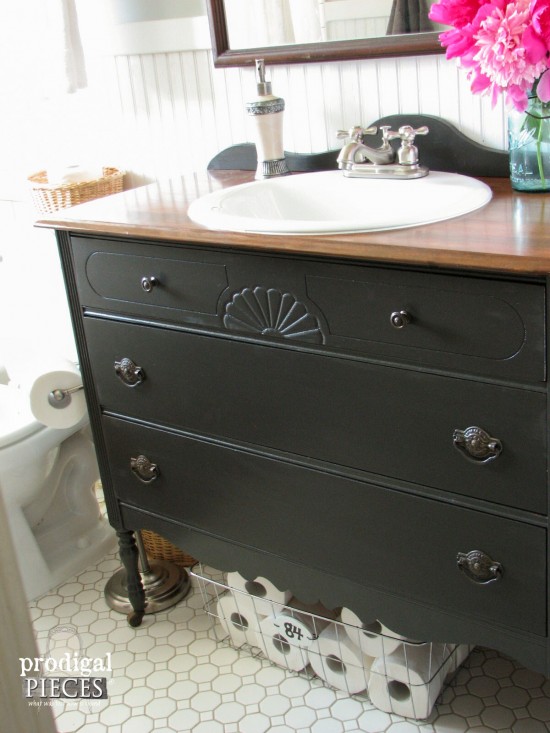 It fits like a glove in the tiny space we had allotted, and it came out just as I had envisioned it. You'd have to see the before to really appreciate it. Don't worry, I have a plan for the old vanity. Nothing goes to waste around here!
DOWN BELOW
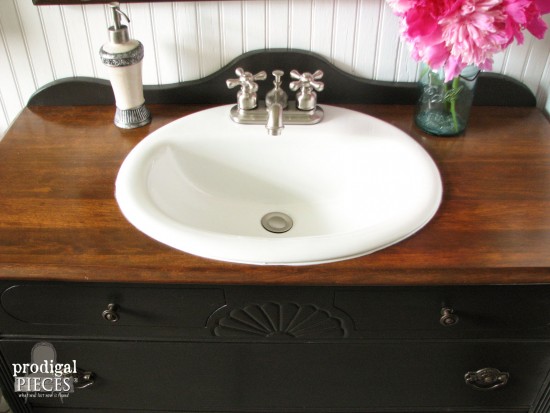
Below the dresser is the freezer basket I showed you in my last post. It is from when our chest freezer died (also while in the NICU). I just buzzed the handles off with my Dremel and voila!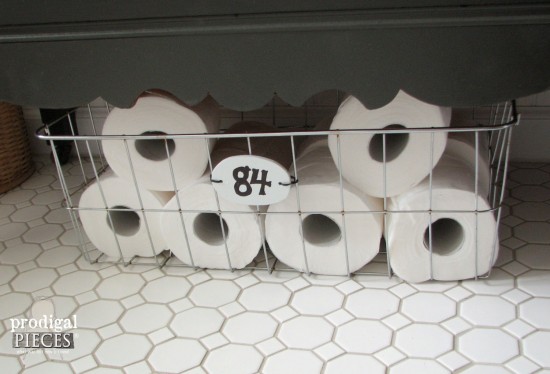 I sanded down the dresser top and then stained with one of my favorite stains by Varathane, Early American. We've used it on our bedroom faux beams and on our Pottery Barn knock-0ff as well. To finish it off with a die-hard topcoat, I used my new-found love, Waterlox in satin, that I mentioned in my previous post as well. Boy does this stuff work like a dream!
 THE VANITY
Our dresser did not have that backsplash prior to our retro-fit, but we felt it necessary to add it because our baseboard kept the vanity from fitting snugly against the wall, which caused it to set about a half-inch out. That would mean water spray going down there and possibly other goodies - with 6 kids you just never know.
The sink is from Home Depot and our brushed nickel faucet was purchased from eFaucets as mentioned in my previous post.
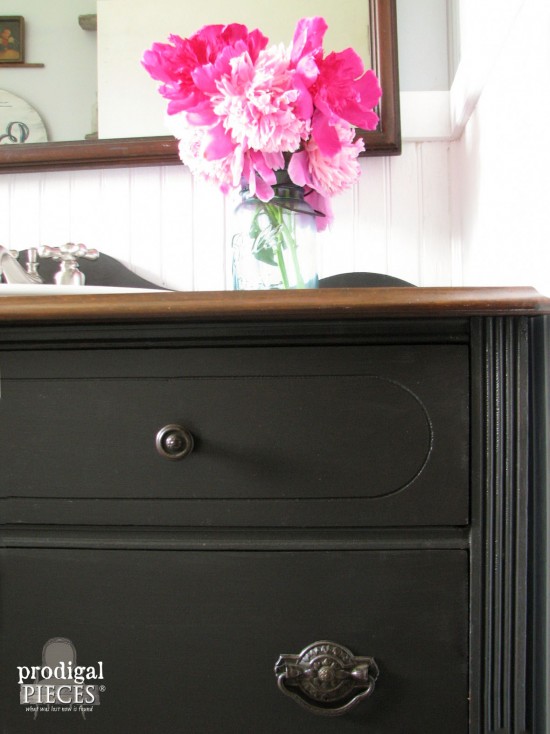 The cabinet I painted in a "seconds" paint from Home Depot, but it's a nice charcoal/dark chocolate semi-gloss that really sets this piece apart from the rest of the room. I kept the pulls in their original aged state - gorgeous!
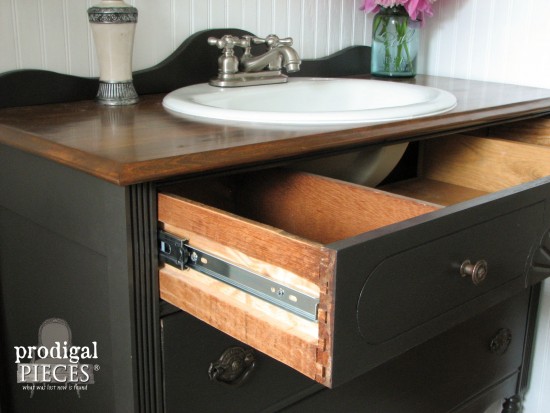
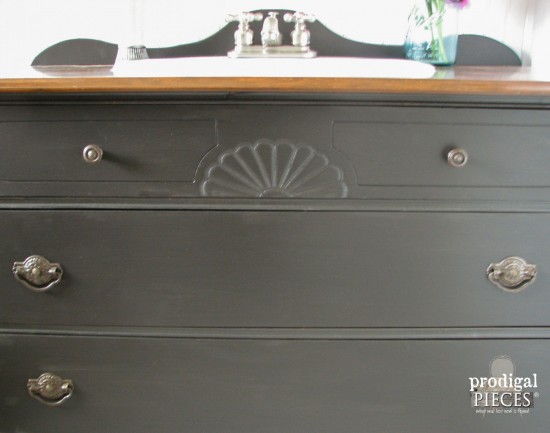 We were able to add drawer slides to the drawers from Hickory Hardware. This not only makes the drawers easier to open (most antique dresser drawers can be pretty rough), but also gives extra support we need.
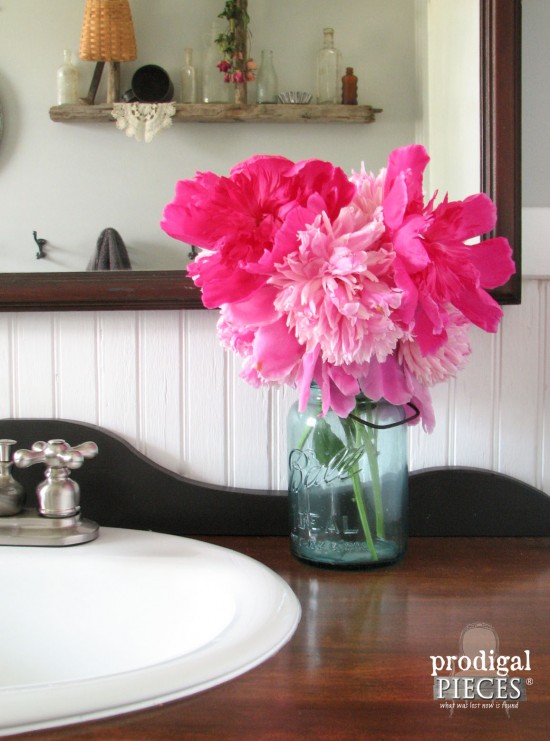
 And who doesn't love pink peonies in an antique blue ball jar...swoon... These beauties are closed when I brought them in a little bit ago. However, the warmth of our home causes them to open up so beautifully.
MIRROR, MIRROR
The mirror I kept from a custom order for a dresser-turned-media-console for a client and I love its dark color. Above it is my old farmhouse light fixture scored for a $1 at a garage sale and painted in a Antique Nickel spray paint by Rust-Oleum. Don't you just love the frosted embossed globes? The before is in my previous bathroom post.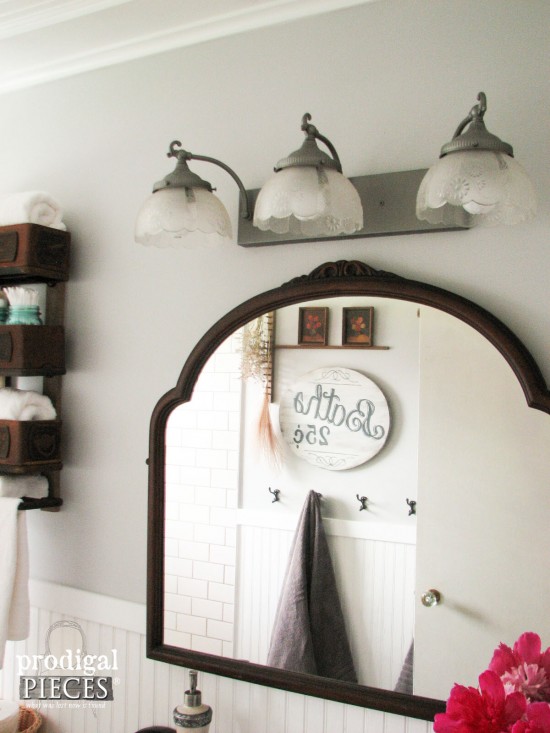 Next, in our farmhouse bathroom makeover you can see a recently thrifted vintage soap advertisement. It perfectly suits the decor.
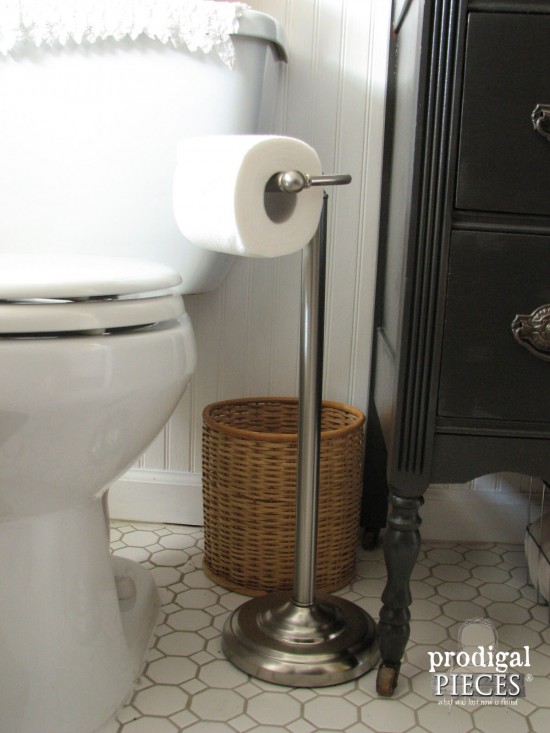
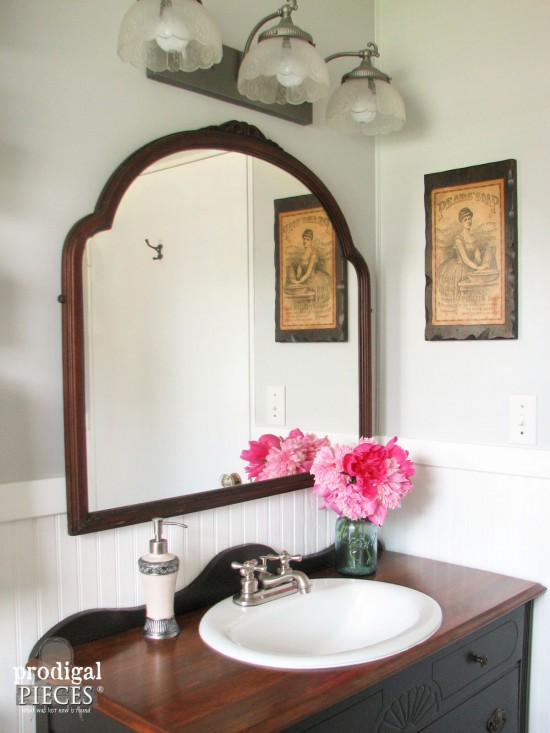 And on the other side was what my mom would call a "God wink". I needed to purchase a toilet paper holder and refused to pay $20 for a single fixture. tsk. Not when my kids will bust it in a day! I went in to Goodwill to try to find something else I needed,. Then, there I find a brushed nickel TP stand and a basket planter, perfect as a trash can. All for about $5.
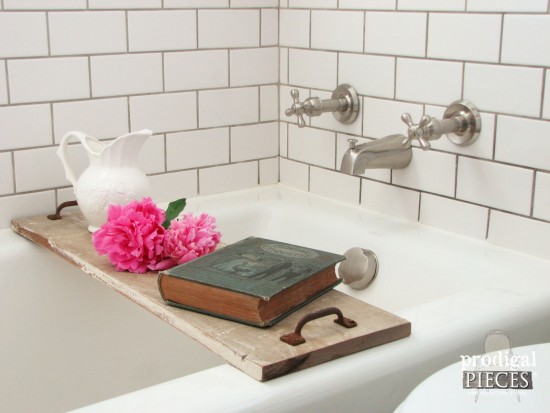
 Now for the shower and tub. Gotta love the classic feel of white subway tile with gray grout. It's so refreshing and crisp. Both the wall and floor tiles, and grout came from Home Depot. The paint color is Classic Gray by Glidden.
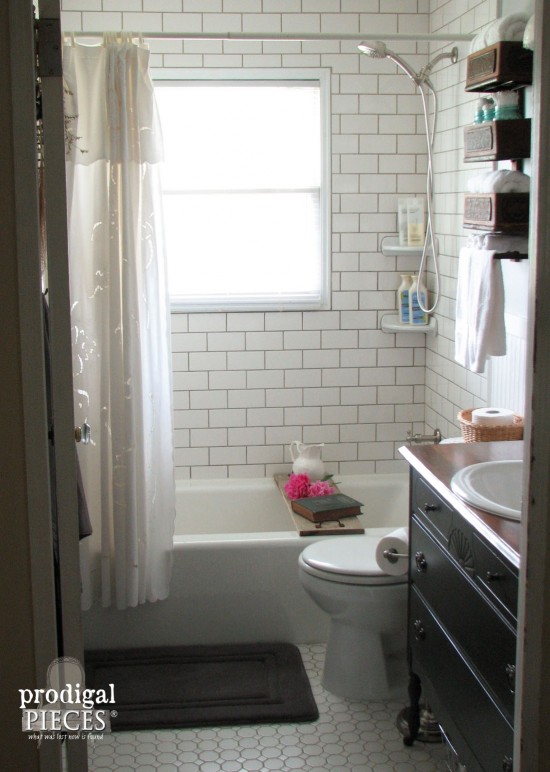 The tub fixture came from eFaucets through eBay as well. Isn't that cross pattern handle perfect? For added fun, I just had to create a tub tray with a board of my barn wood and some old, rusty window sash handles from a set of curbside windows. Now all I need is the time for a good soak.
FIXTURES
Up above is a new addition also from eFaucets, which they graciously provided for our remodel. Our old one was my absolute favorite shower head, but it just would not go in our new bathroom with its olive-green color. Not only does this new shower head and accessories look better, but I'm happy to say that it does a wonderful job - this coming from someone who has returned several shower heads in previous years because their spray was weak.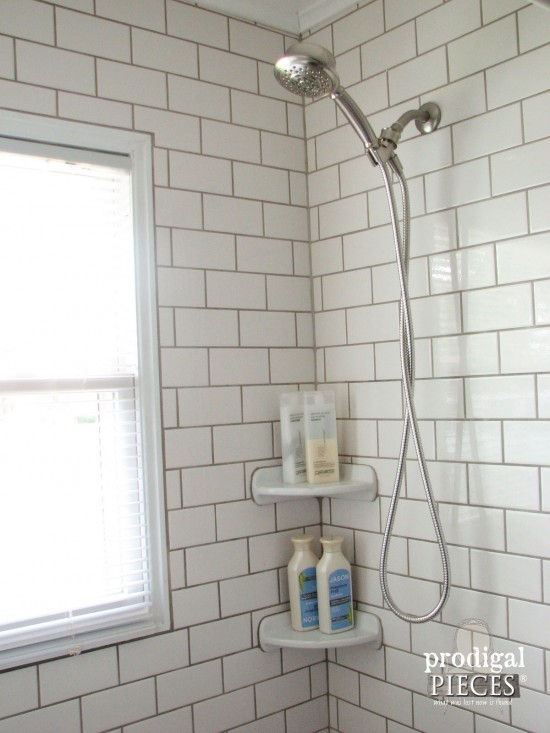
HAPPY PLACE
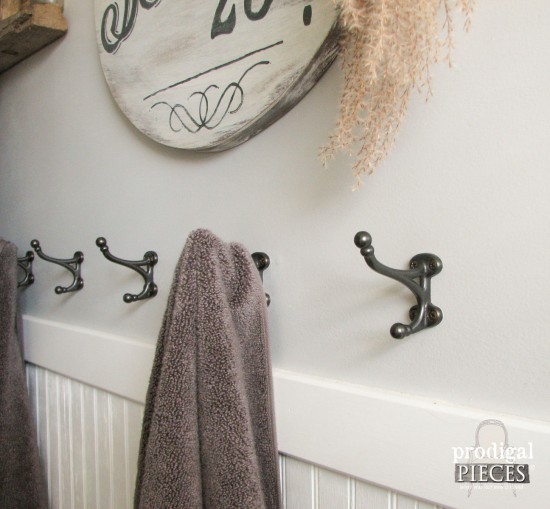
Now for the other side of the room. With 8 of us, we needed plenty of space to hang our towels. Thanks again to Hickory Hardware for providing us hooks for our space.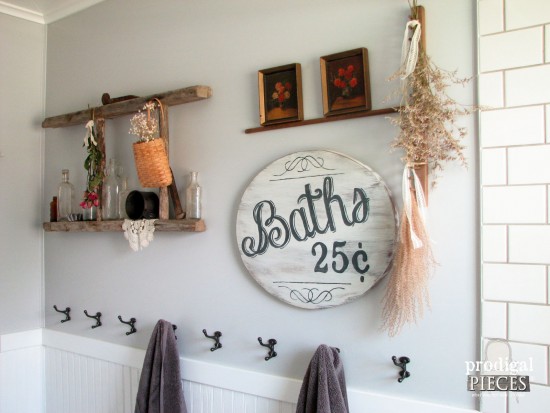
 This is my favorite collection of memories in here. My broken ladder found with my pallet treasure, old bottles found for pennies, a tin cup, railroad spikes, and other thrifted and found objects.
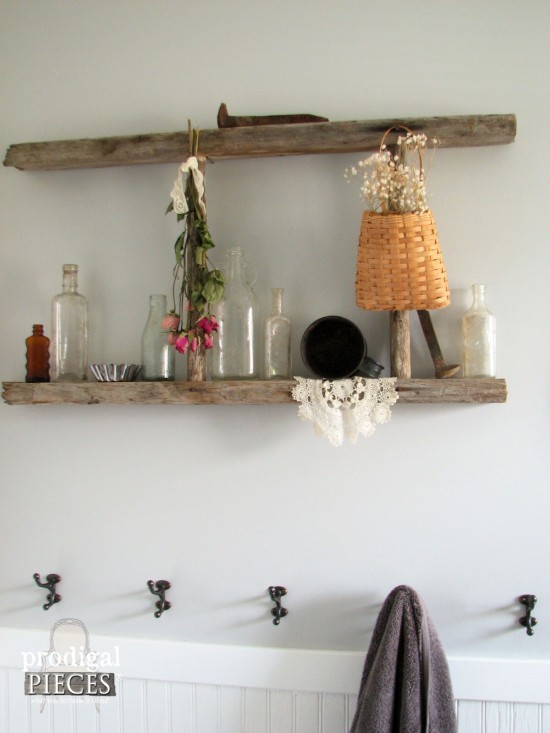
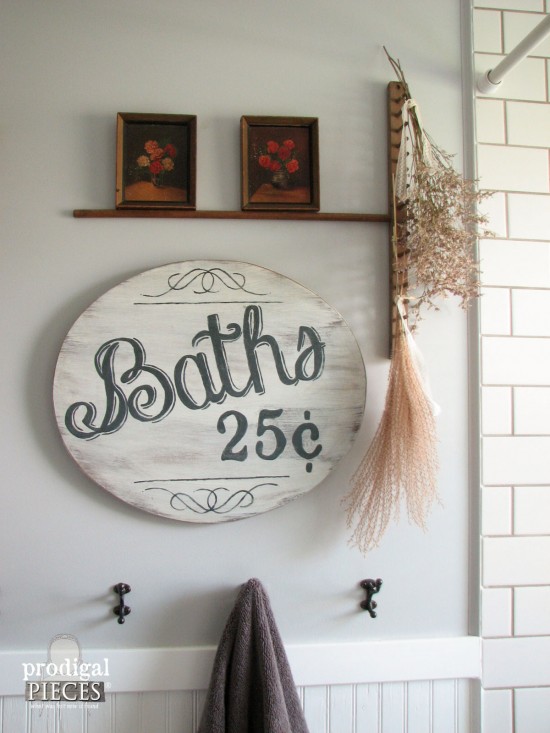
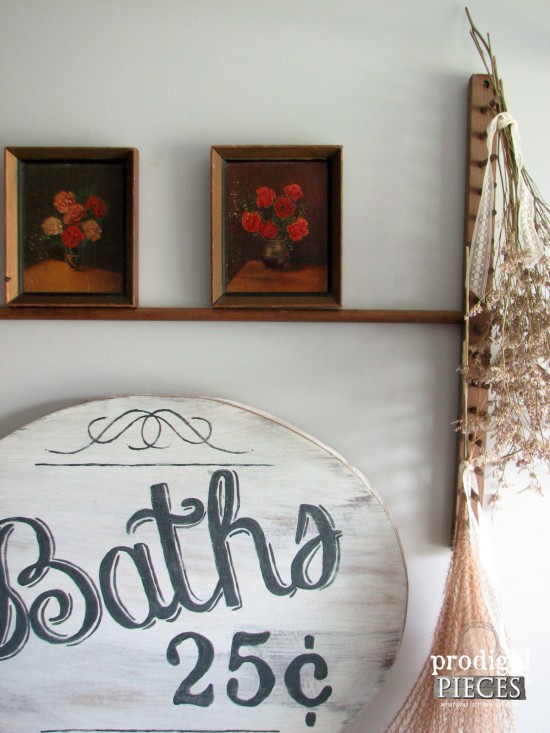
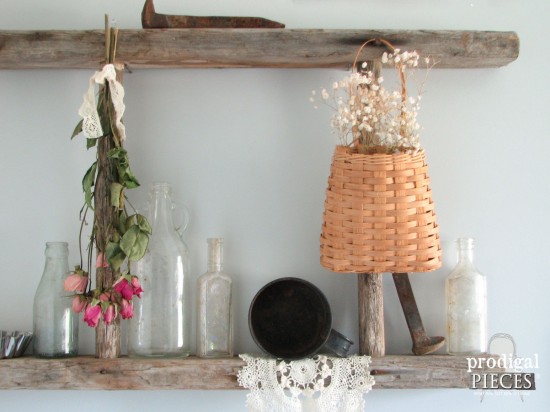 Beside the ladder it is the cut-out from our dresser top that I paint to look like an old bath sign. (You can make one using my tutorial too) And above it is an old rake with a couple of small, thrifted prints and dried botanticals.
MORE GOODNESS
On the opposite wall is my rack made from weathered pallet wood and the drawers taken off the antique treadle sewing machine makeover I just completed.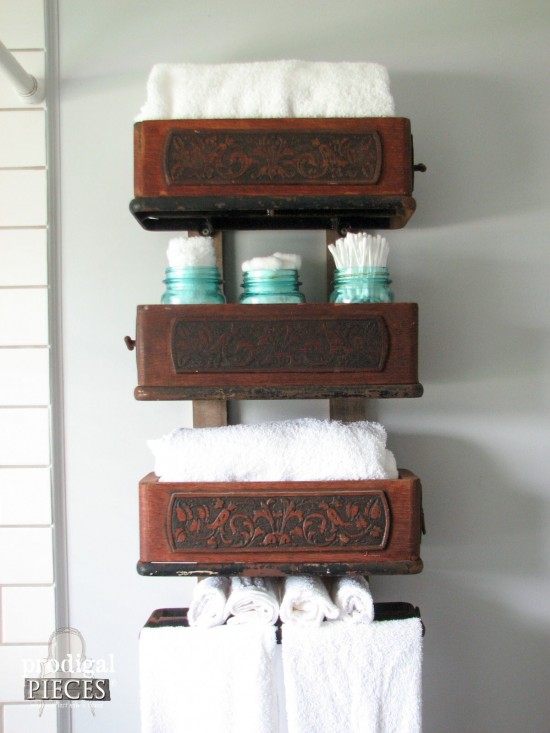 There were only 3 drawers, but 4 brackets. The last bracket is a perfect for holding hand towels and wash cloths. I love it!
Last, in our farmhouse bathroom remodel is the floor...another favorite feature. All our other floors had been vinyl tile or carpet. However, this time I wanted something to add dimension and something I could SCRUB. My husband did an excellent job for his first time, don't you think?
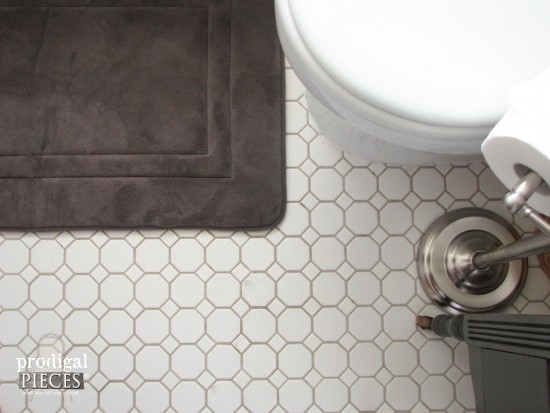 It's bright, clean, and ready for our large family.
Funny how a tiny bathroom can take a whole post to tour. However, all sorts of effort is put into this remodel. My husband gets my applause for his wonderful work. In addition, my children for all their help preparing a meal, helping with chores and being patient as we work. I am so thankful.

[metaslider id=30251]
IT IS FINISHED
With all the supplies, parts, fixtures, decor, and all, our final dollar amount was less than $1,100. All the accents are either handmade, thrifted or found curbside. We can't create our own tile, but you know we would if we could. (wink, wink) I hope you enjoyed our final farmhouse bathroom tour. Thank you for allowing us to share. We'd love it if you would share our hard work with others too!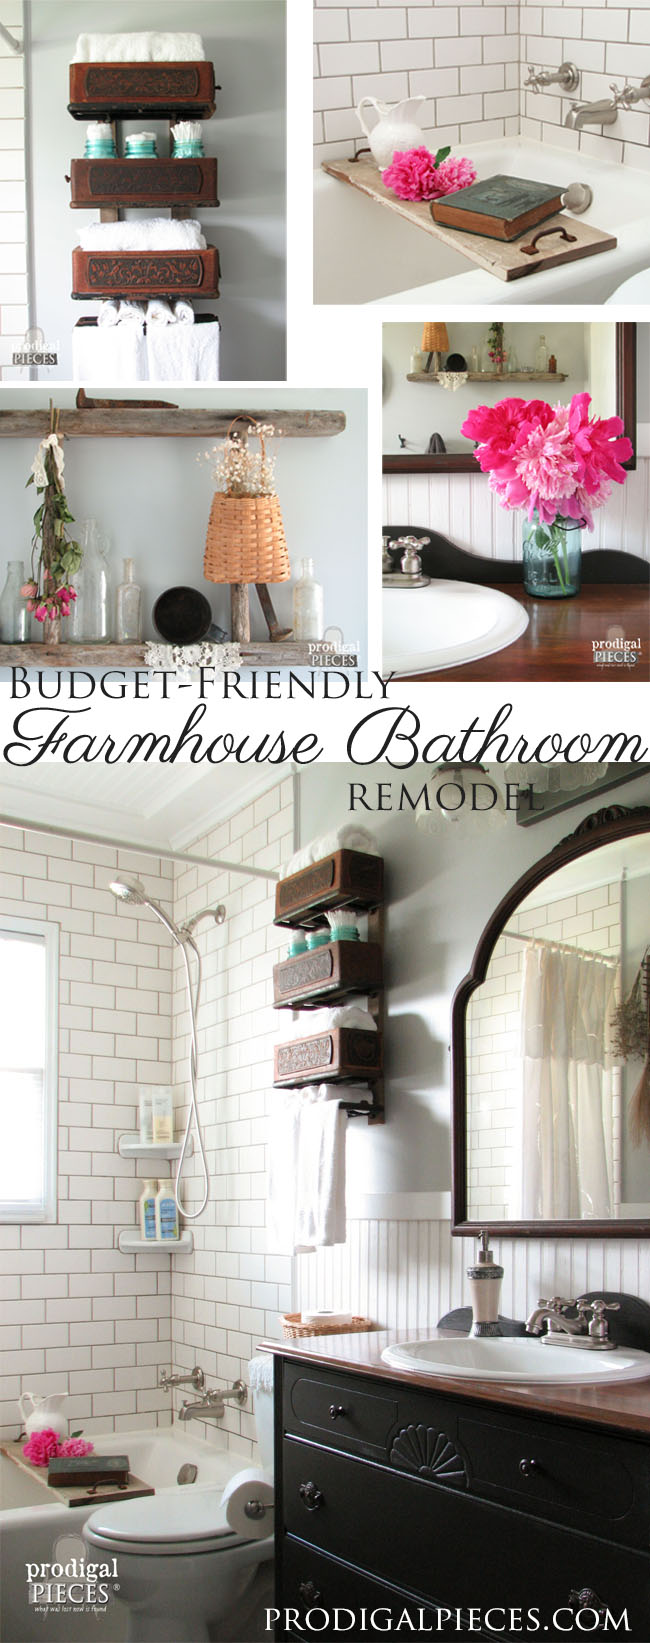 So...I have to ask...do you think we're stopping here? Guess where we're heading next... Until next time!

Also, more DIY goodness for you like our farmhouse bathroom:
