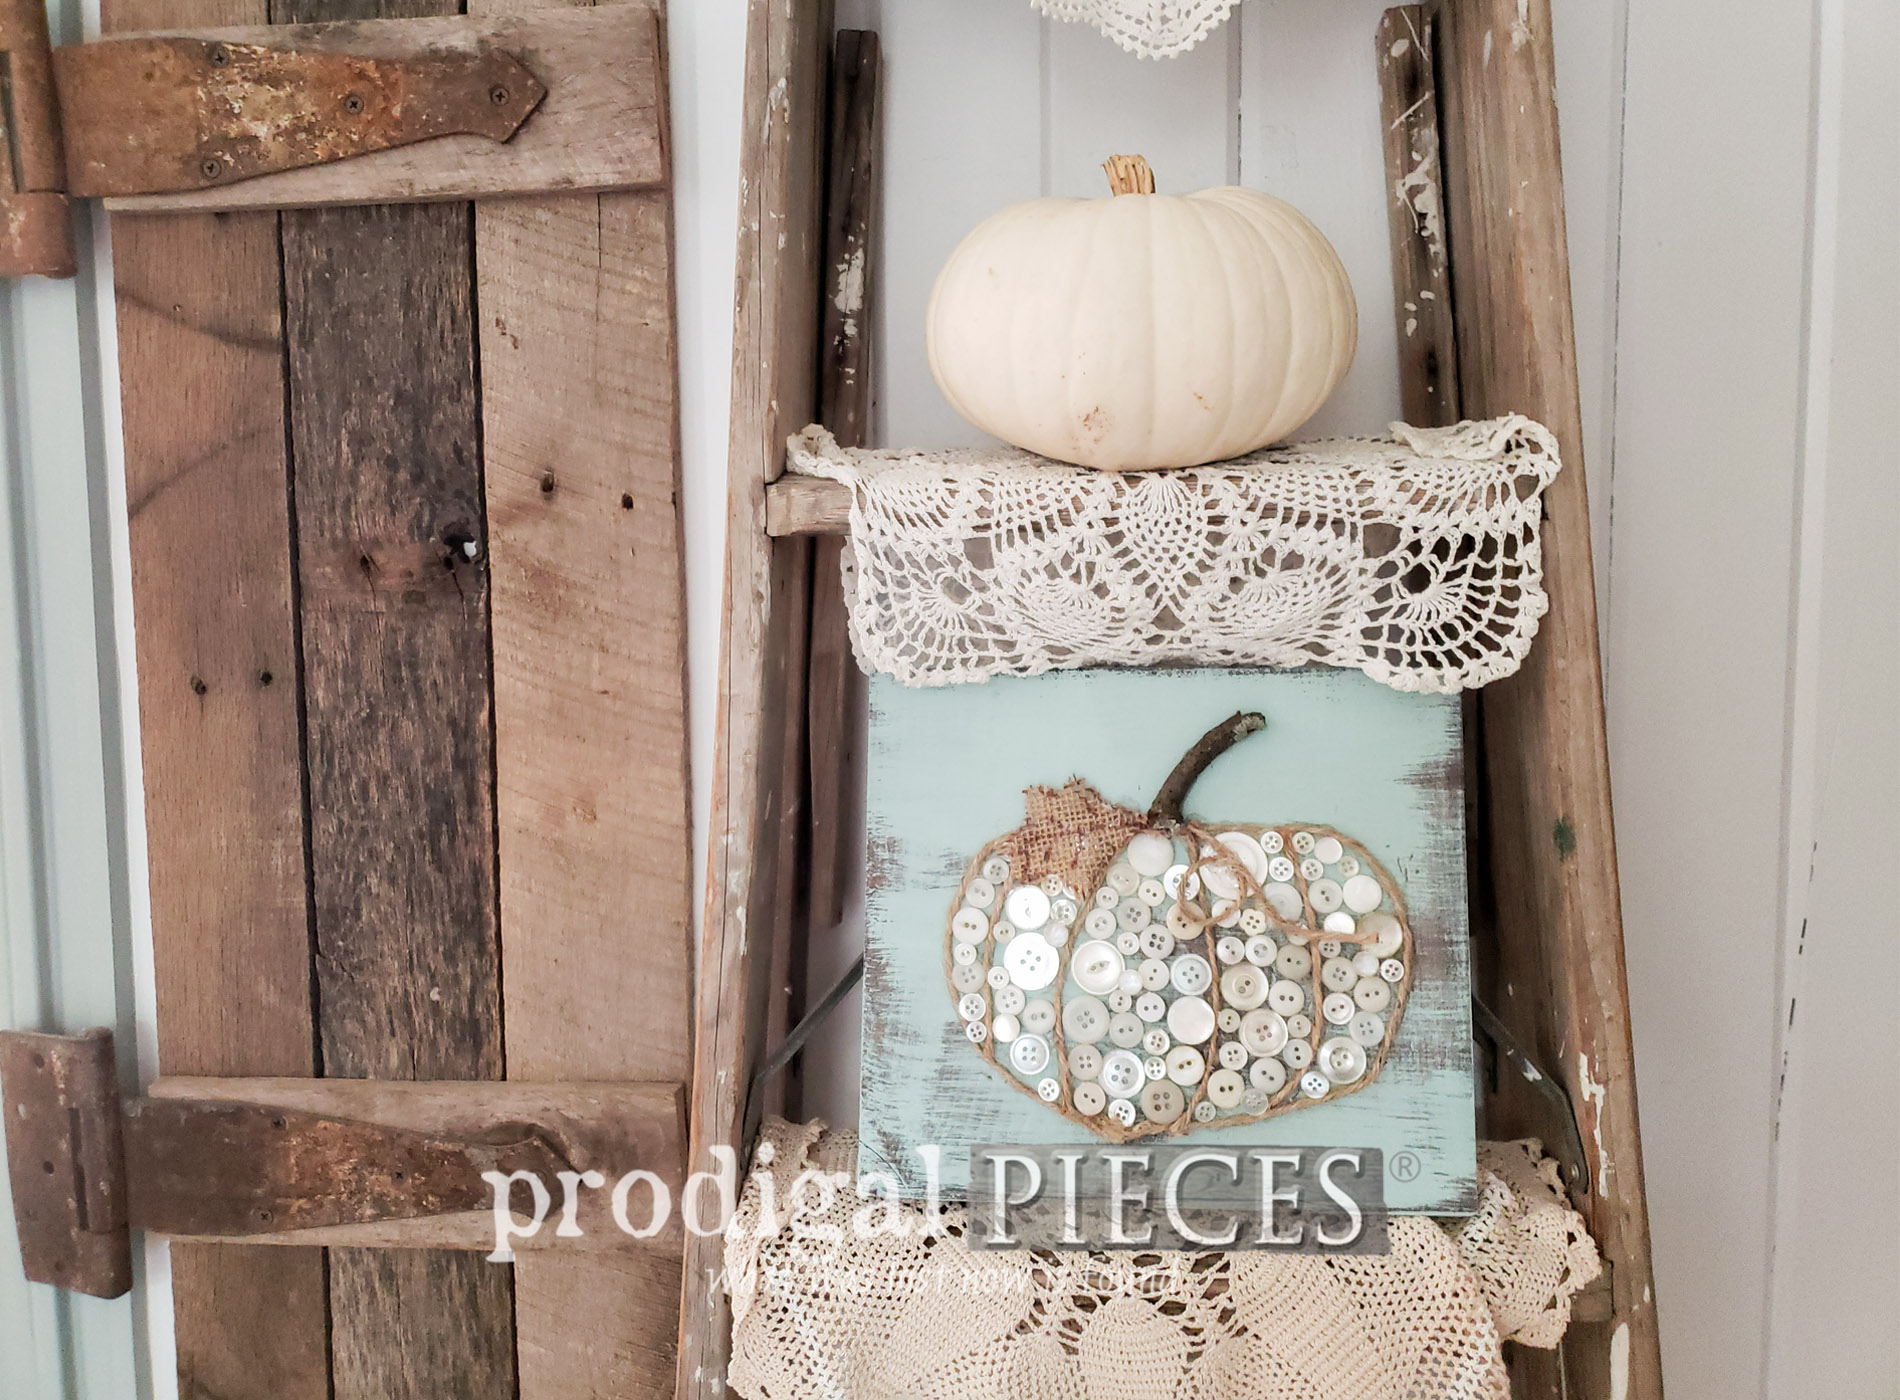
Do you have any sweet memories related to buttons? I sure do. I remember a tin my mom had full of glorious treats to behold. There were all sorts of colors and shapes, with some even holding memories. As time passed, I now I have my own stash, and also have started my kids with their own as well. Today, my daughter and I are sharing the next episode of our
Prodigal Pieces Kids CREATE. This time around we are creating fall pumpkin button art and few other designs too.
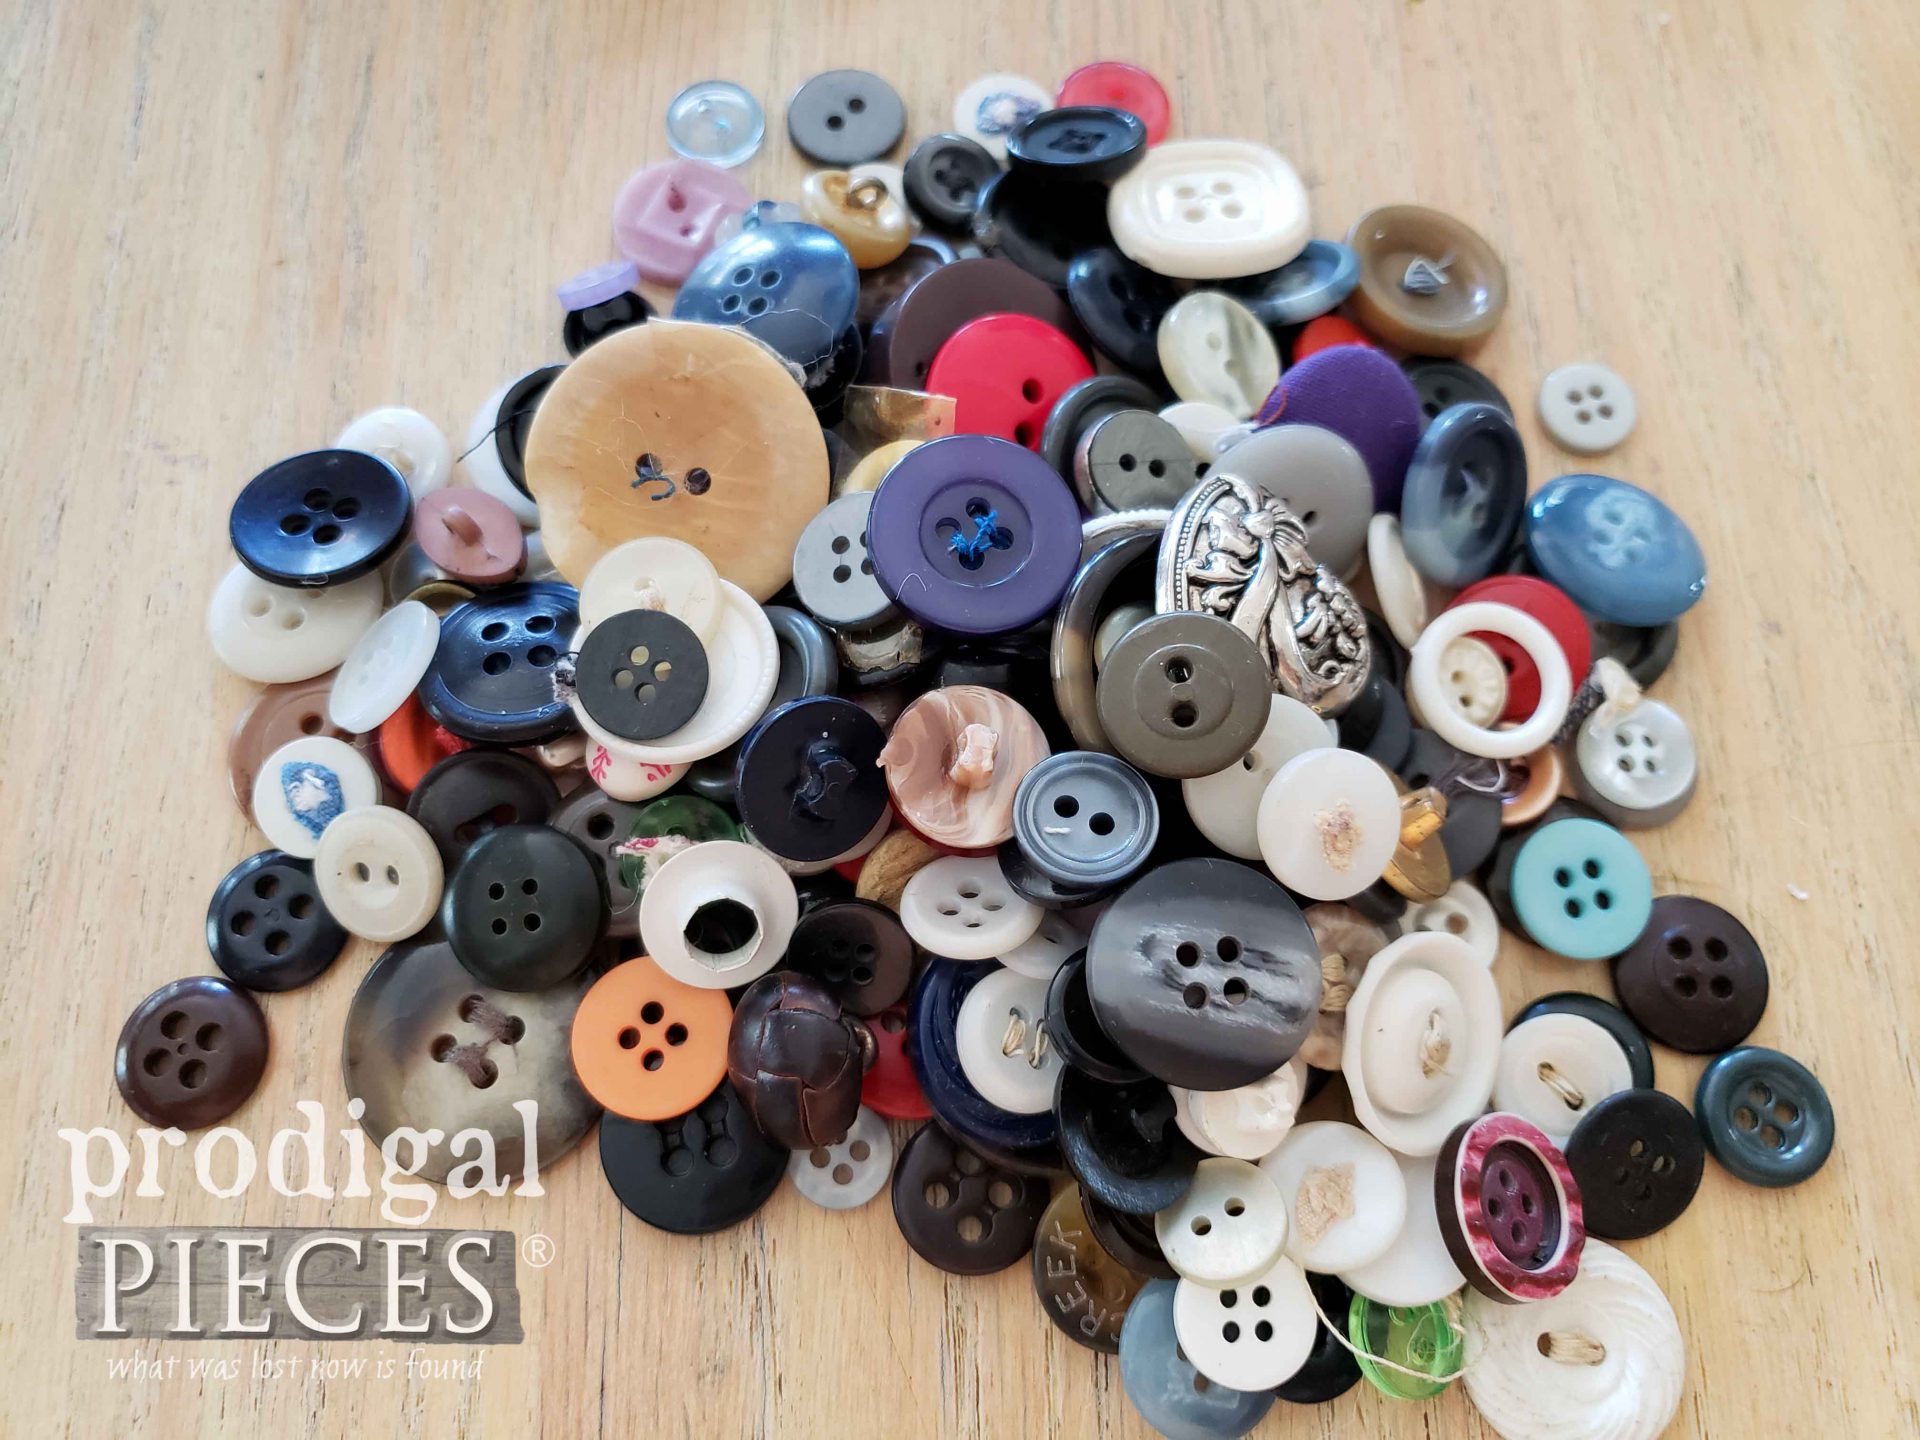
The best part about this project is the sky's the limit. There's no need to only make only fall decor, but rather open up your mind to whatever those buttons call you to create. However, since we're in the thick of harvest season, my daughter and I wanted to do something related to autumn.
DIY TIME
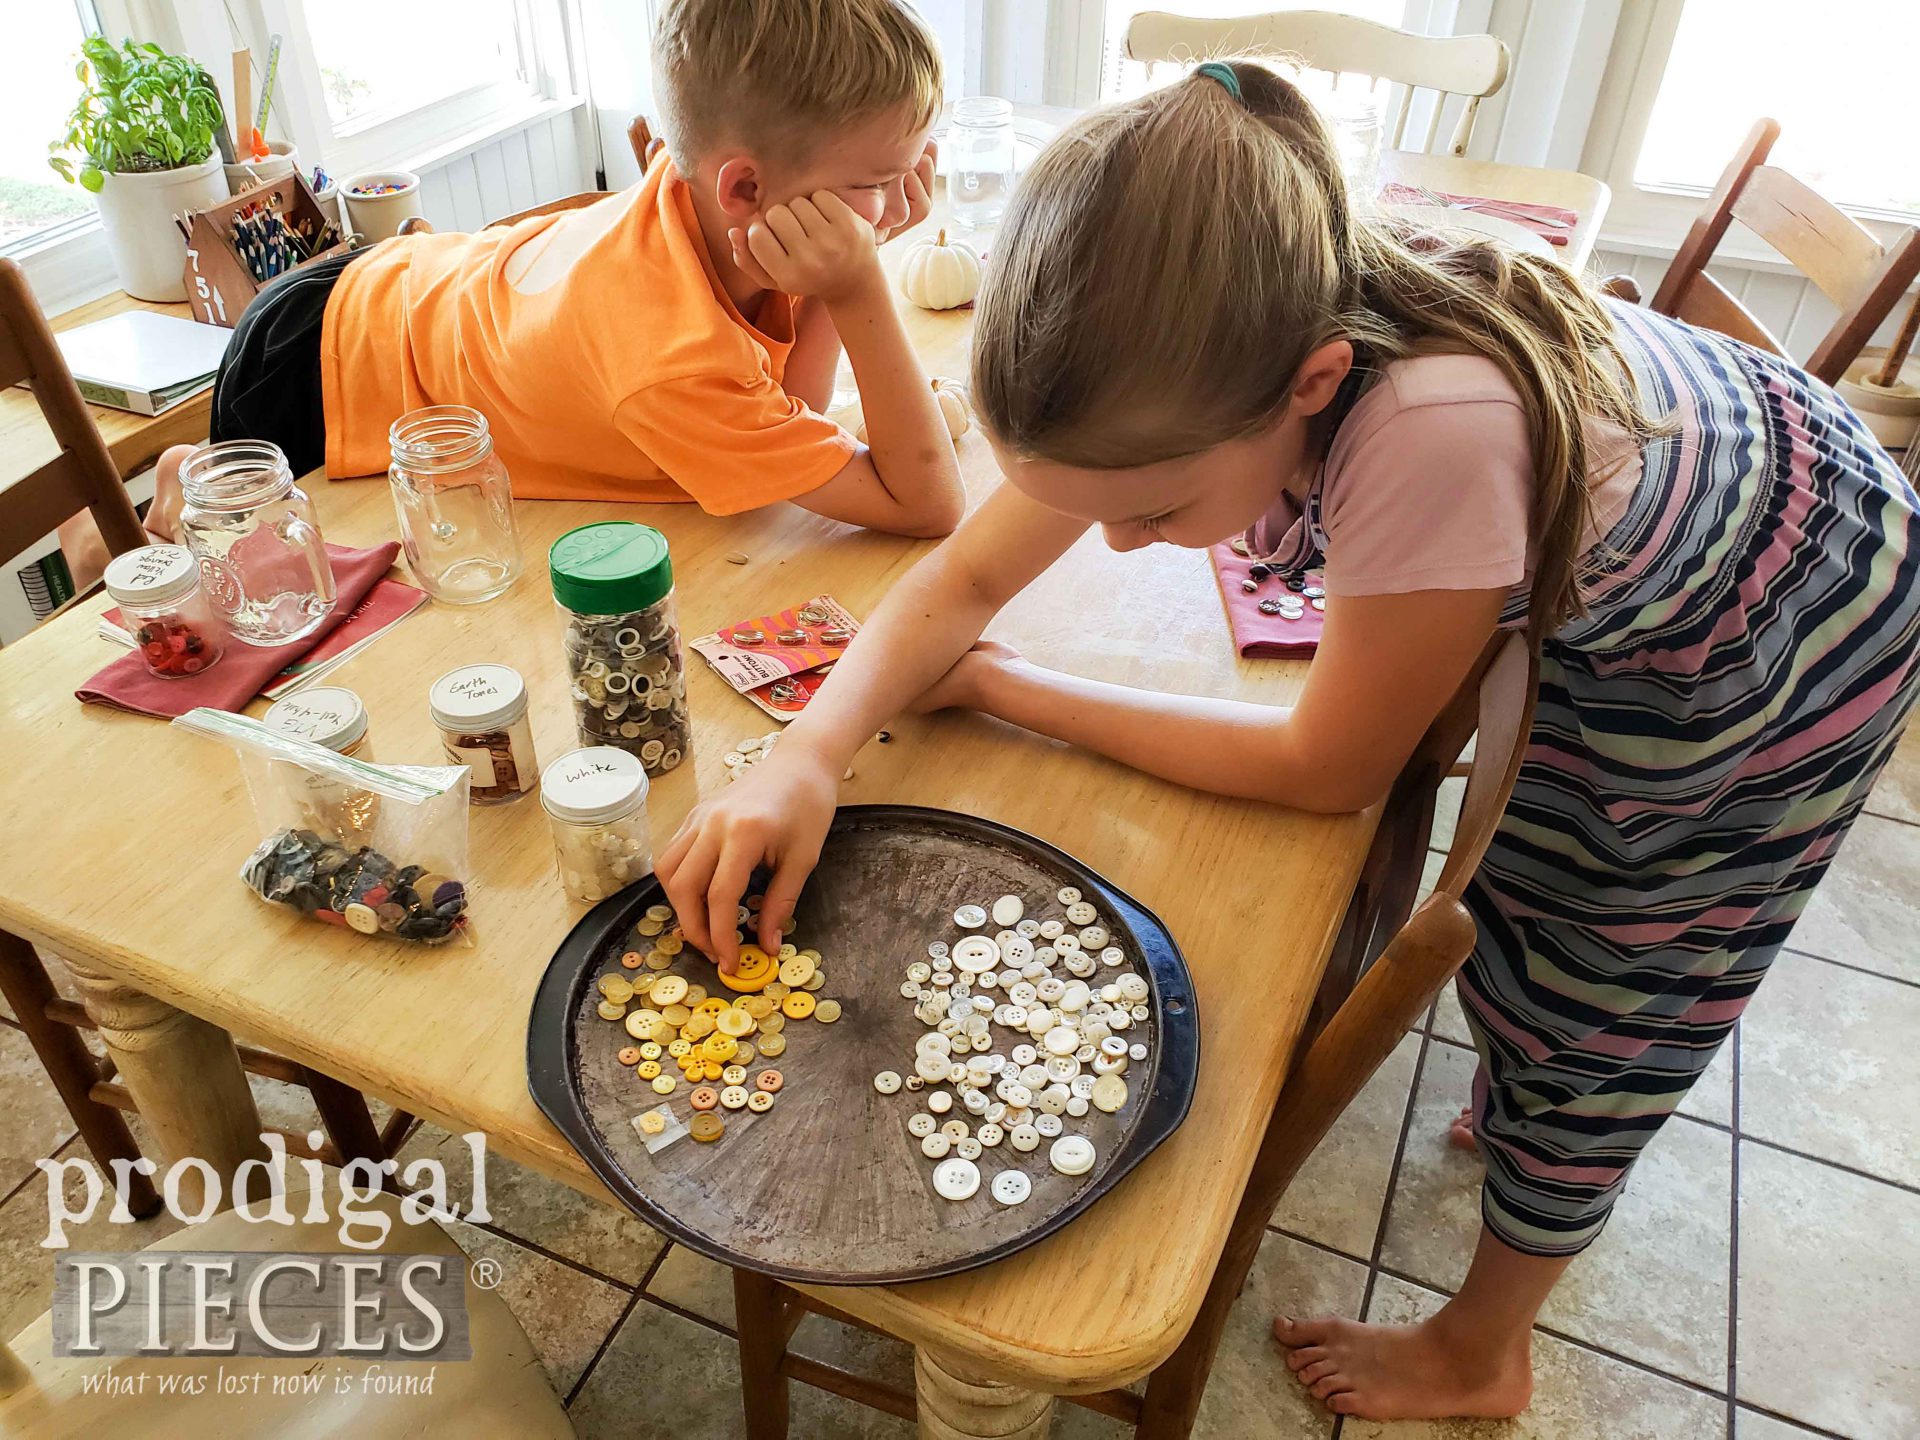
First, we broke out my button collection and began sorting out the colors we wanted to use. I tell ya, it's super hard not to get distracted and begin fingering through them to remember what some belonged to. When my kids hear buttons, they come running to join in the fun. It's a family affair! :)
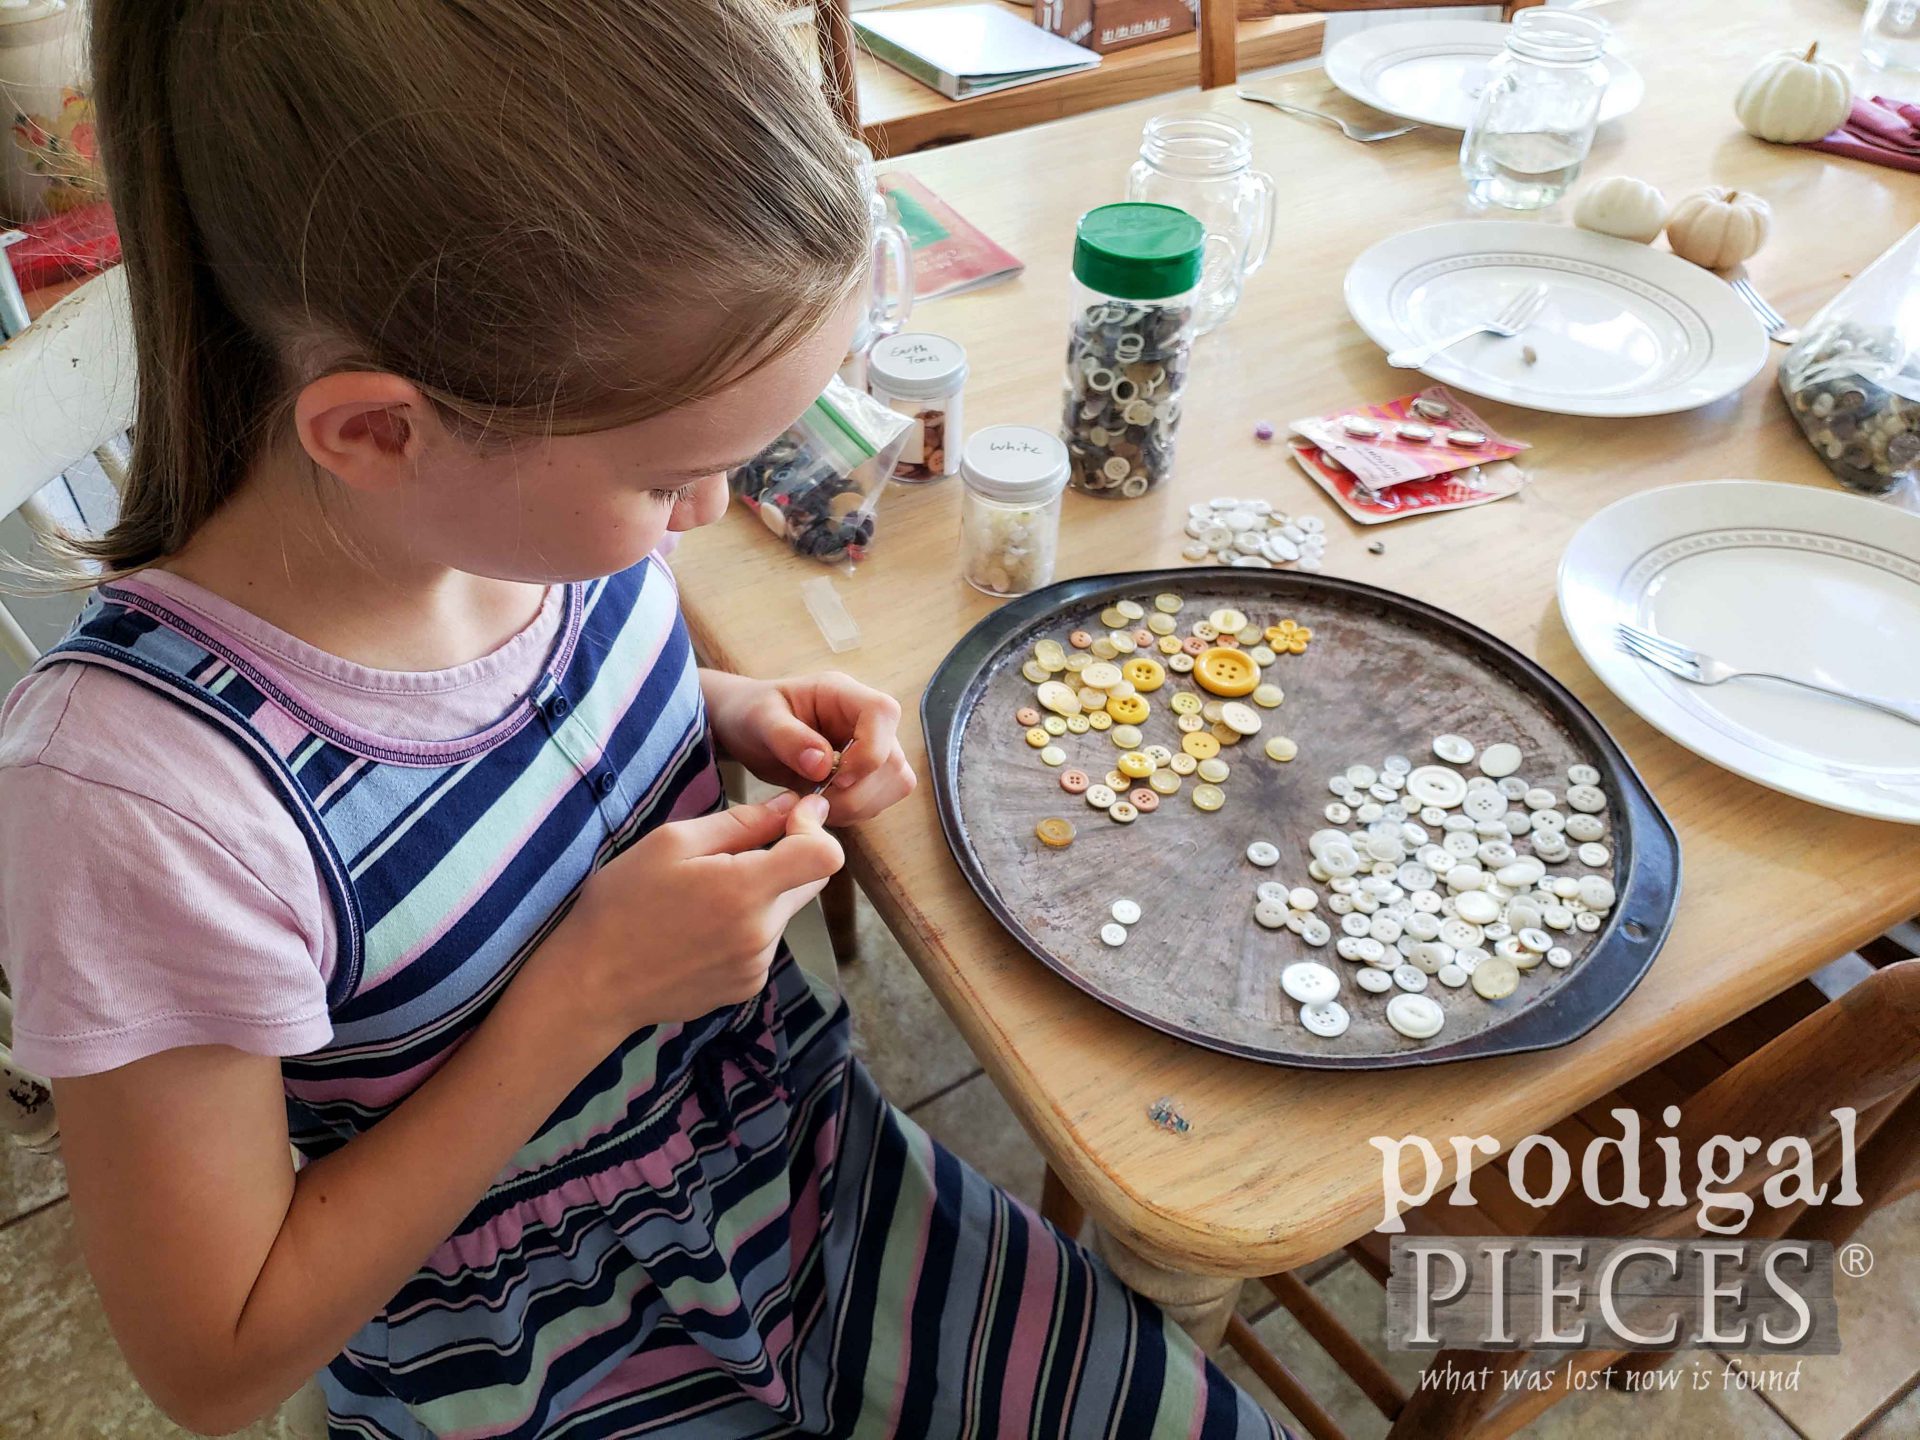
By the way, Miss E. is not new to my blog and is quite the handy girl. She is my 3rd daughter of 4 girls, and 1 of my 6 children. As a result, you can see her past projects in
these posts HERE.
Once we decided on the theme and color scheme, it's time to get this crafty party started.
GETTING STARTED
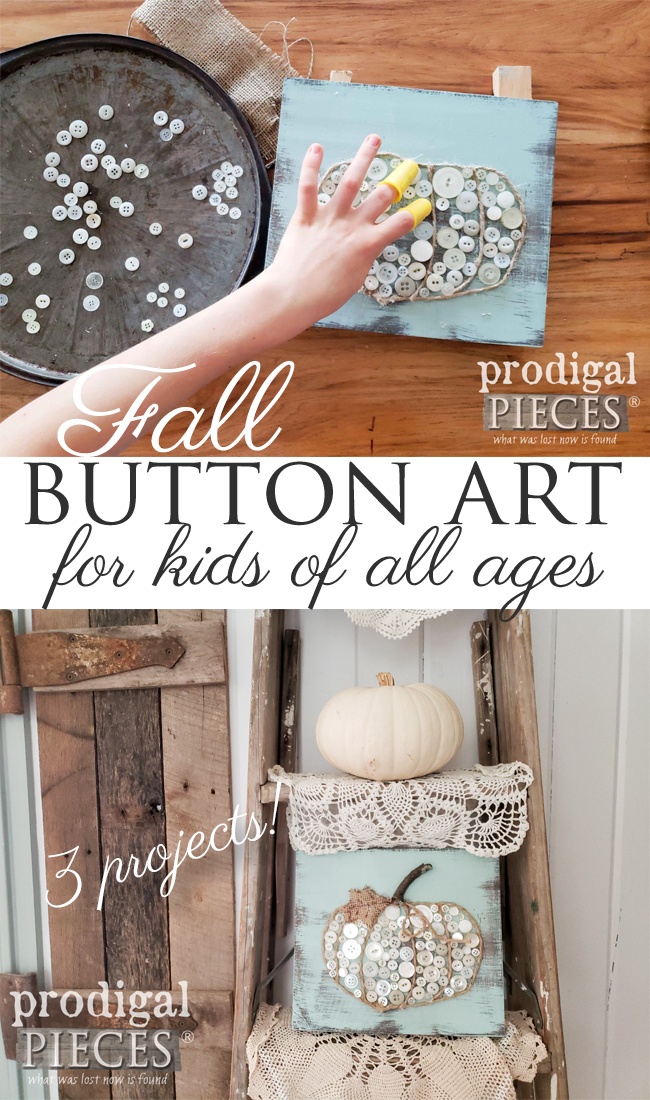
For this particular project we wanted to make fall pumpkin button art, however, we also decided to create two other projects to inspire you. We'll share those in a bit. Also, we've created a video tutorial for you below. In like fashion, we have it outlined in steps for you as well.
Here's the supplies you'll need to get started:
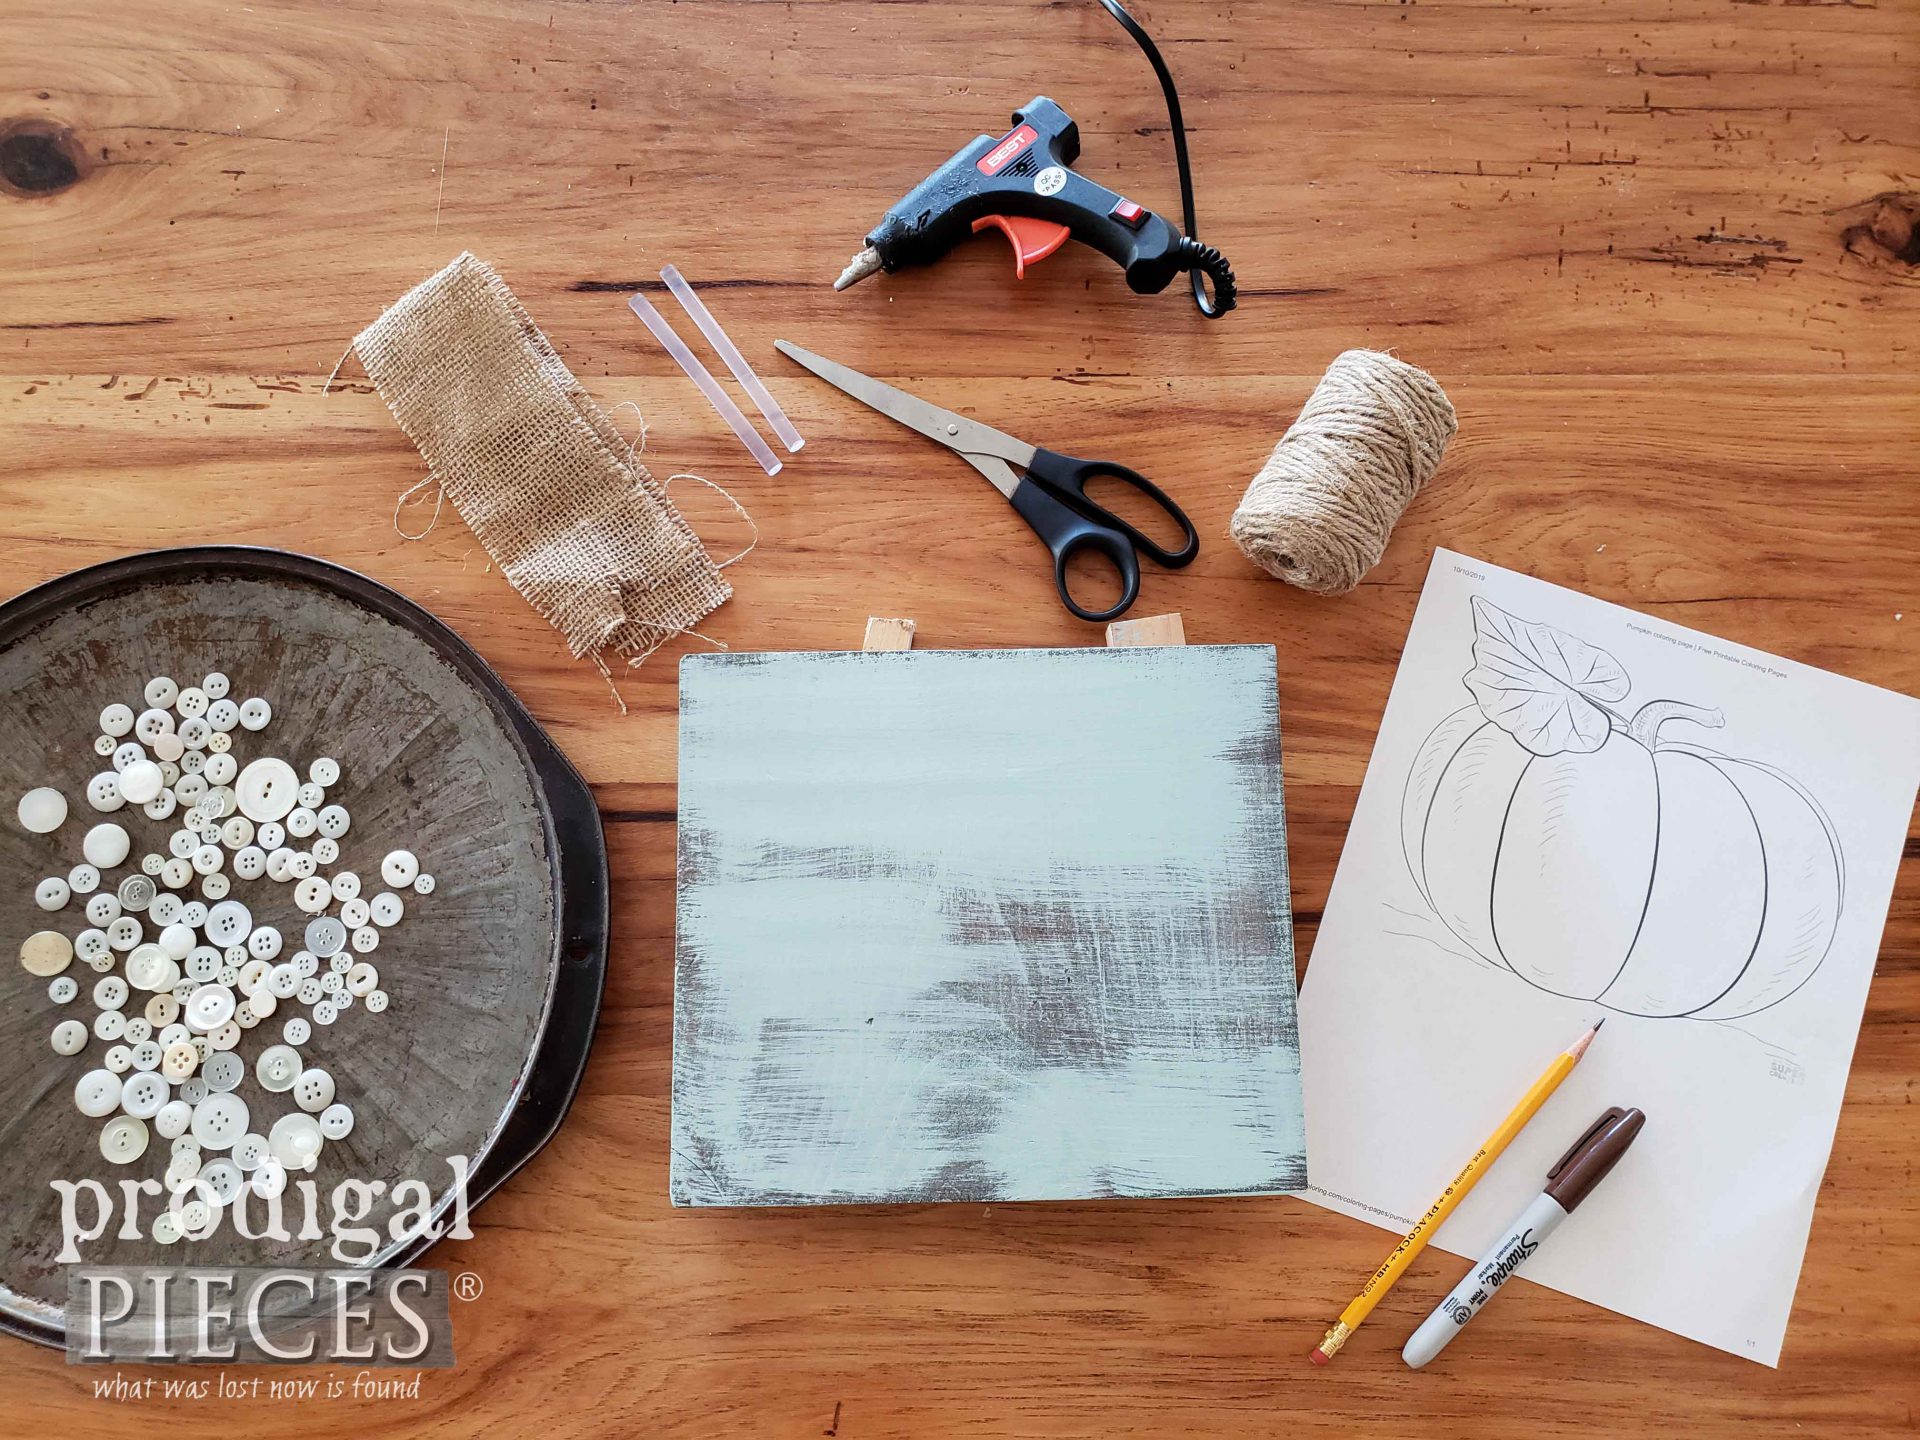
- assorted buttons
- wood of any size - we used a 9½" x 8½" pine board. (You could also use thrifted wall plaques or art, and even canvas too.)
- choice of stain - we used Hickory Gel Stain
- choice of paint - we used Vintage
- sawtooth hanger
- low-temp glue gun
- glue sticks
- fingertip protectors
- bulk buttons
- burlap
- jute twine
- free pumpkin printables
STEP 1
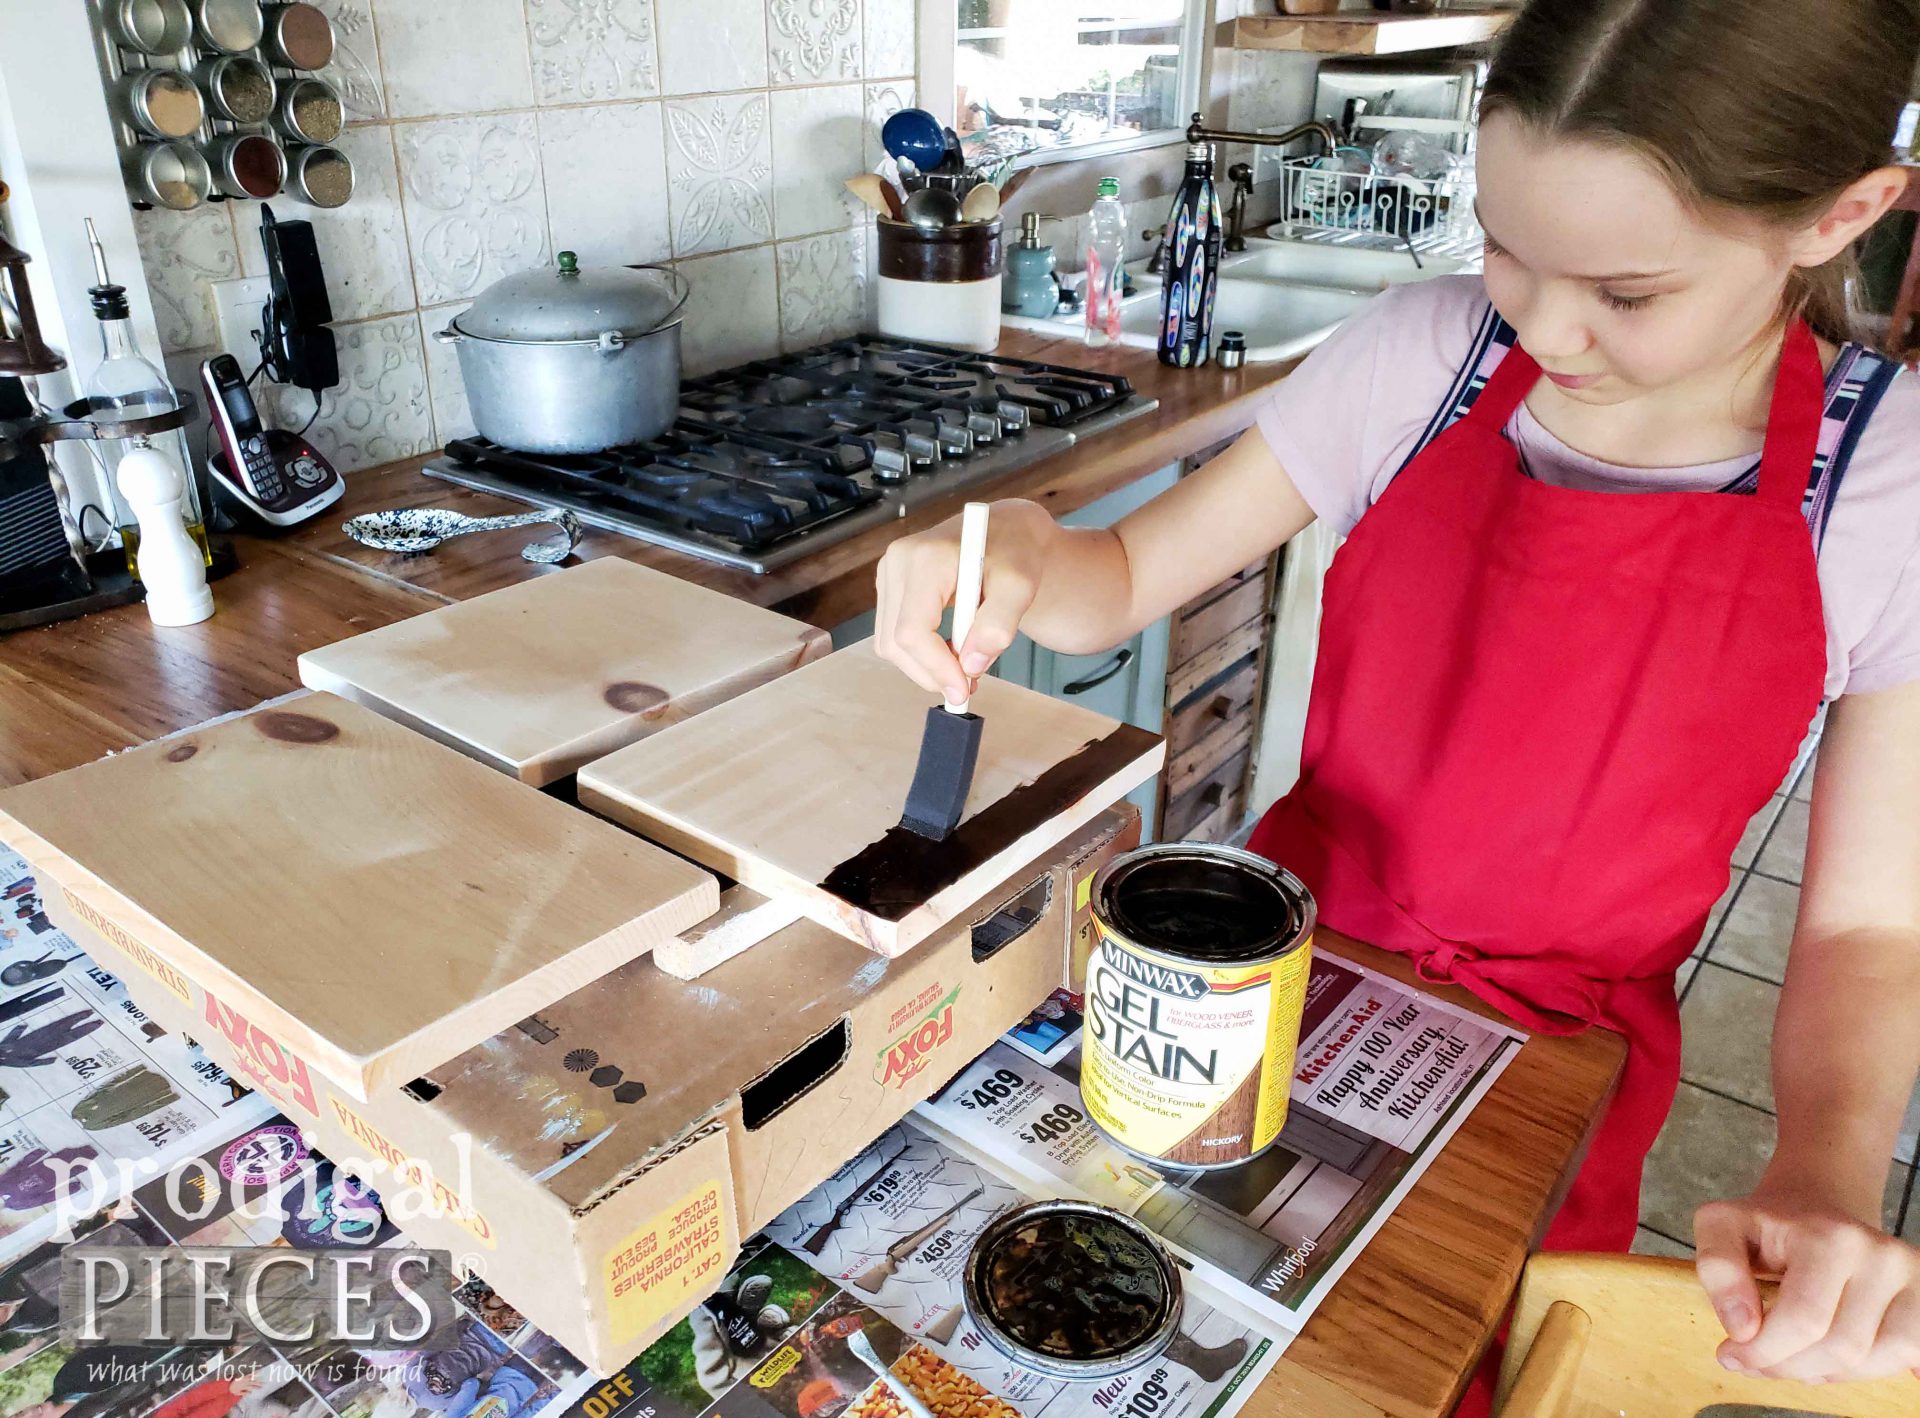
Whether you're using wood, canvas, or some other medium for your backing, you'll want to prepare it for your button art. To begin, Miss E. stained the wood pieces with a gel stain.
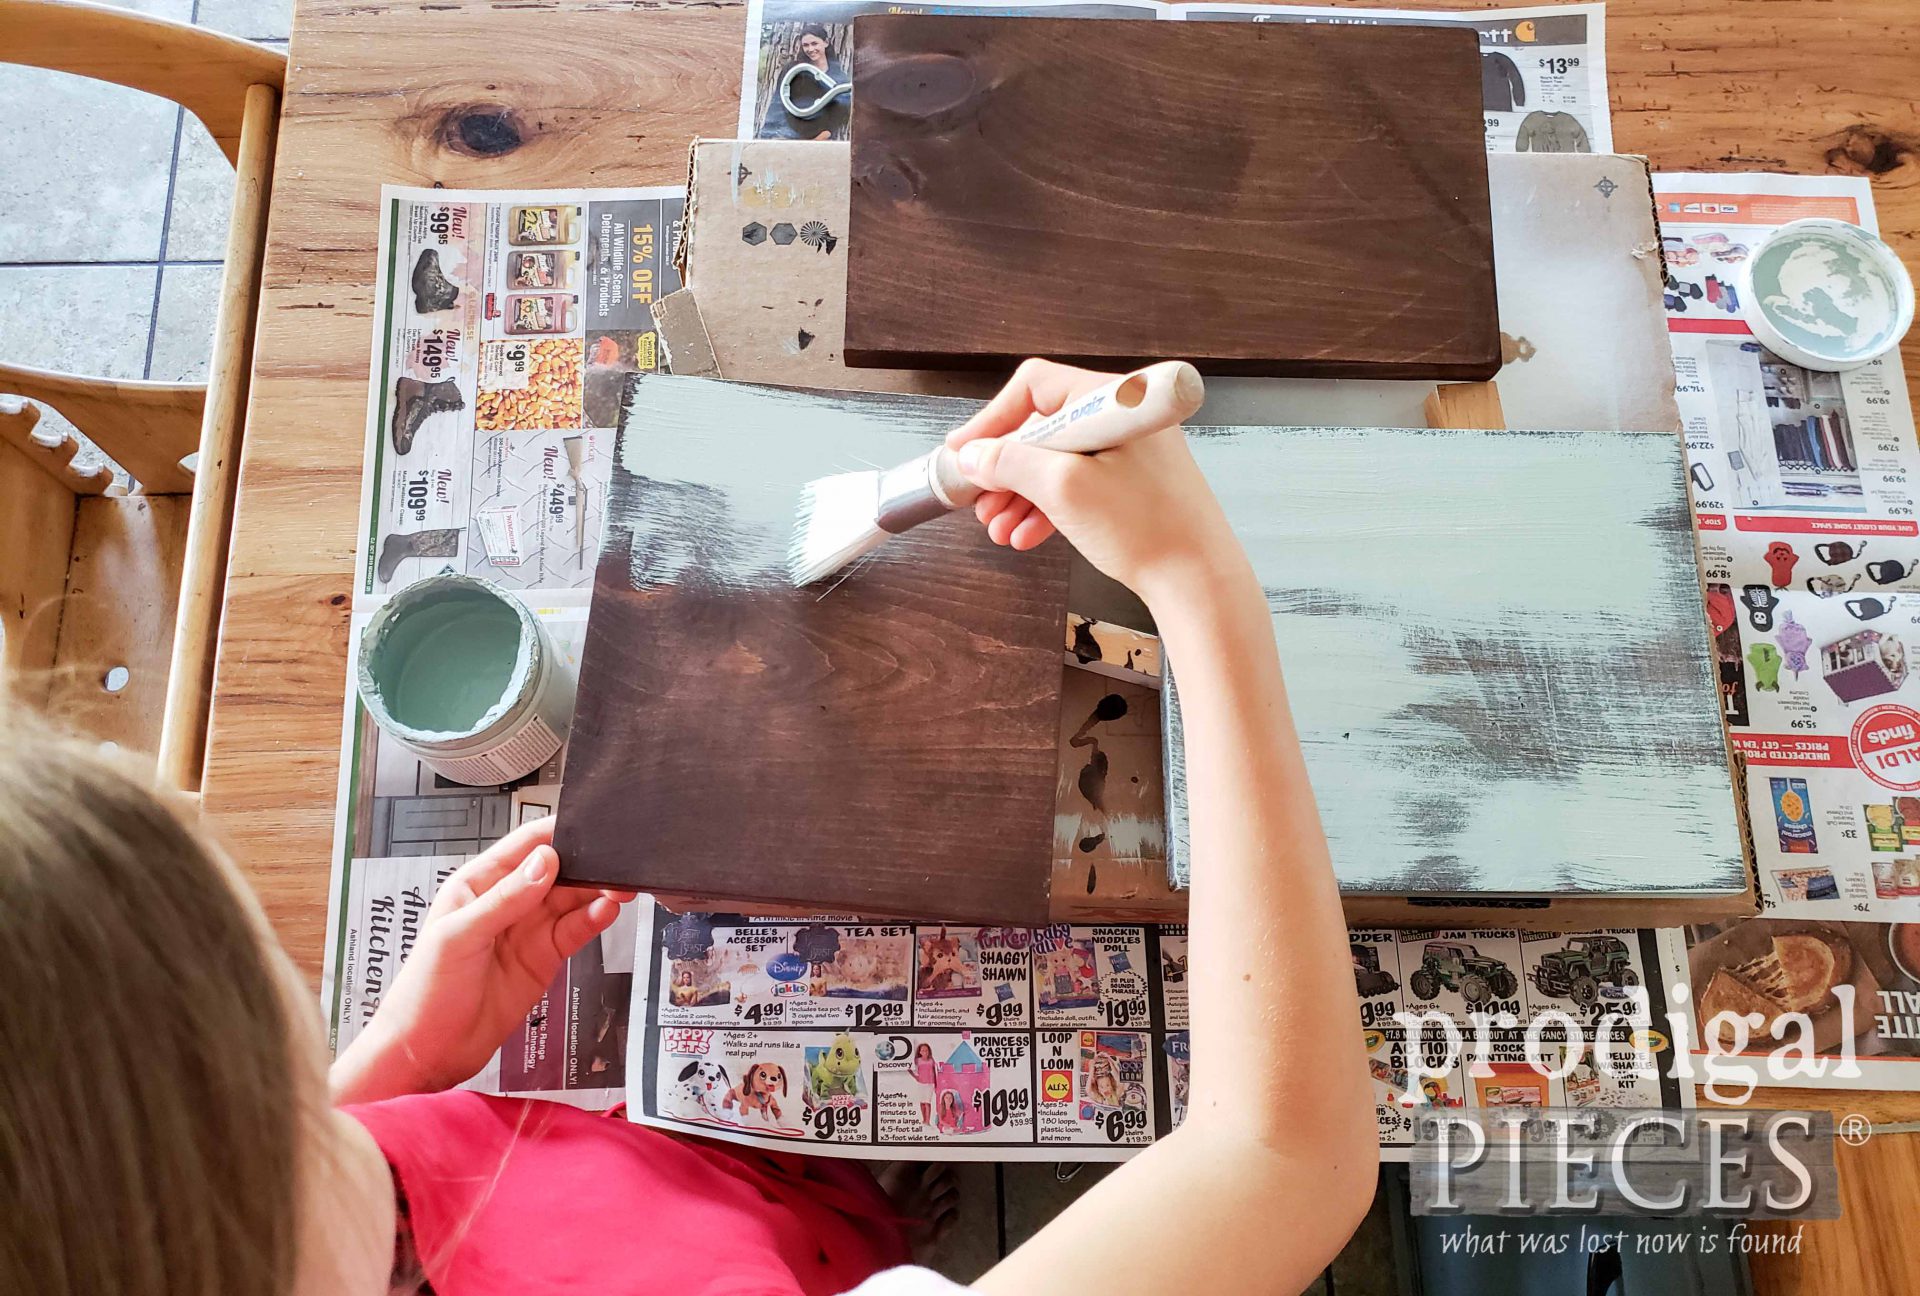
Next, after the stain cured, she applied a light wash of paint to give an aged effect.
STEP 2
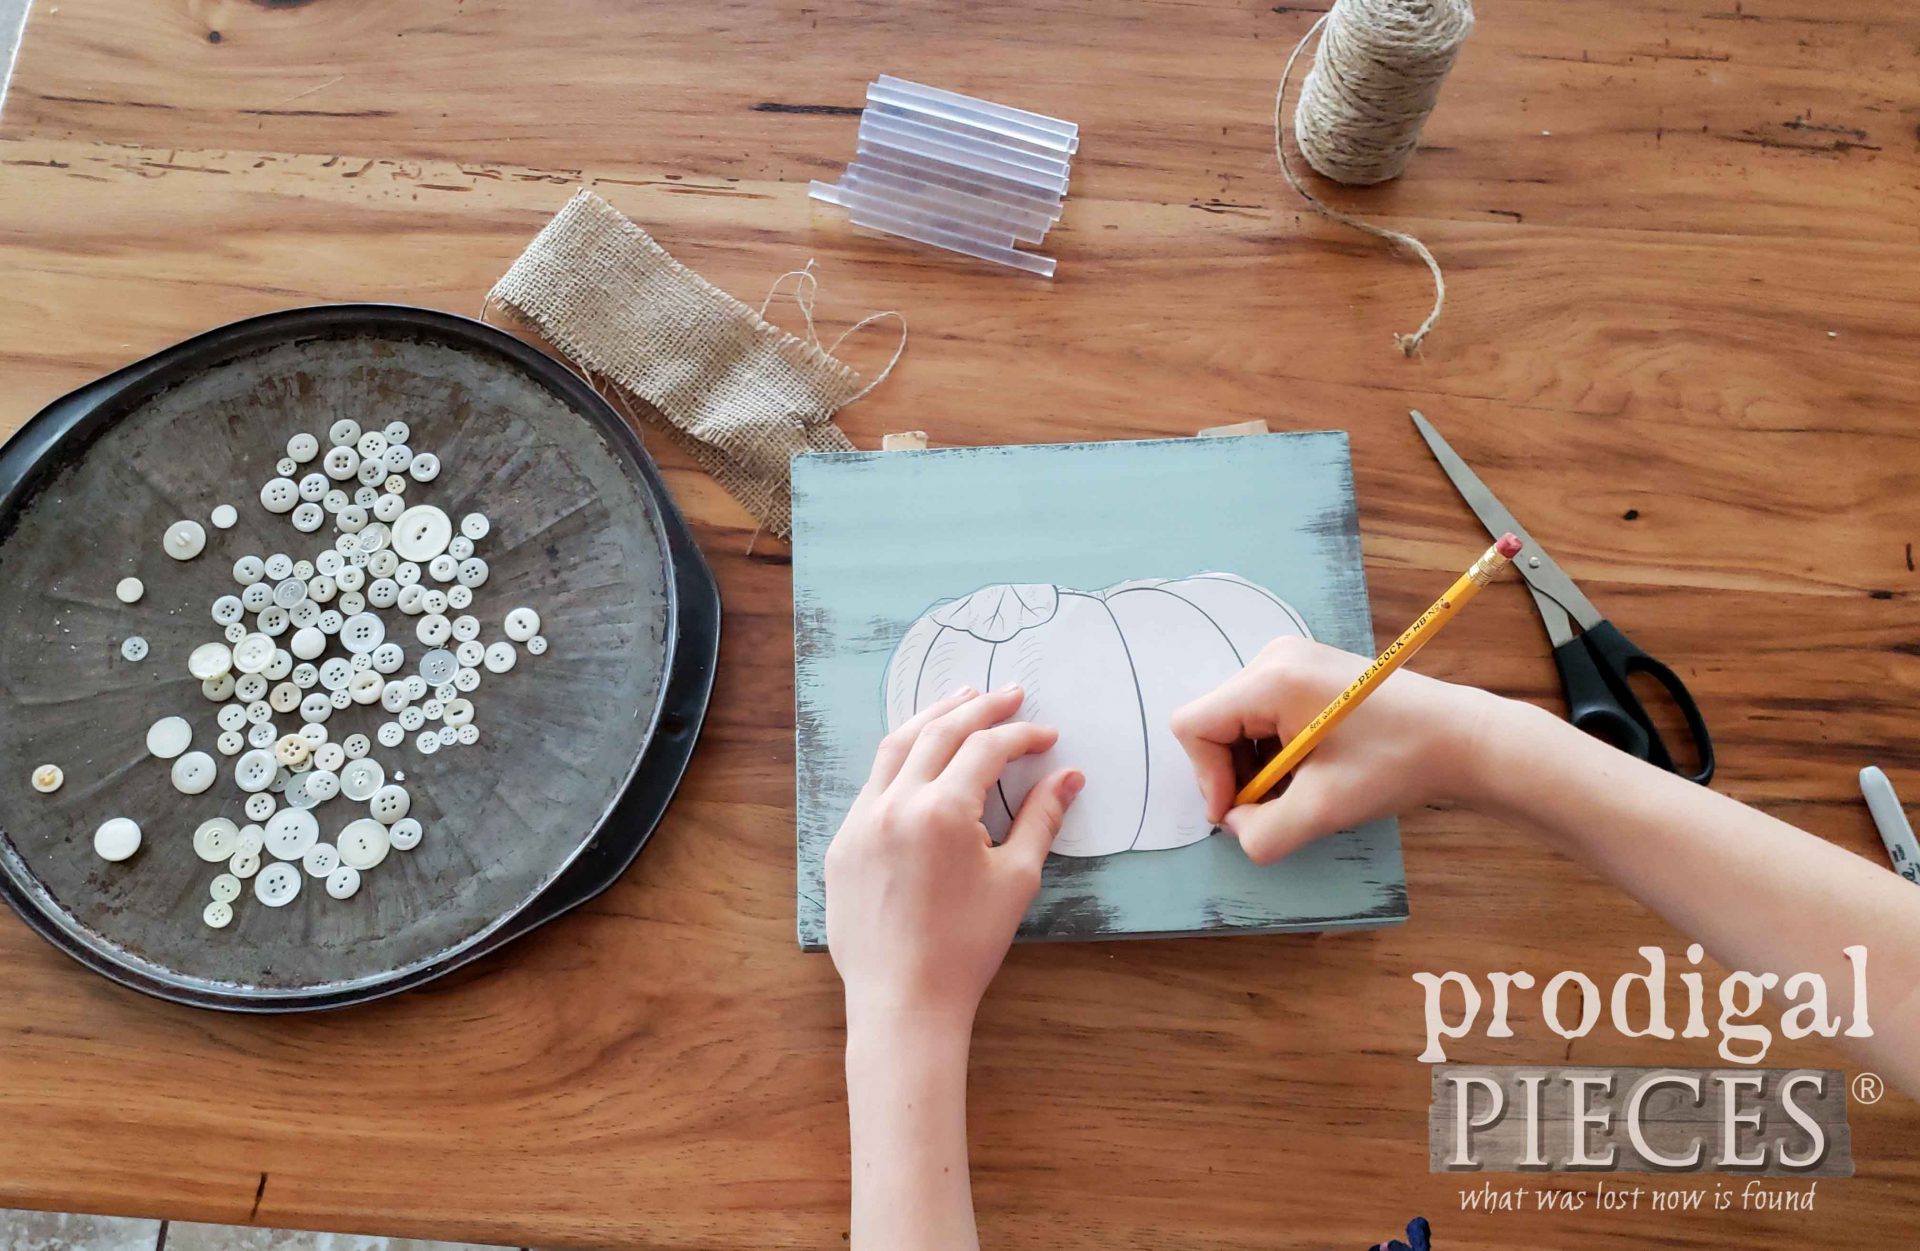
Now that our boards are prepped, we can now start layering our textures. First, Miss E. traces her choice of pumpkin onto the painted board. Notice in the video she fills in the details after she traces the outline. In addition, do note I have the link to free pumpkin coloring pages in the supplies list above.
STEP 3
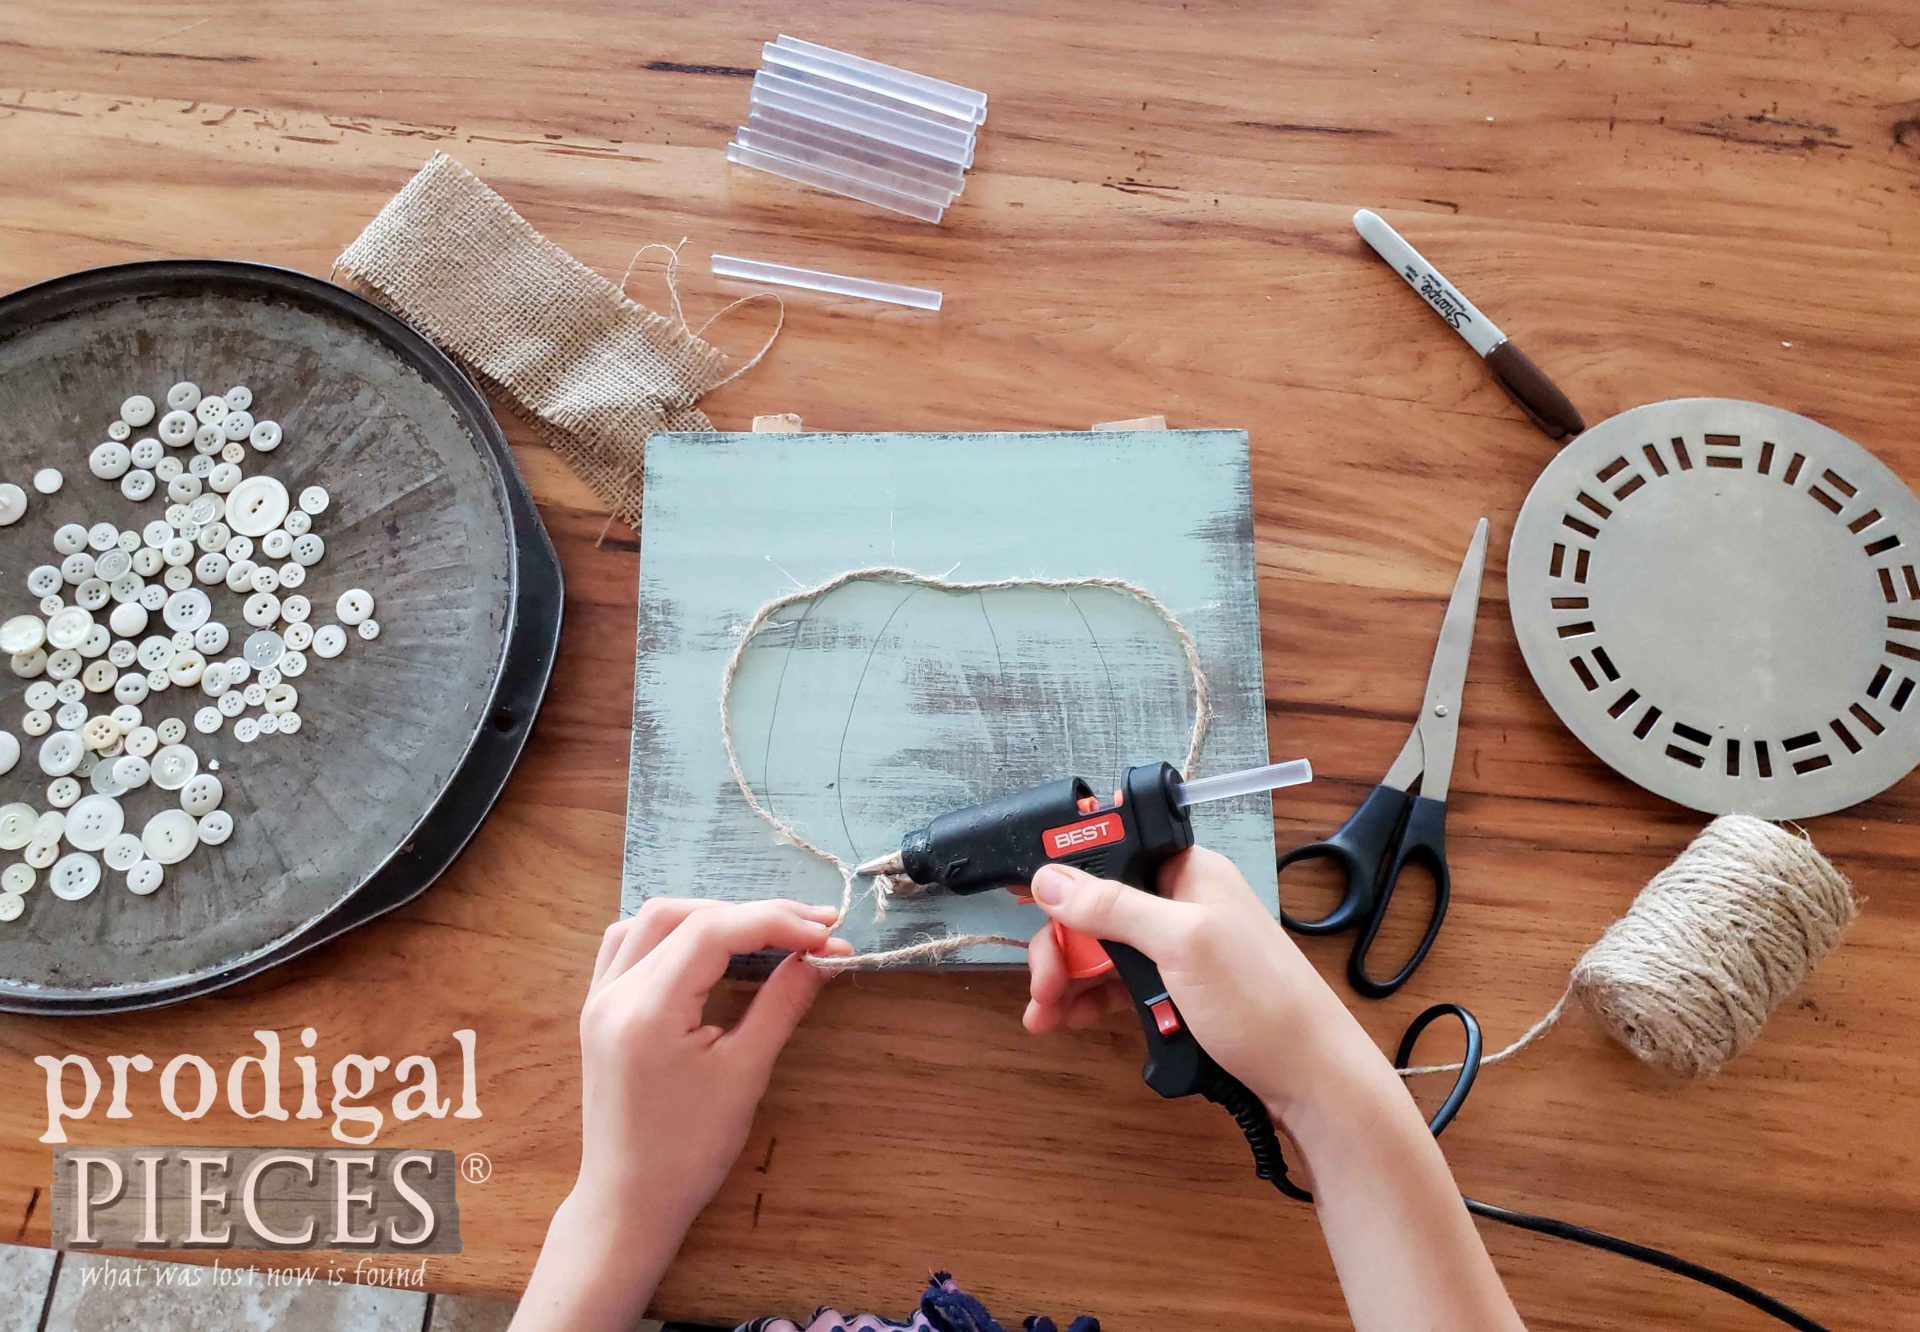
Next, we outline the pumpkin using our low-temp hot glue gun and twine.
STEP 4
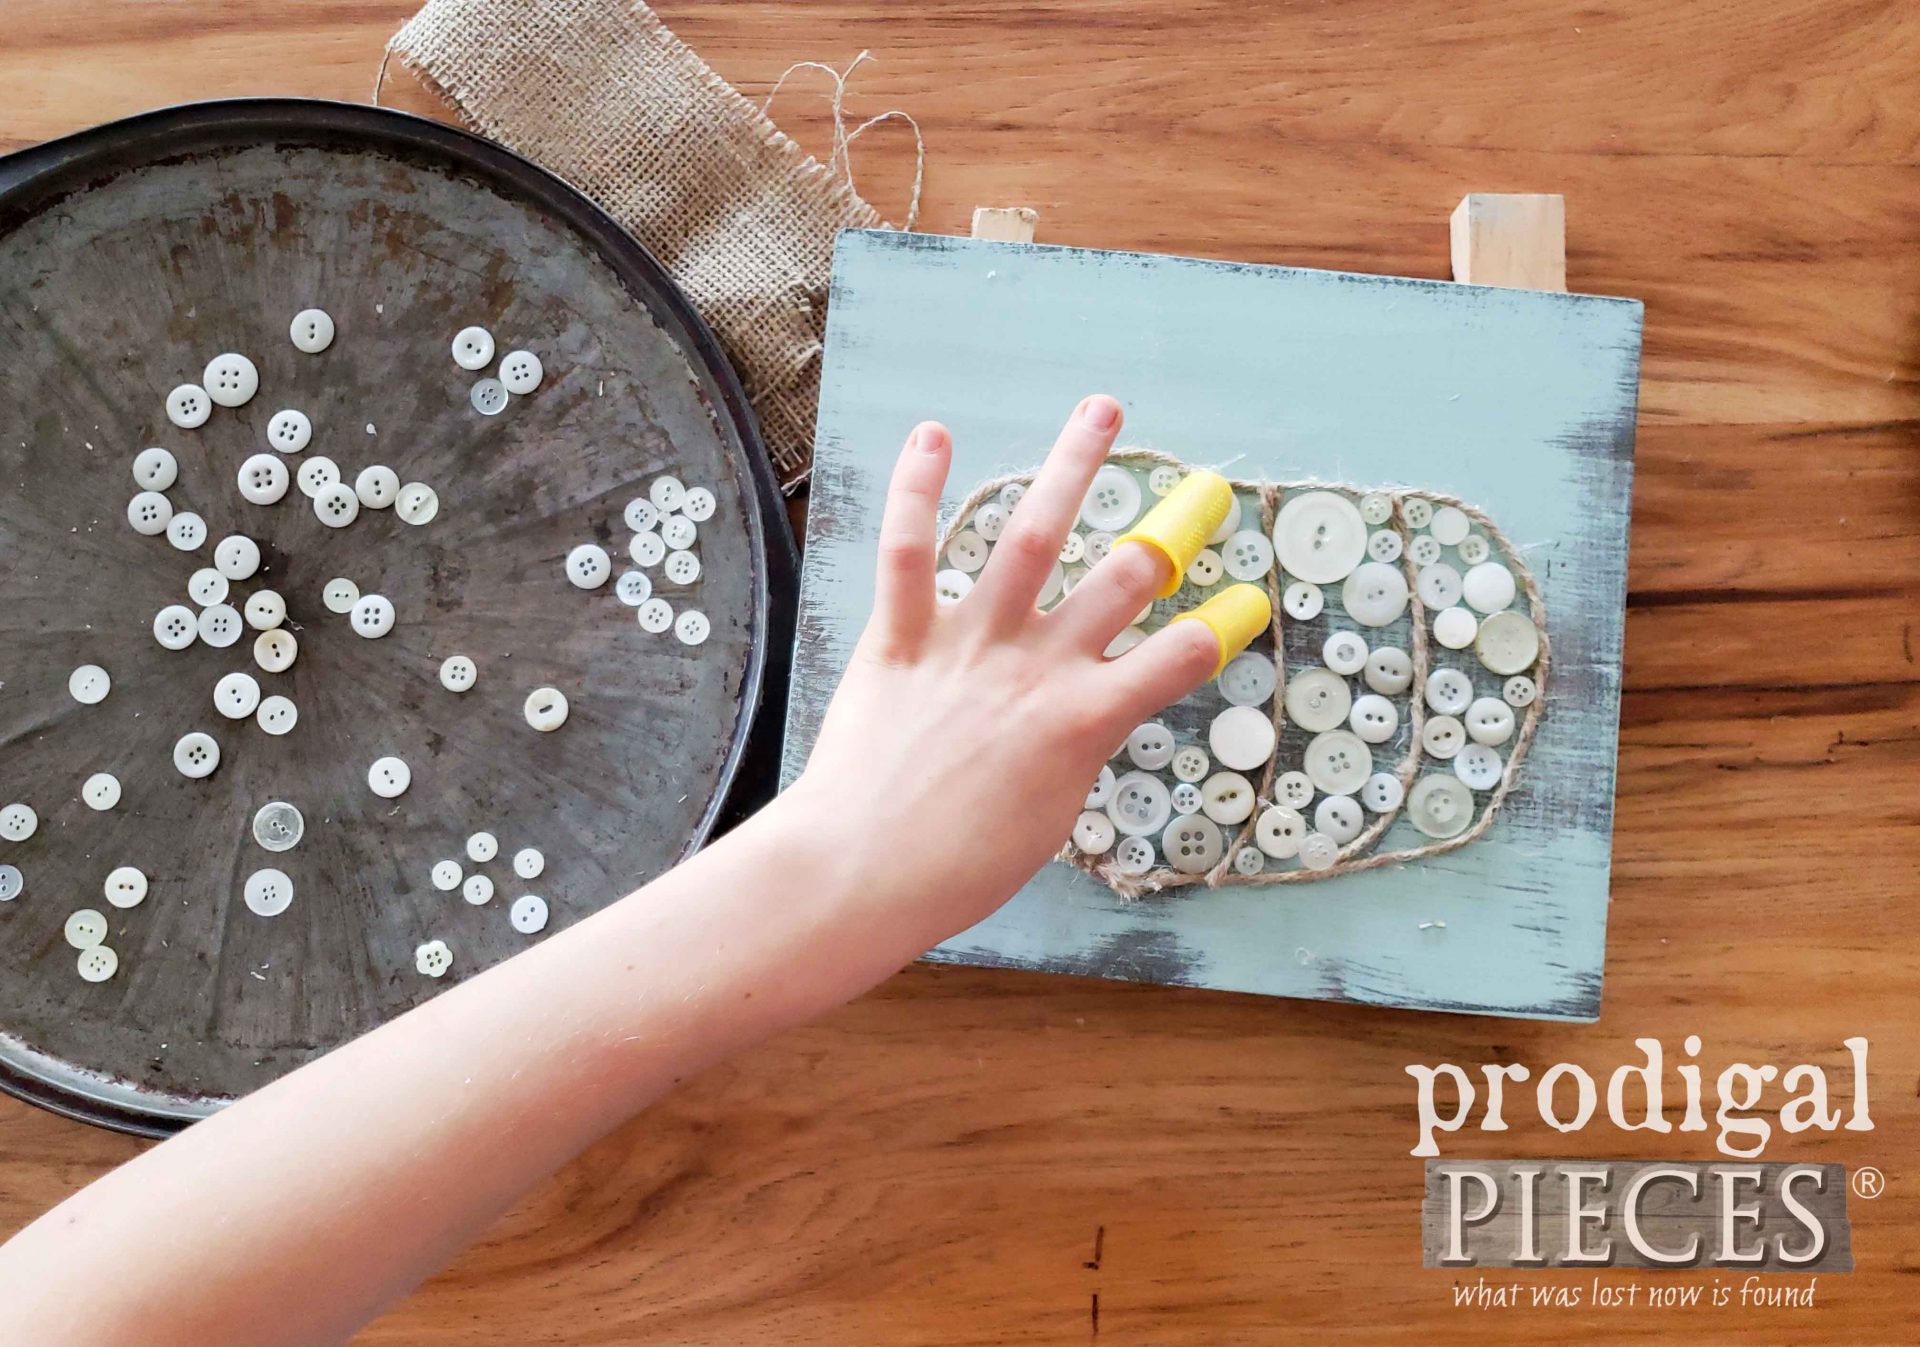
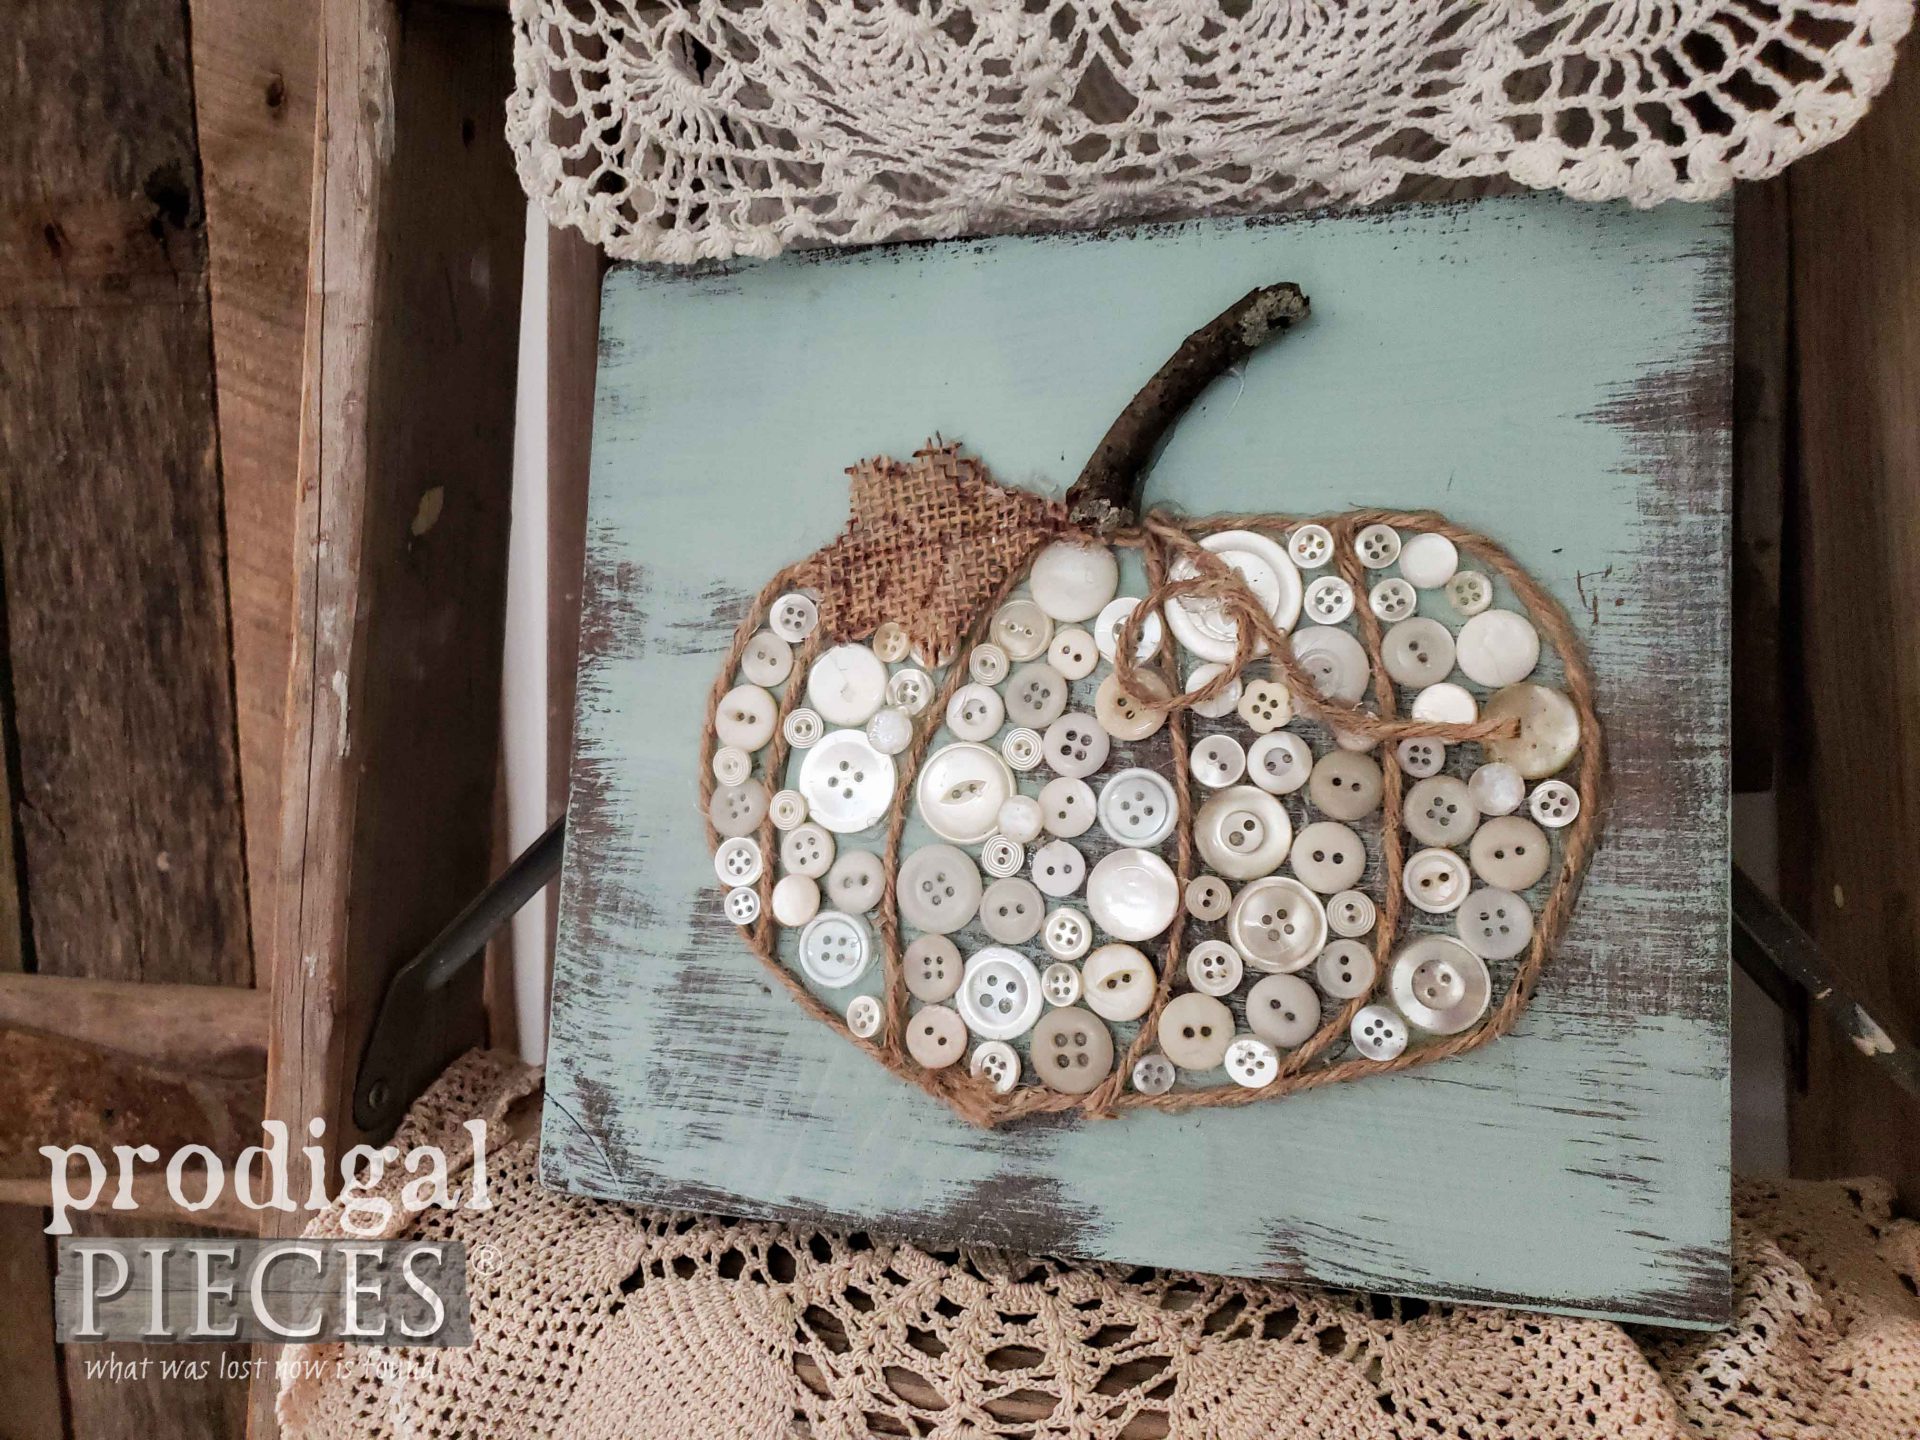
Bring on the buttons! It's time to grab your choice buttons and have at it. There's no rhyme or reason to the fun, just place them as you see fit. Though, we do highly recommend those fingertip protectors we linked above. Ask us how we know! ouch.
STEP 5
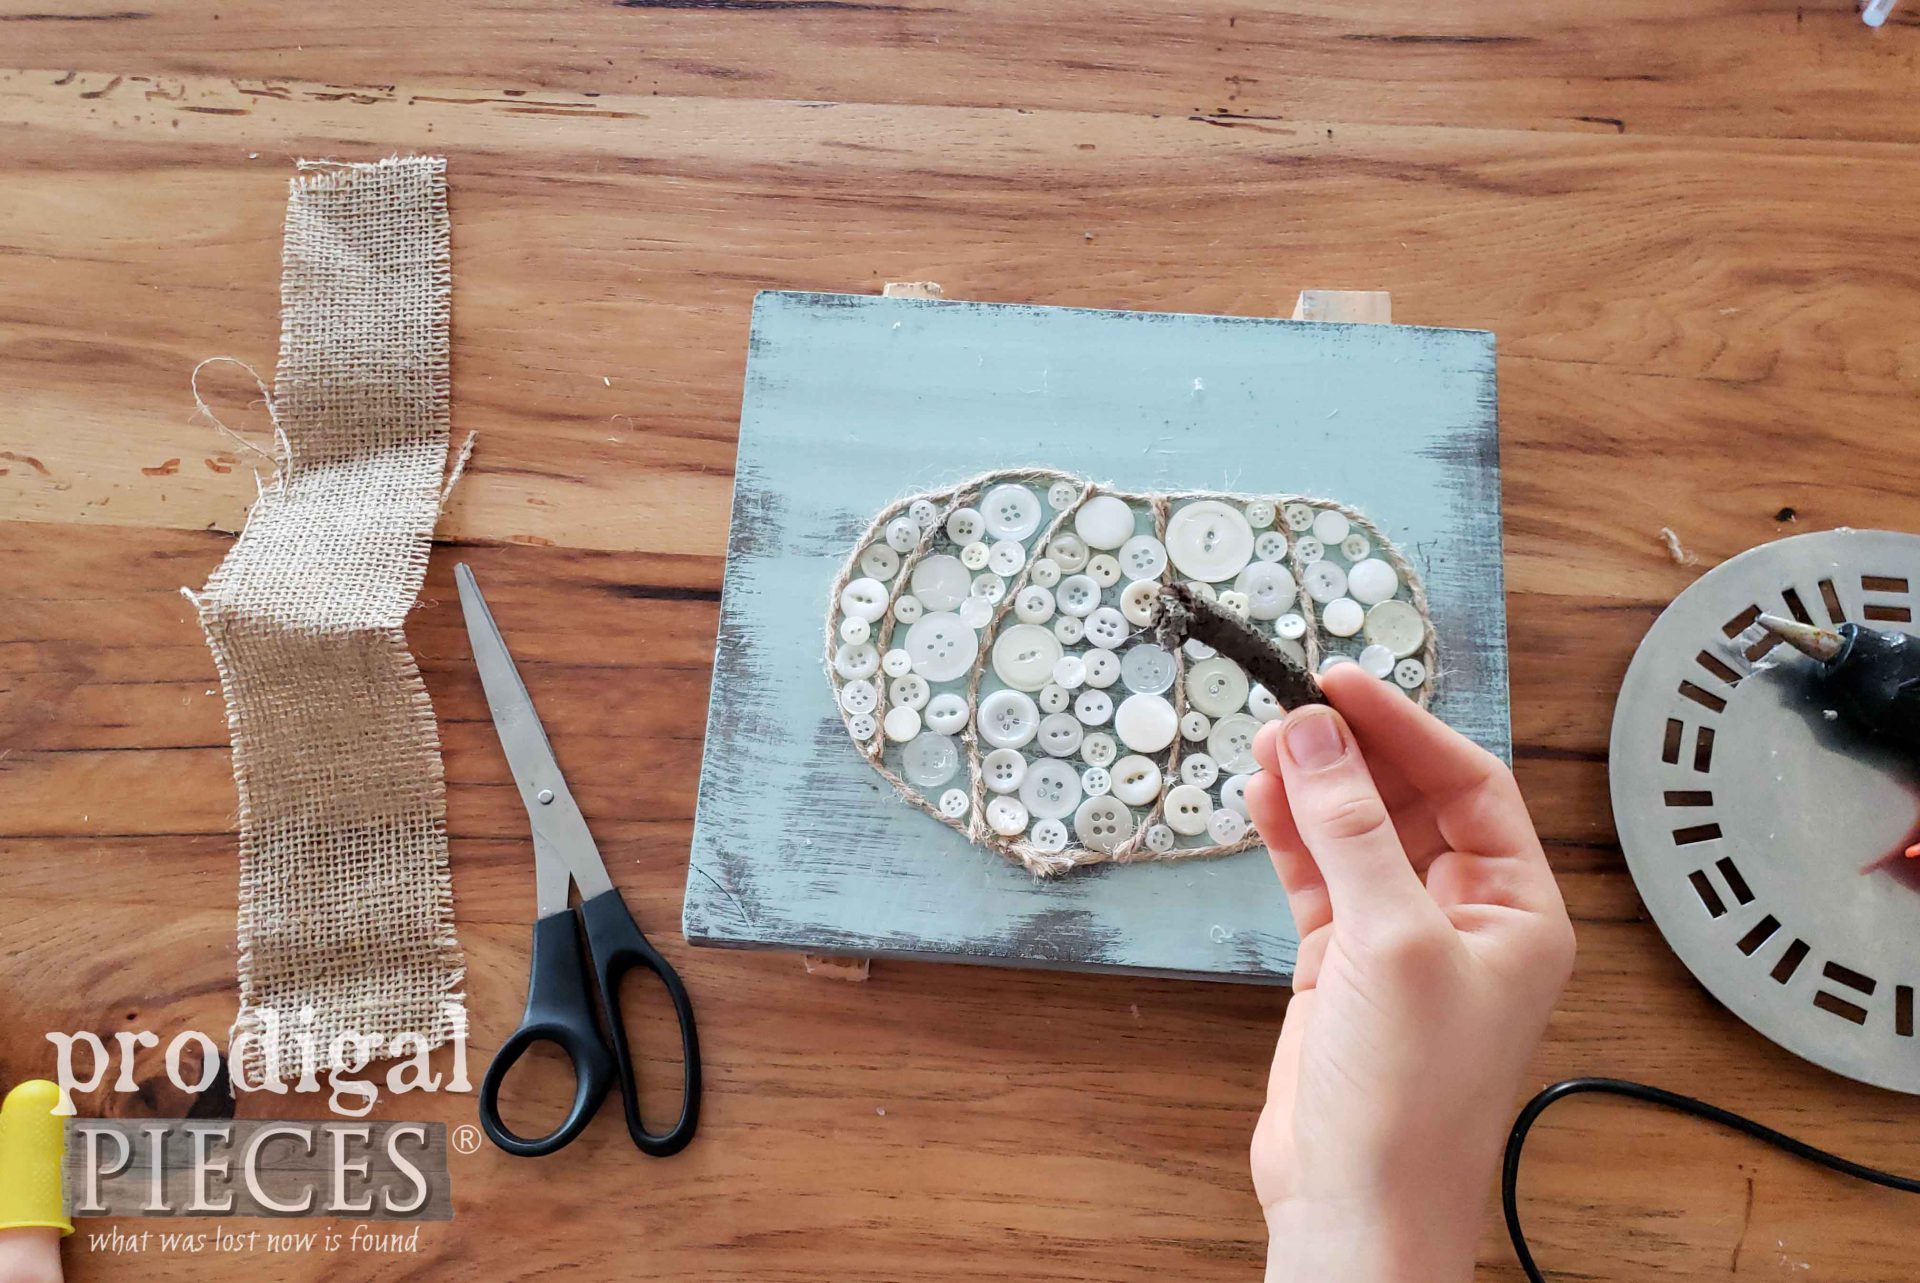
Last, after all those lovely buttons are in place, it's time to add the fun details. First, grab a piece of stick for a stem. Then, cut out a burlap leaf, and add a bit of winding twine for a vine. In particular, the video demonstrates this best.
REVEAL TIME
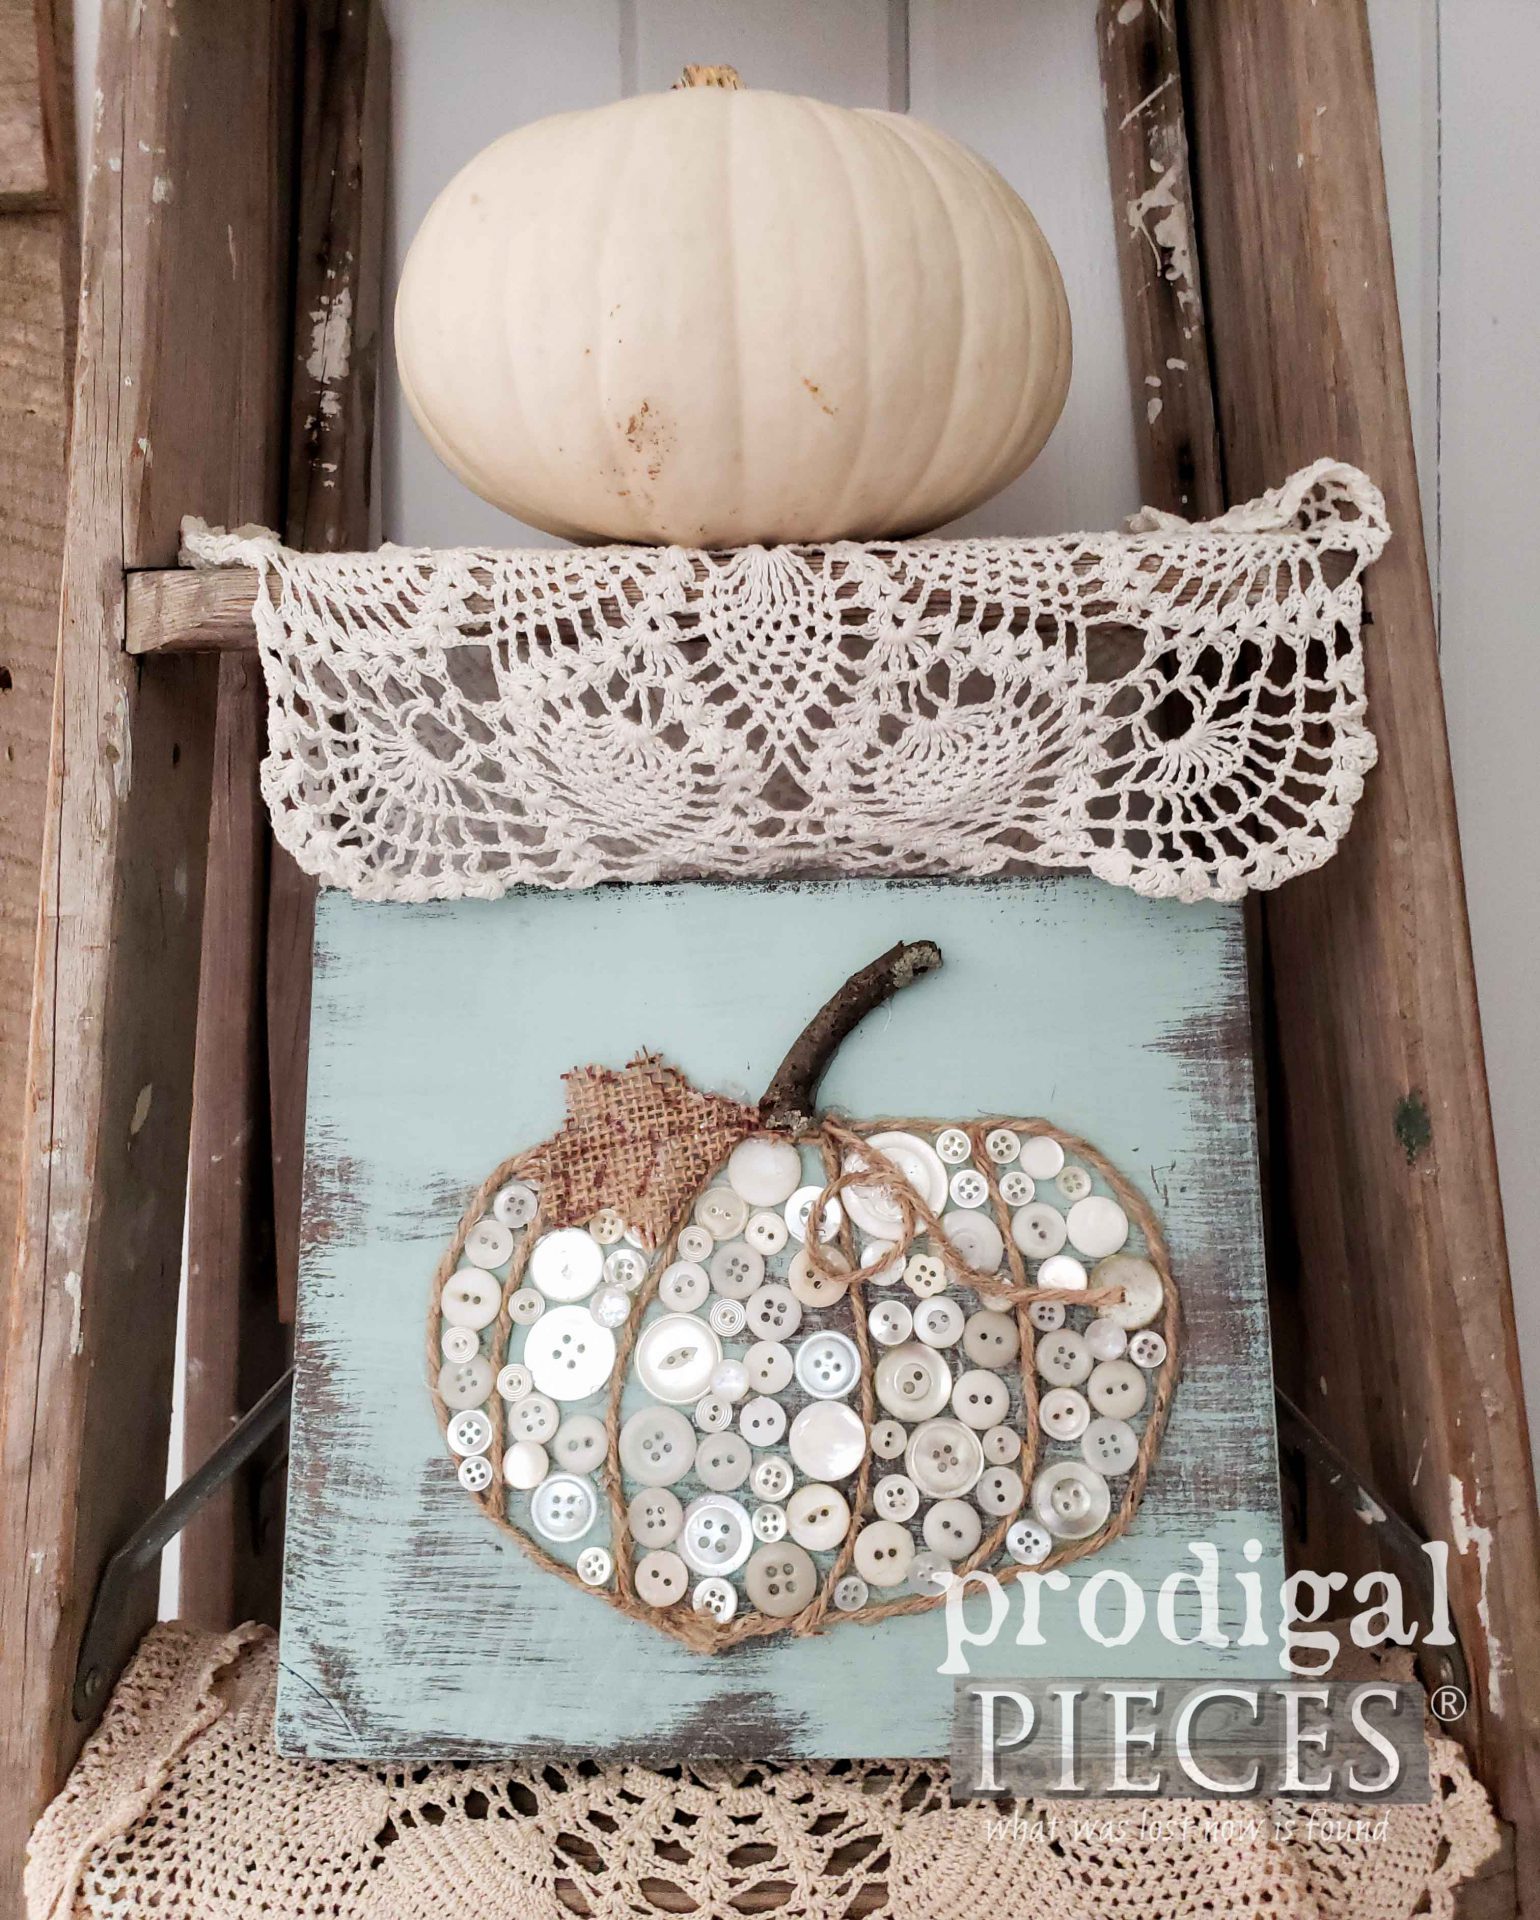
And here's our fall pumpkin button art all done! Didn't she do a funtastic job?
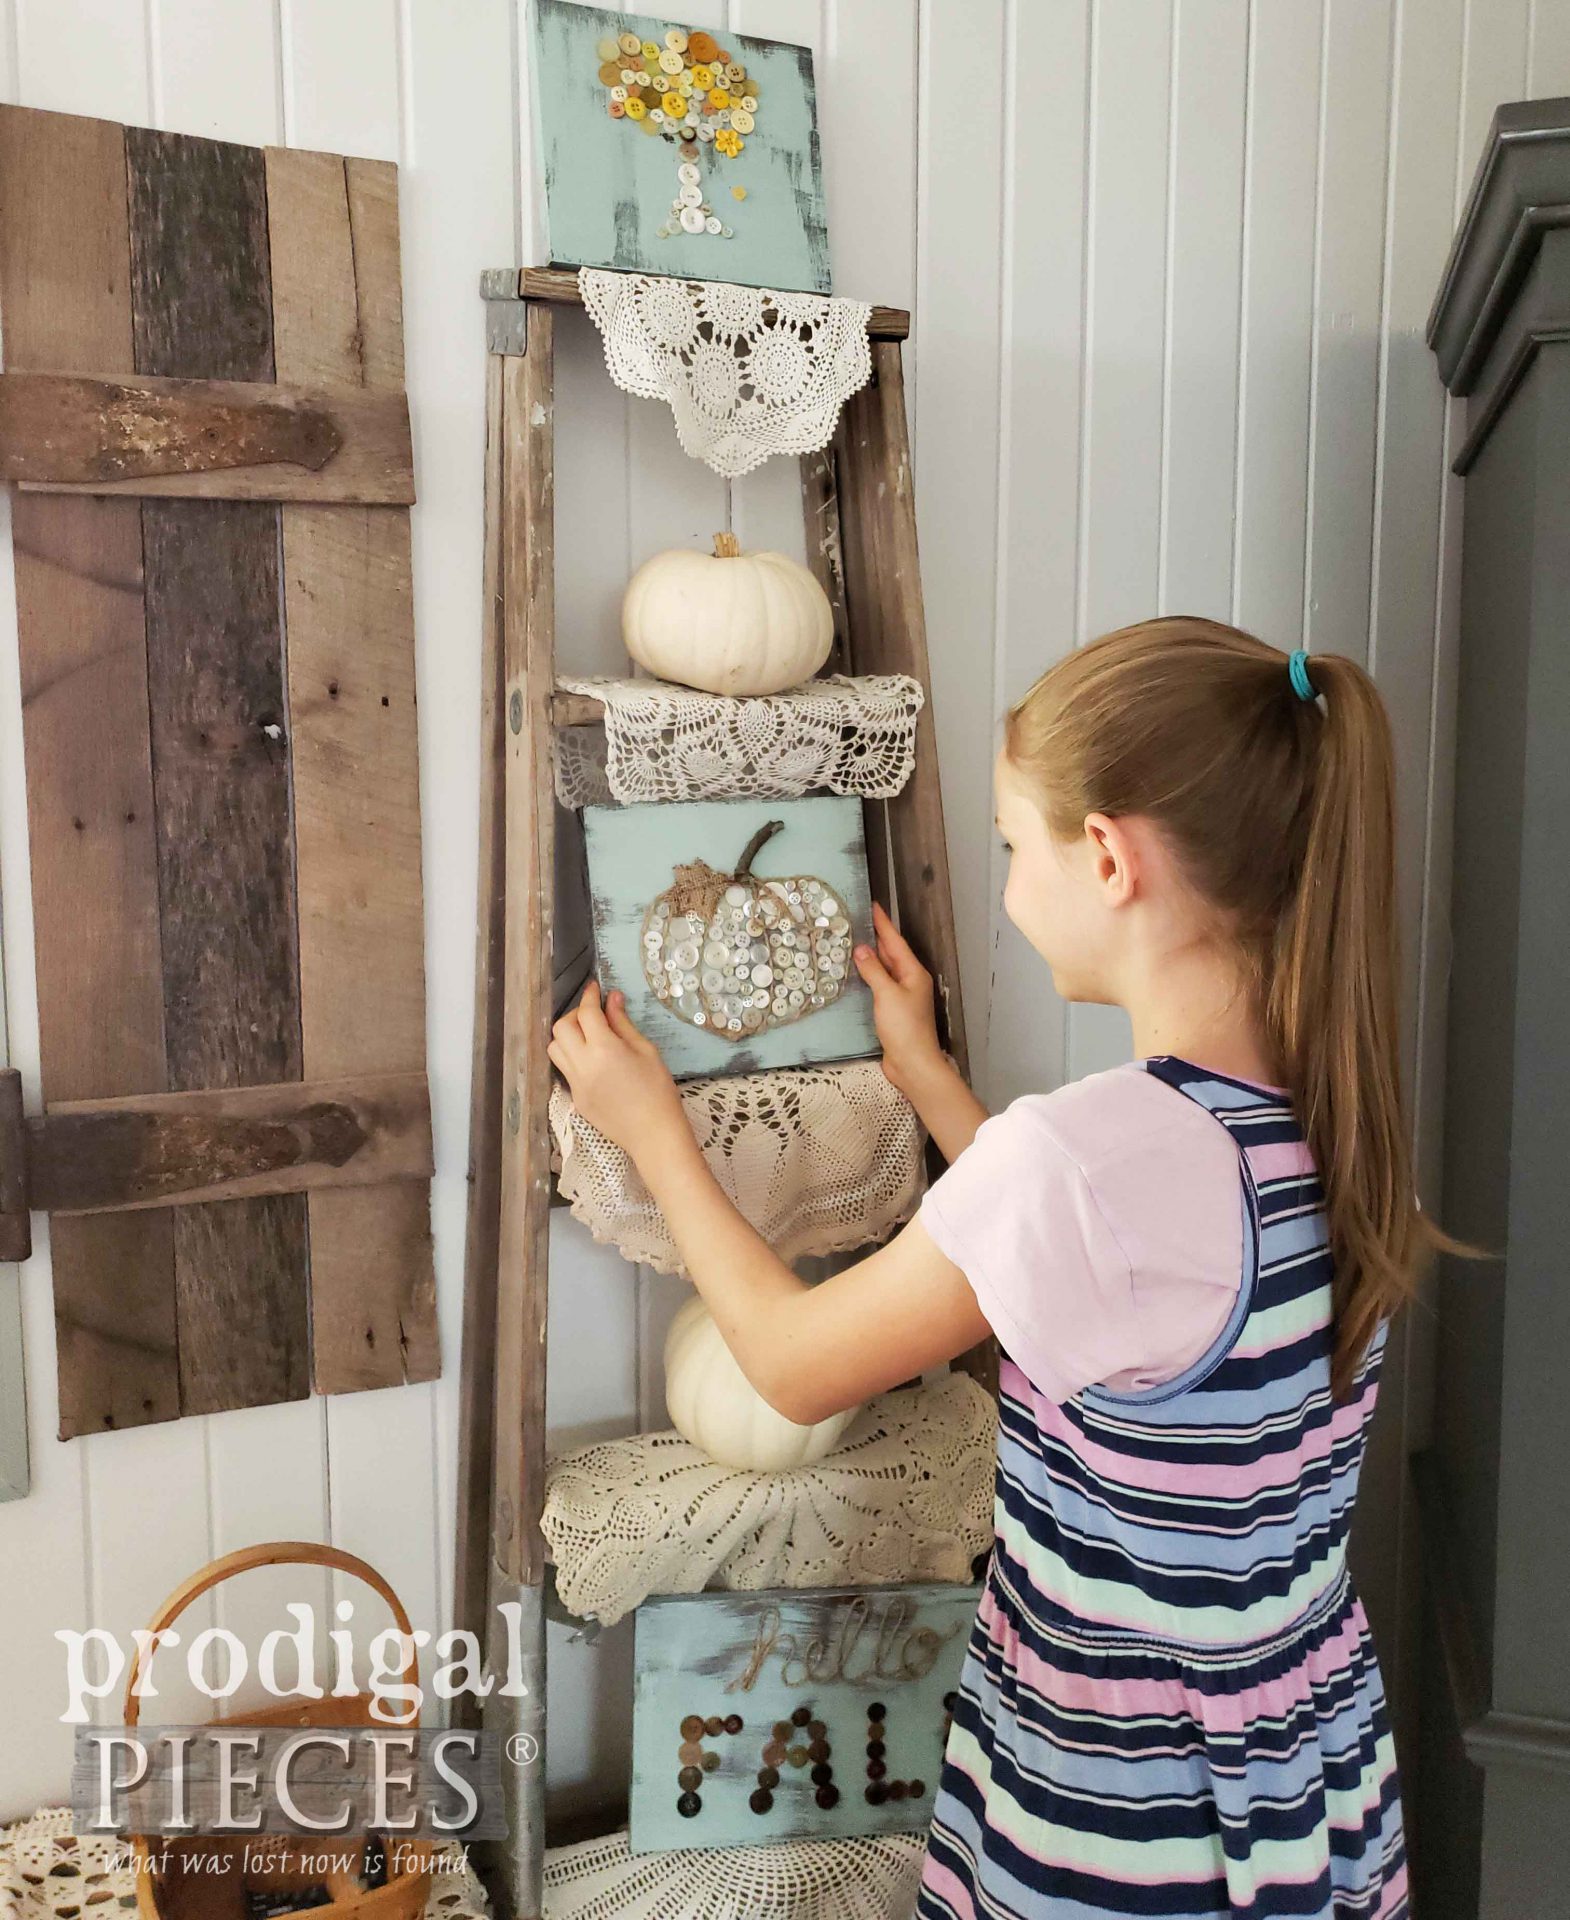
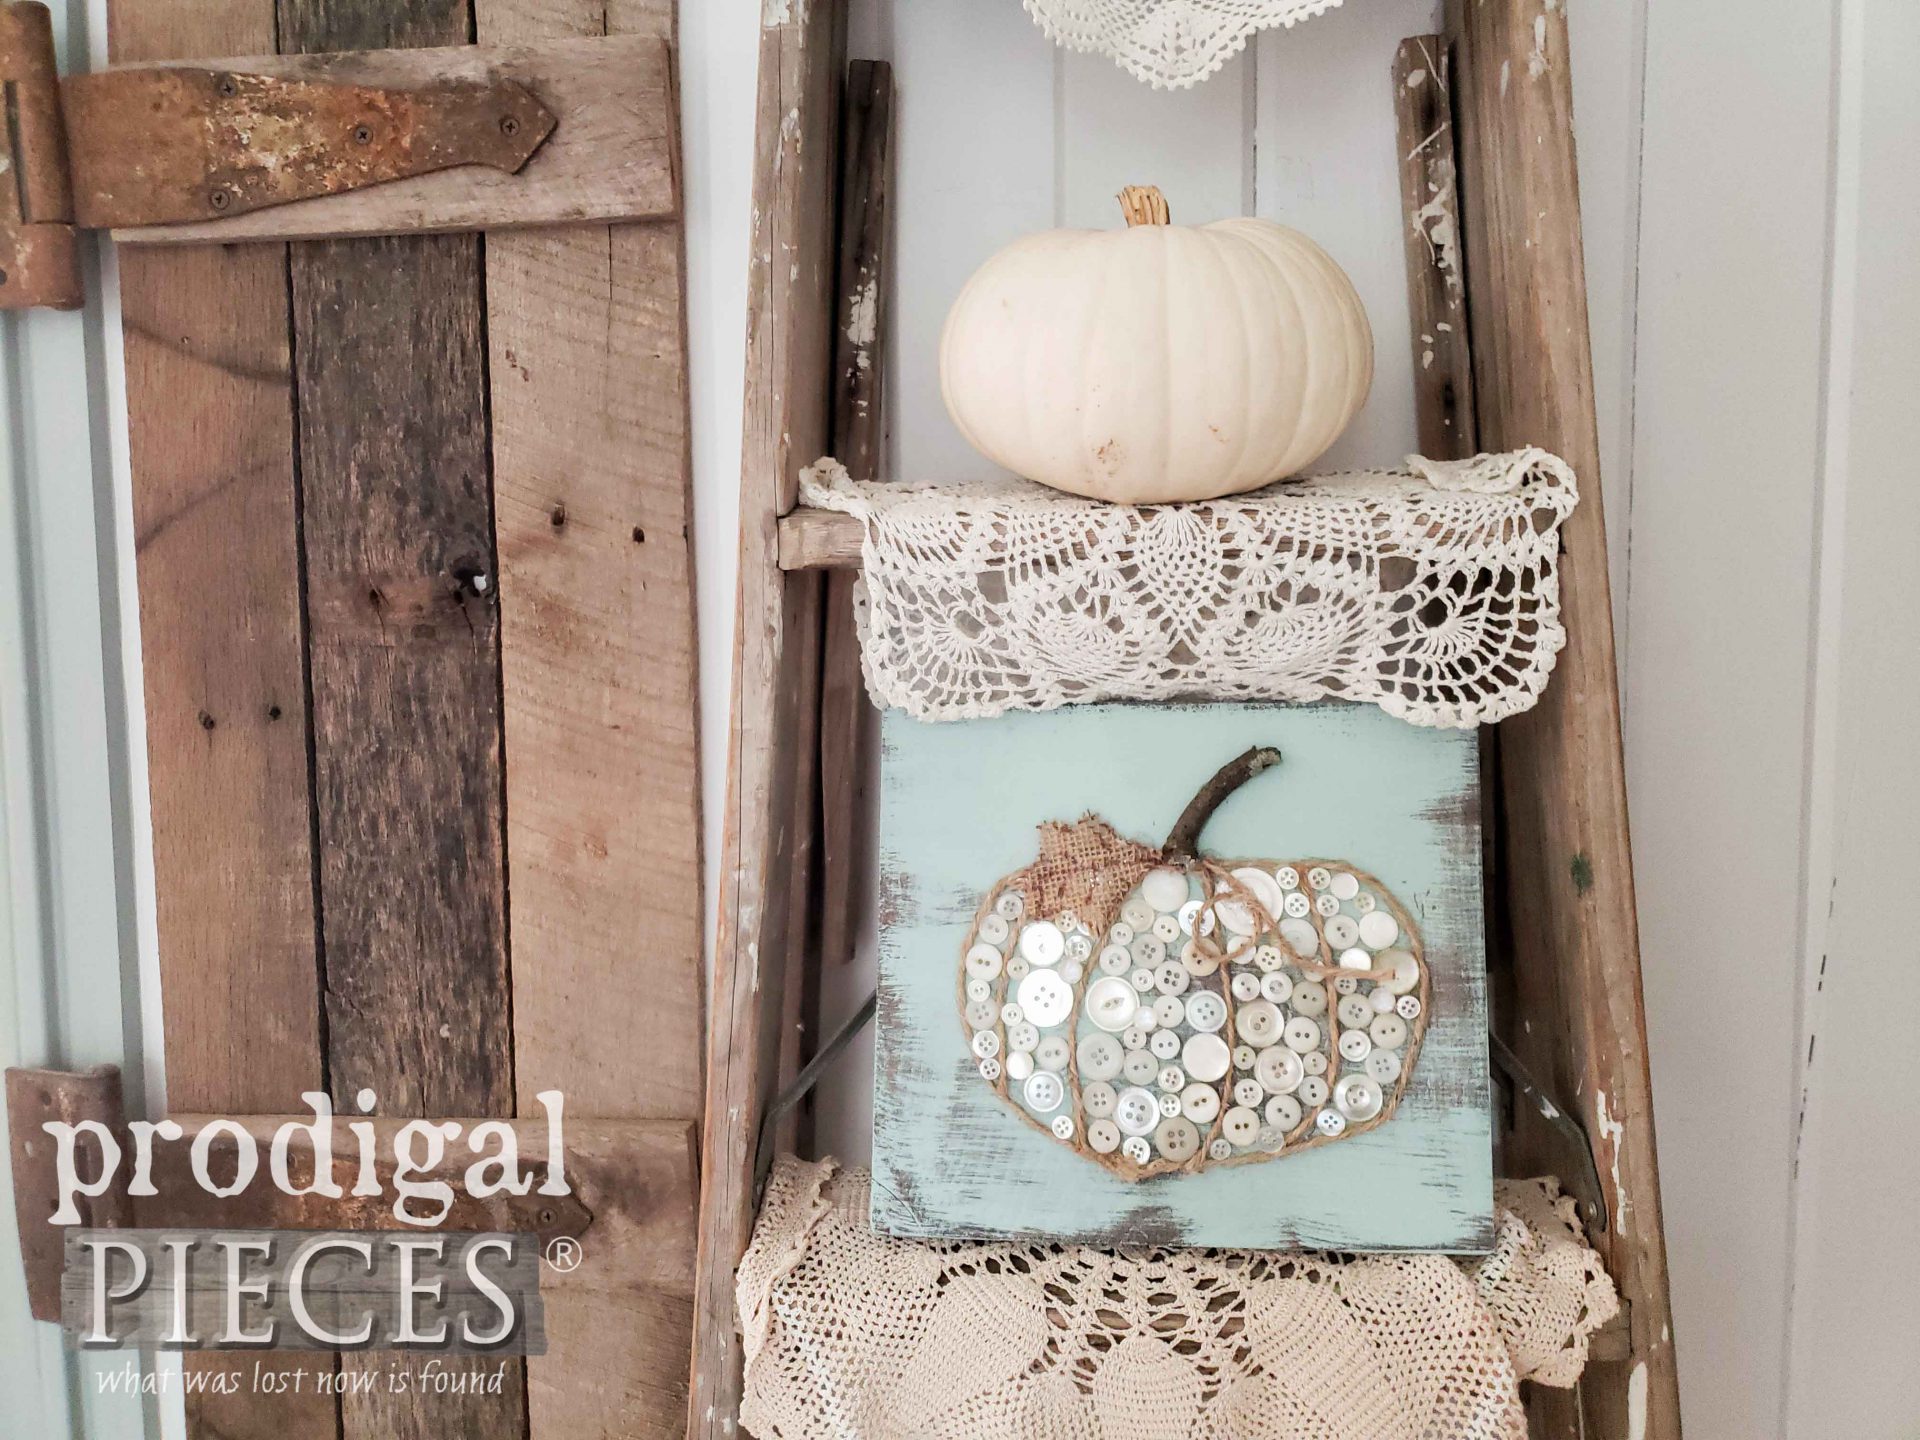
Likewise, we are also smitten with the the other two projects we created as well.
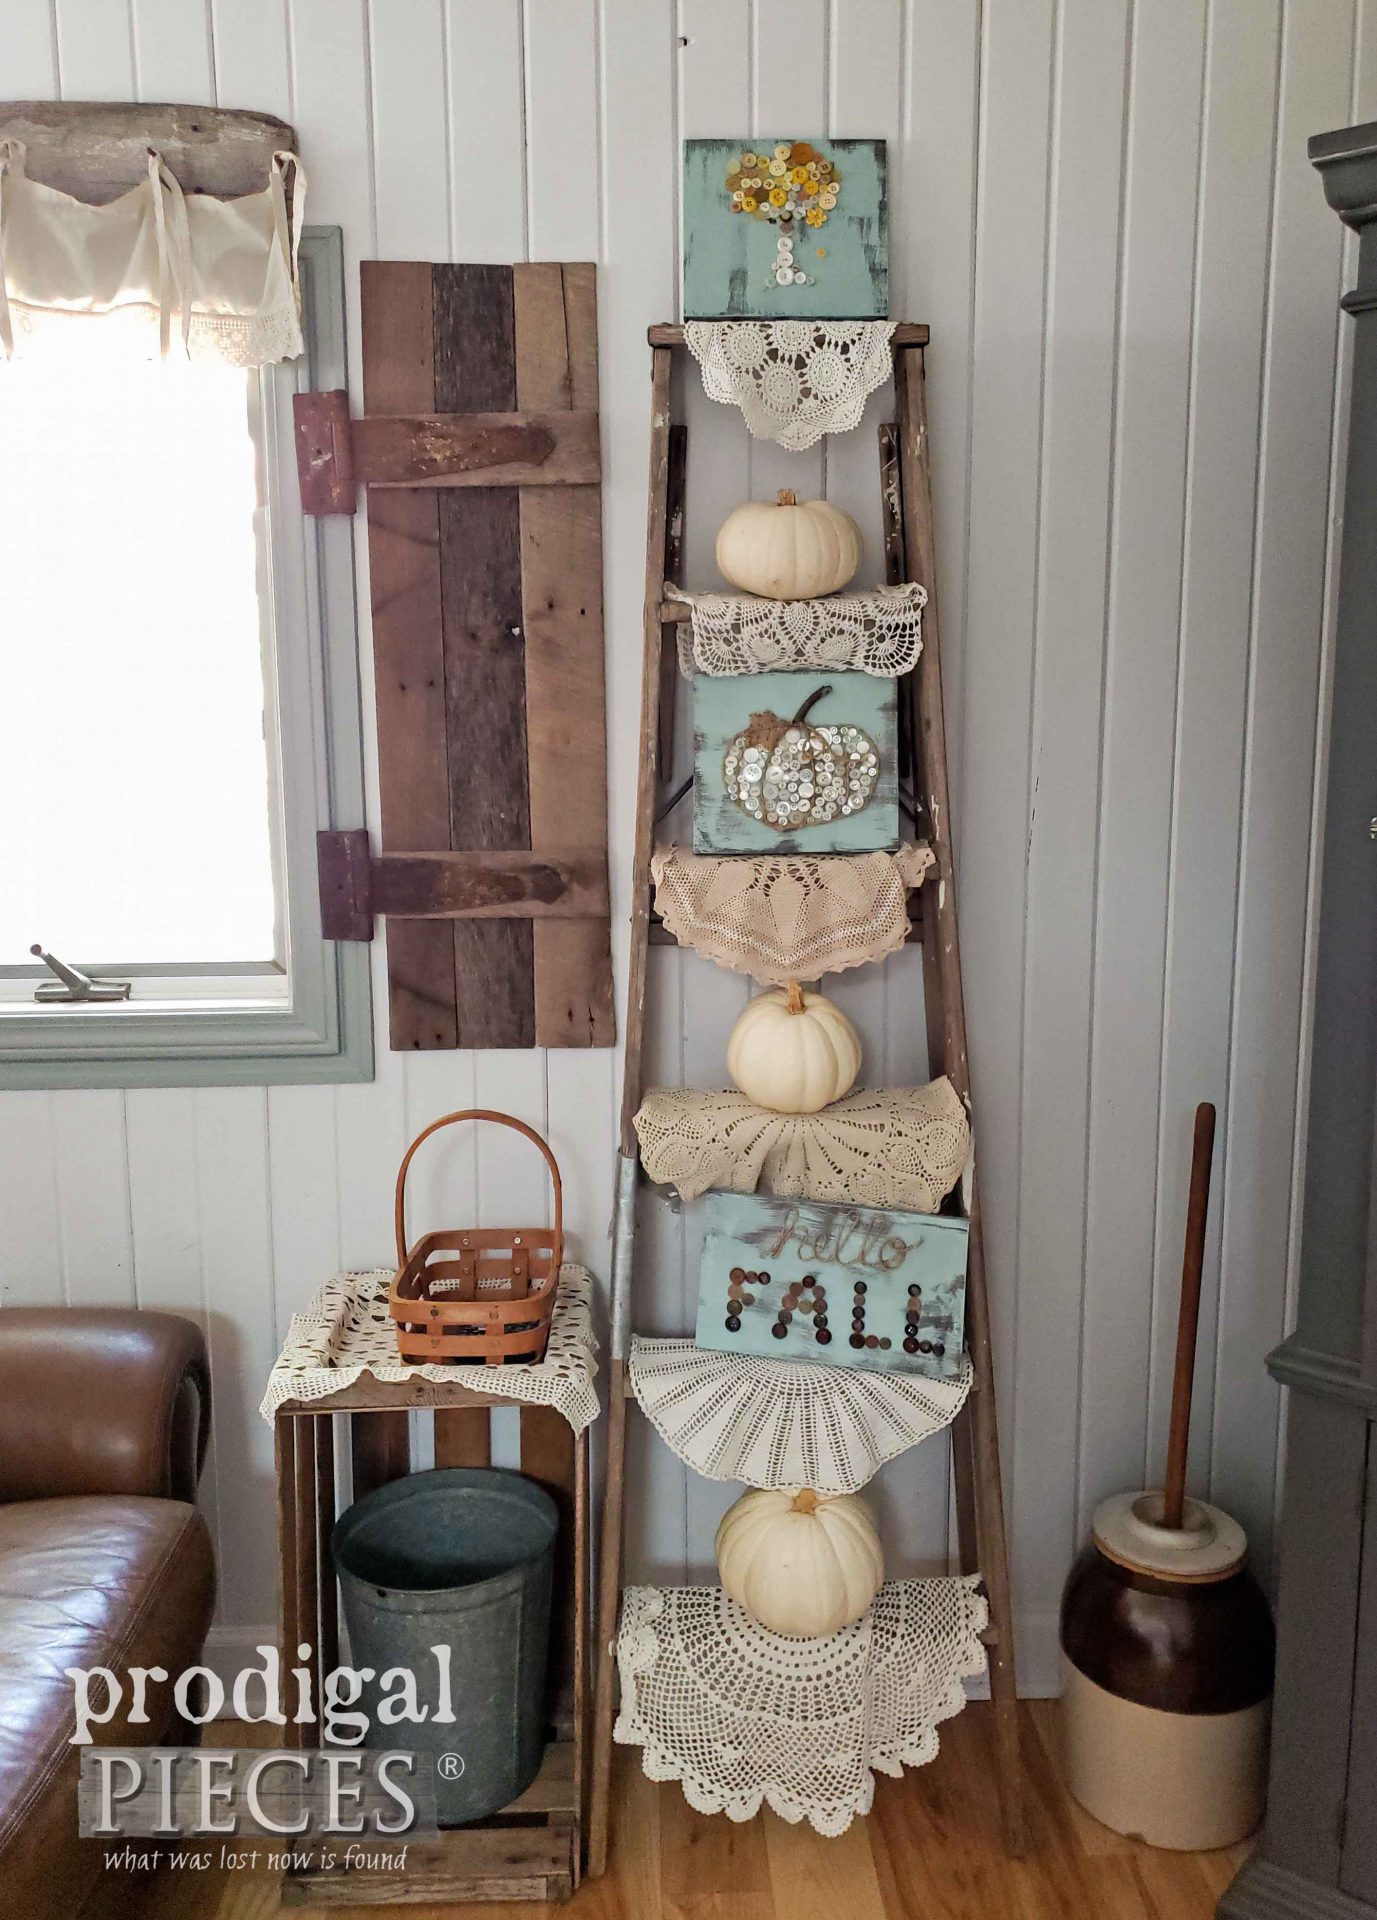
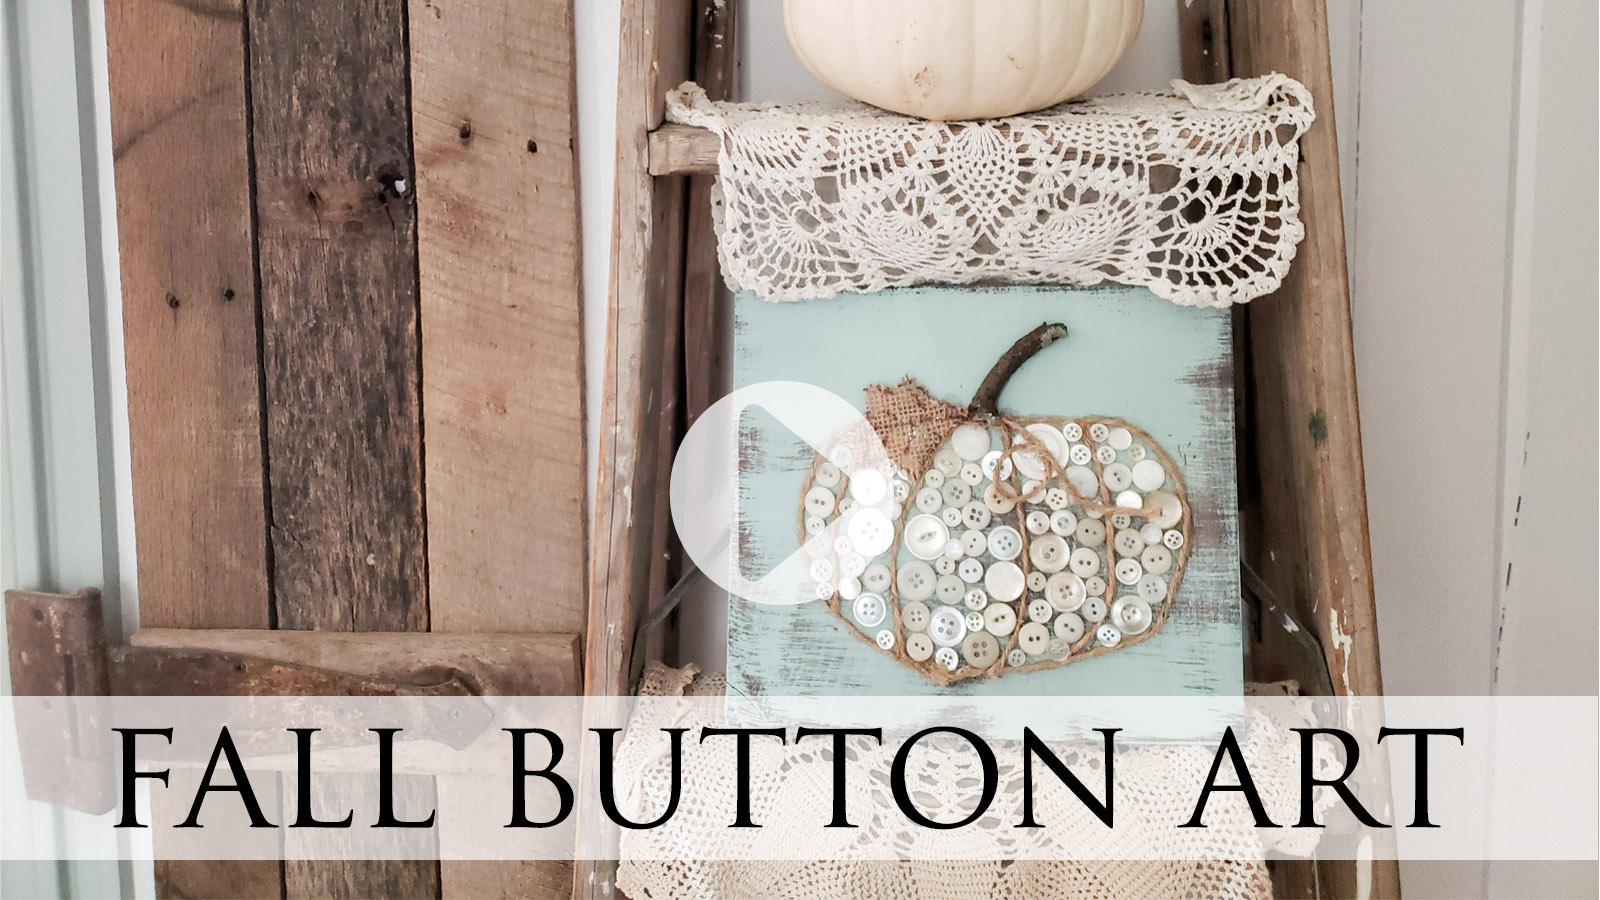
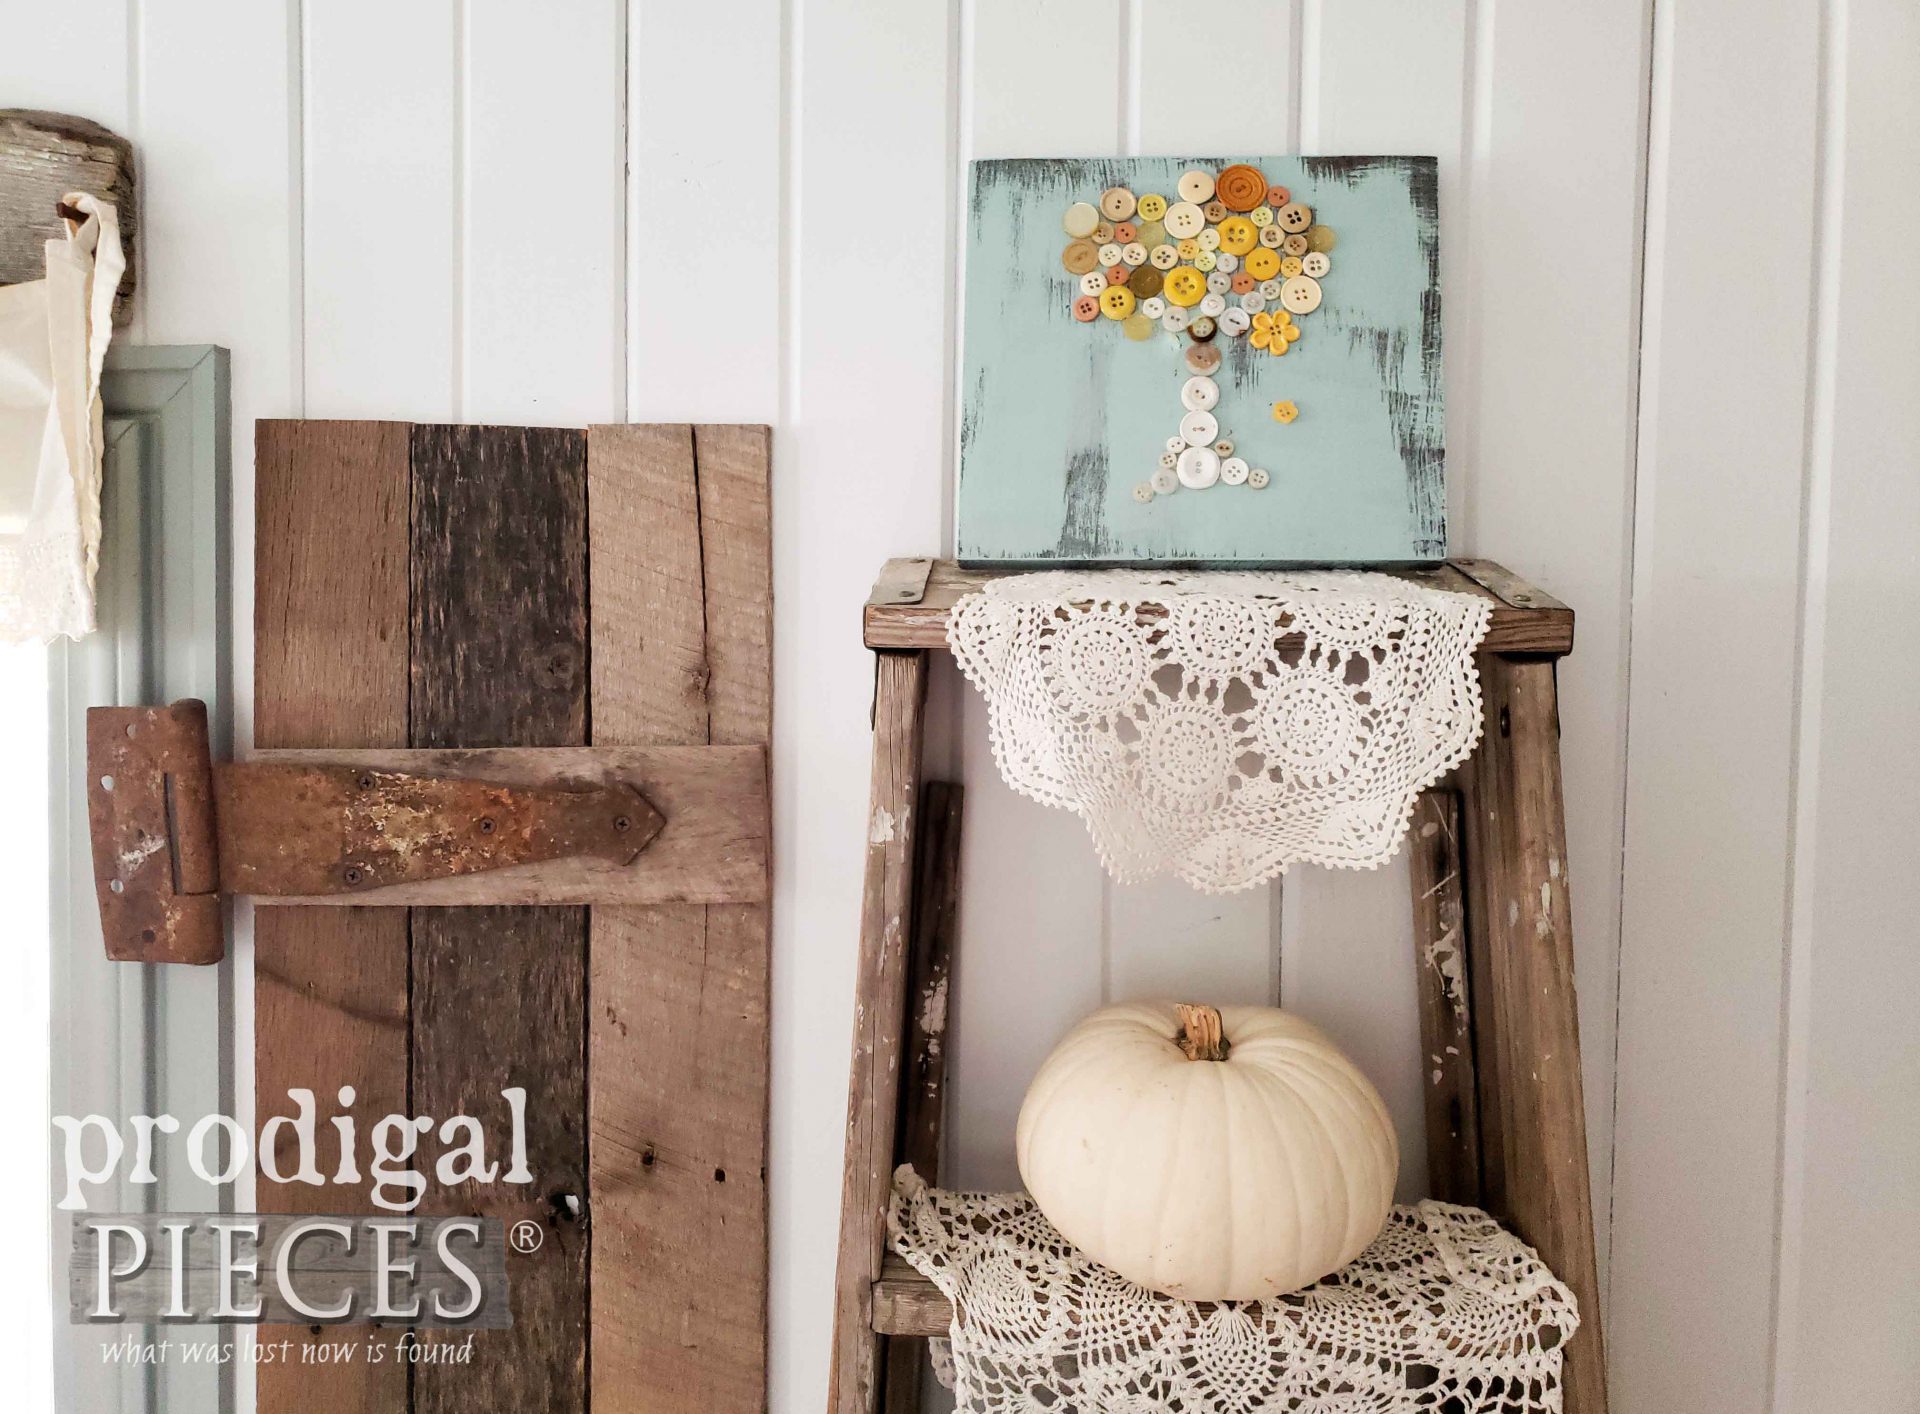
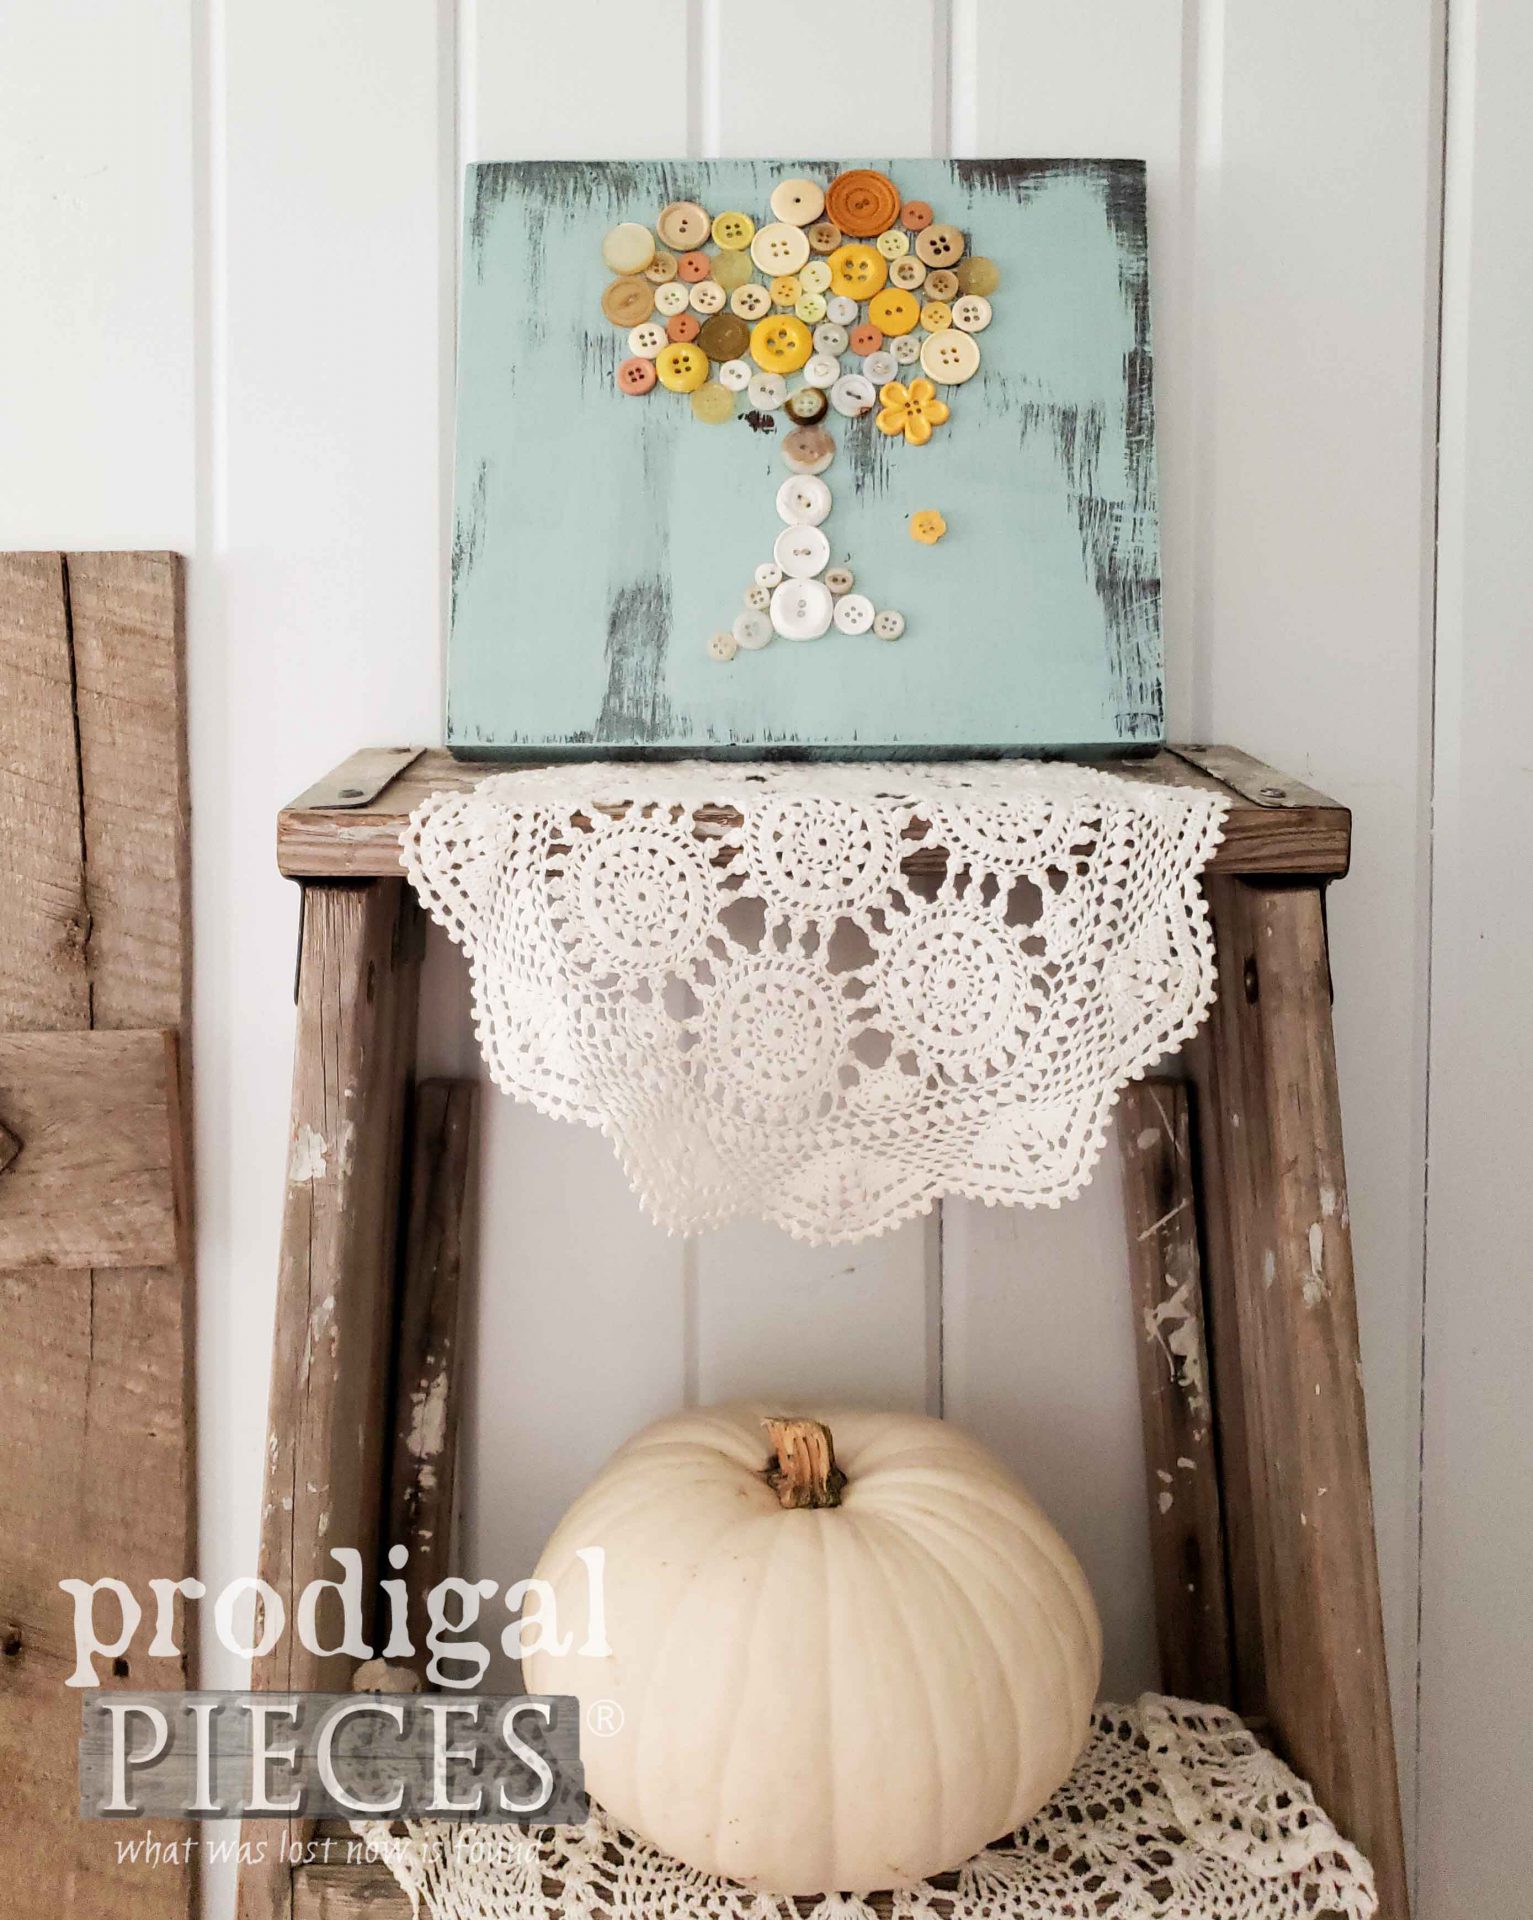
Not only did we create the pumpkin, but wanted to make a tree with fall foliage. Her choice was a birch tree with the gorgeous yellow they display each autumn.
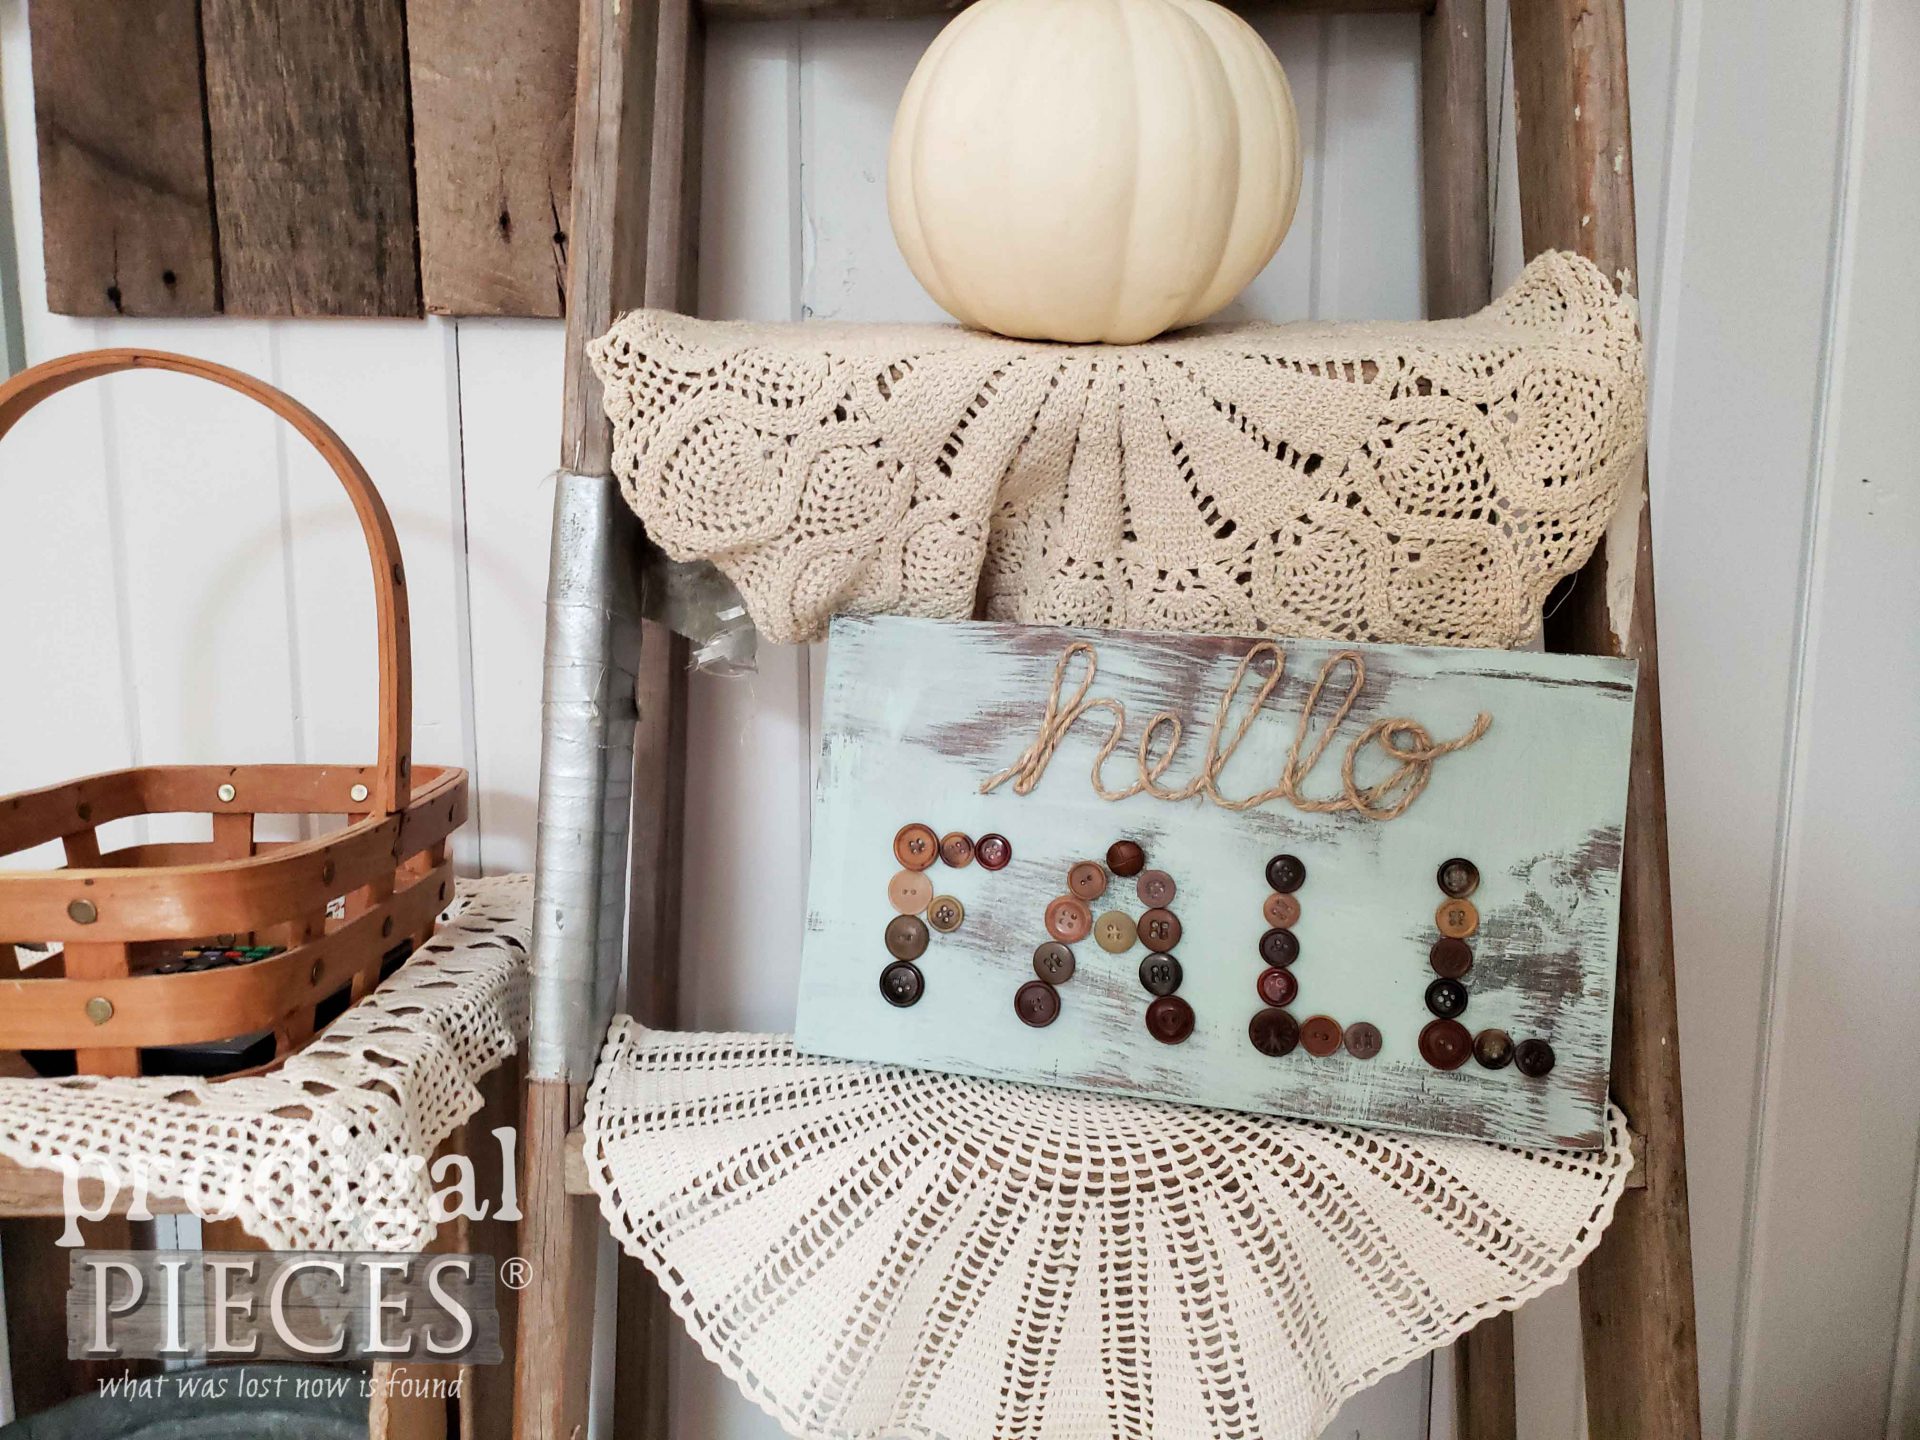
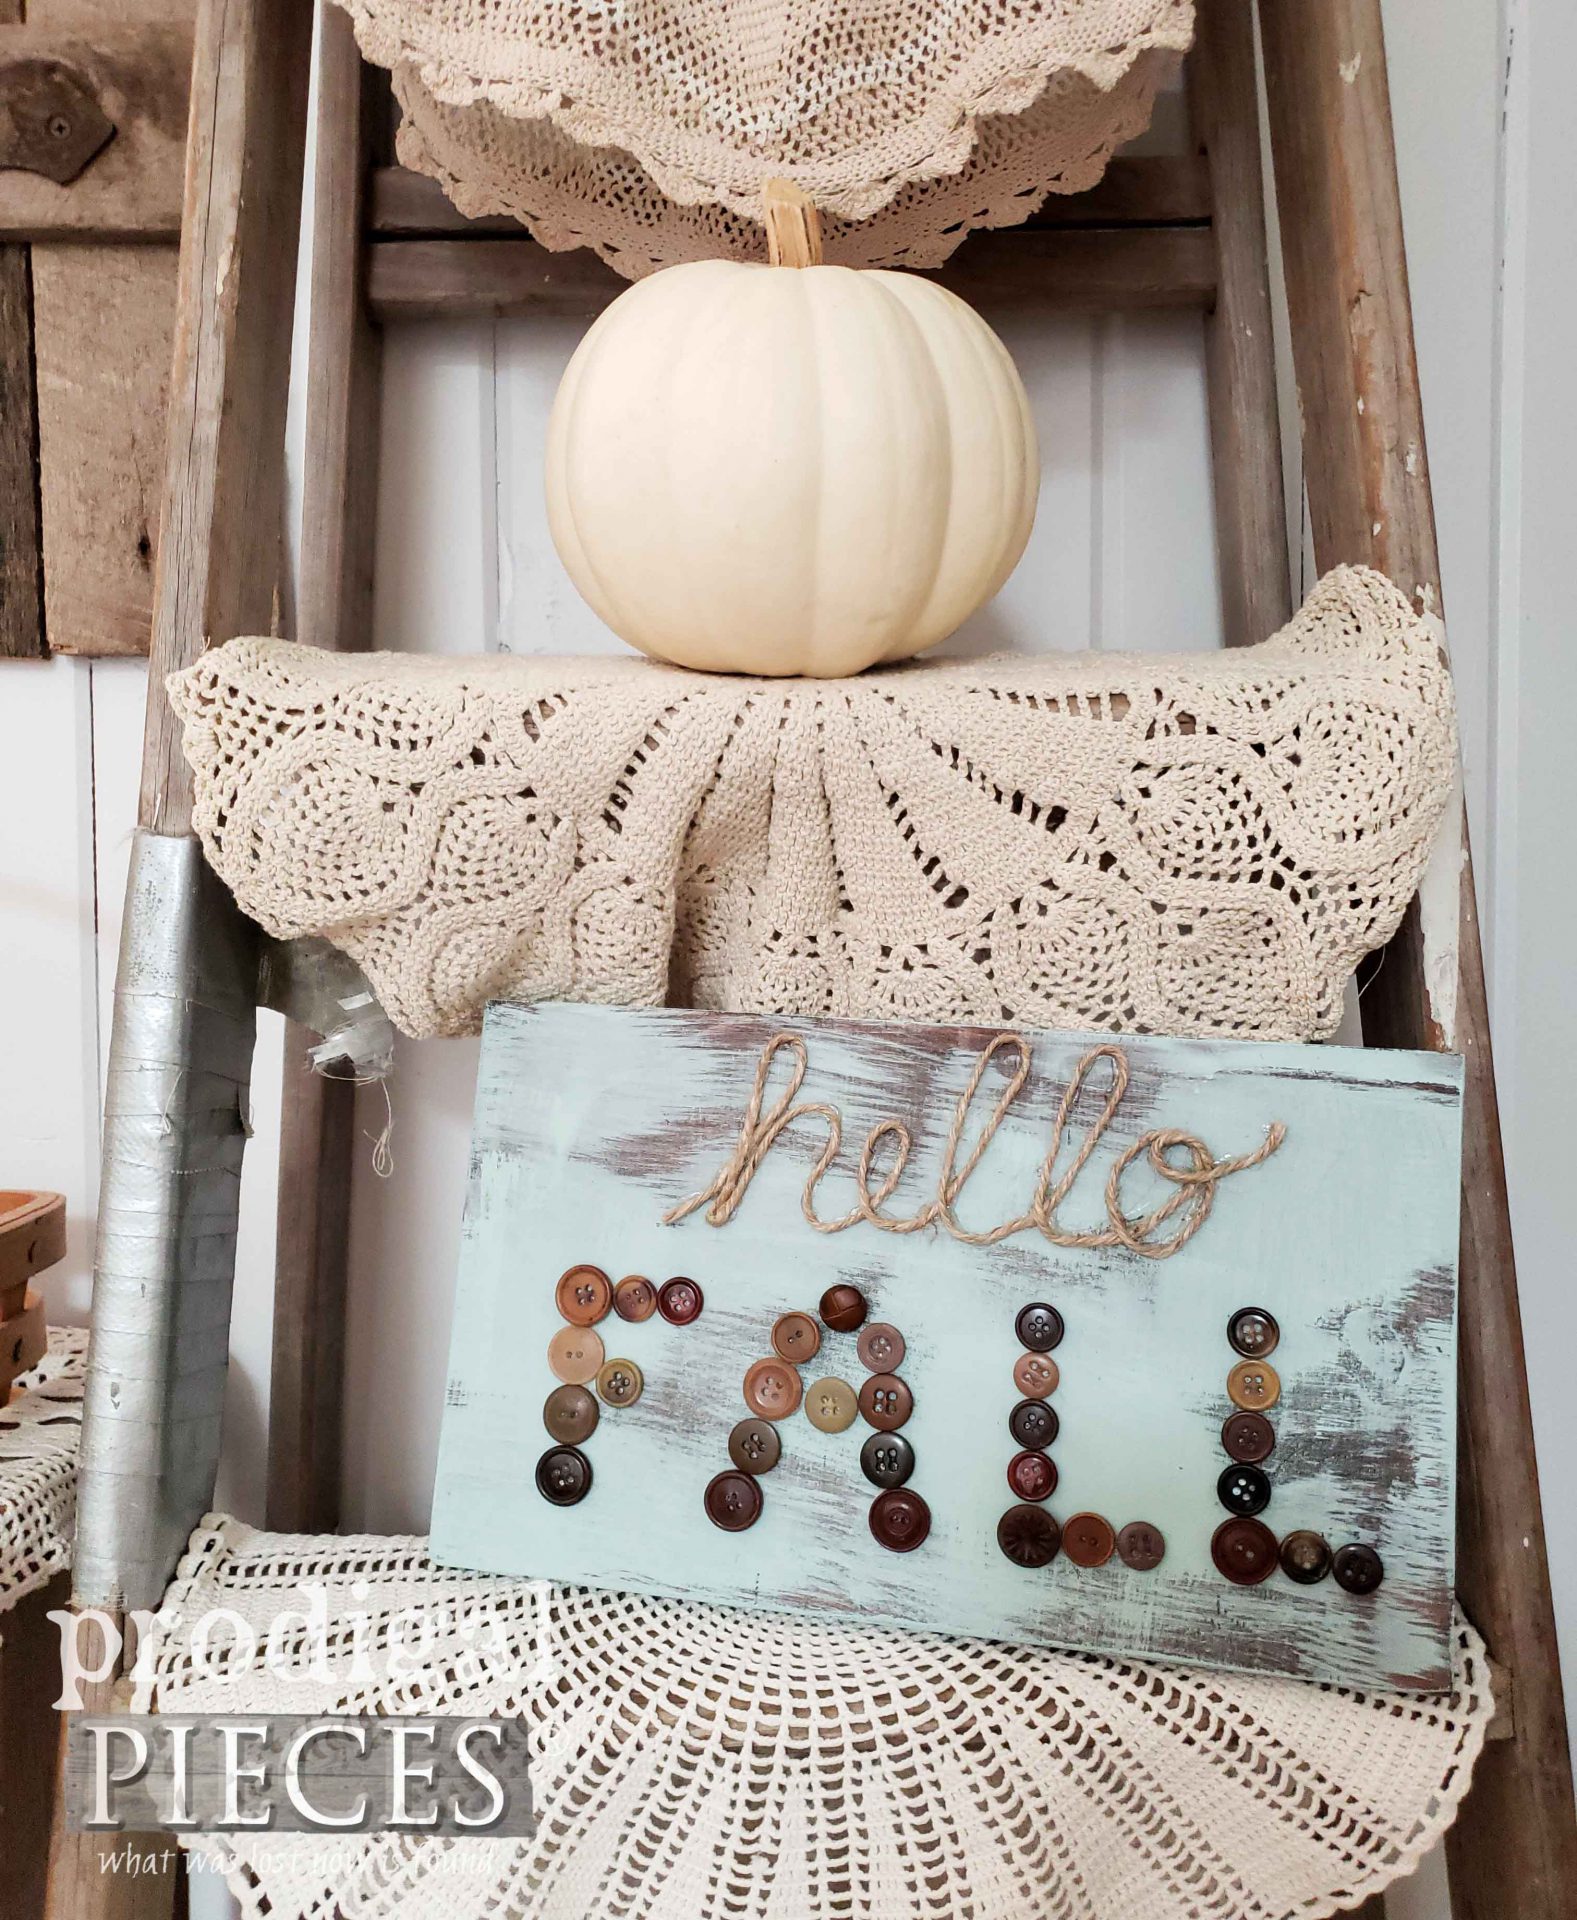
Last, but not least, we made this text sign, "Hello Fall", to complete the vignette. The twine is simply adhered with hot glue after I wrote the text on the board. Admittedly, you can't get any easier than that, right?
So...have you grabbed your buttons yet? hee hee. Miss E. and I are truly hoping you'll give this a try. Also, we'd love to hear from you too!
If you'd like to own this set, Miss E. is offering them up in
my online store.

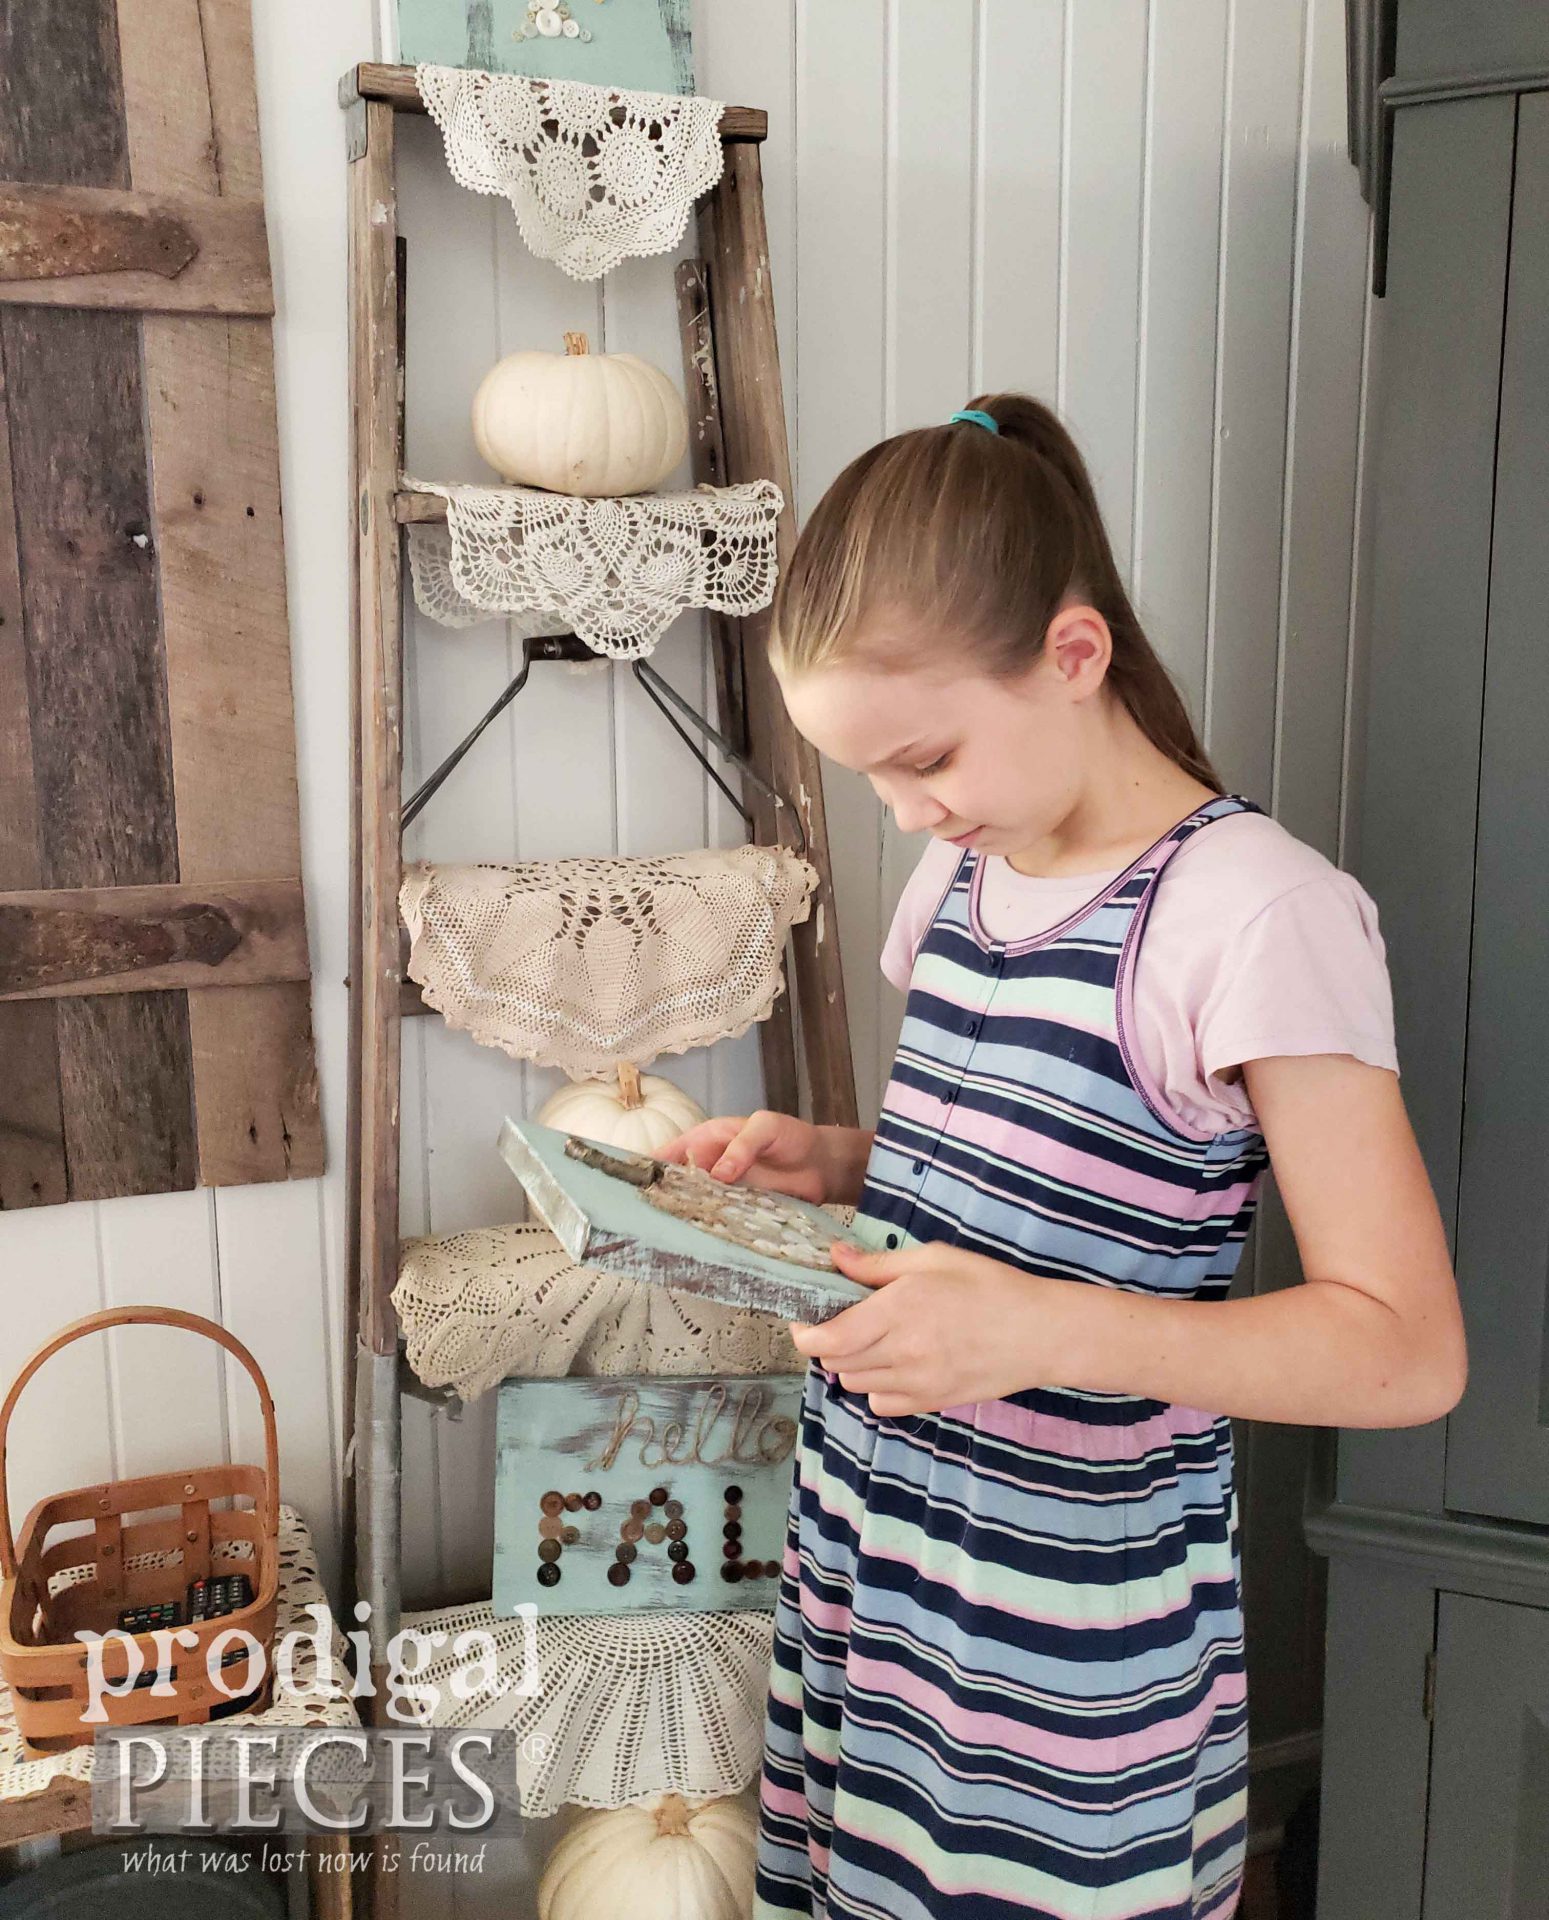
Above all, for me the fun is in watching my kids' imagination soar. Far to often nowadays children are left behind a screen and we're wondering why there are problems. Likewise, any person needs that precious time to let go and just be. Take that time.
Also, pin and share this fall pumpkin button art with extras. I'm sure we're not the only ones that would love to have crafty fun too!
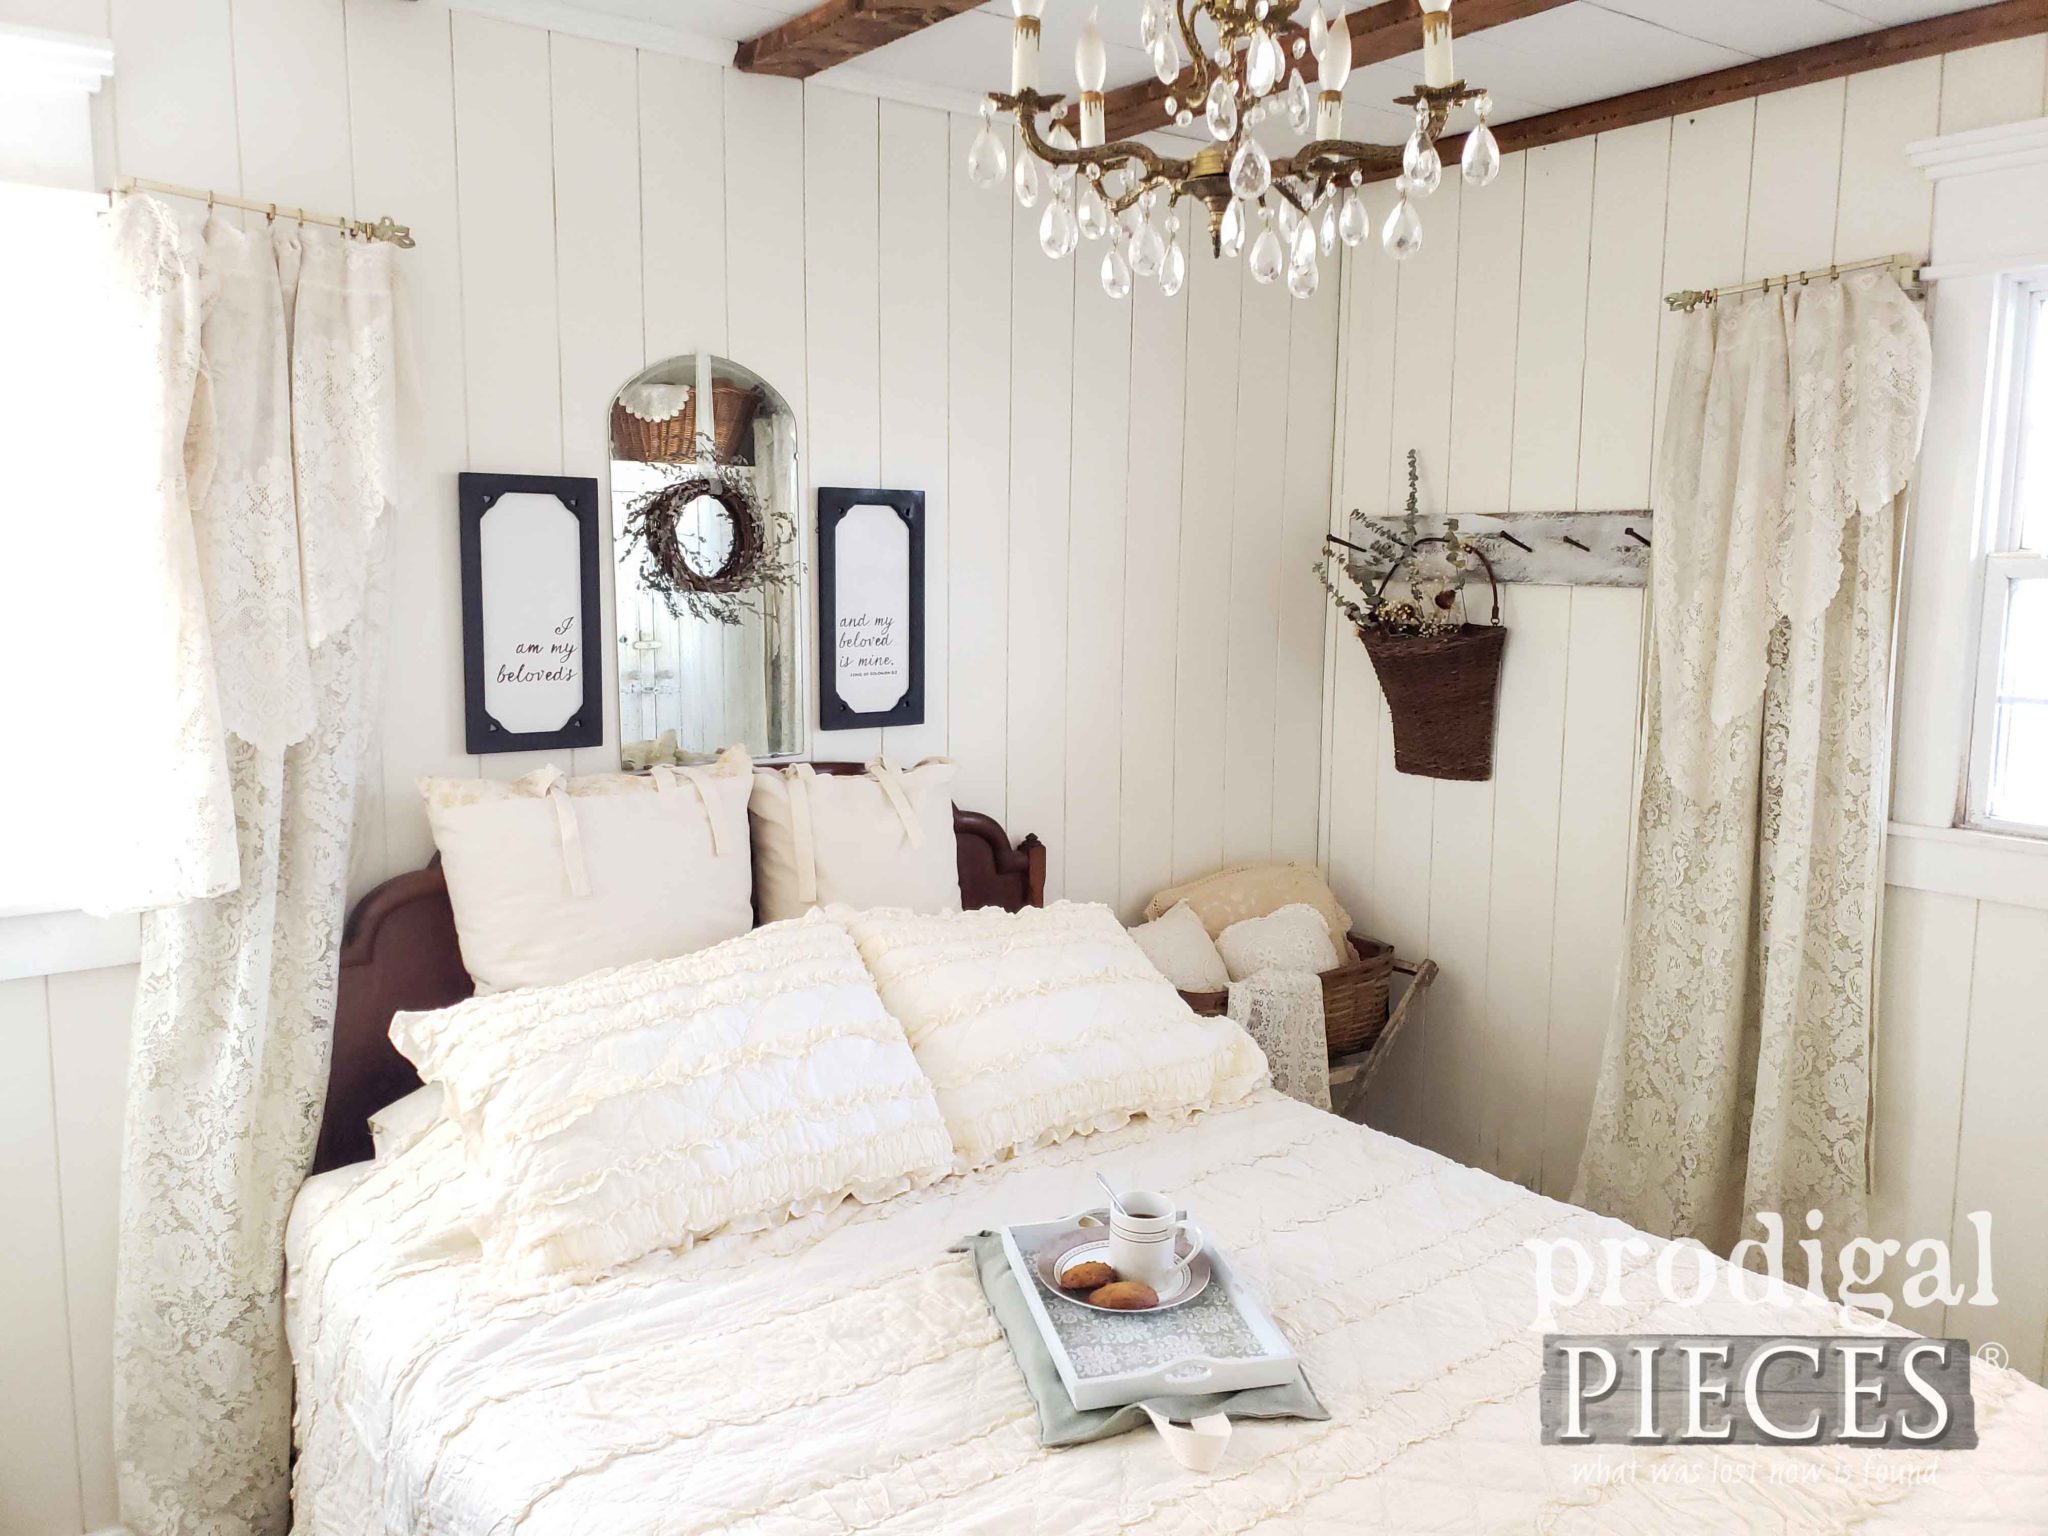
Up next, my master bedroom is in need of some autumnal changes too.
Come take the tour HERE.
Before you go, be sure to
sign up for my newsletter. Until next time!

 PINTEREST | EMAIL
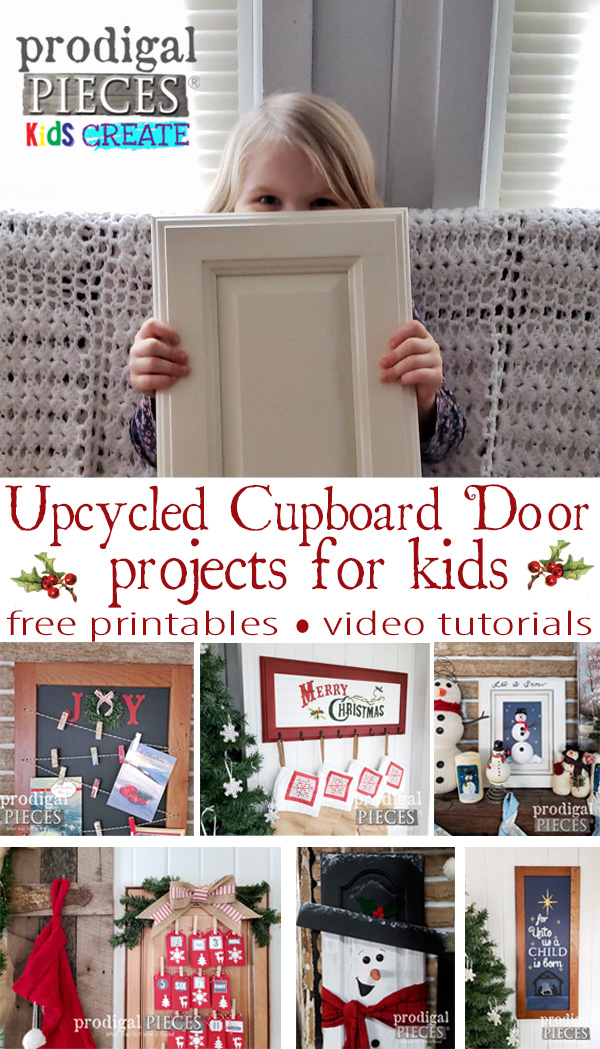
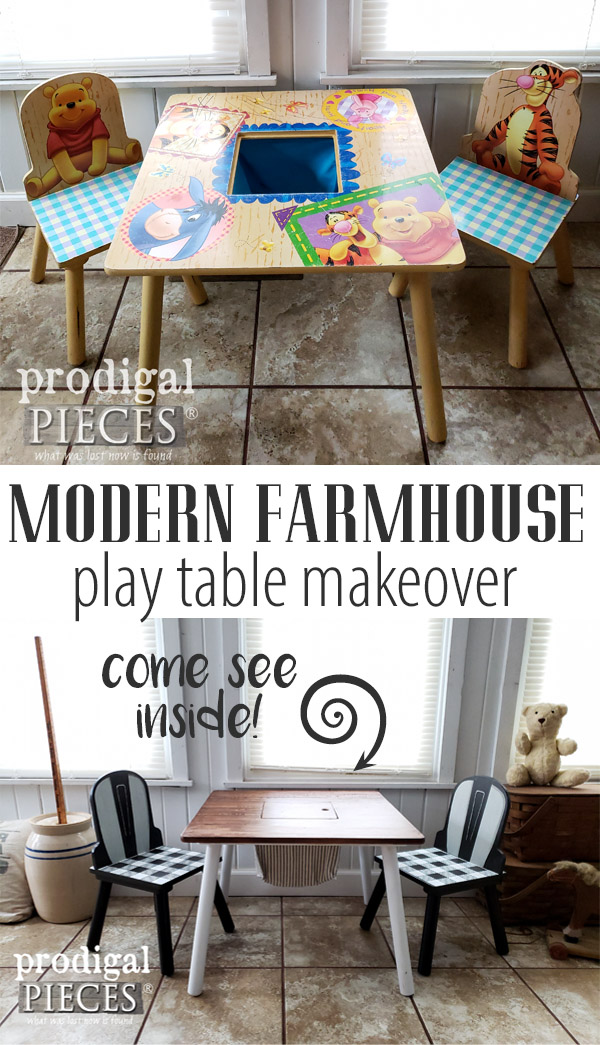
While you're at it, here are more kid fun projects like this fall pumpkin button art:

 The best part about this project is the sky's the limit. There's no need to only make only fall decor, but rather open up your mind to whatever those buttons call you to create. However, since we're in the thick of harvest season, my daughter and I wanted to do something related to autumn.
 First, we broke out my button collection and began sorting out the colors we wanted to use. I tell ya, it's super hard not to get distracted and begin fingering through them to remember what some belonged to. When my kids hear buttons, they come running to join in the fun. It's a family affair! :)
 By the way, Miss E. is not new to my blog and is quite the handy girl. She is my 3rd daughter of 4 girls, and 1 of my 6 children. As a result, you can see her past projects in these posts HERE.
Once we decided on the theme and color scheme, it's time to get this crafty party started.

 Next, after the stain cured, she applied a light wash of paint to give an aged effect.


 Likewise, we are also smitten with the the other two projects we created as well.


 Not only did we create the pumpkin, but wanted to make a tree with fall foliage. Her choice was a birch tree with the gorgeous yellow they display each autumn.
 Last, but not least, we made this text sign, "Hello Fall", to complete the vignette. The twine is simply adhered with hot glue after I wrote the text on the board. Admittedly, you can't get any easier than that, right?

 So...have you grabbed your buttons yet? hee hee. Miss E. and I are truly hoping you'll give this a try. Also, we'd love to hear from you too!
If you'd like to own this set, Miss E. is offering them up in my online store.


 Above all, for me the fun is in watching my kids' imagination soar. Far to often nowadays children are left behind a screen and we're wondering why there are problems. Likewise, any person needs that precious time to let go and just be. Take that time.
Also, pin and share this fall pumpkin button art with extras. I'm sure we're not the only ones that would love to have crafty fun too!
 Up next, my master bedroom is in need of some autumnal changes too. Come take the tour HERE.
 Before you go, be sure to sign up for my newsletter. Until next time!


