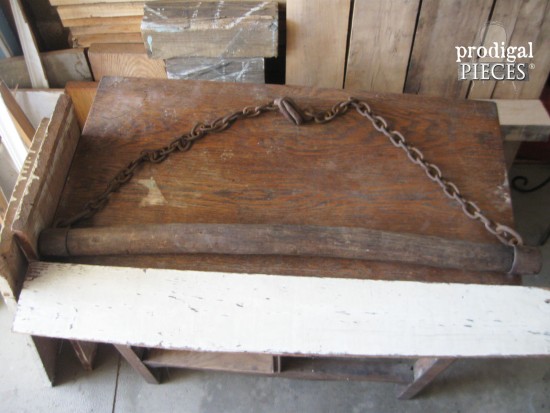
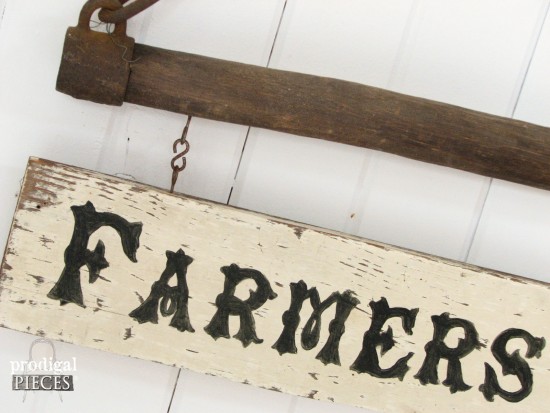
 ...especially paired with antique treasures like this single tree!
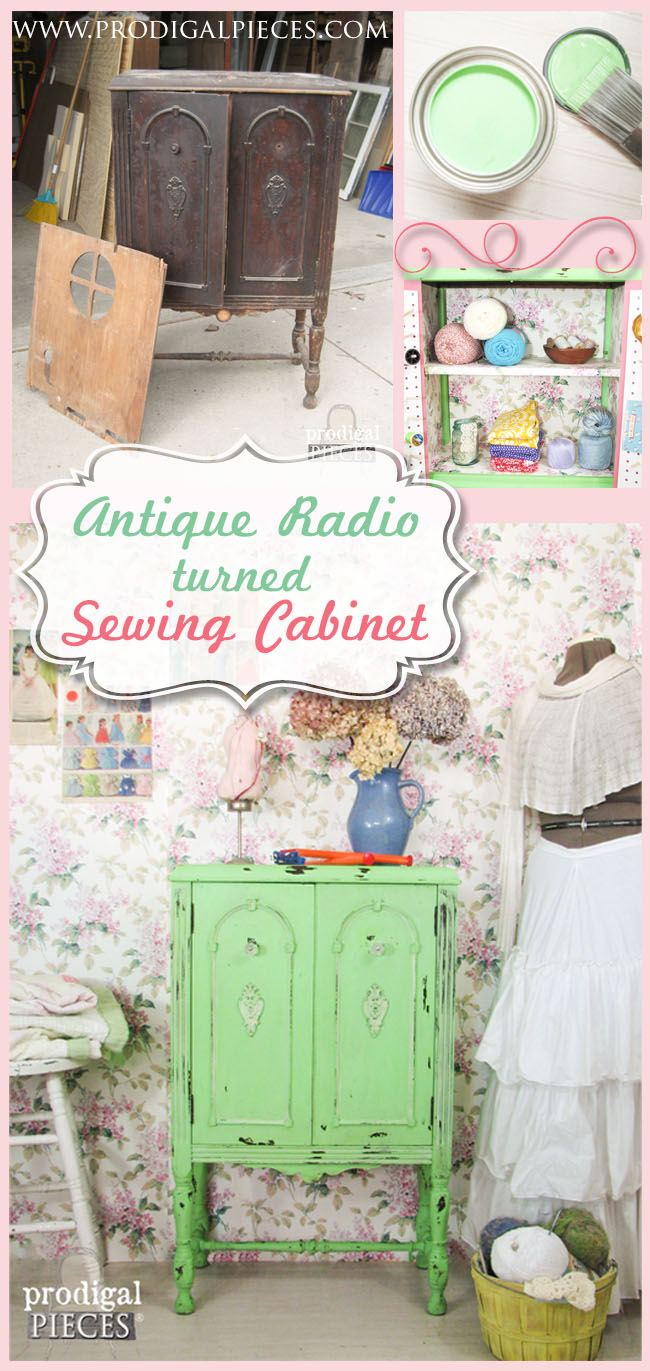
 Besides, who can resist the time-worn wear and chippy paint, all telling a story of days gone by?
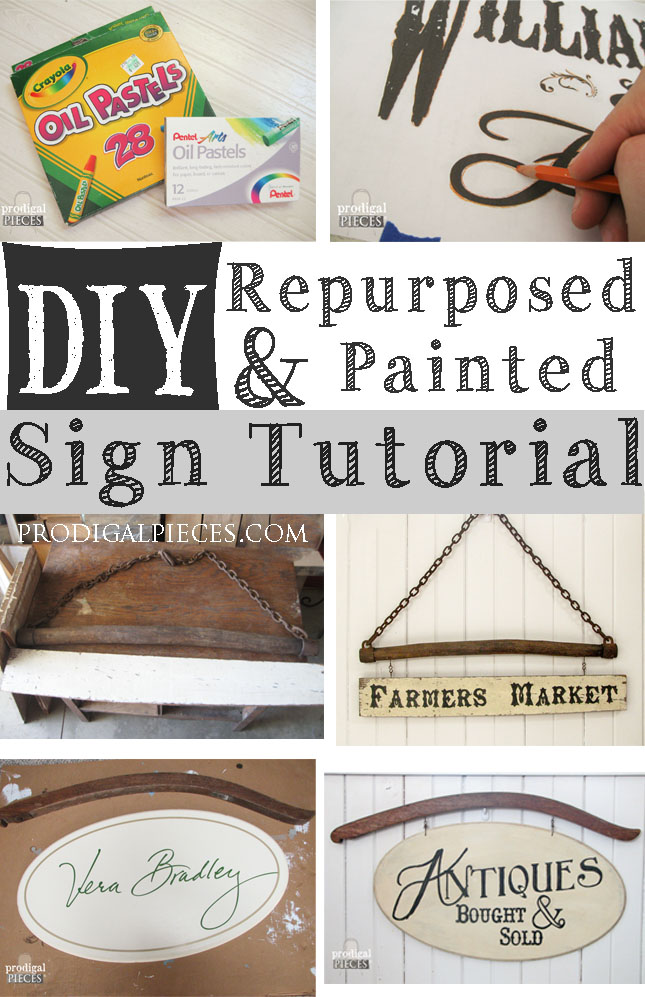
DIY TIME
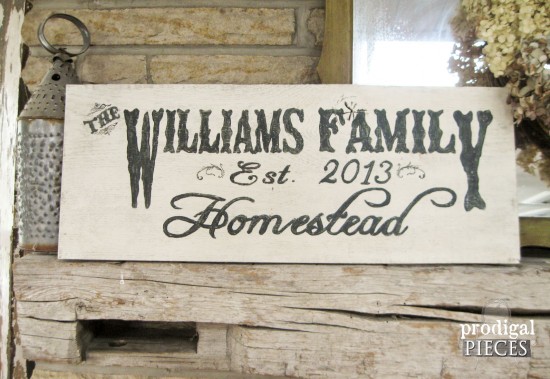
I'd like to show you the transfer method I use to create signs and furniture. I have oodles of examples of how I use this method on my furniture makeovers seen HERE like this chest. In short, only a couple items needed besides your wood (and an antique anything, if you have something!) to do this painted sign tutorial.
- oil pastels - I mainly use kids pastels (cheap & work just as well), but any will do. You can also use chalk, transfer paper, or graphite paper.
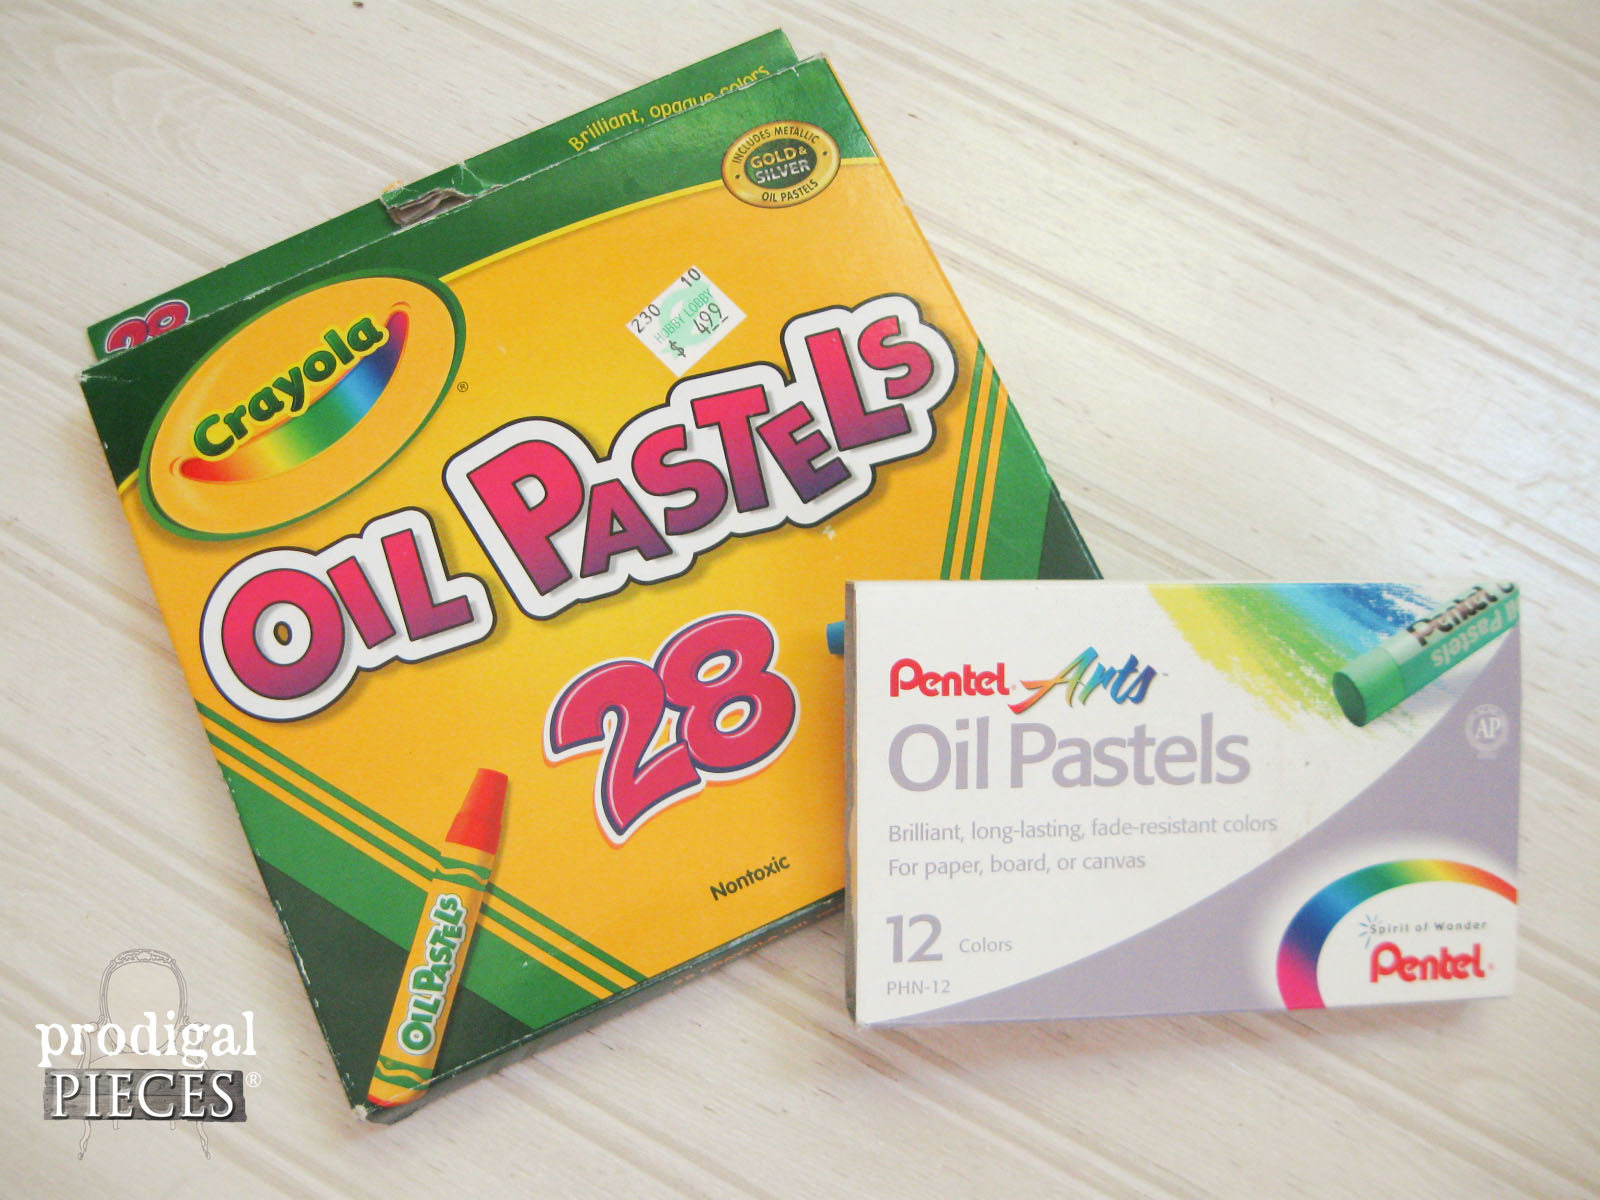
- colored pencil - in a bright color
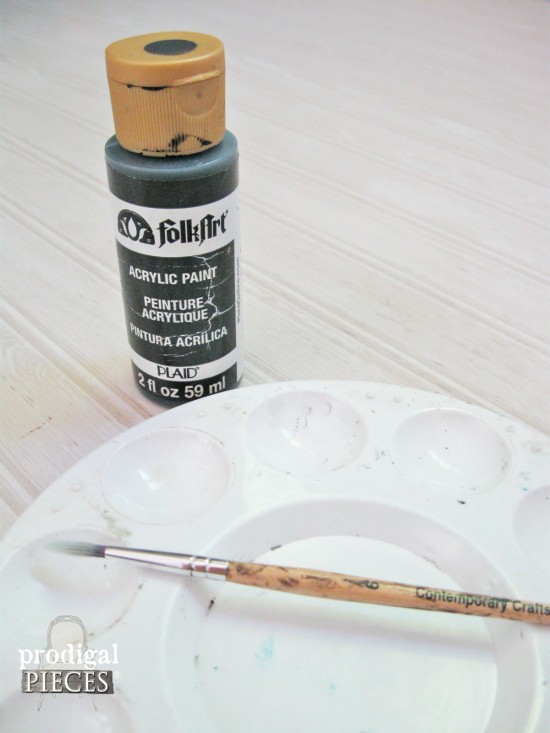
- acrylic craft paint - in color desired
- 5 or 6 round paint brush - you could use any one hand, I prefer these.
- paint tray or plastic lid
- Photoshop, or similar program
- printer
- masking tape, painters' tape, or similar


 Next, I lay out my graphic (you can also use a pre-made design or clip art) in a software program. I used to use Microsoft Word, but now love to use Photoshop. No need to reverse the image, just print it out as you read it, and tape it together, if needed.
EASY-PEASY
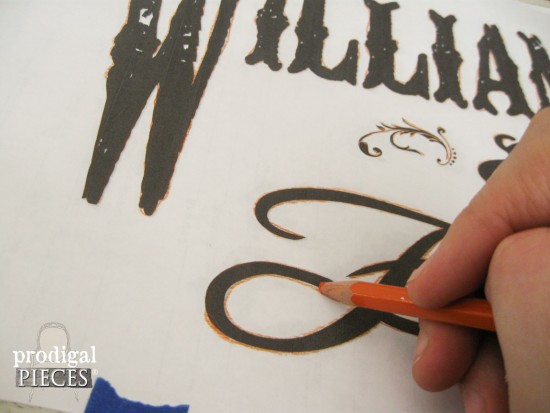
Once your graphic is printed, grab your oil pastel (I like to use the same color as the paint I'm using), and rub the reverse side of the graphic everywhere you want to show up. To be able to see where to rub, a light box is great (I have a homemade one), but I always use my window since I'm too lazy to drag out my light box. ahem.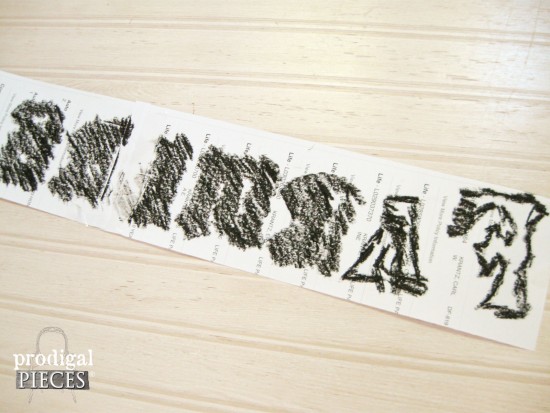 Last, center and tape in place your graphic with the right side facing you. Then, take your colored pencil and trace firmly all the parts you coated with the pastel.
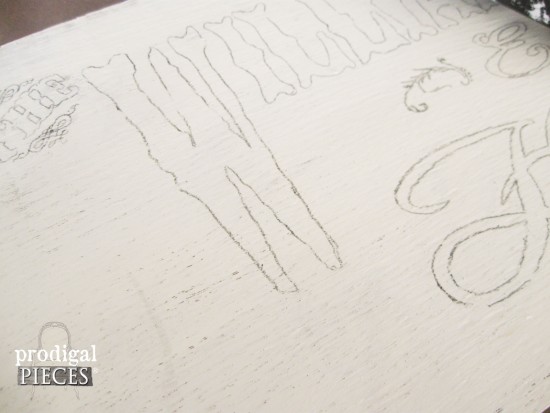
 In fact, before completely removing the paper after you're done tracing, gently lift up a side to see if you've traced every part and make any necessary adjustments.
It should look like this...
In fact, before completely removing the paper after you're done tracing, gently lift up a side to see if you've traced every part and make any necessary adjustments.
It should look like this...
 Now you're ready to paint! However, I think you can figure this part out, so I won't elaborate on this part.
GOOD WOOD
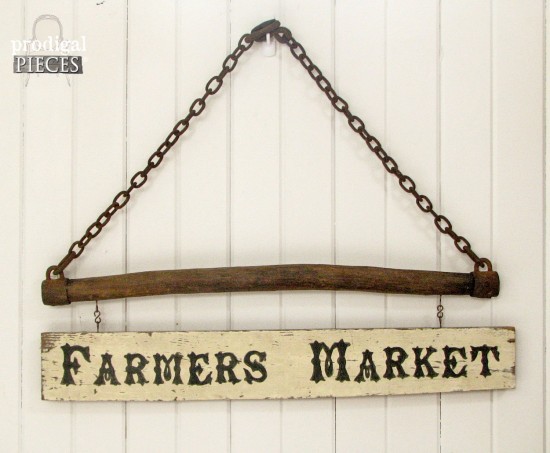
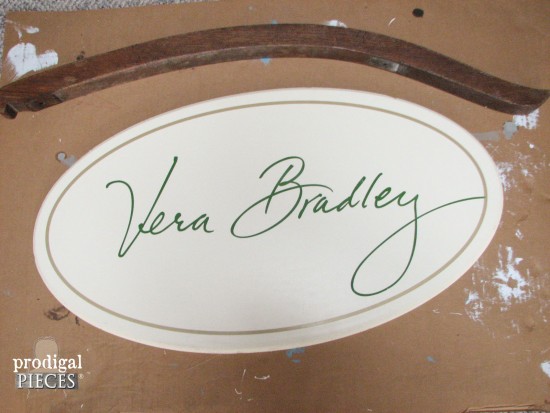
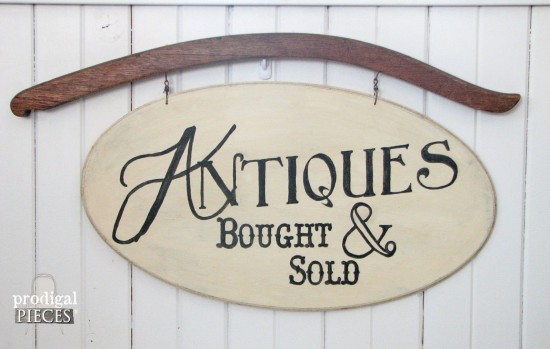
Seriously, any old wood will do. See! Here's part of my stash: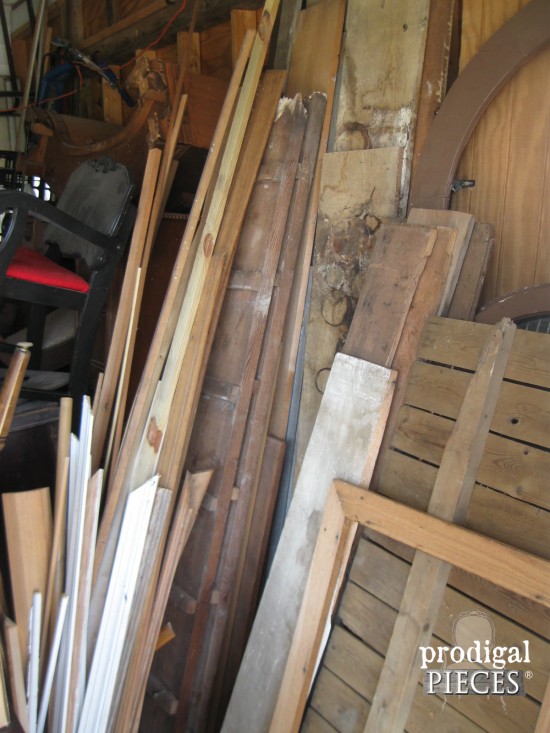 In addition, here's another sign using a vintage Morris rocking chair part and a thrown out Vera Bradley sign made of foam board. (it doesn't even have to be wood!)
 Got questions? Just let me know! AND...Don't forget to stop by my online shop to see the latest additions.
[metaslider id=30251]
Finally, to get these DIY tips & tricks in your inbox, be sure to sign up for my newsletter. PLUS, you will get your FREE Furniture Buying Checklist and special discount to my shop. Until next time!
Also, more projects for you like my painted sign tutorial: