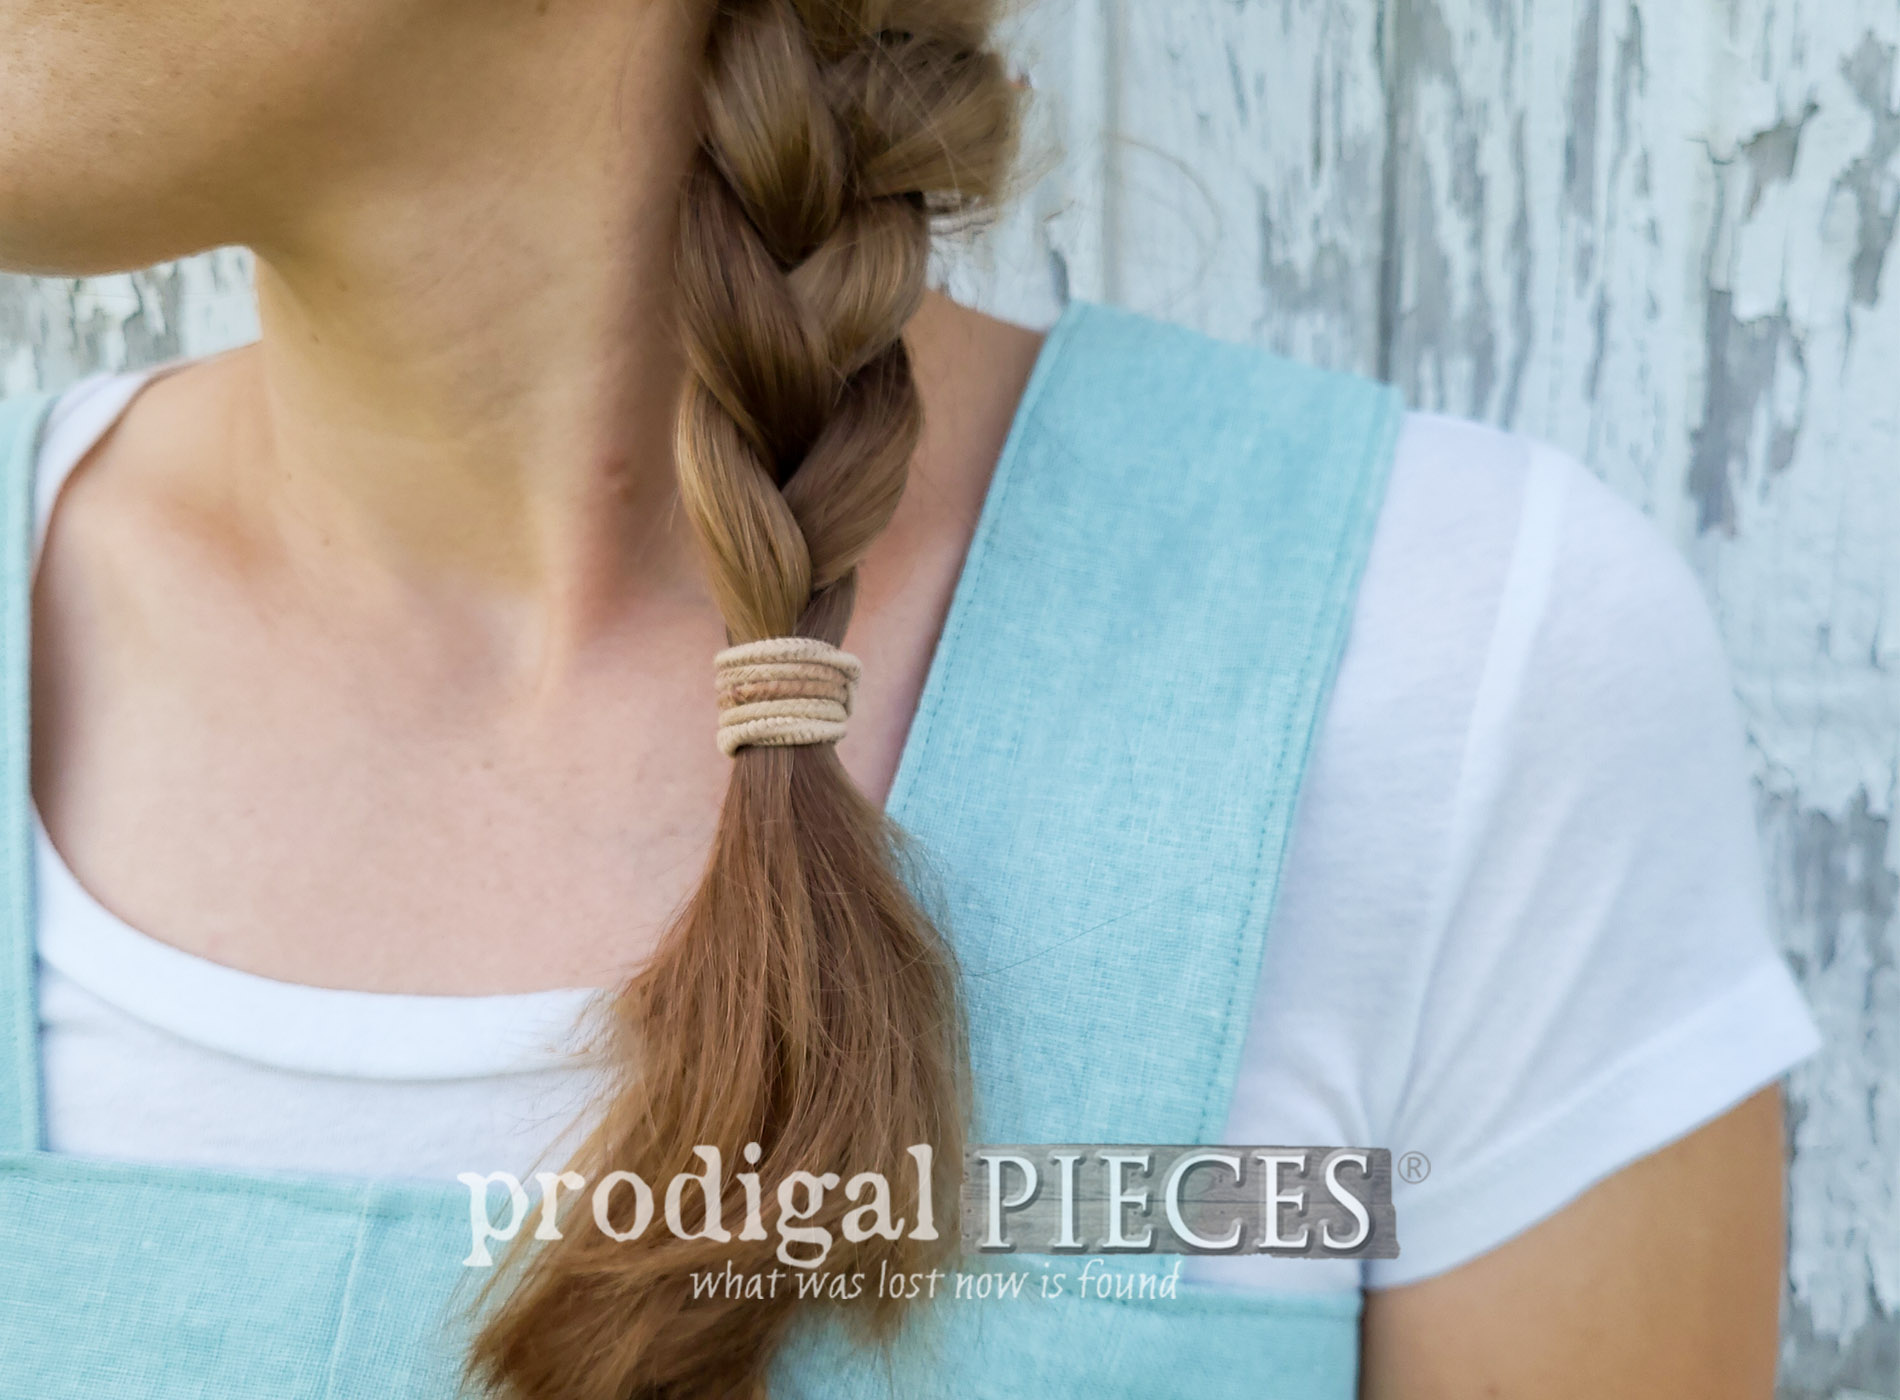
Are you ready for some fun? It's the last Tuesday of the month which means it's
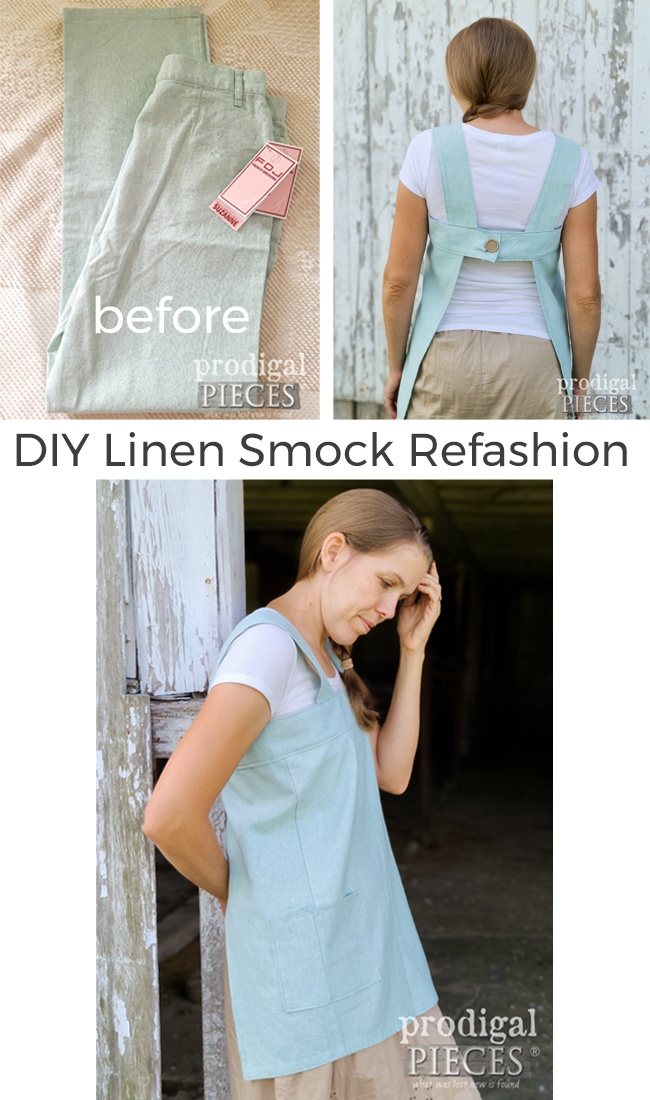
Reduce, Reuse, REFASHION time. I am always excited to share with you my latest refashion project. Today, I am taking this brand-new pair of linen pants and turning them into a DIY linen smock.
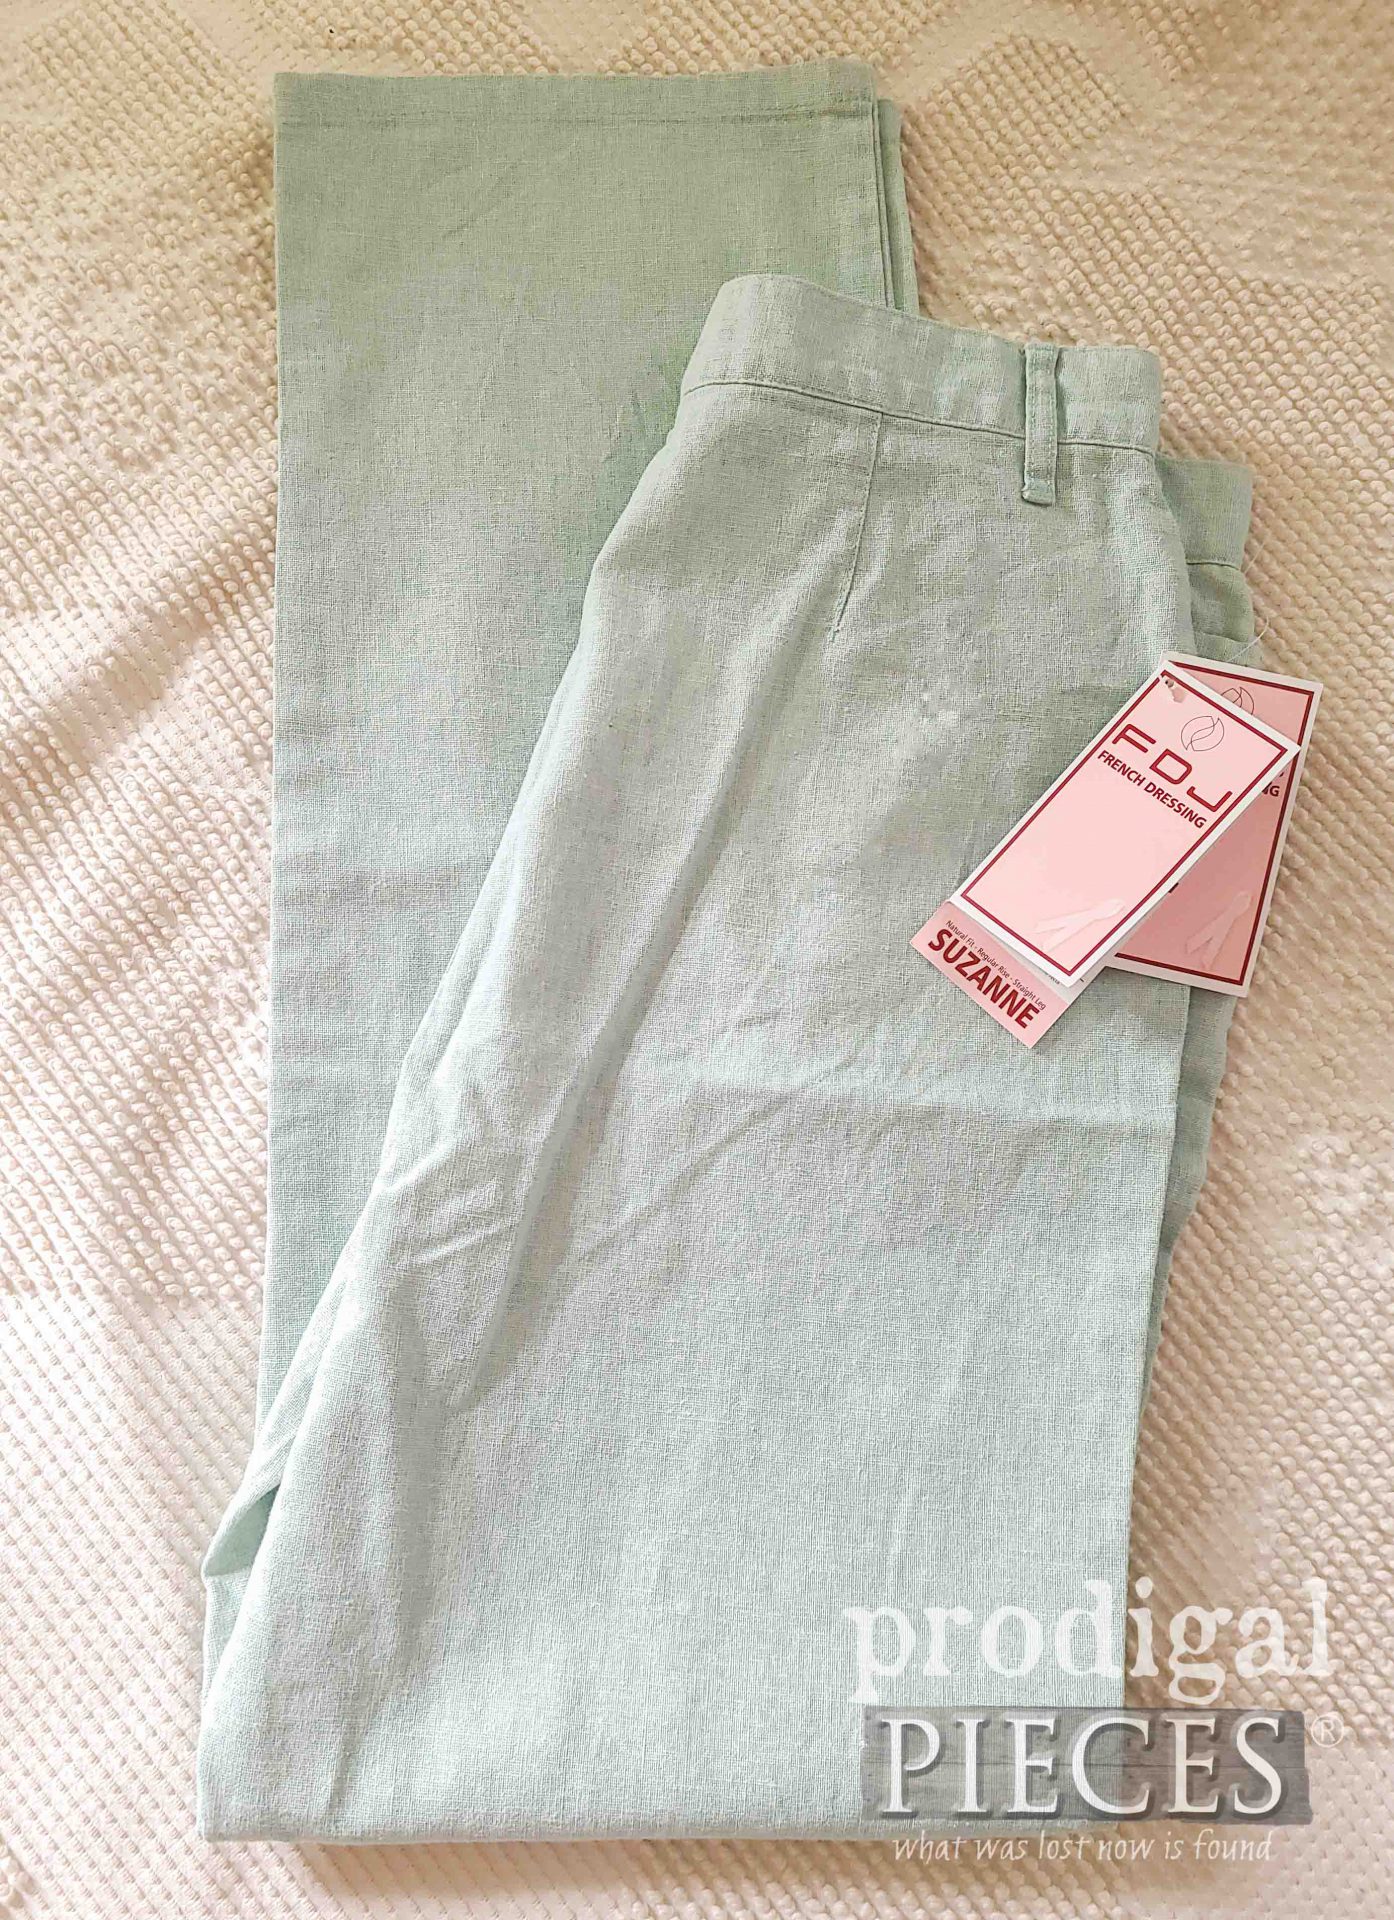
Aren't they beautiful? I am definitely a sucker for anything linen. So, of course, when I was passing by the rack of clothes at the thrift store, I totally did a rubber-necker when I saw them. I gasped, went back, and grabbed them in excitement. SCORE! Yes, I did a happy dance. Can you blame me?
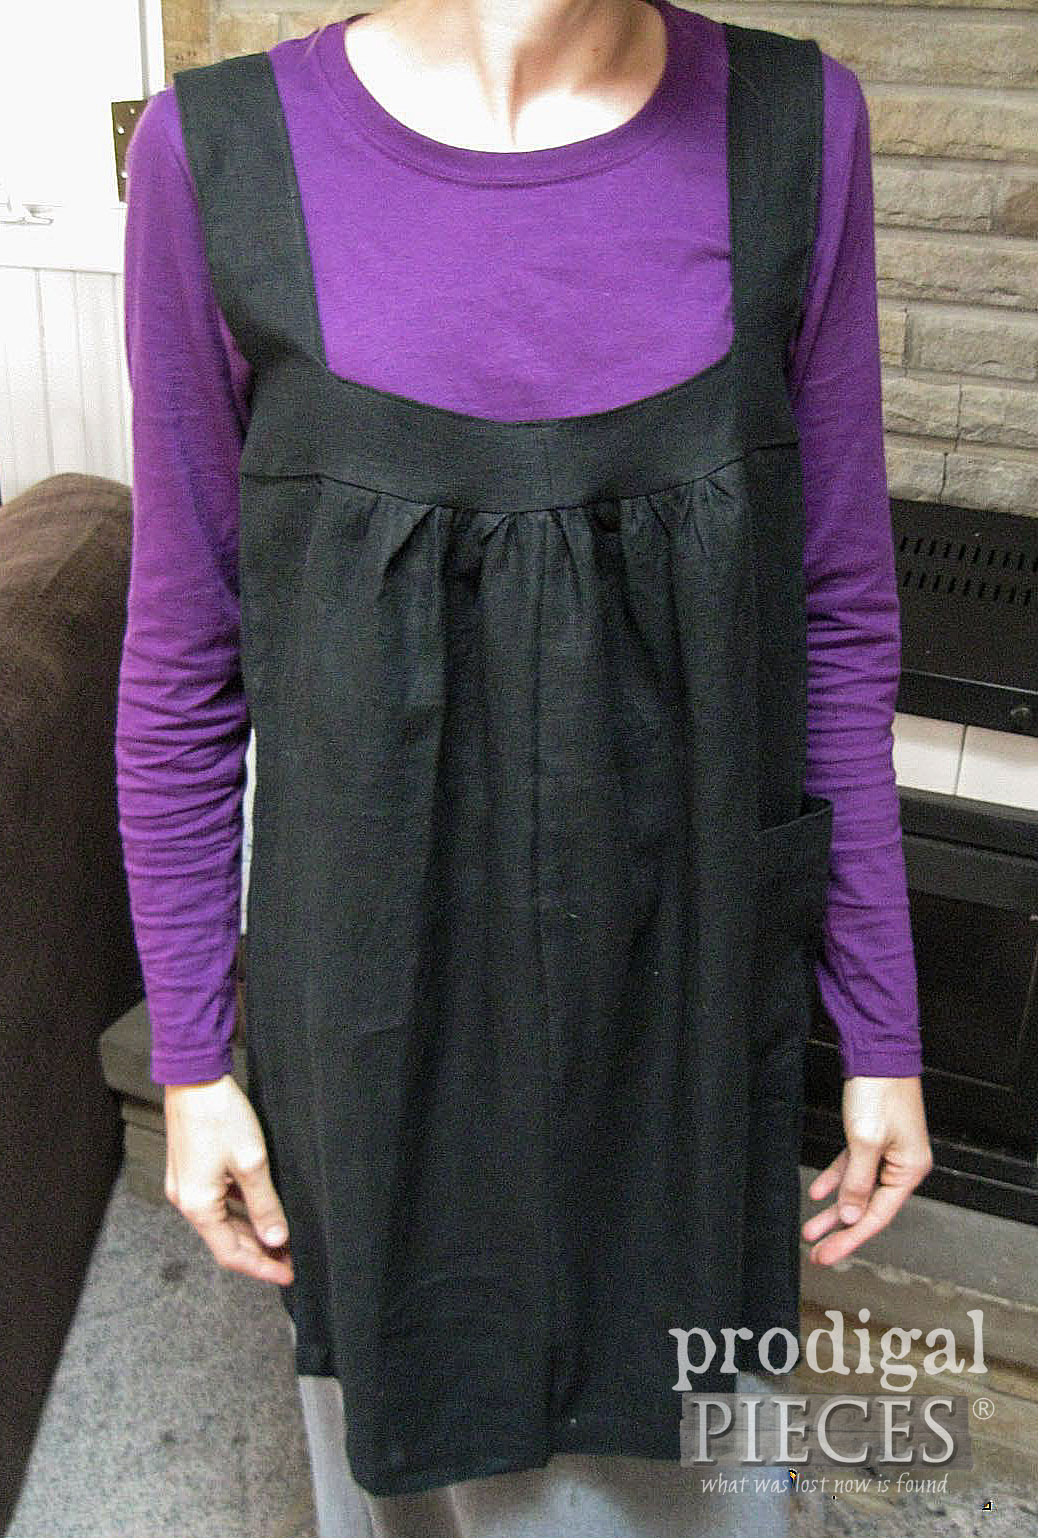
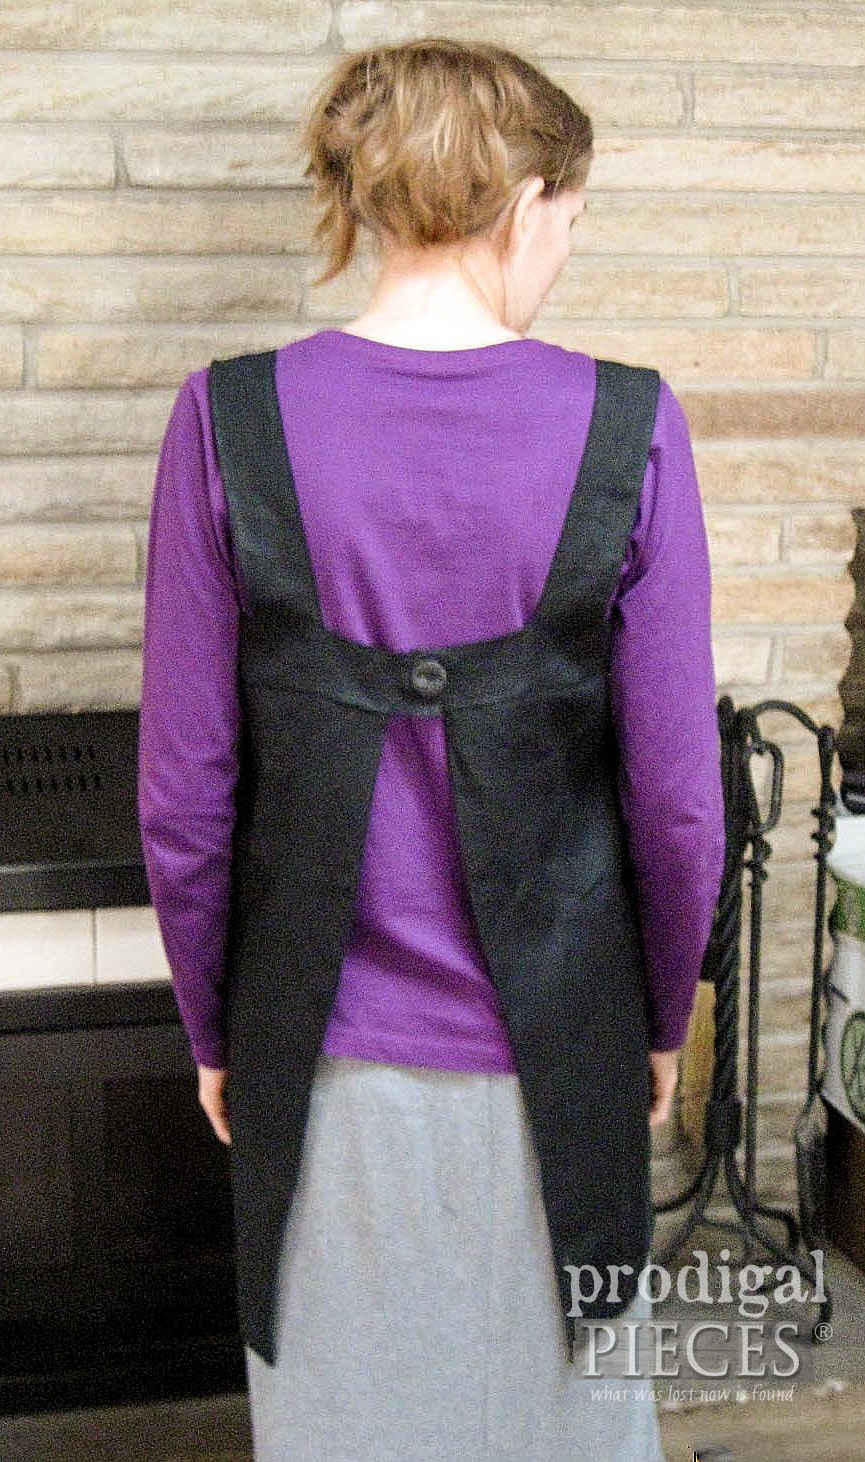
About 5 years ago I had very little funds but wanted to make something special for my little sister. I was given a bag of ladies' clothes and found a pair of black linen pants that were brand new. I couldn't believe my eyes because these were perfect for a smock I had in mind. Here is my efforts in finished form on myself 5 years ago.
My goal today is show you what I did with the aqua pair I found in simple terms because I am making this to fit myself. However, you can totally adapt this to suit yourself with minor adjustments.
DIY TIME
Before I start tearing into these linen pants, I wanted to first go over what tools I'm using.
TOOLS & SUPPLIES :
- sewing machine
- serger (optional, but awesome to have)
- coordinating thread
- sewing scissors
- seam ripper
- measuring tape
- cutting mat/rotary cutter (optional, but so handy)
- clothing iron
- button (or other closure)
STEP 1
First, I want to mention that the pair I'm cutting is a size 10, which I could actually wear. However, the pair I used for my sister was a size 16. That difference effects the amount of fabric available.
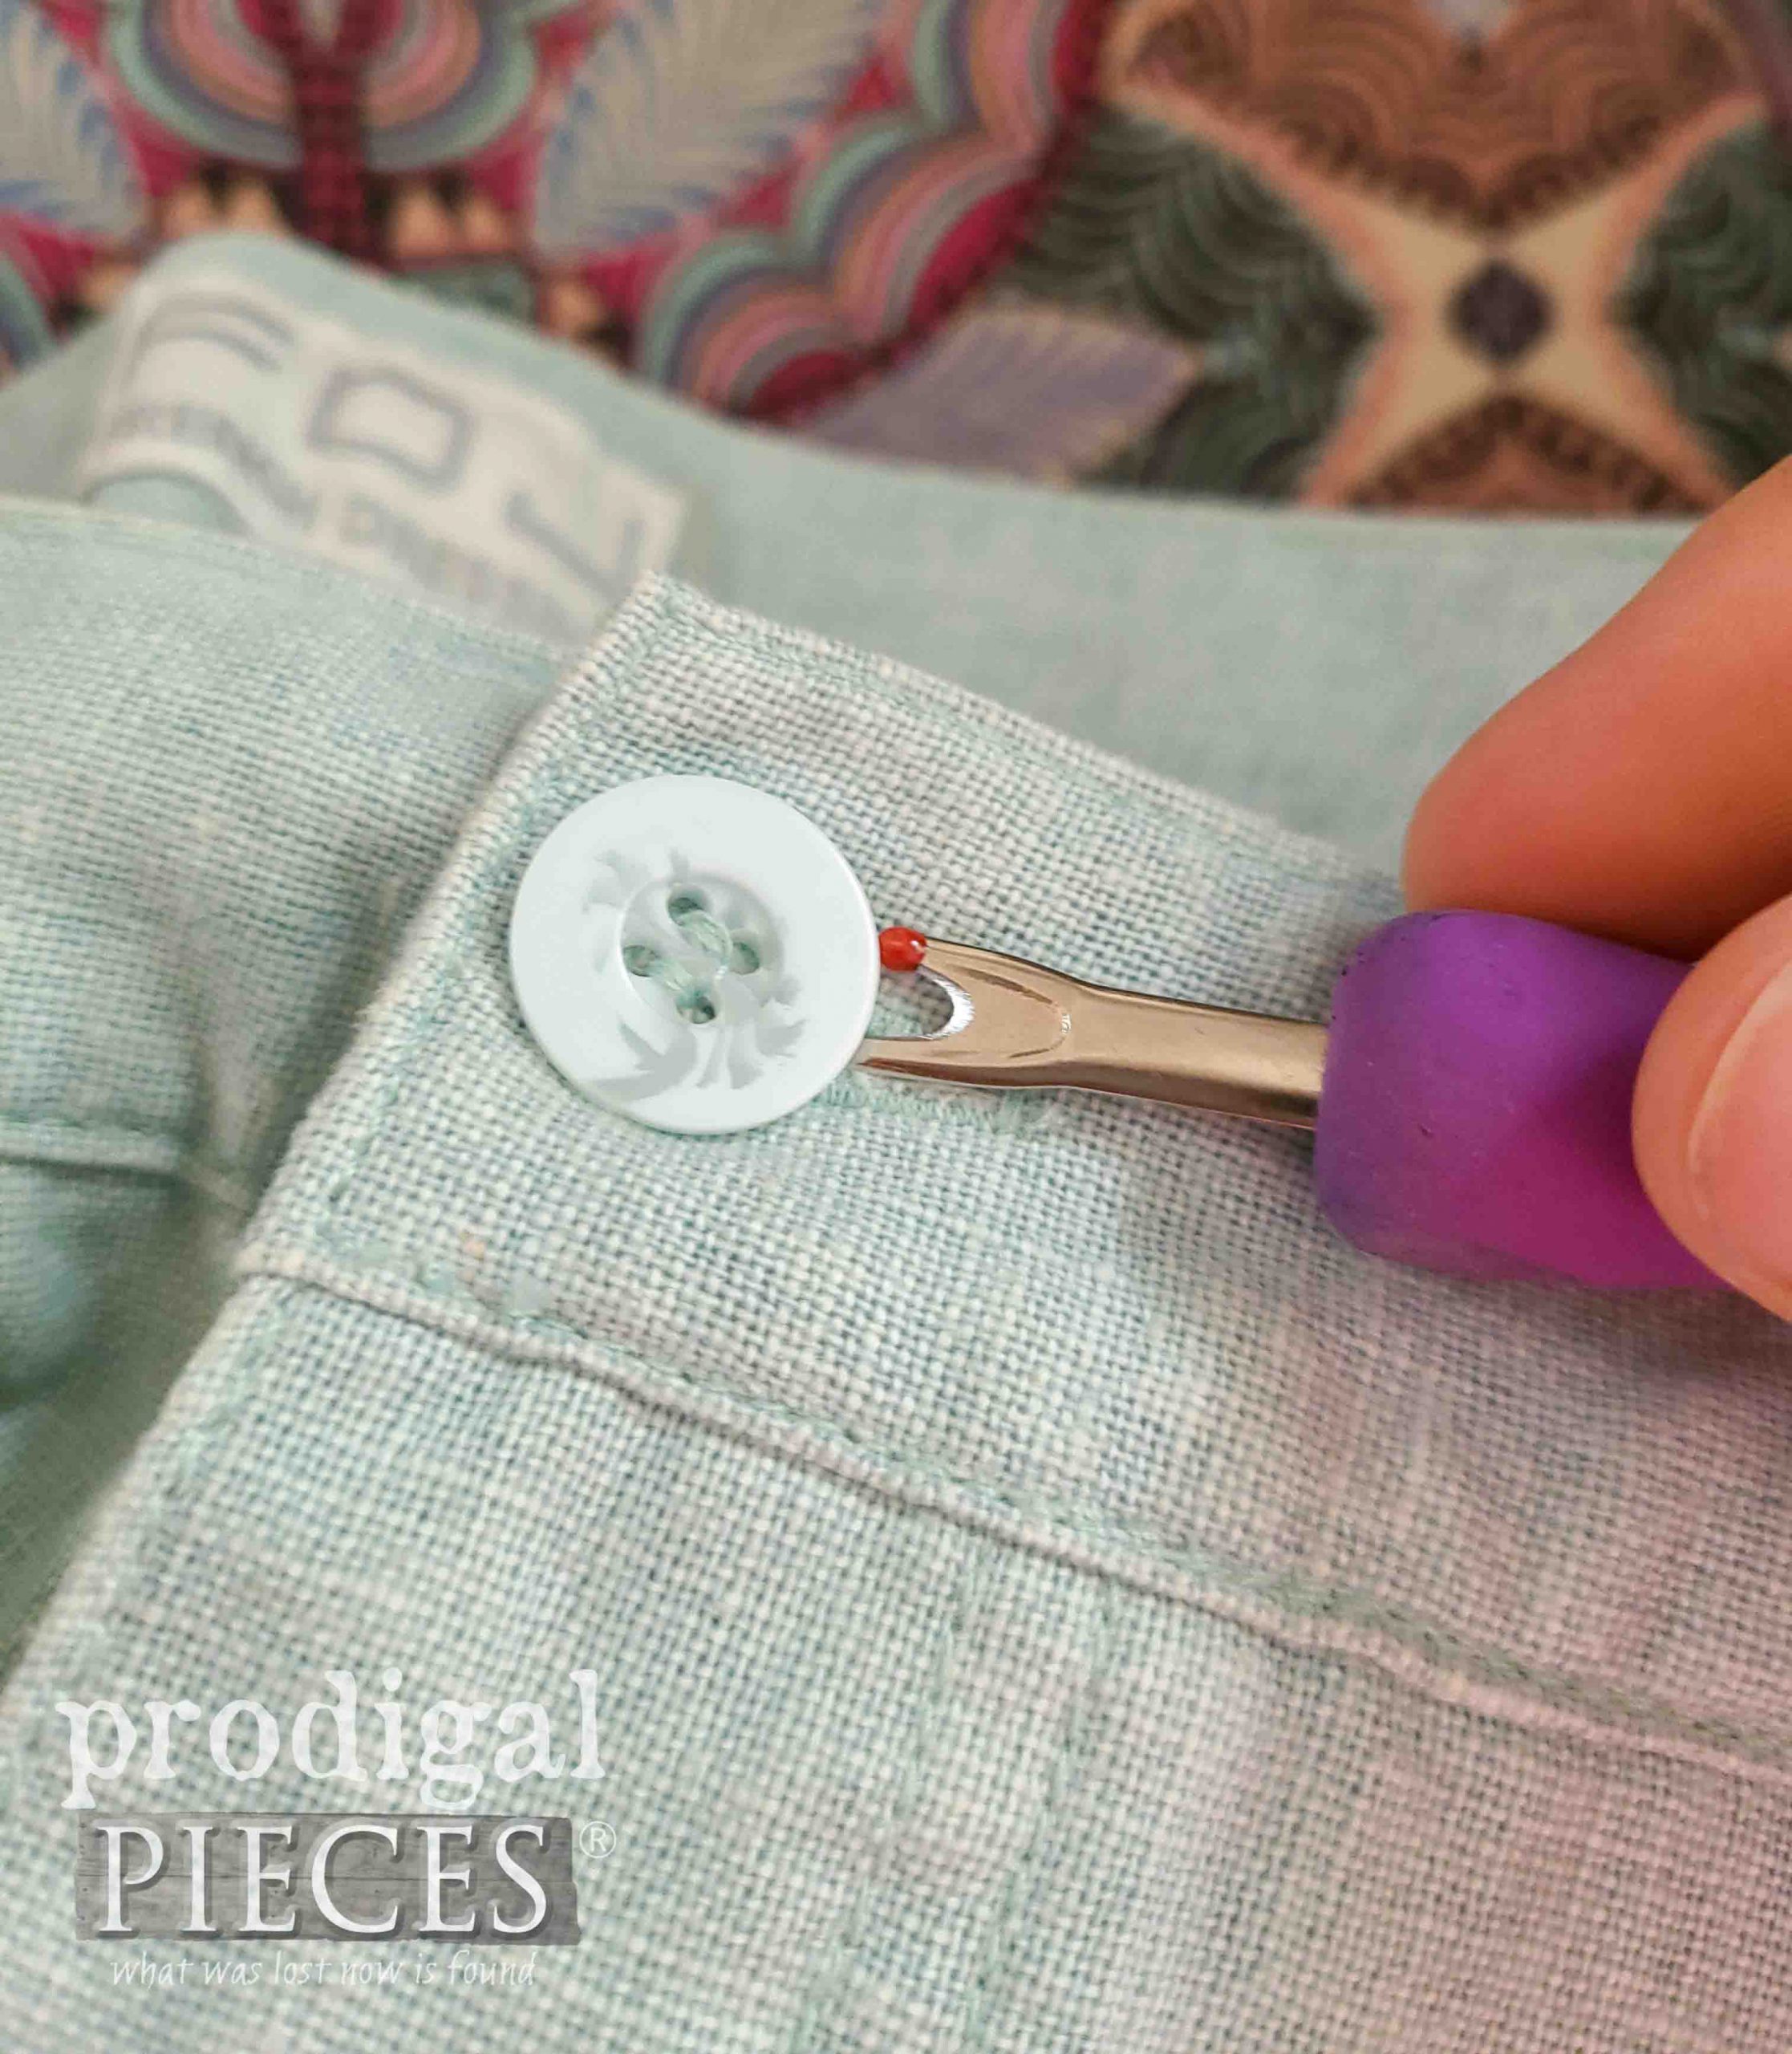
I start by cutting the pants apart starting at the leg inside cuff, cut up the leg, the butt, and through the back seam. That opens up the one leg, and then I do the same to the other leg while also removing the serged seams. Also, I removed (and
save!) the zipper and buttons for another purpose.
STEP 2
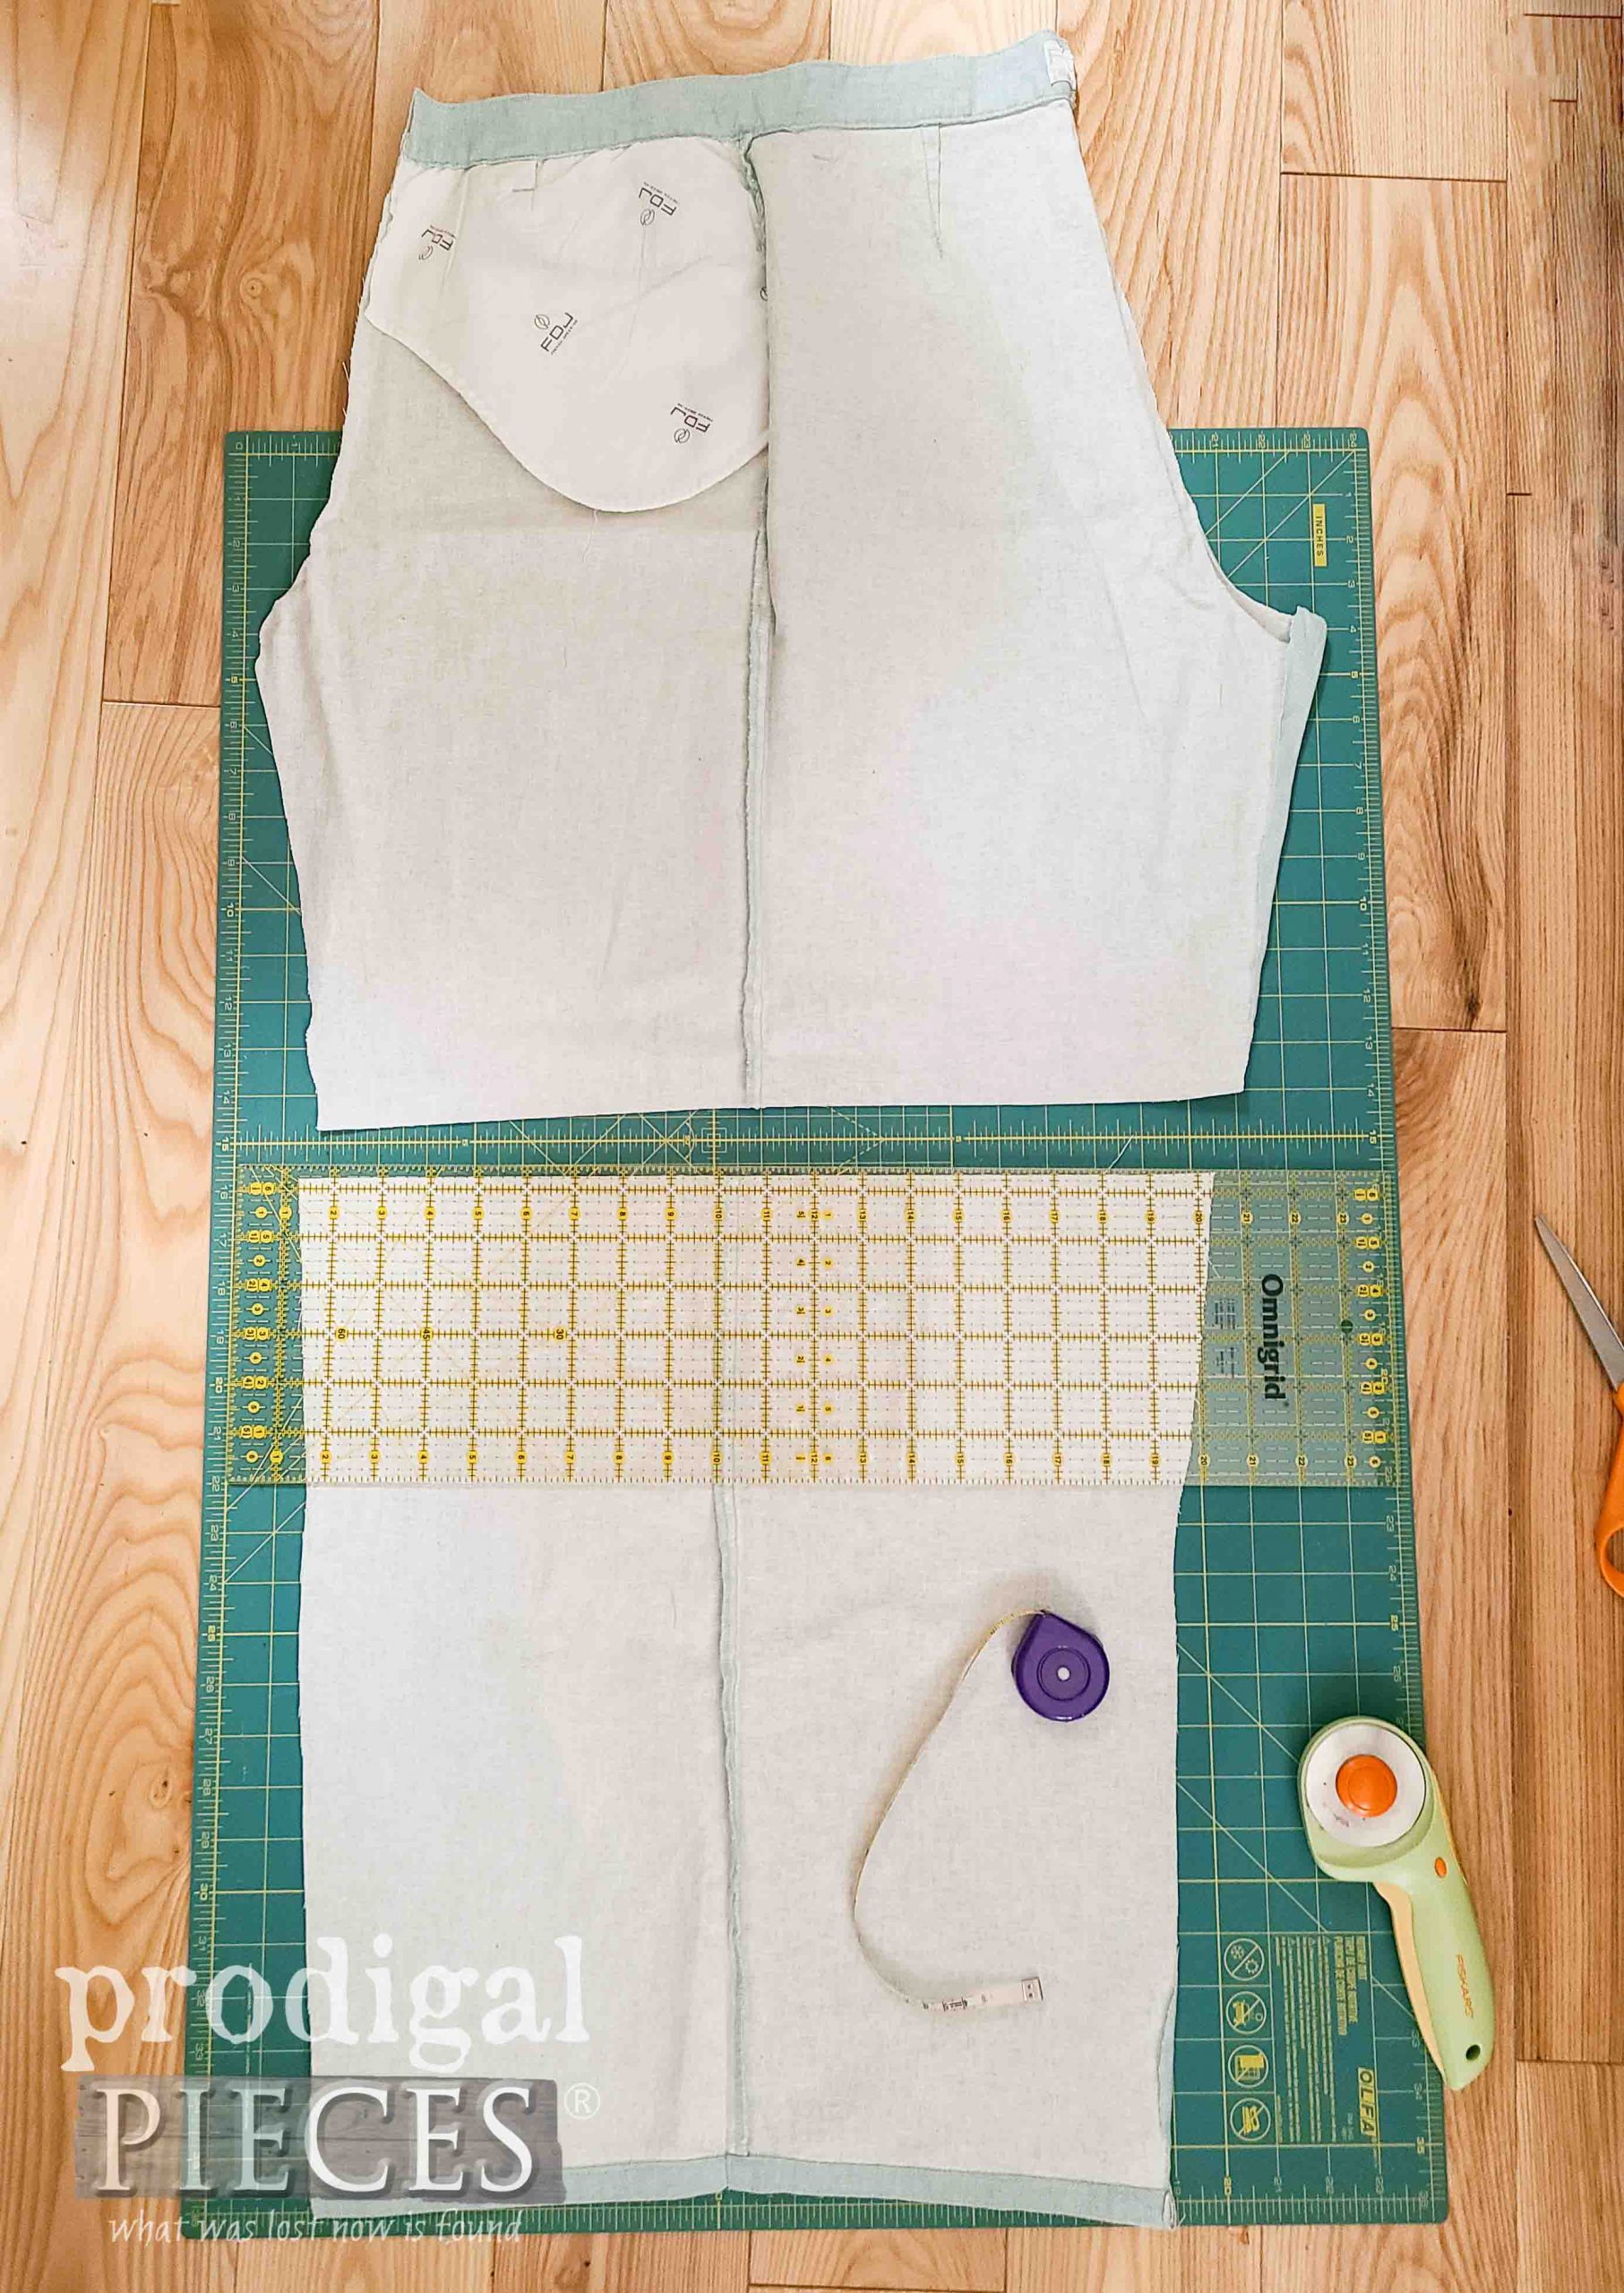
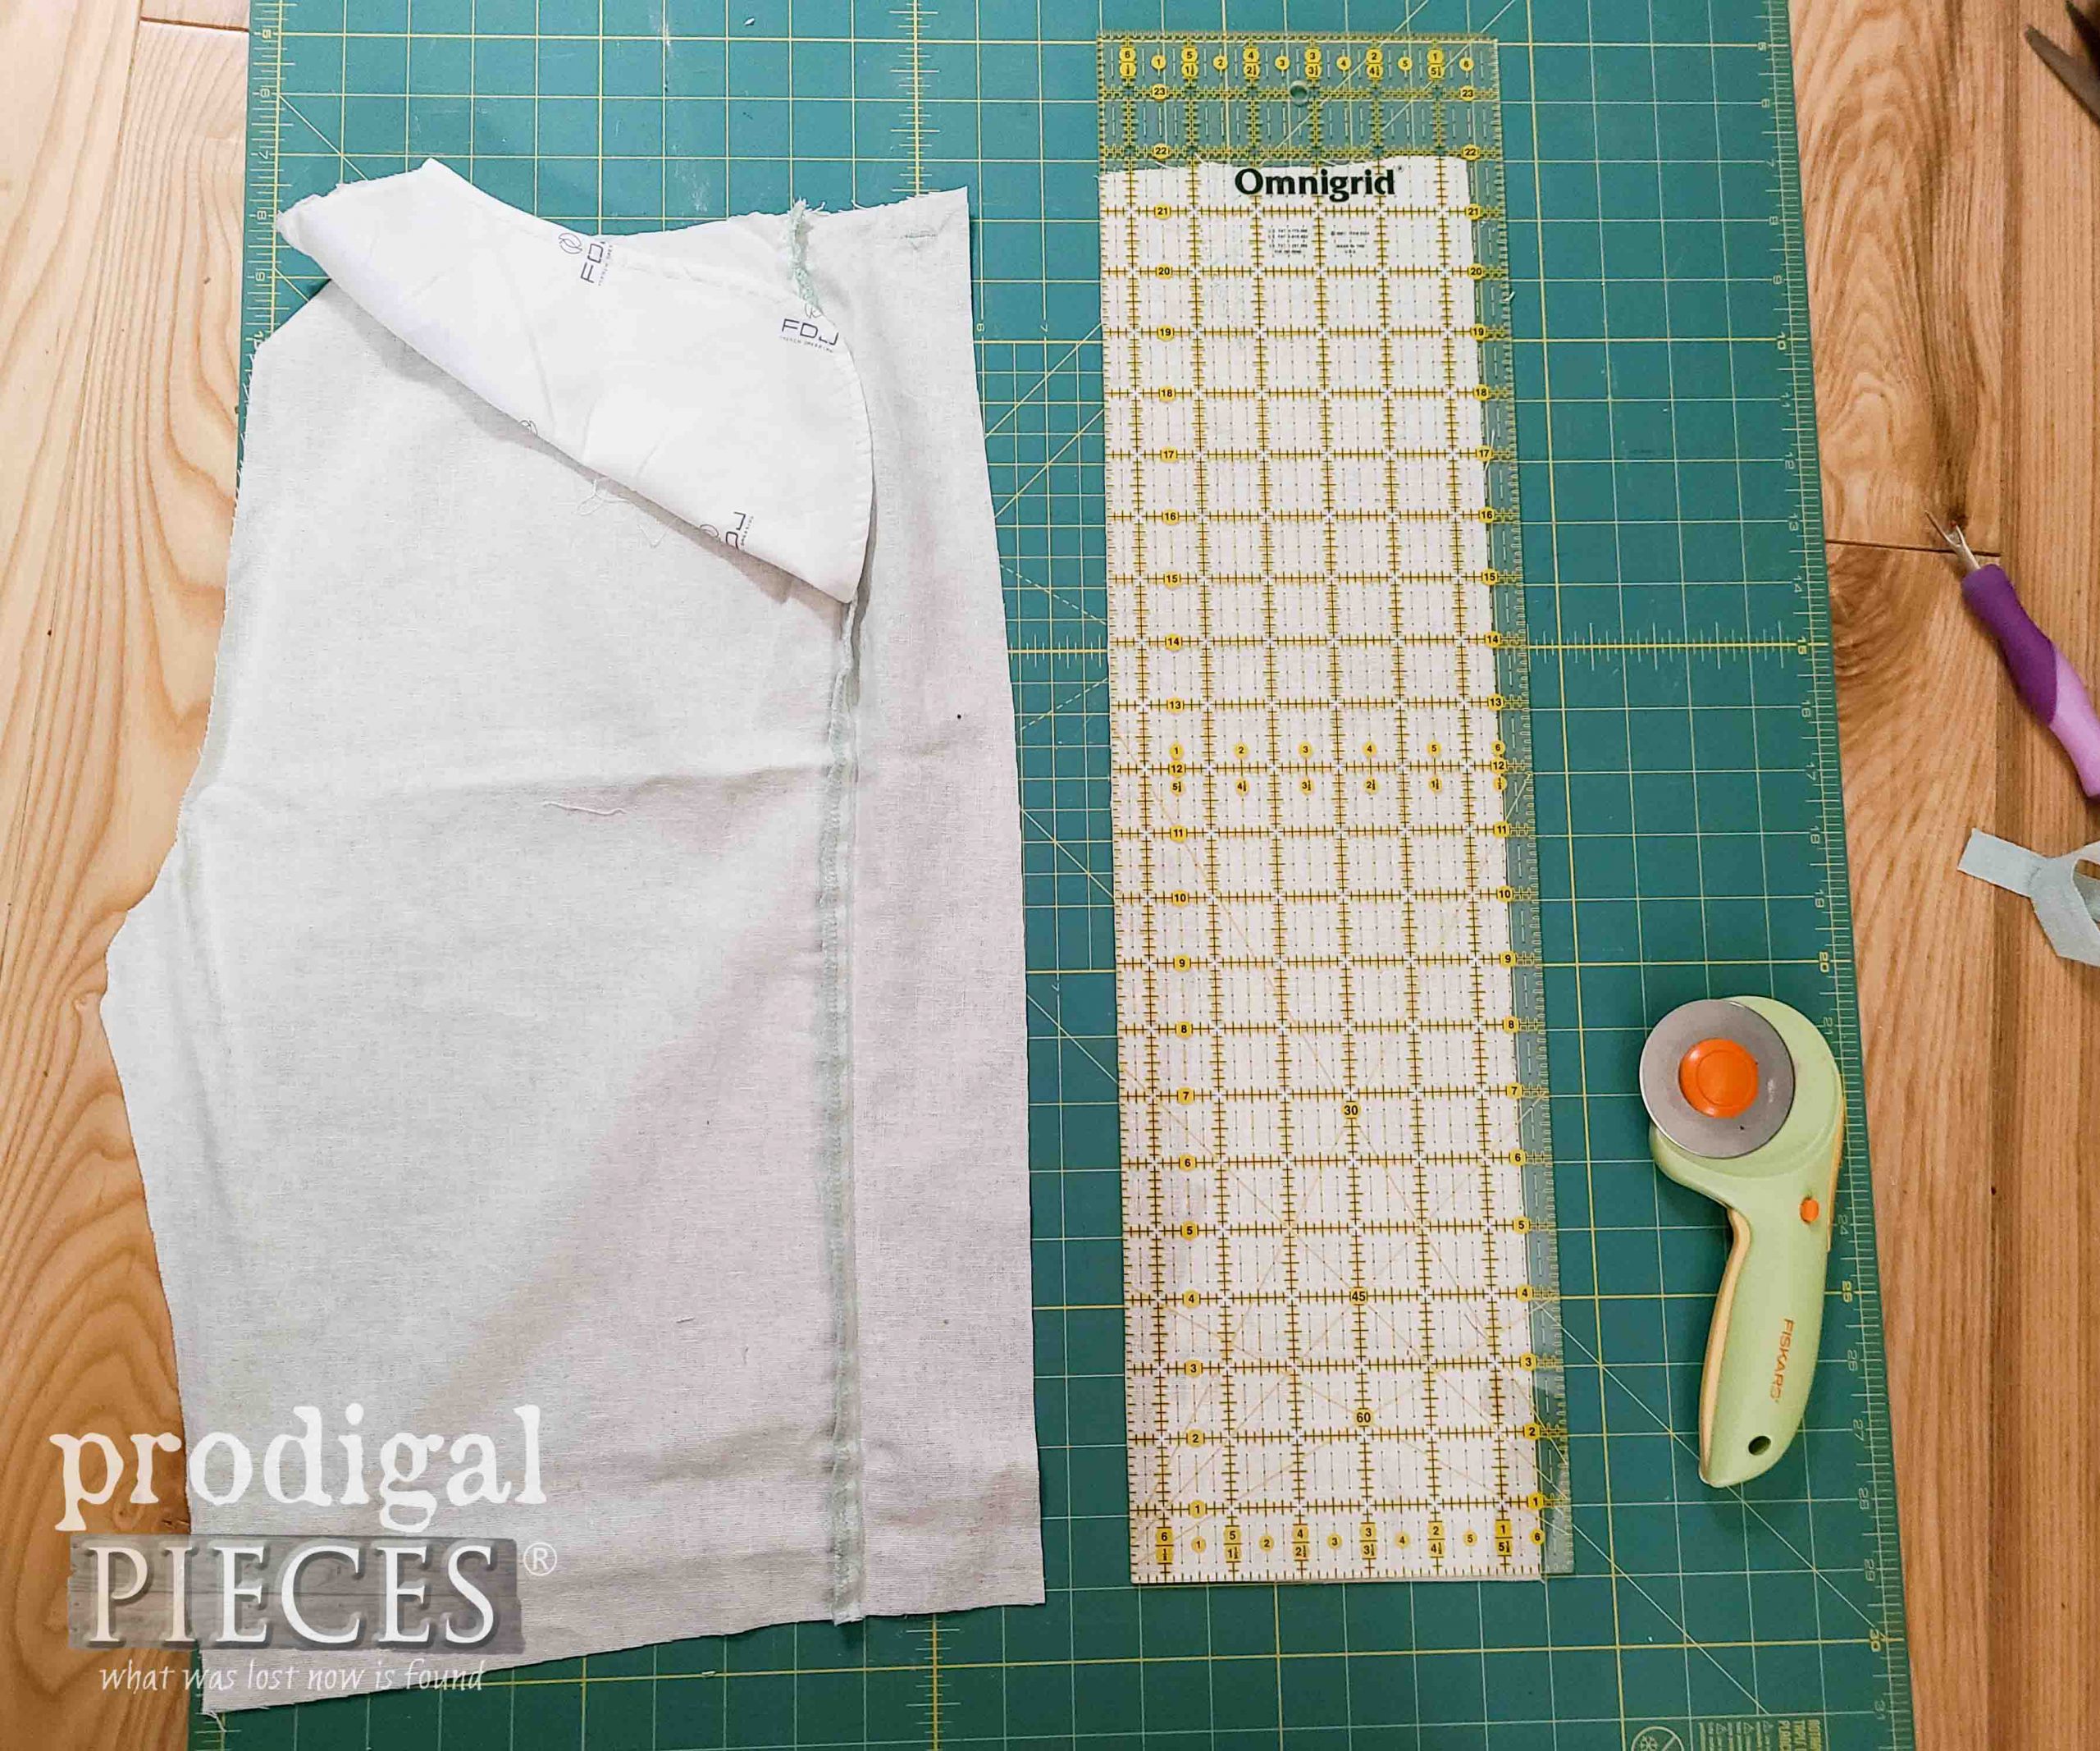
Then, I lay out one of my pieces on my cutting mat. Now, to understand a few things, I am making this to fit me. So, I am measuring straps, skirt, and halter to suit me. You would make measurements where you wanted pieces to fall on your body. For instance, I am making 19" straps (½" seam allowance for all my cuts. Also, my apron has a 18" fall (from halter to...?), so I cut 19", again, allowing for seam allowance.
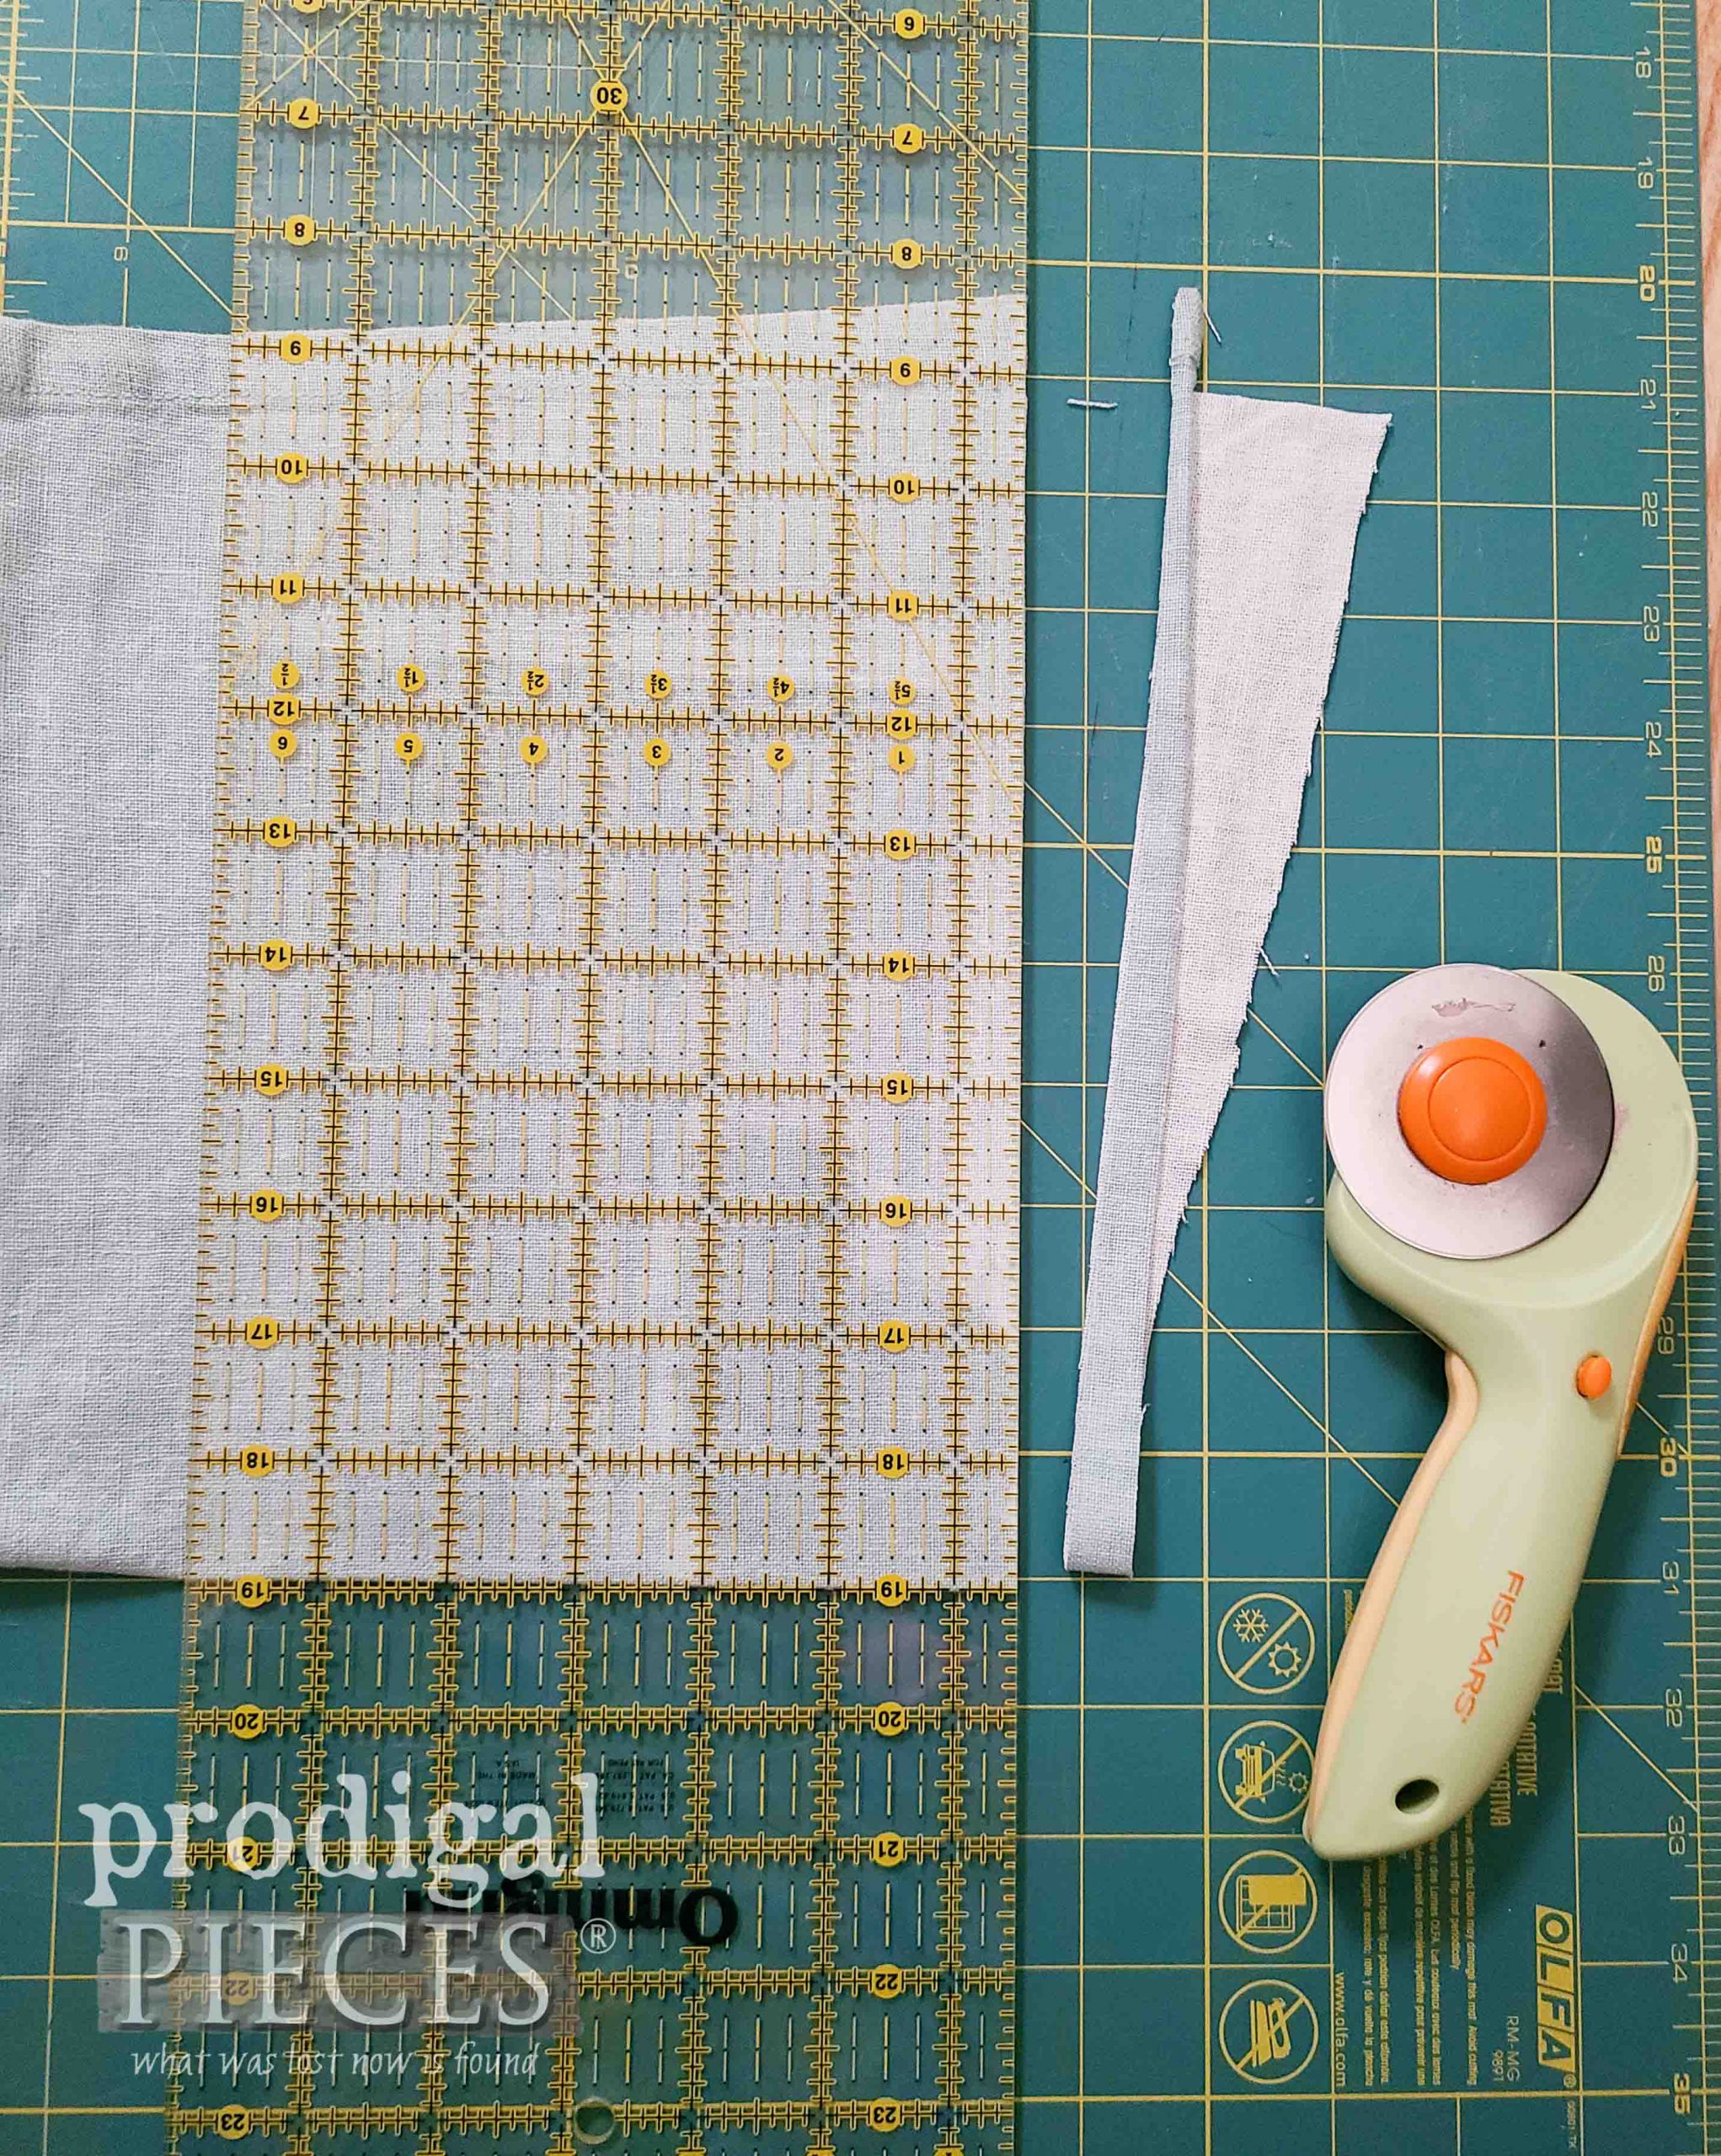
The bottom part of the leg will form my skirt (bonus it's already hemmed). I cut both legs the same. Because the leg is slightly tapered, I use my rotary cutter to square up the sides. However, if you want a gathered edge, you can leave the taper for your benefit.
STEP 3
Next, I begin cutting the top part of the leg into two pieces.
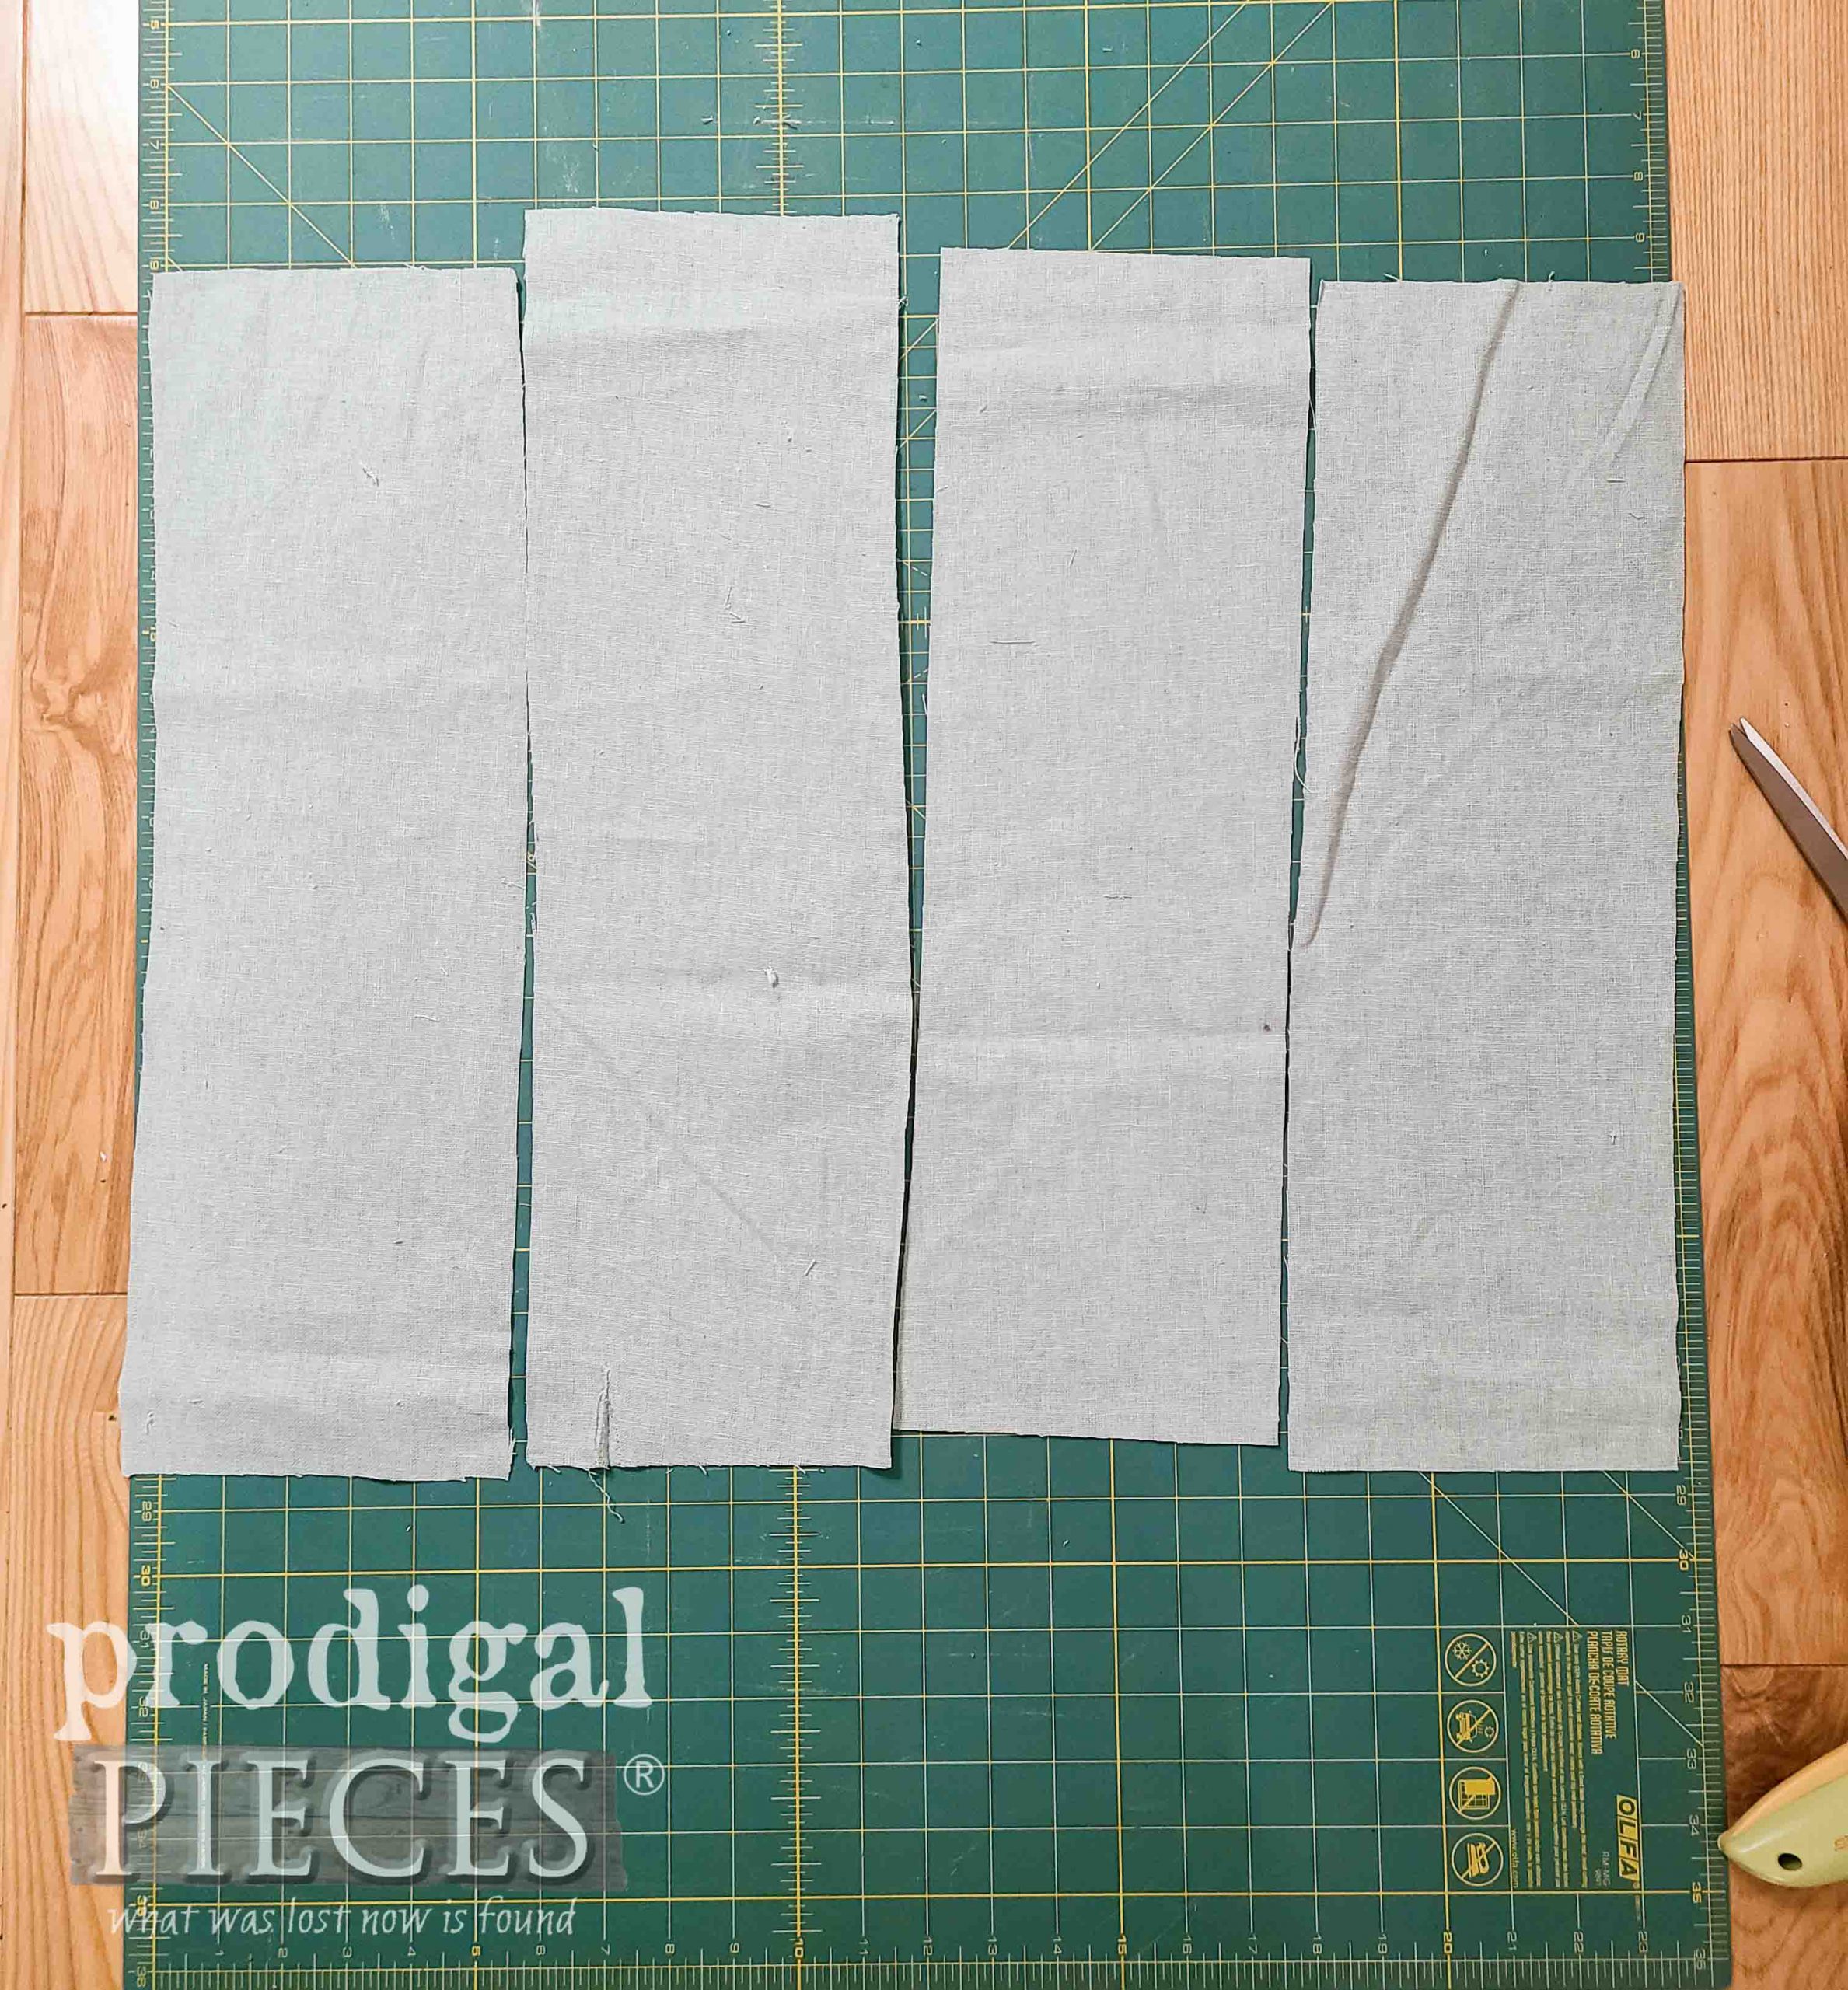
My shoulder straps and my halter straps (I need two pieces sewn together to go around my bust) will come from this piece. This makes for four pieces cut. I did end up cutting the halter pieces as long as I could to allow me to adjust for a button closure during a fitting.
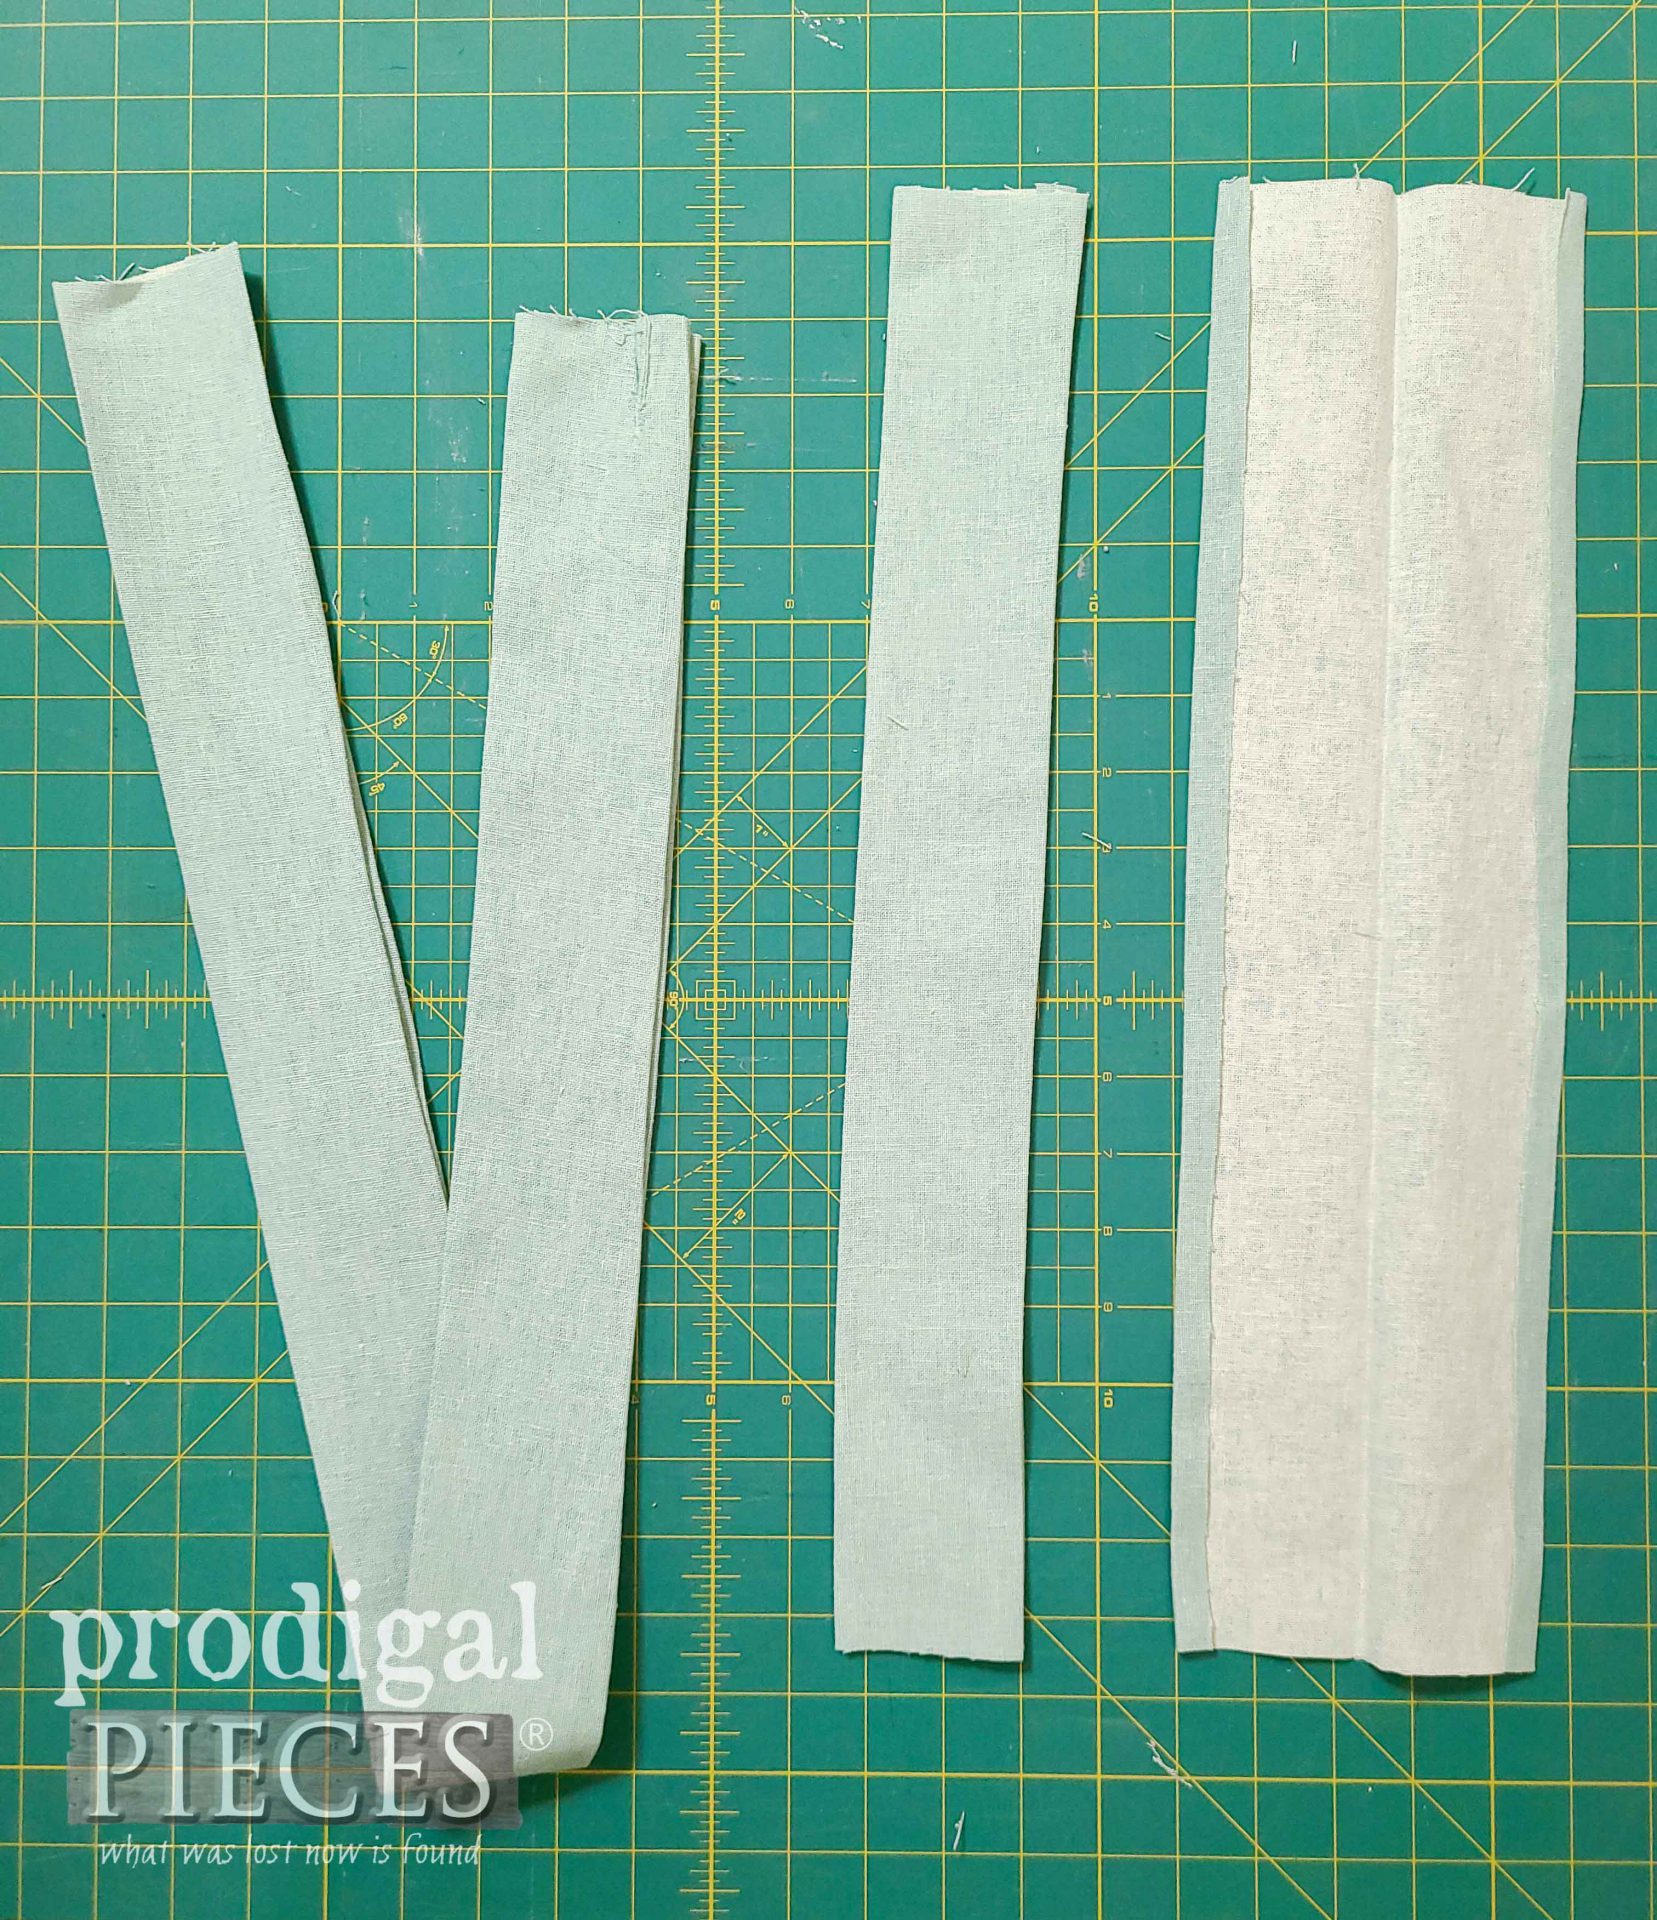
Using the linen setting on my iron, I press the edges in ½". Then, I press the pieces in half.
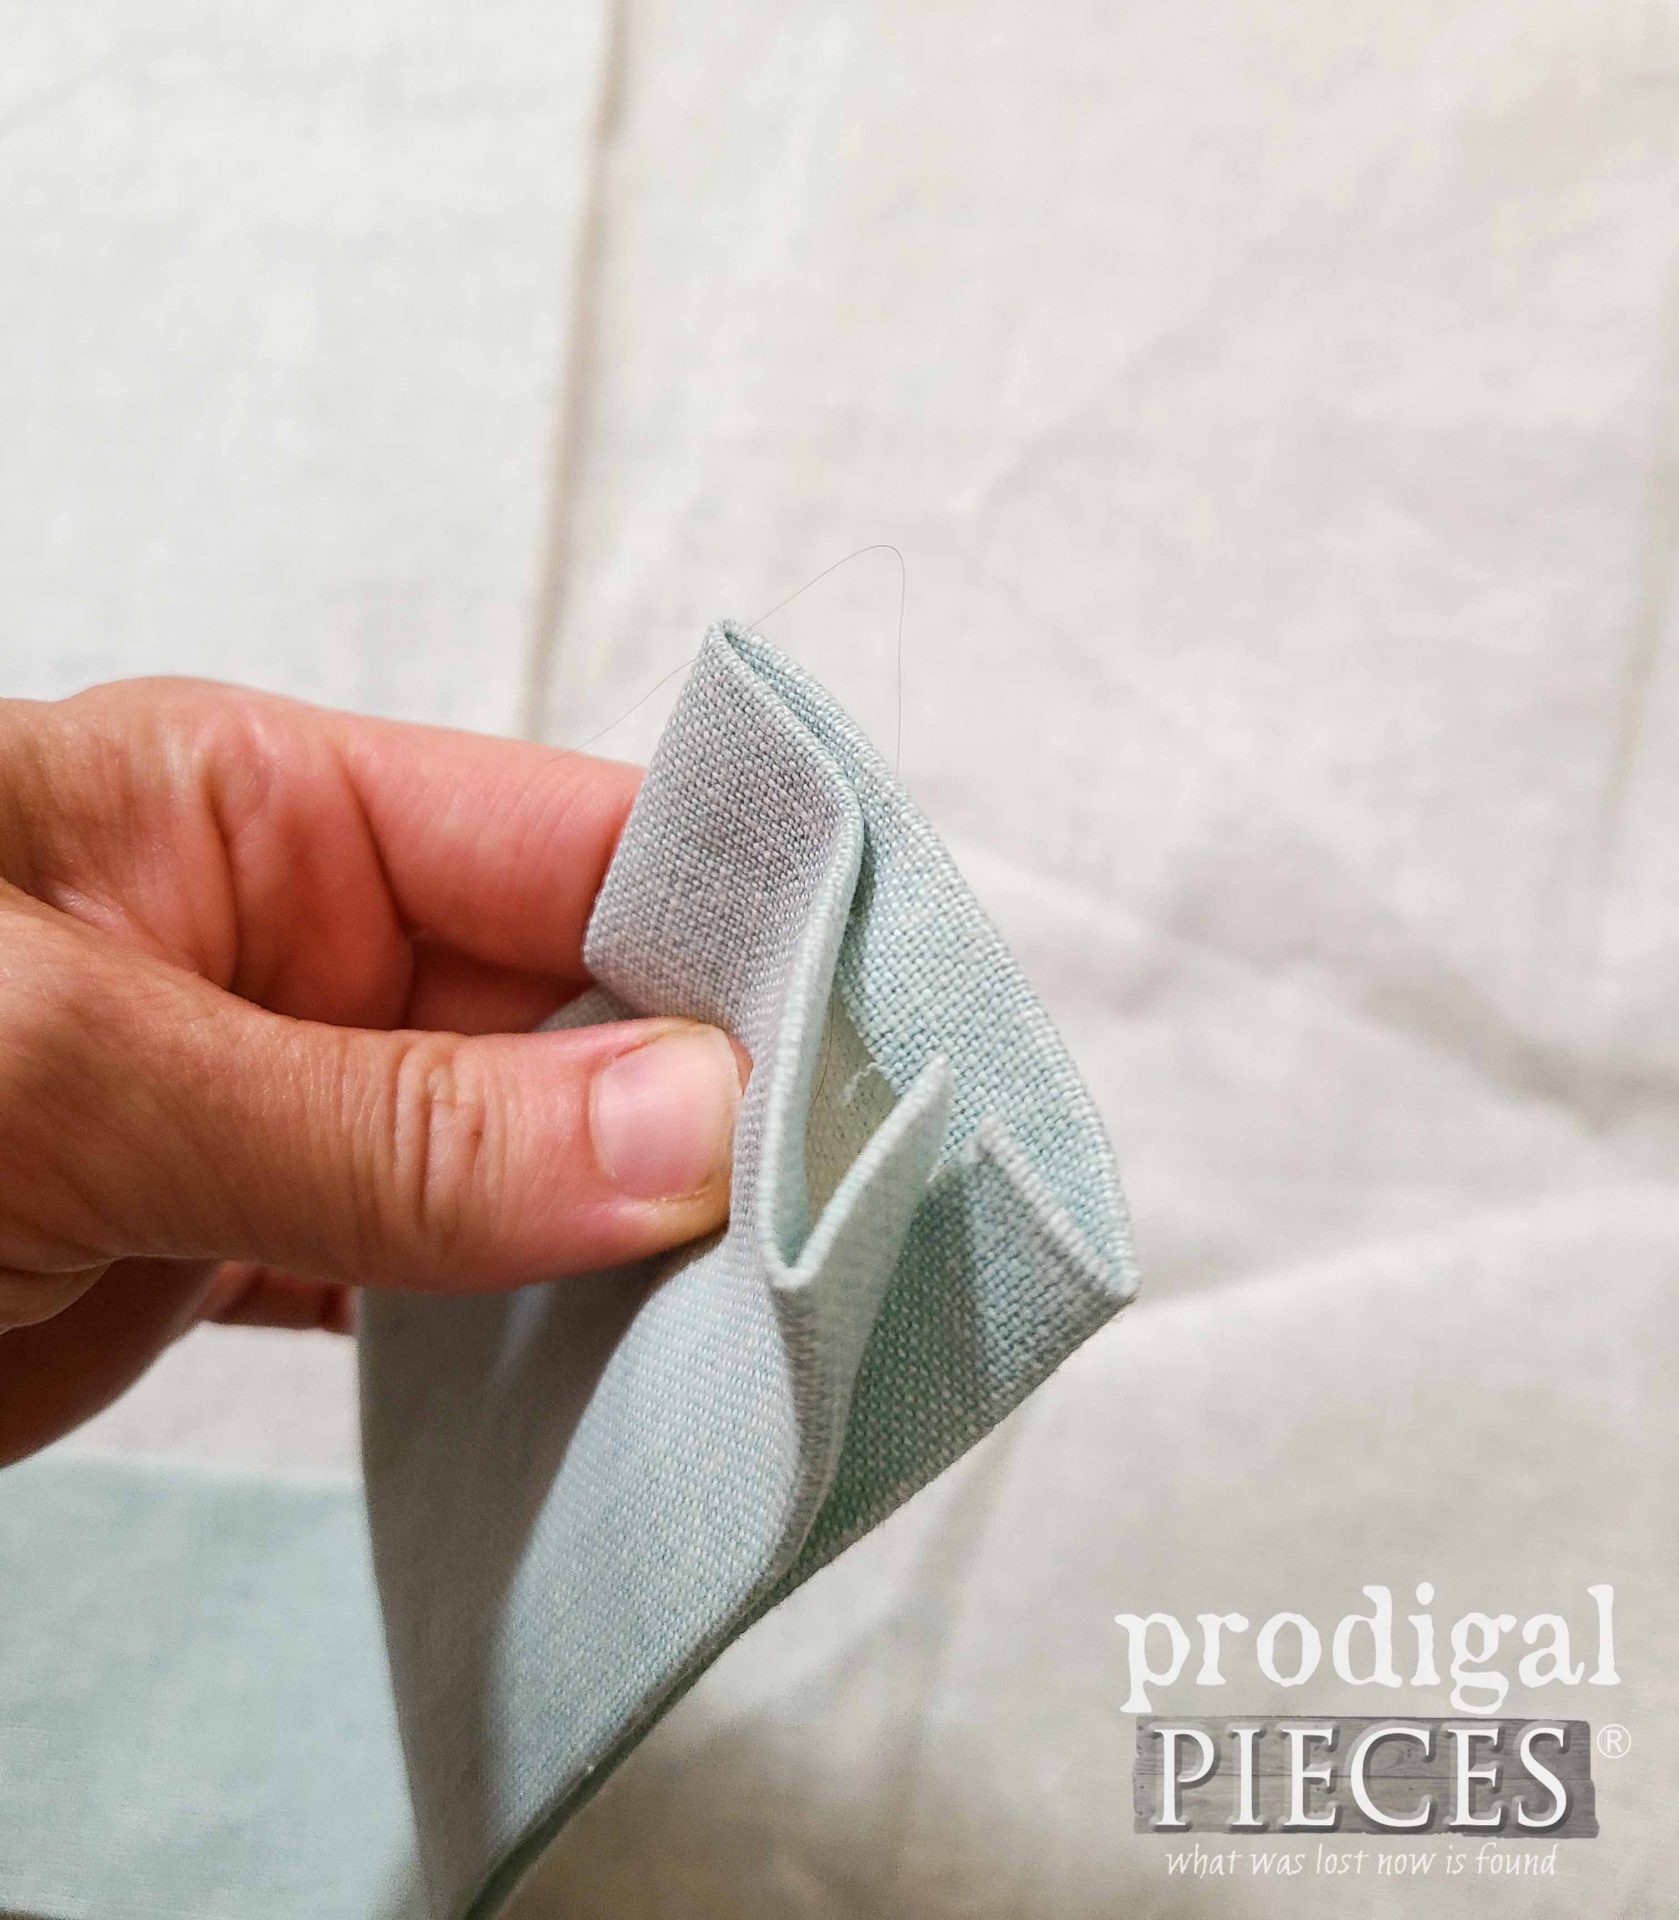
I leave the one end of each of the halter pieces open. However, the end result should look like this on both ends of the straps.
I also press the edges of the skirt folding twice at ½" intervals for a clean edge. Remember, the cuff of the leg is already hemmed for the bottom of the skirt.
STEP 4
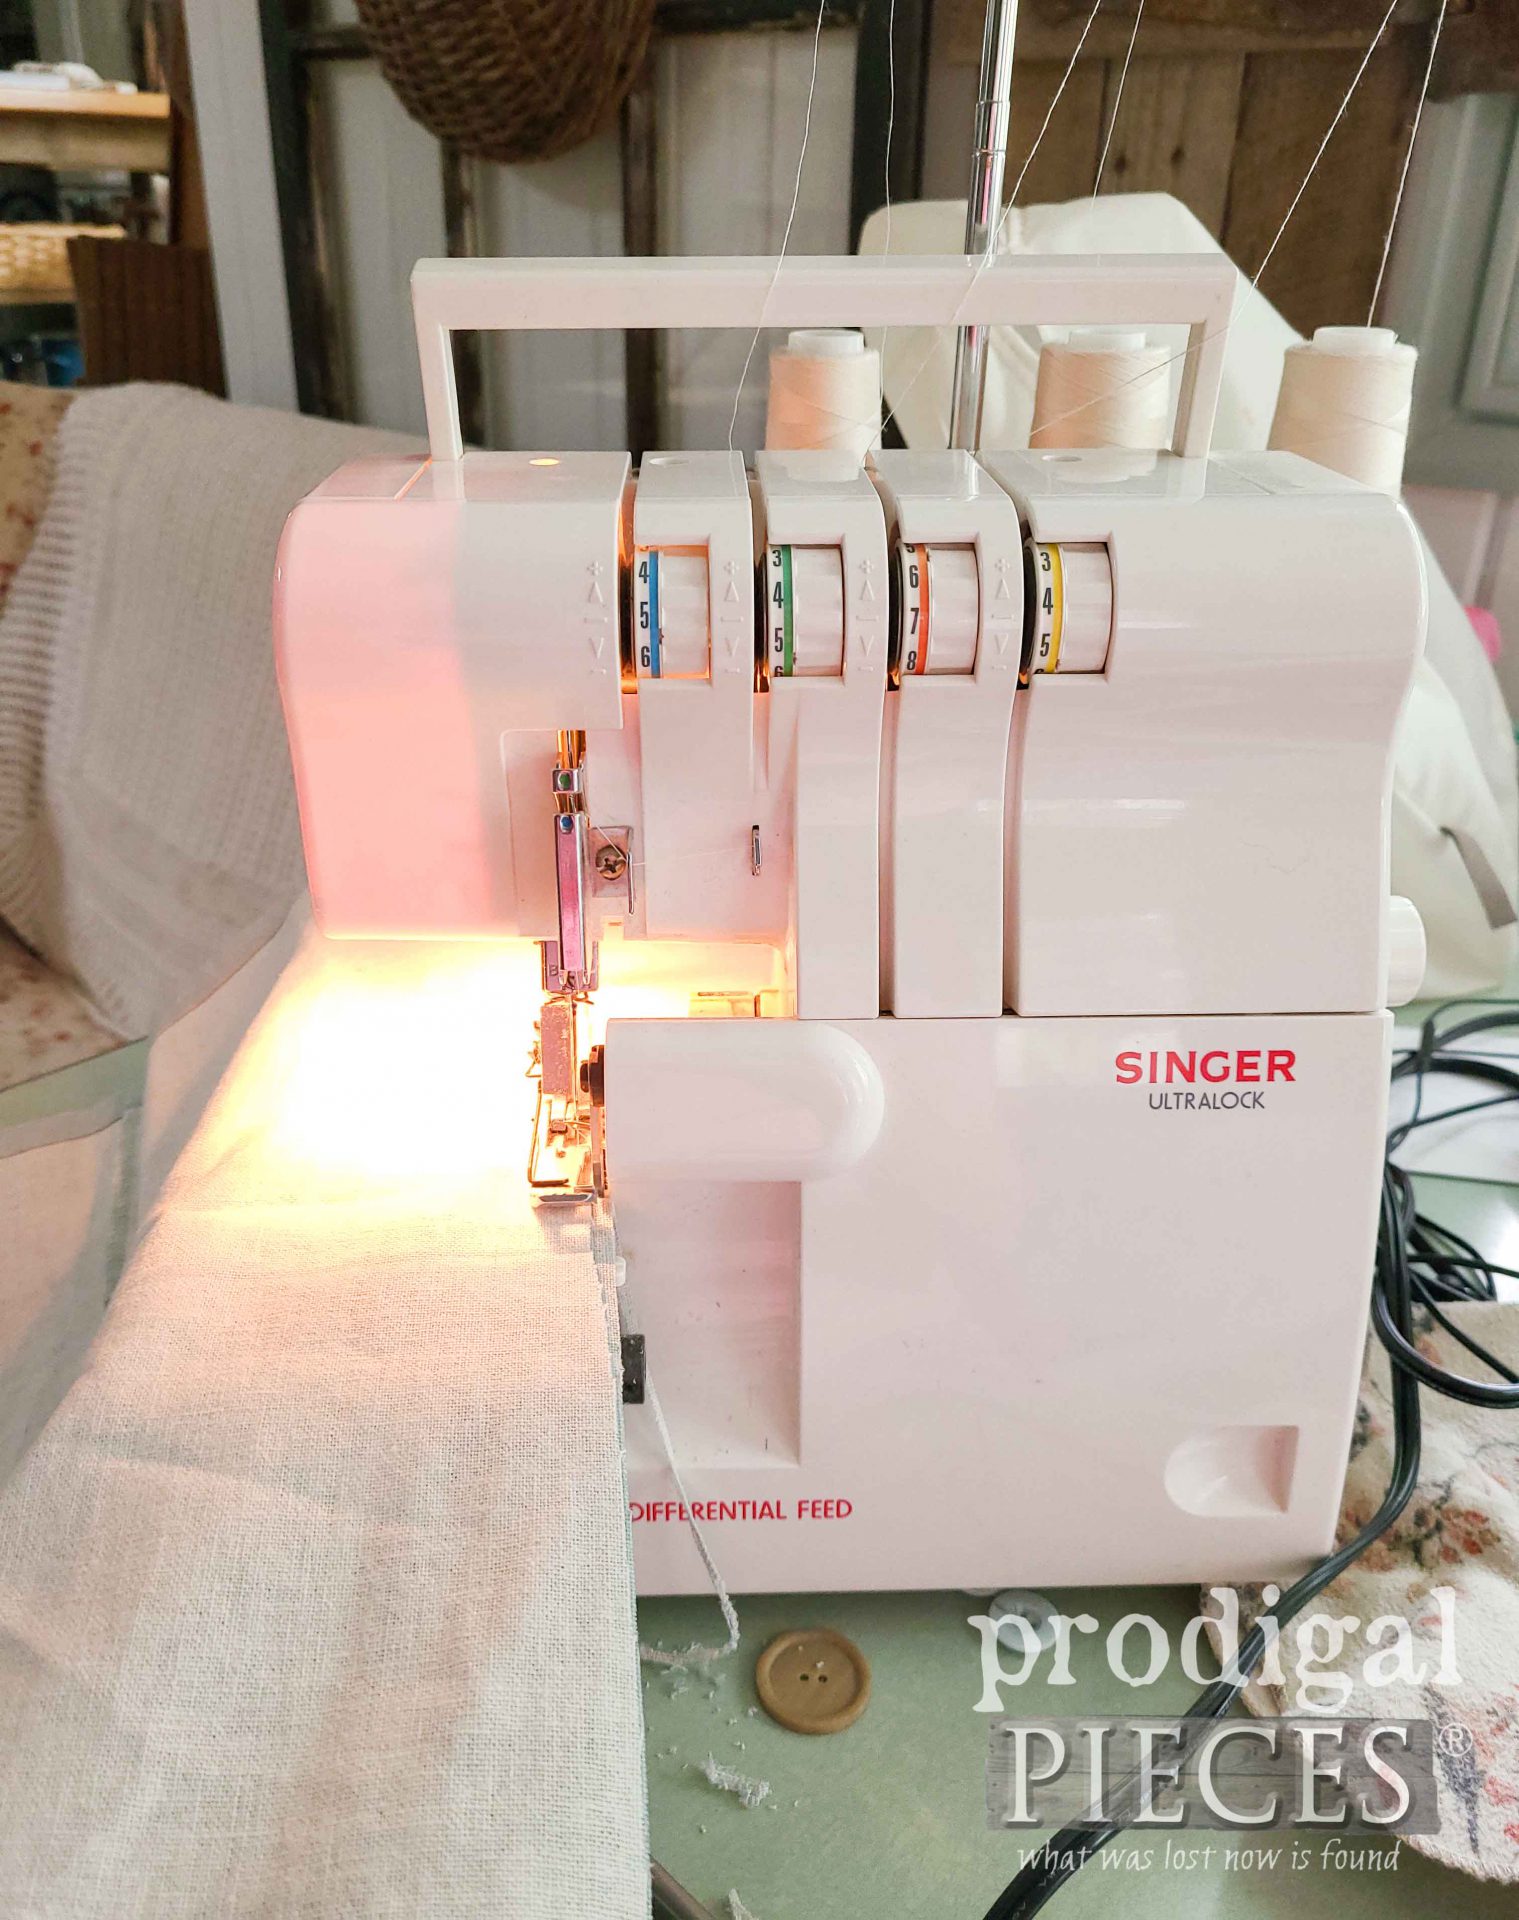
Last, it's time to assemble. I begin by using my serger to serge the skirt of my DIY linen smock. These machines are the BOMB. It is amazing what you can do with them. If you've ever debated on purchasing one, I can say that I use mine all the time.
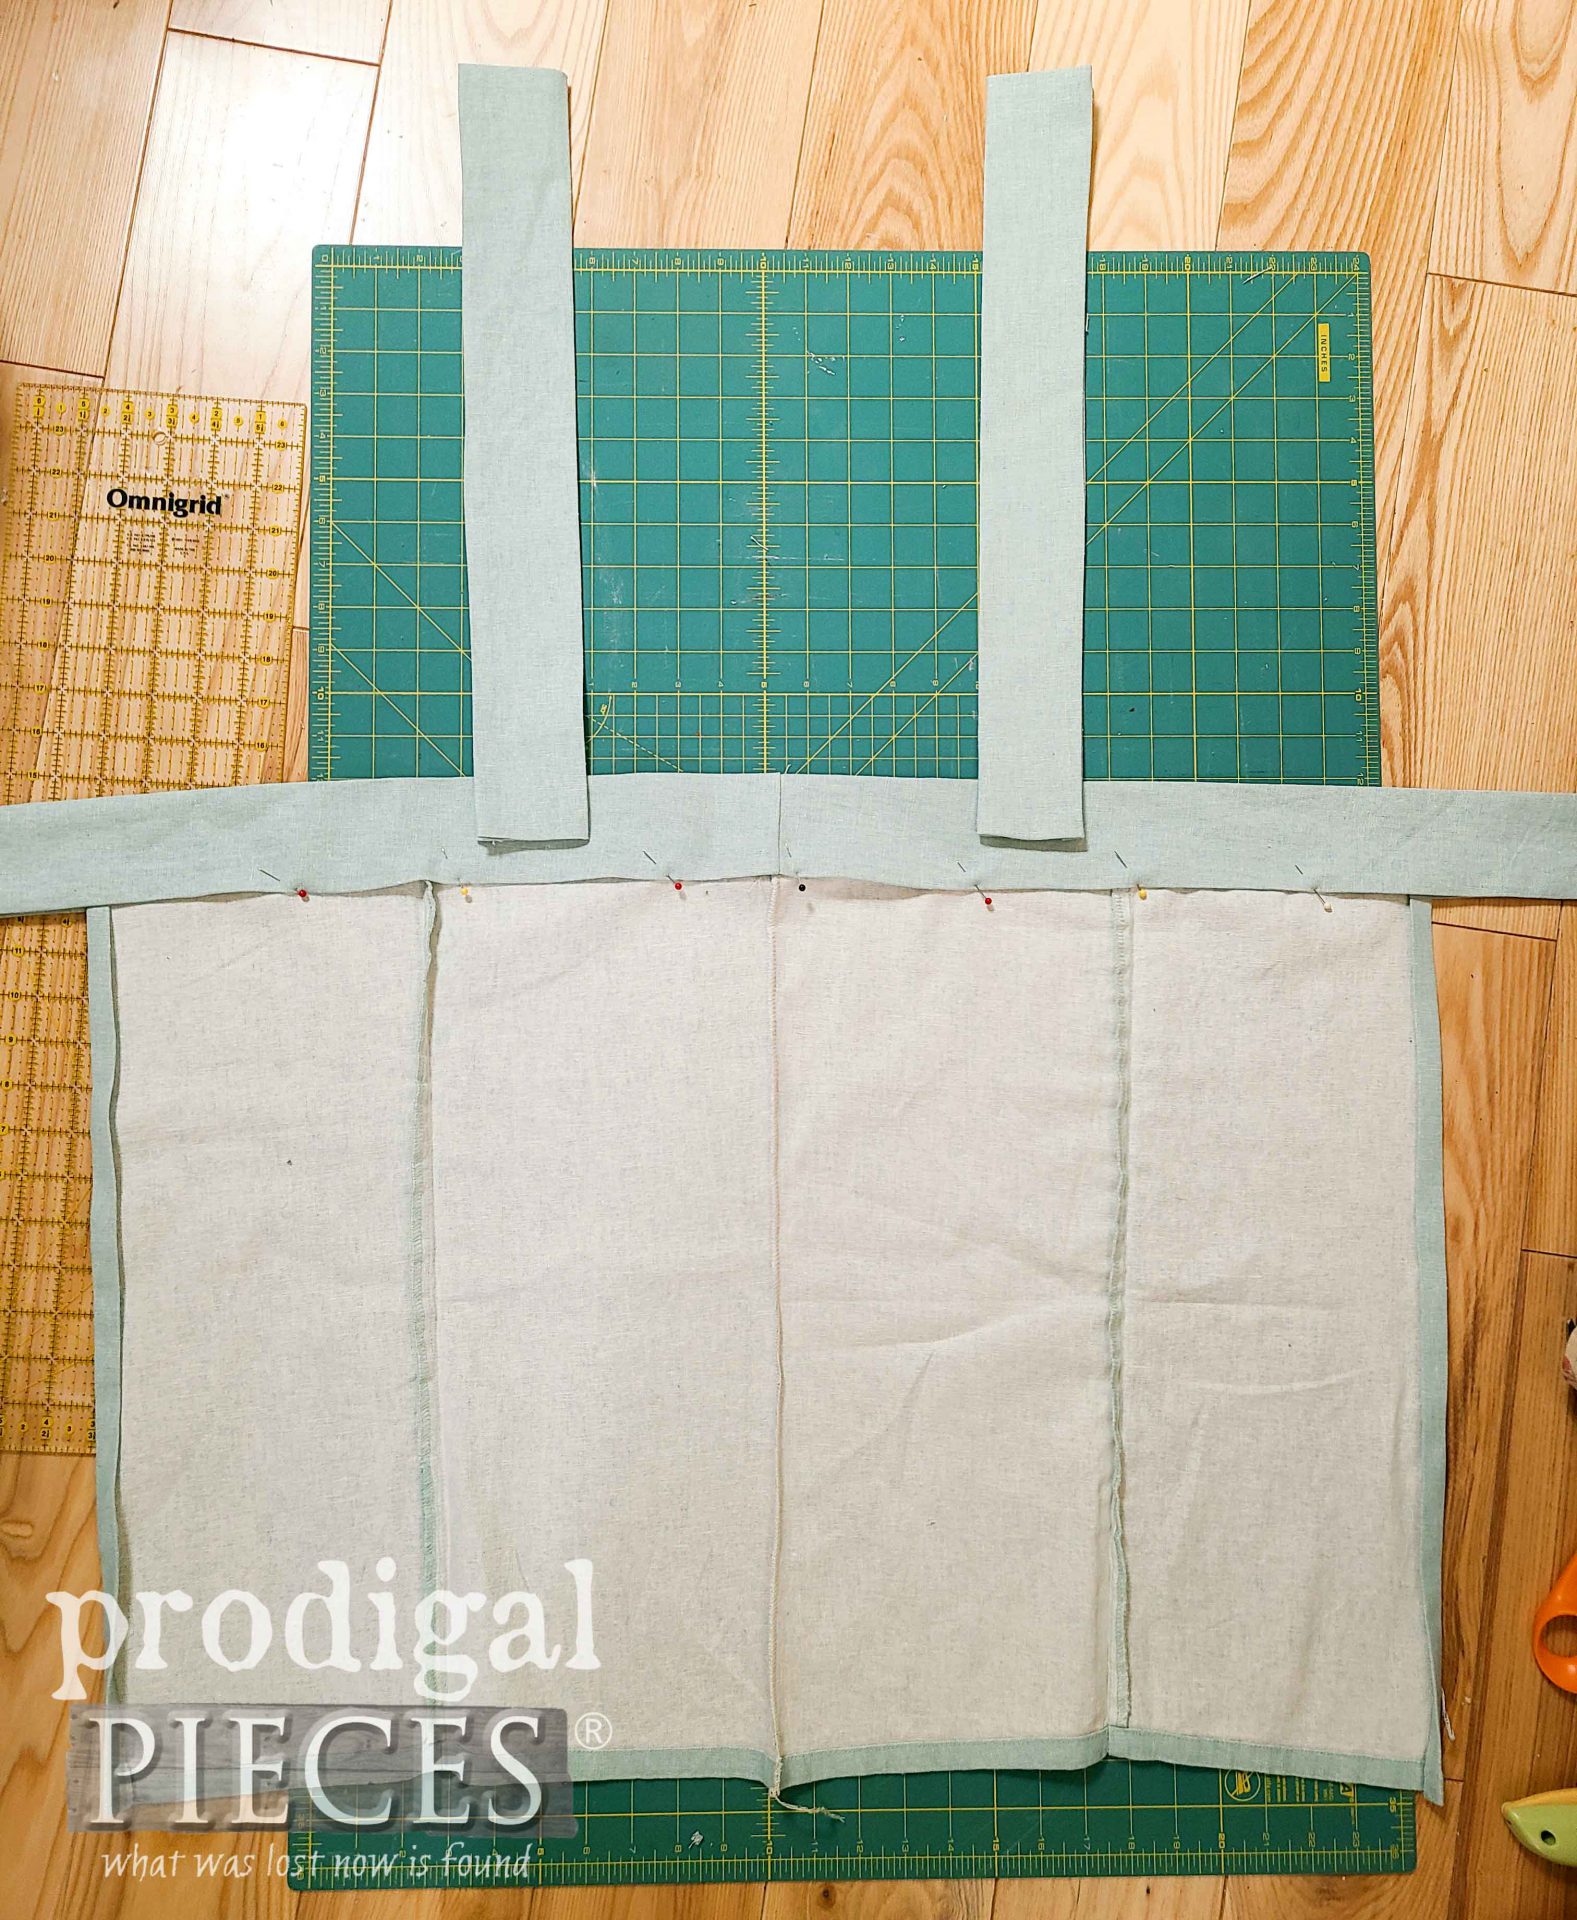
Here is my smock laid out and ready to be fit to suit me. Notice I have yet to sew down the edges. First, I sew down the ironed edges and then have my daughter help me do the fitting.
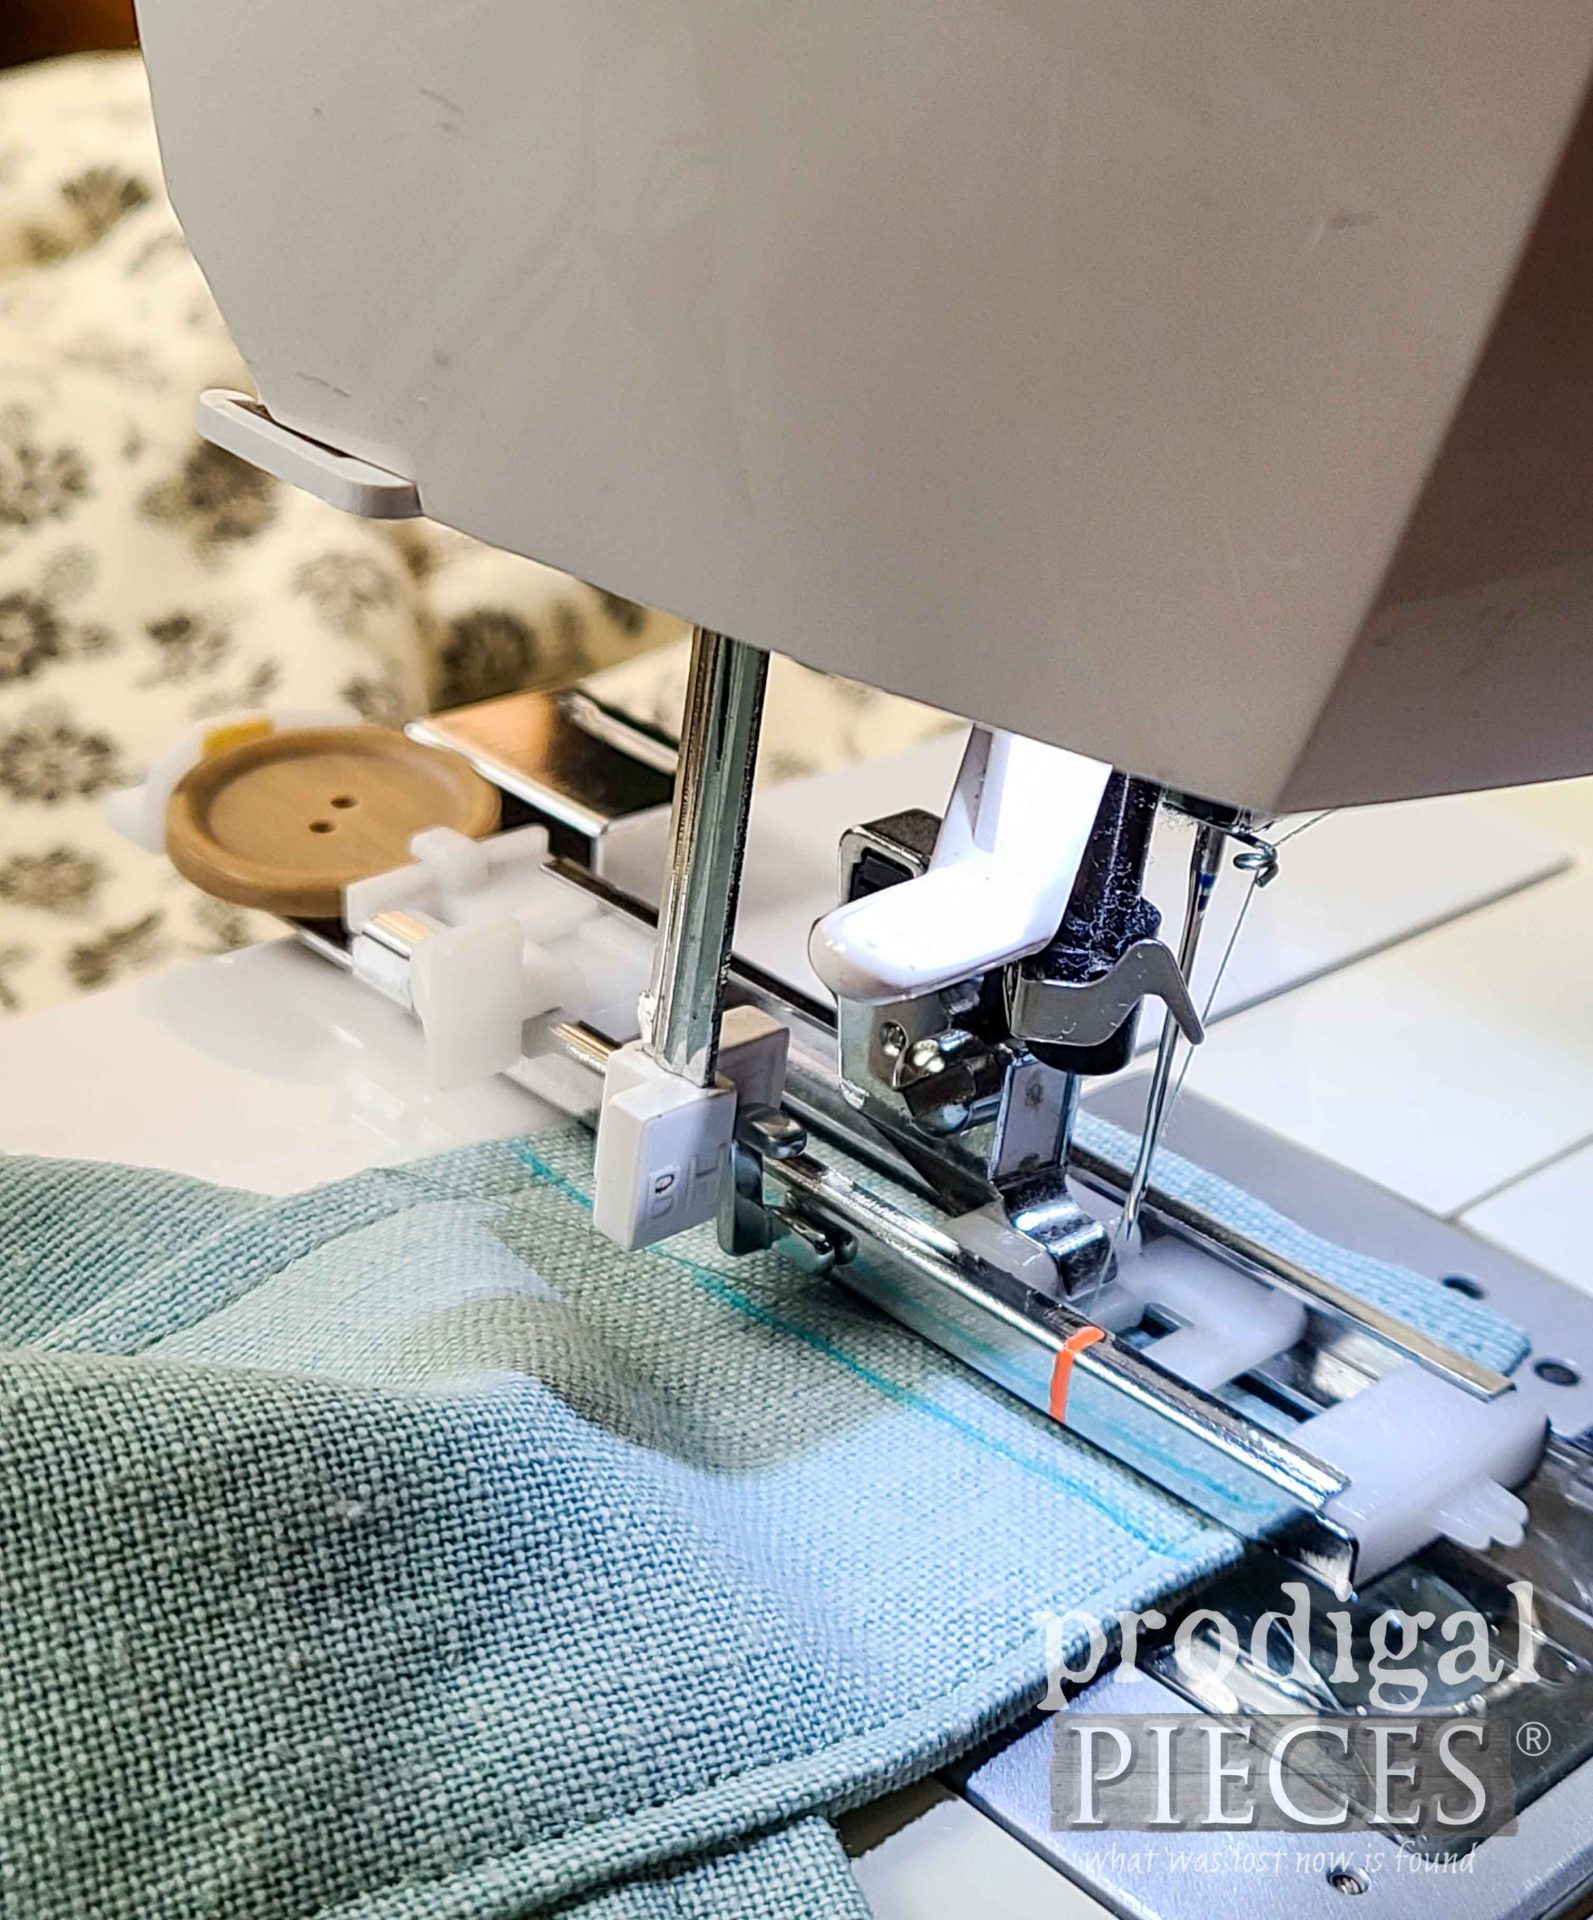
After a fitting I add my button using the button foot and settings on my sewing machine. Likewise, you can use a zig-zag stitch to do the same and then use your seam ripper to open it.
THE REVEAL
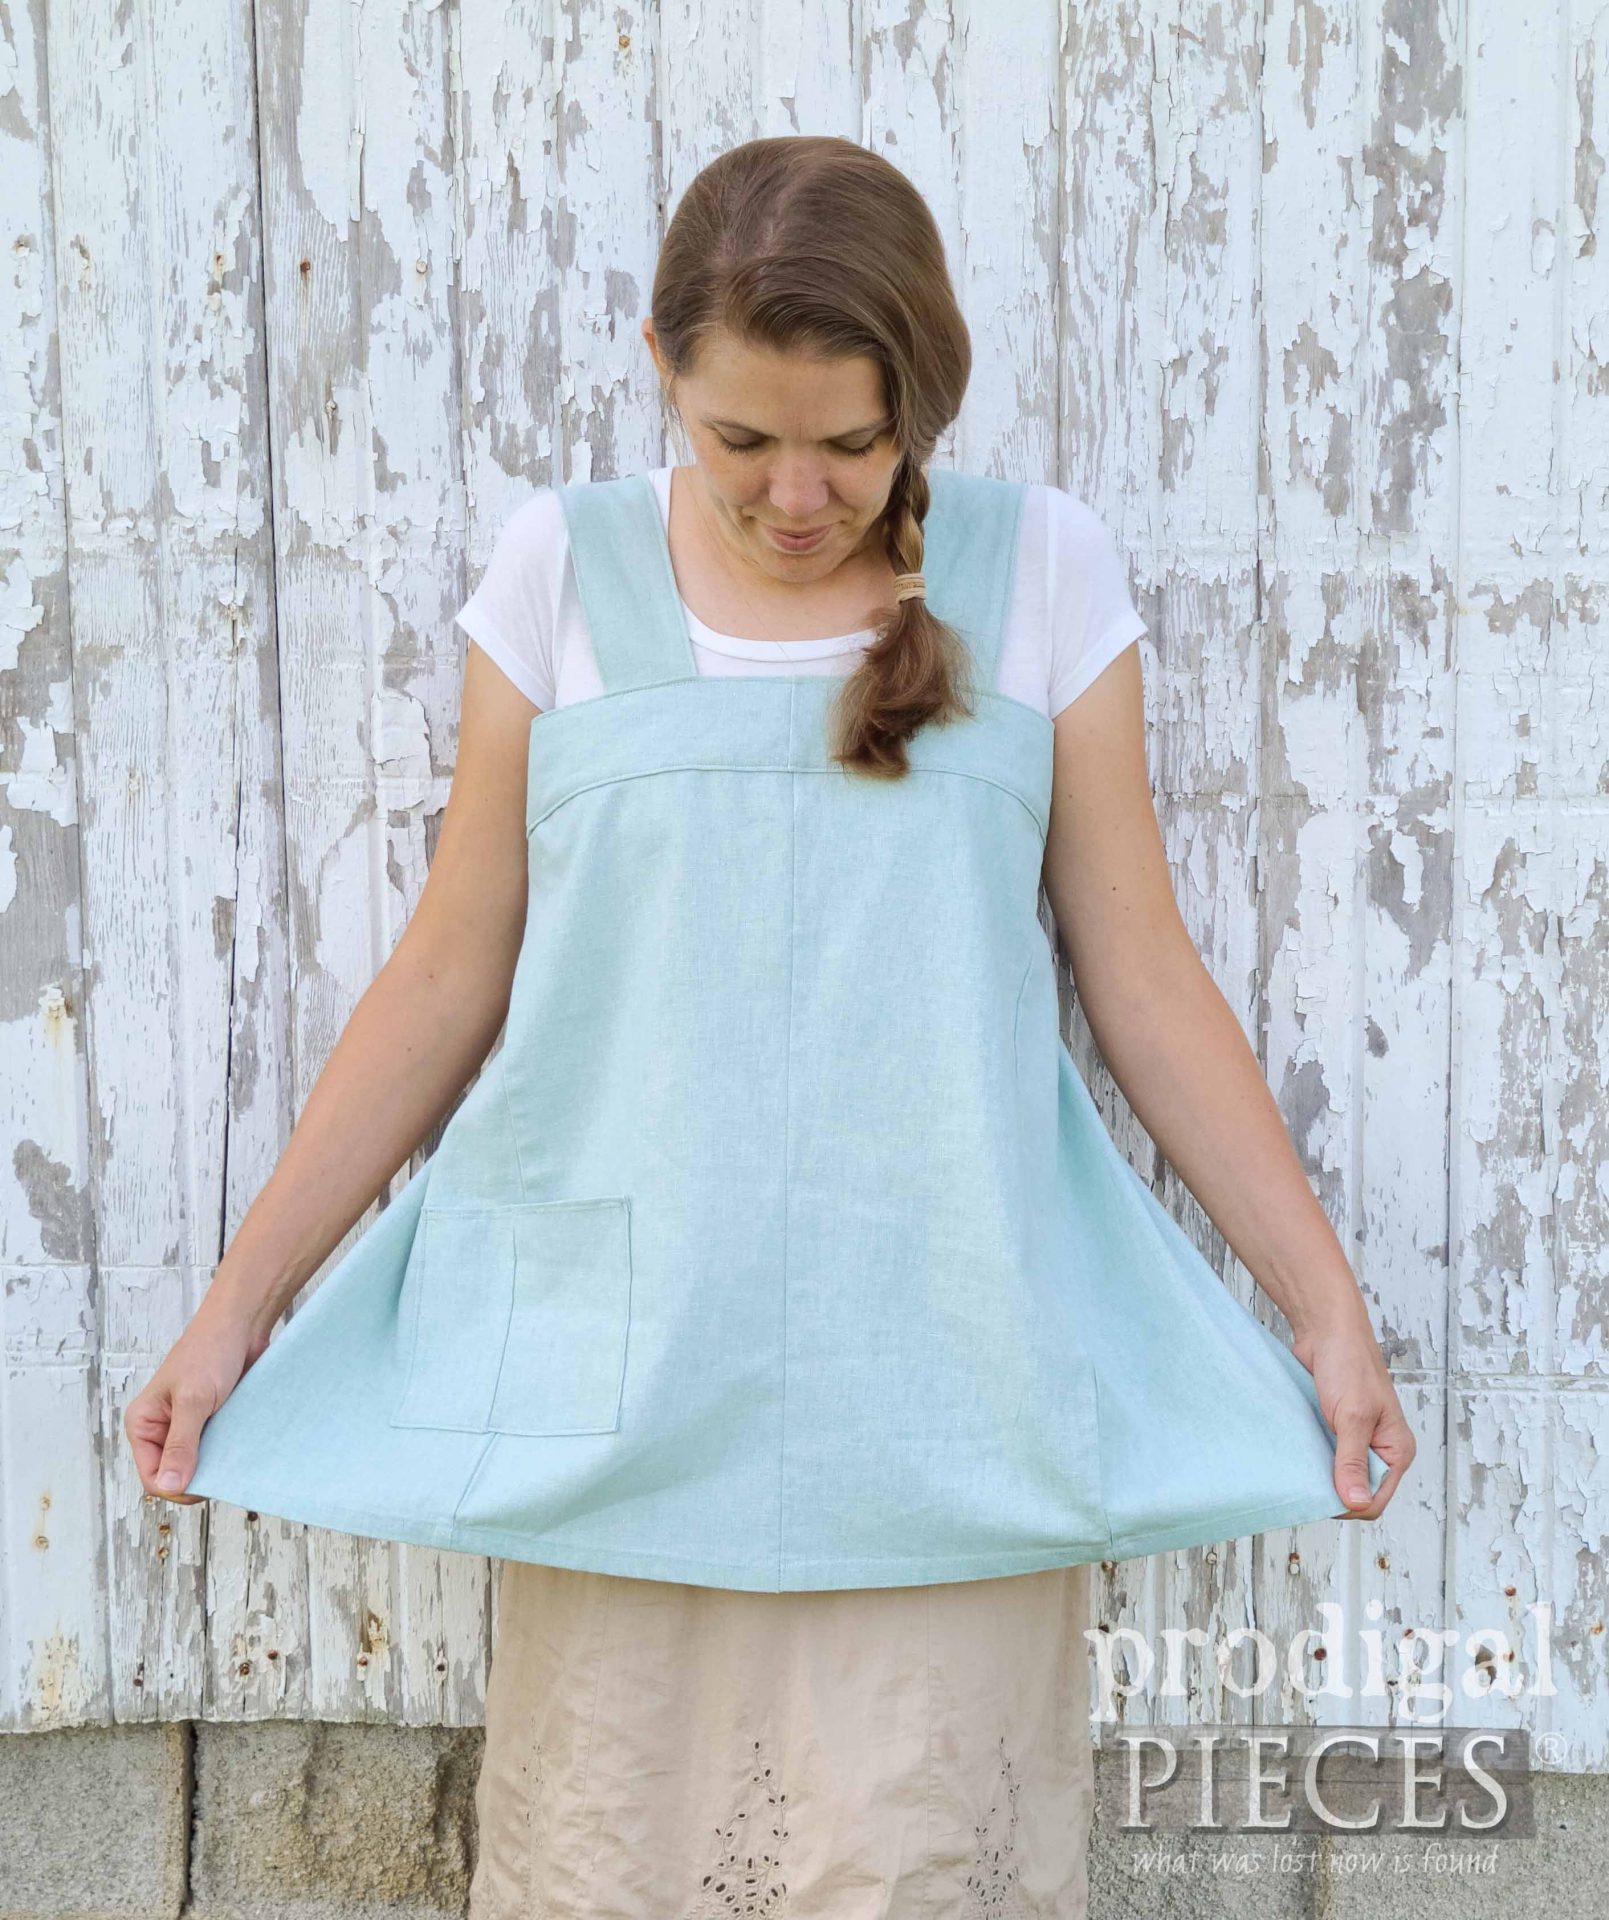
After an hour of cutting and assembling, my DIY linen smock from refashioned thrift store pants is done. woot! (say that five times fast...haha)
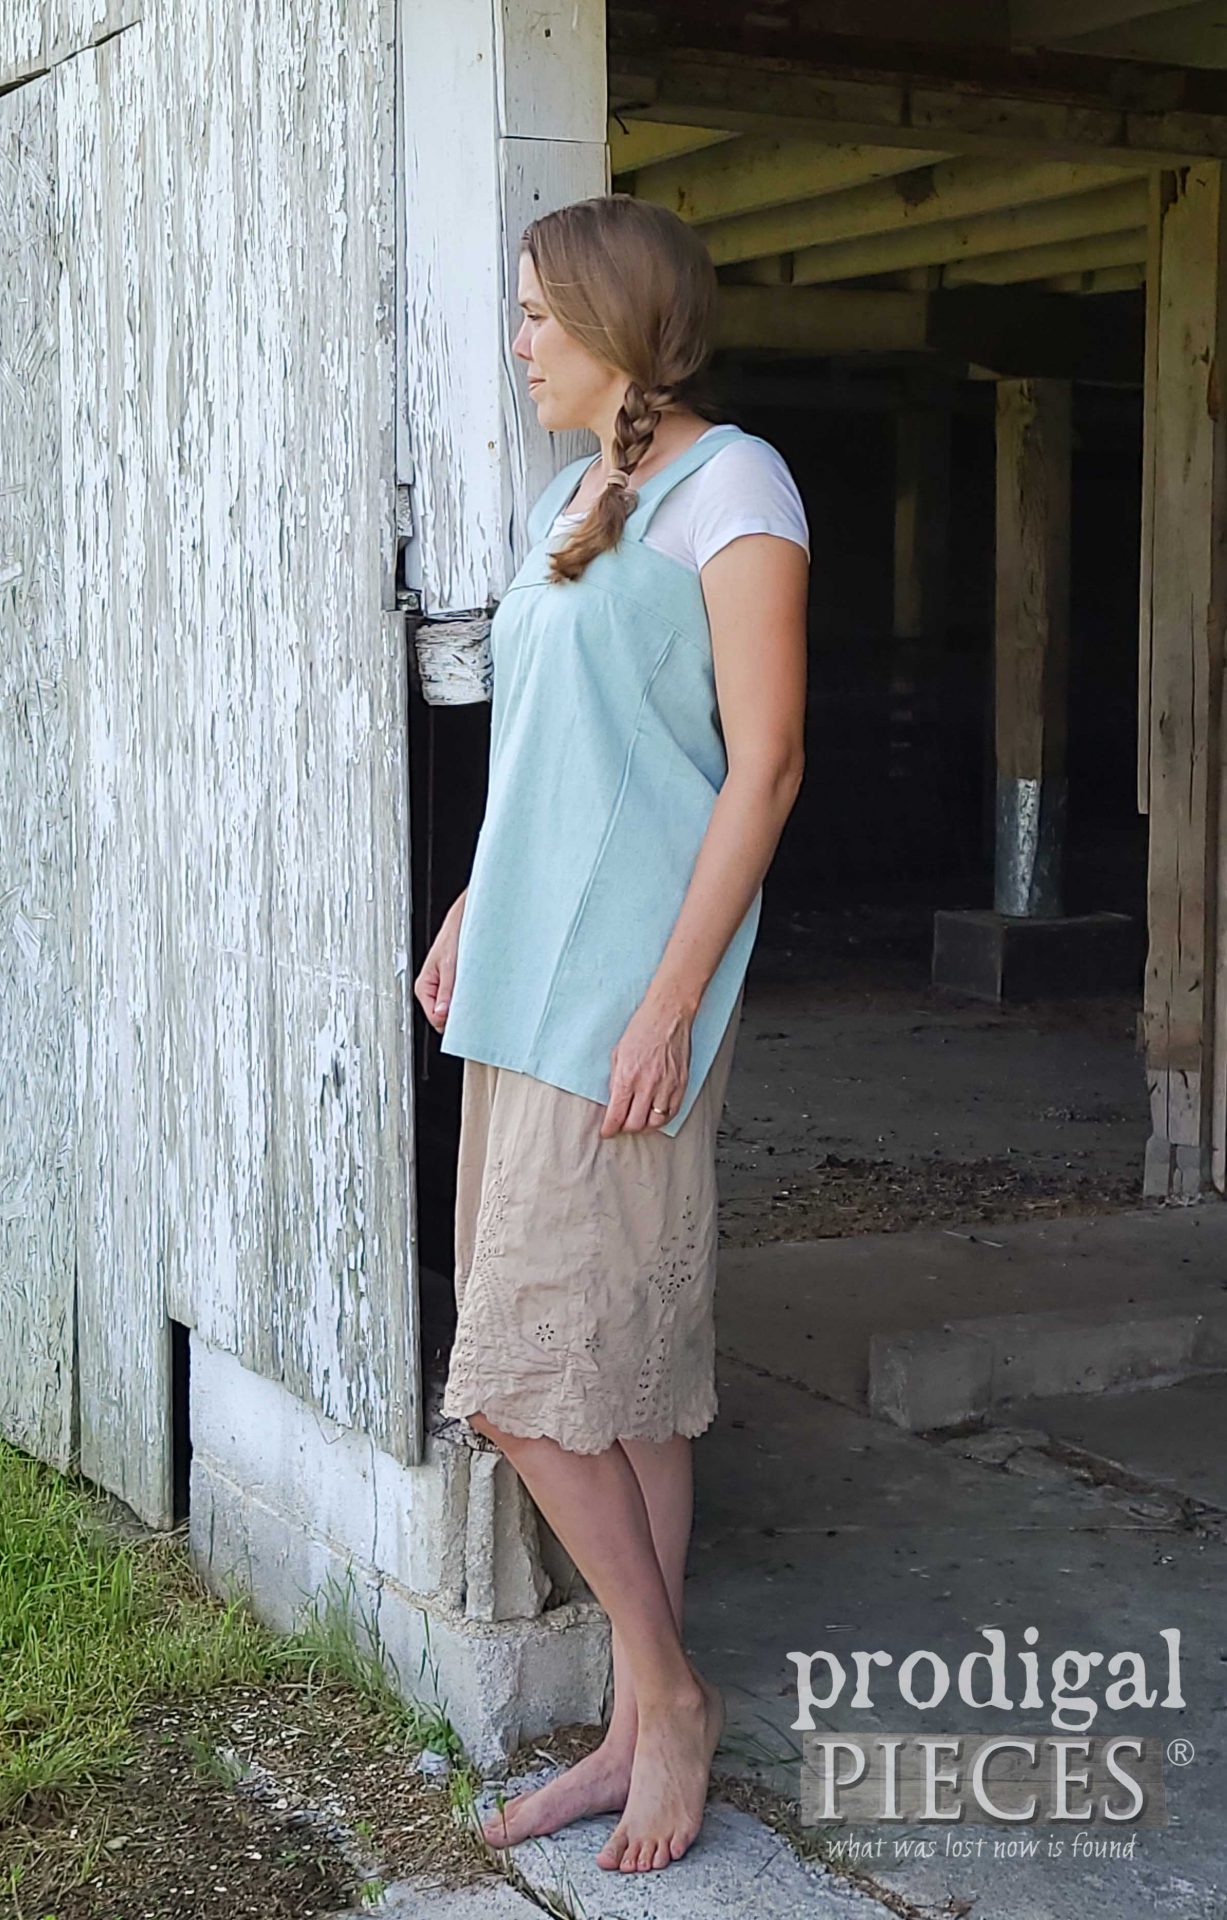
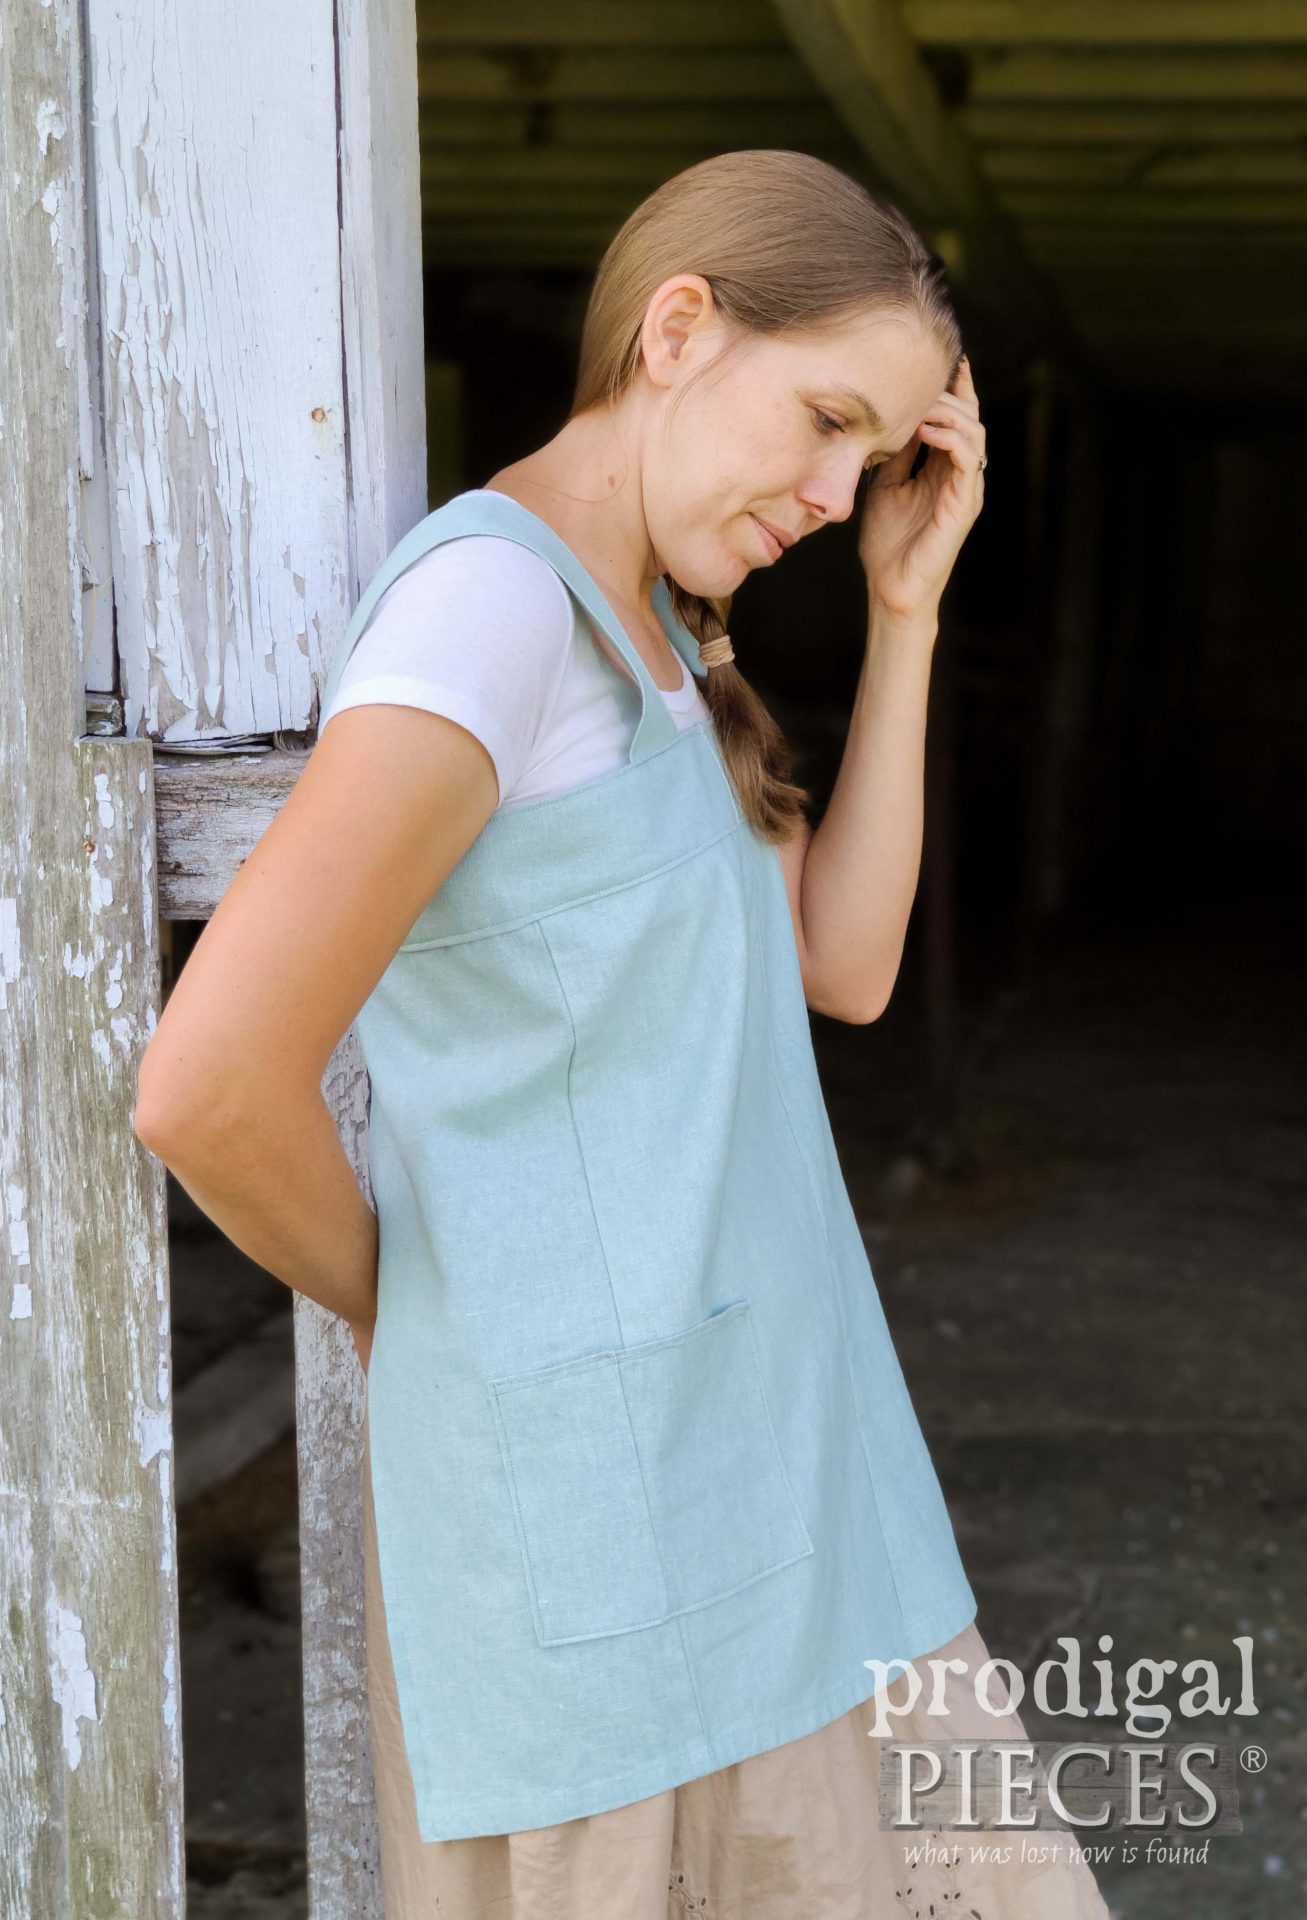
You can see that I pieced together a pocket on the one side. I don't know about you, but I LOVE pockets. My smock is perfect for everyday fashion, gardening, painting, cooking...you get the idea. What would you make one for?
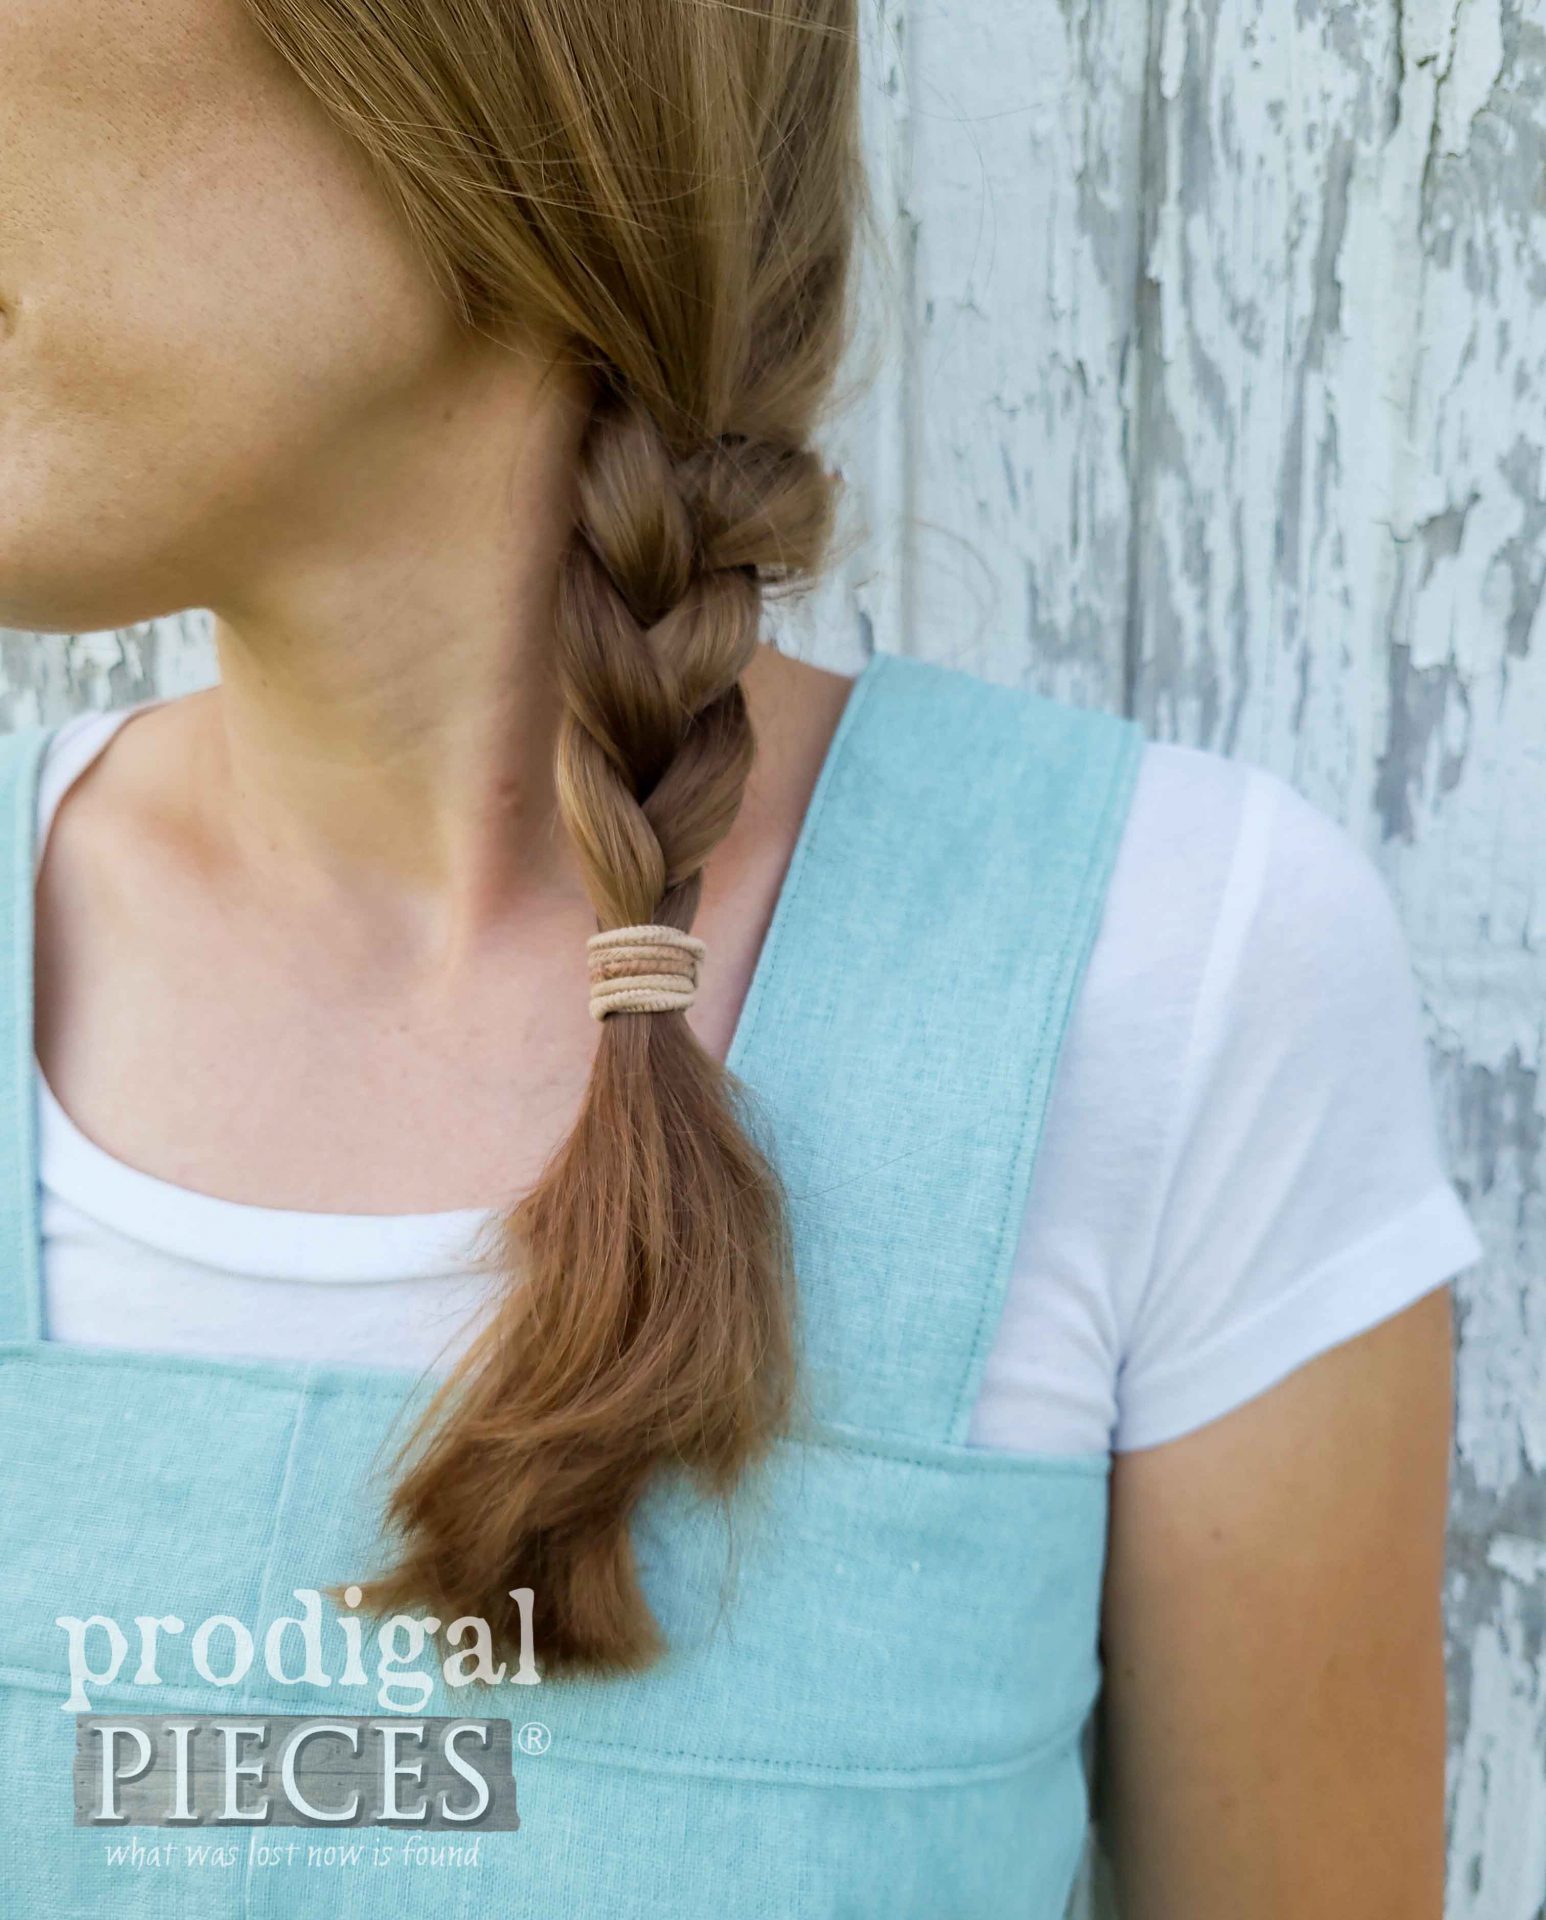
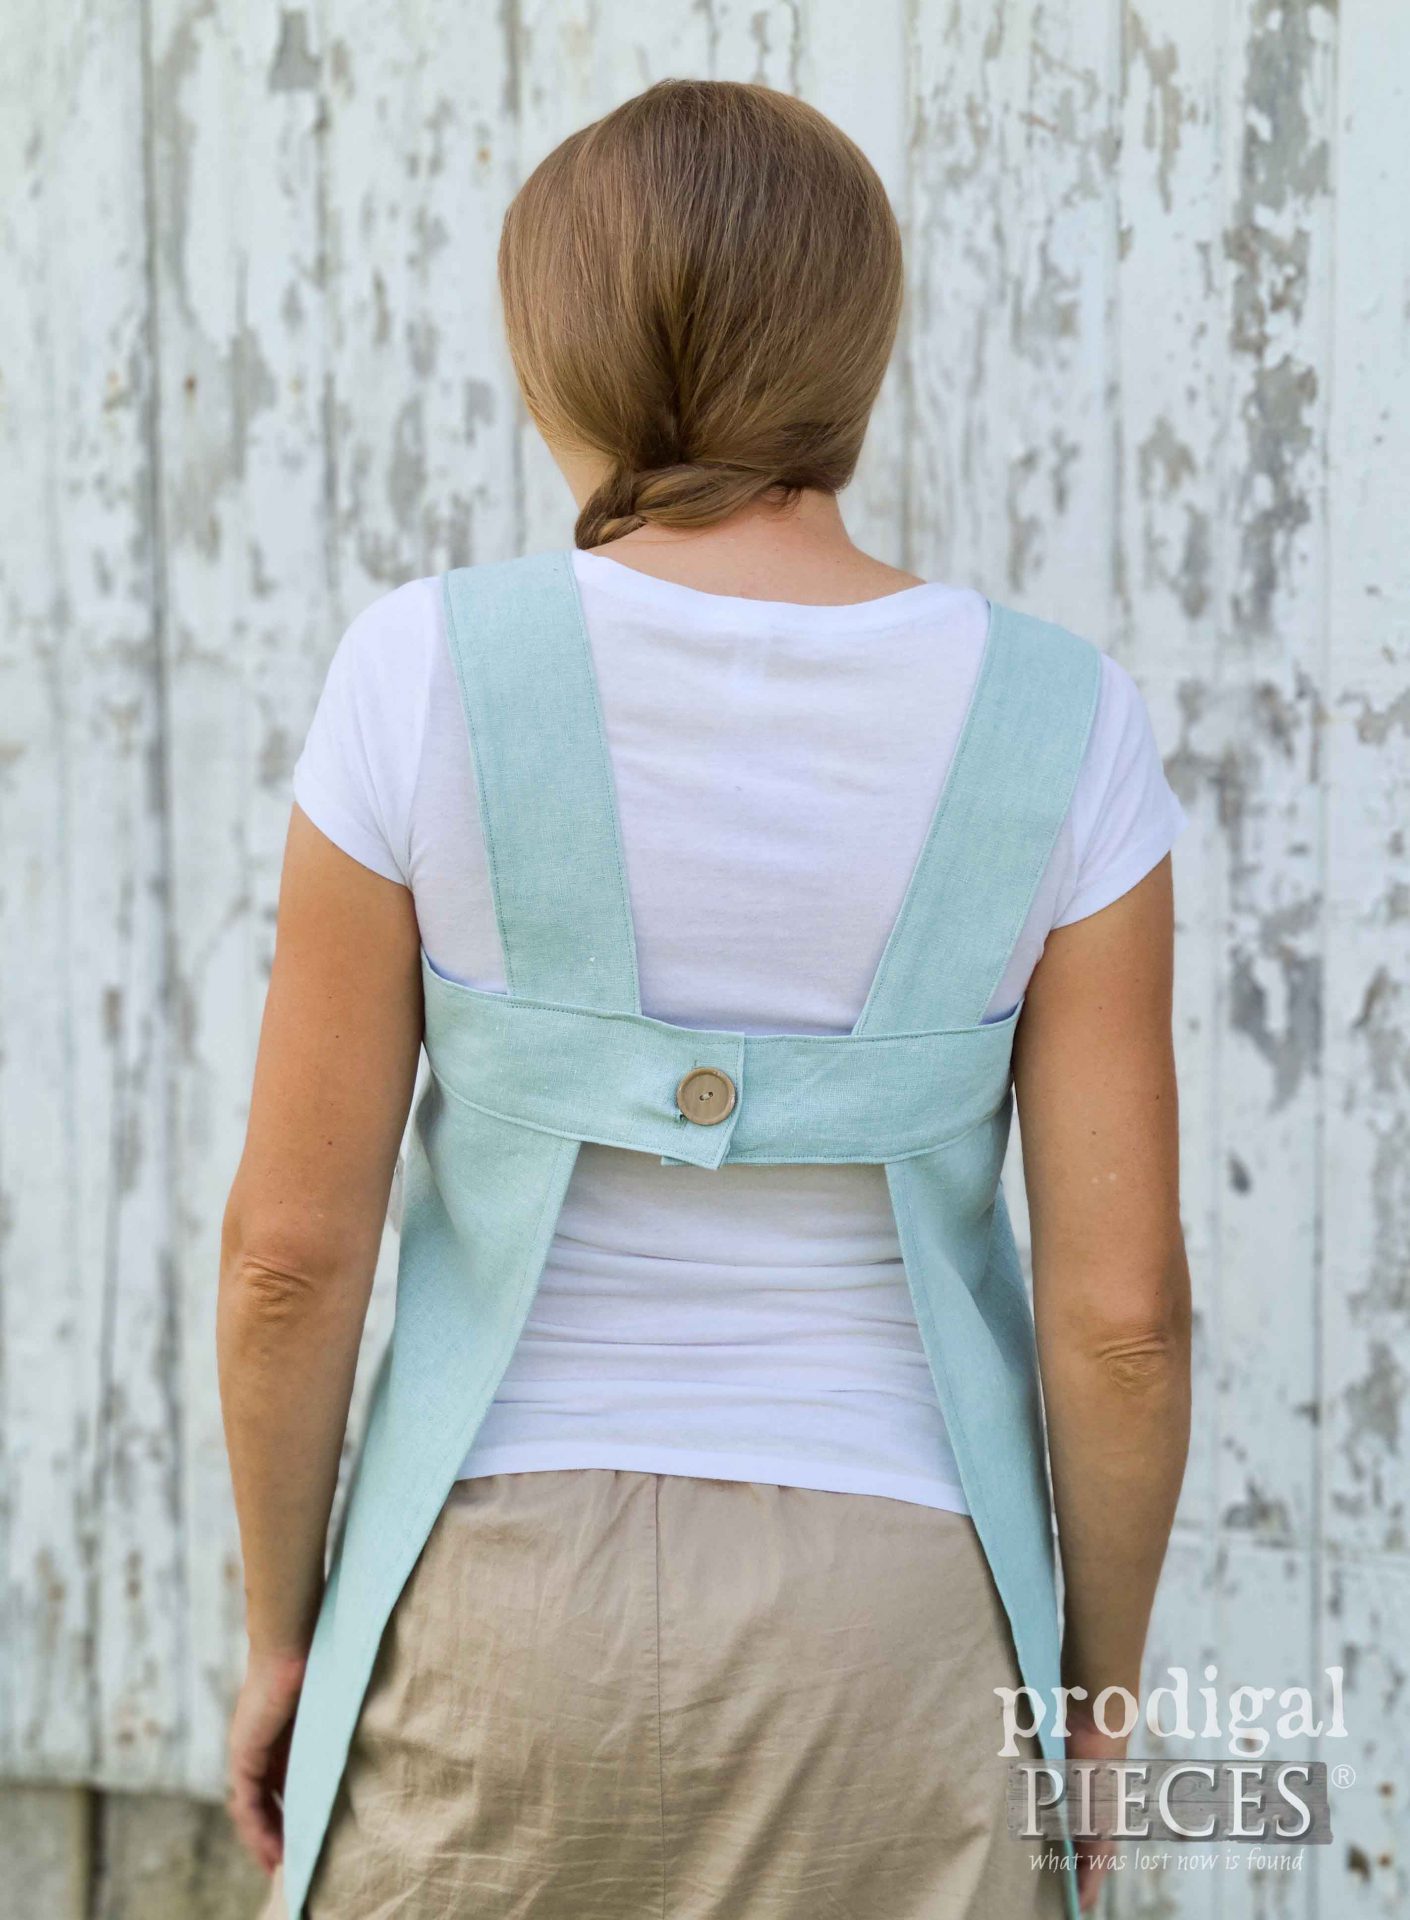
Notice the button is from the
last refashion post where I use thrift store curtains to make a holiday wreath.

This simple gal loves comfortable clothing and simple living. My heart is in the country, and hopefully one day soon I can get back to it.

Are you inspired? I hope so because that's what I'm all about. It's fun to think outside the clothes and accessories to create something useful for ourselves and our family.
Also, do pin and share my DIY linen smock to get others interested in seeing their clothing and accessories in a different light.
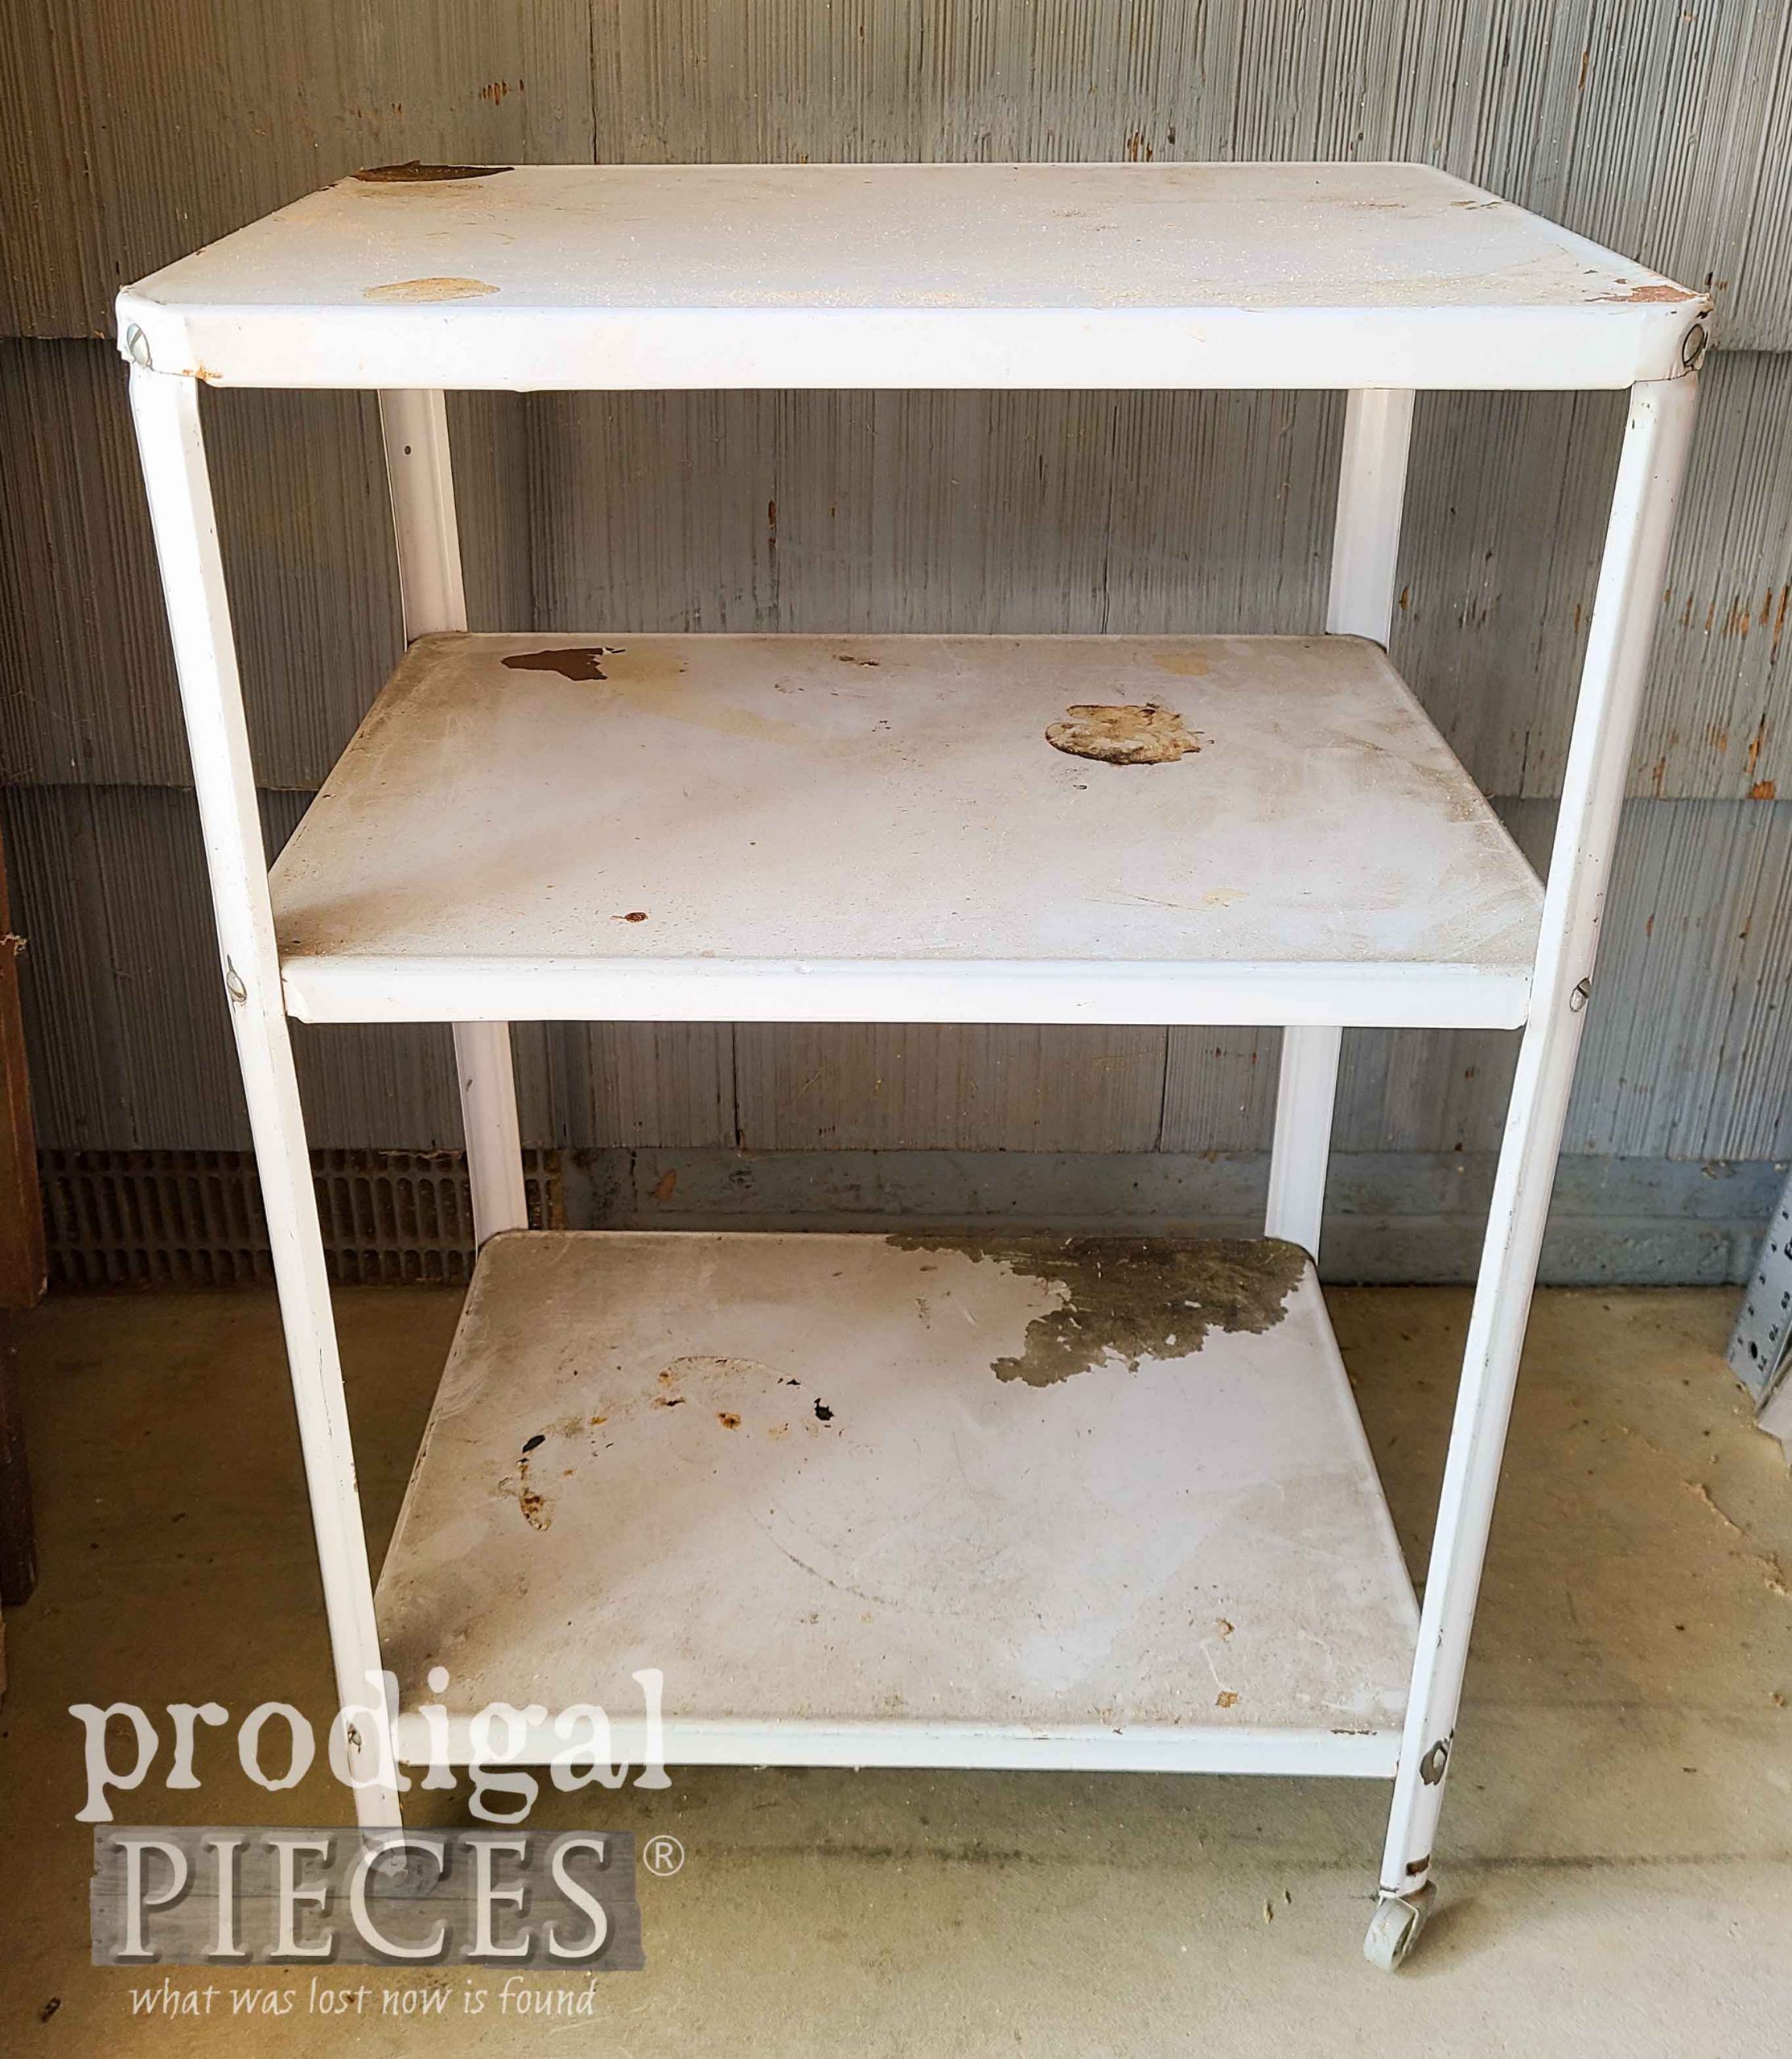
Up next, I'll be sharing what I did with this cart pulled off the curb for me.
See the after HERE.
Before you go, be sure to
sign up for my newsletter. Until next time!

 PINTEREST | EMAIL
In addition, more refashion projects like my DIY linen smock:
 Aren't they beautiful? I am definitely a sucker for anything linen. So, of course, when I was passing by the rack of clothes at the thrift store, I totally did a rubber-necker when I saw them. I gasped, went back, and grabbed them in excitement. SCORE! Yes, I did a happy dance. Can you blame me?
About 5 years ago I had very little funds but wanted to make something special for my little sister. I was given a bag of ladies' clothes and found a pair of black linen pants that were brand new. I couldn't believe my eyes because these were perfect for a smock I had in mind. Here is my efforts in finished form on myself 5 years ago.

 My goal today is show you what I did with the aqua pair I found in simple terms because I am making this to fit myself. However, you can totally adapt this to suit yourself with minor adjustments.

 The bottom part of the leg will form my skirt (bonus it's already hemmed). I cut both legs the same. Because the leg is slightly tapered, I use my rotary cutter to square up the sides. However, if you want a gathered edge, you can leave the taper for your benefit.


 My shoulder straps and my halter straps (I need two pieces sewn together to go around my bust) will come from this piece. This makes for four pieces cut. I did end up cutting the halter pieces as long as I could to allow me to adjust for a button closure during a fitting.
 Using the linen setting on my iron, I press the edges in ½". Then, I press the pieces in half.
 I leave the one end of each of the halter pieces open. However, the end result should look like this on both ends of the straps.
 I also press the edges of the skirt folding twice at ½" intervals for a clean edge. Remember, the cuff of the leg is already hemmed for the bottom of the skirt.
 Here is my smock laid out and ready to be fit to suit me. Notice I have yet to sew down the edges. First, I sew down the ironed edges and then have my daughter help me do the fitting.
 After a fitting I add my button using the button foot and settings on my sewing machine. Likewise, you can use a zig-zag stitch to do the same and then use your seam ripper to open it.


 You can see that I pieced together a pocket on the one side. I don't know about you, but I LOVE pockets. My smock is perfect for everyday fashion, gardening, painting, cooking...you get the idea. What would you make one for?


 Notice the button is from the last refashion post where I use thrift store curtains to make a holiday wreath.
 This simple gal loves comfortable clothing and simple living. My heart is in the country, and hopefully one day soon I can get back to it.
 Are you inspired? I hope so because that's what I'm all about. It's fun to think outside the clothes and accessories to create something useful for ourselves and our family.
Also, do pin and share my DIY linen smock to get others interested in seeing their clothing and accessories in a different light.
 Up next, I'll be sharing what I did with this cart pulled off the curb for me. See the after HERE.
 Before you go, be sure to sign up for my newsletter. Until next time!


