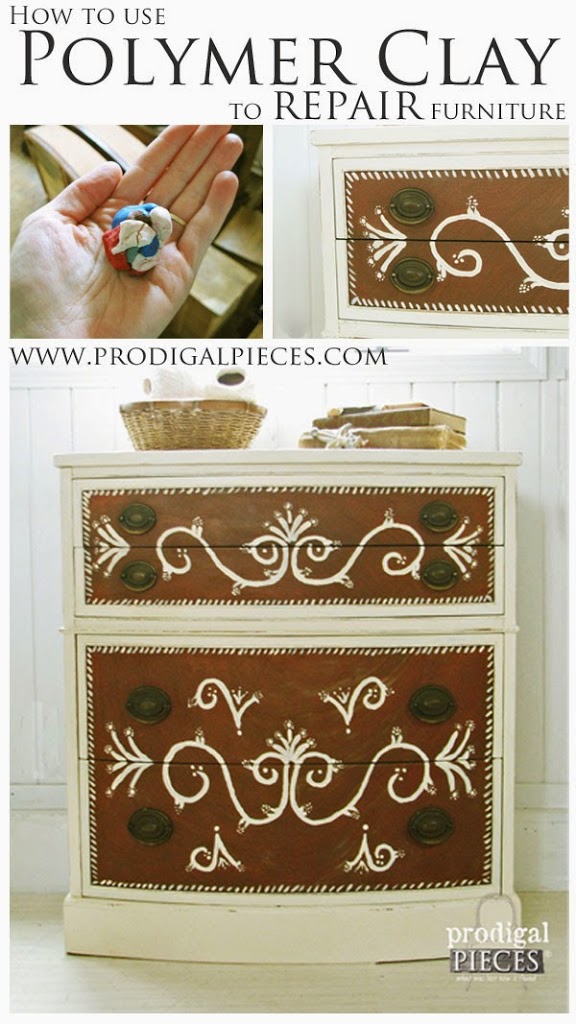
So, you clicked over to read this post and are saying to yourself, "Whaaat? How can I repair furniture with clay?" Yup. You read that right! Sometimes I will come across and absolute stunning piece, but it's missing a tidbit here and there.
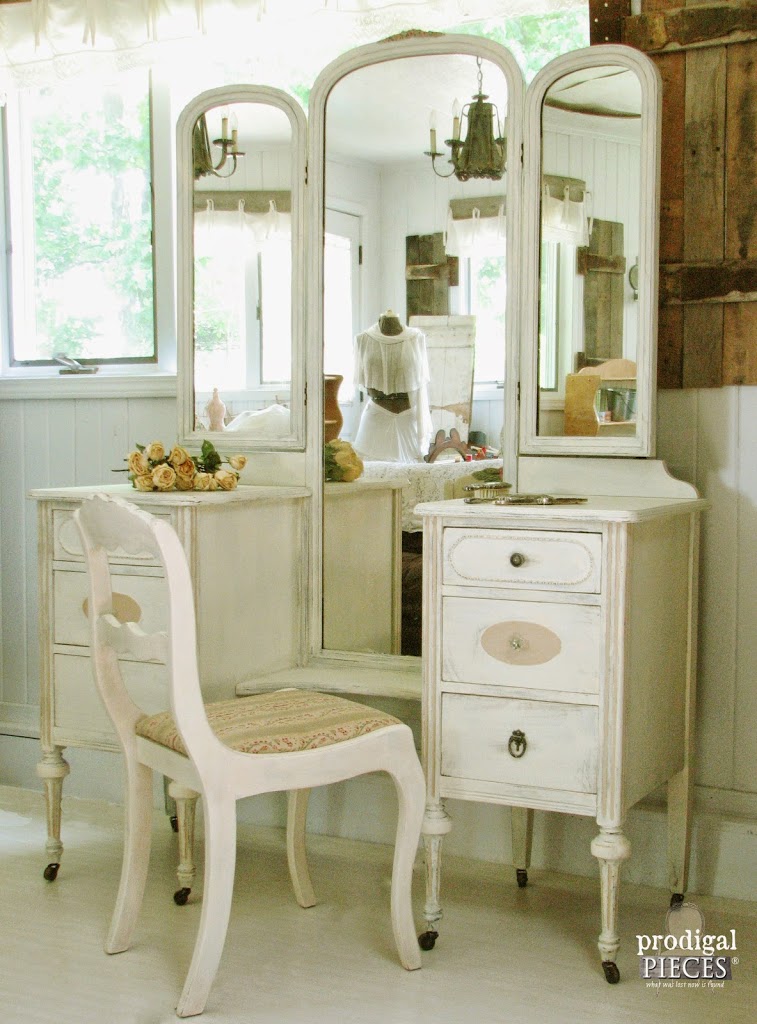
For instance: this gorgeous antique dressing table (love that tri-fold mirror!) was in a rough state, but not something that couldn't be fixed. There was one minor flaw that bugged me.
TRIM
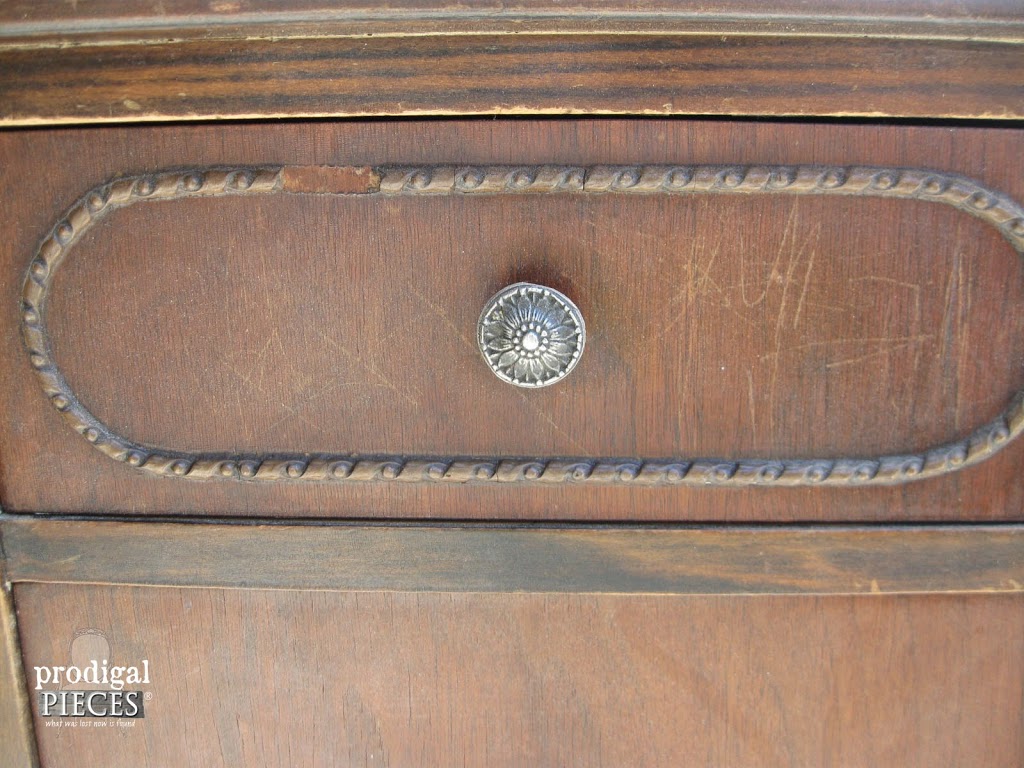
See that missing piece of trim below? Hmmm...do I scrape it all off and make it like it wasn't there? It's only a small piece, so how can I replicate it? Then I had a light-bulb moment, and I remembered how I use Sculpey (polymer clay) to make molds for various things, so why not mold that trim?
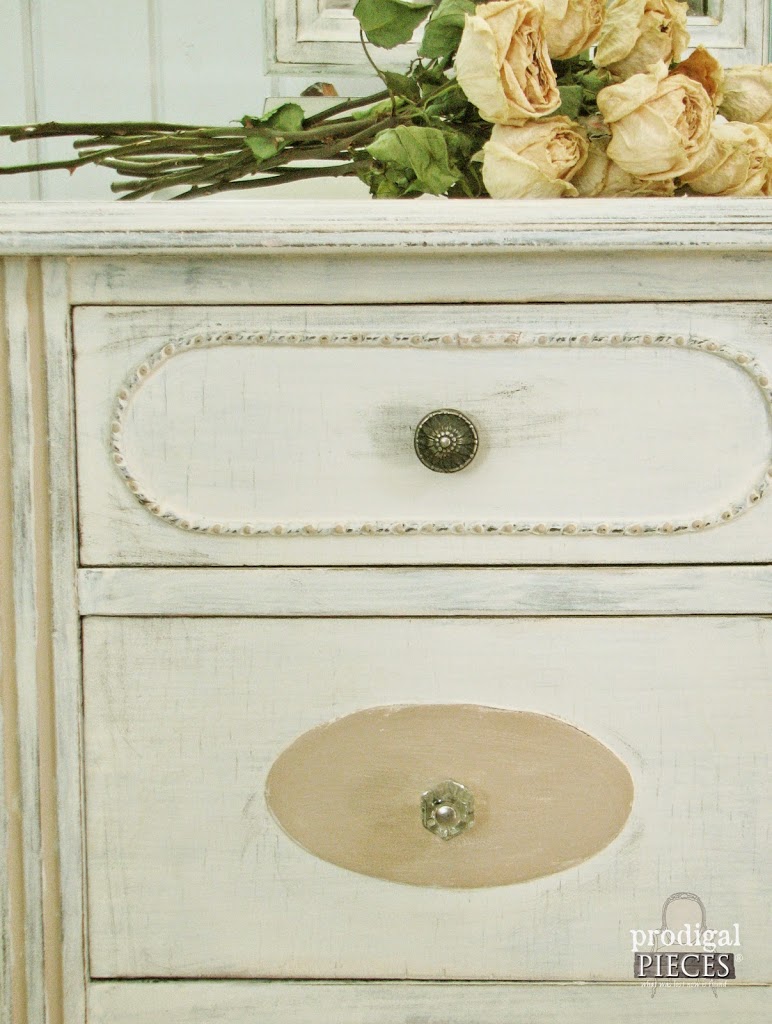
Can you see the repair? It's there, but barely noticeable, right?
GETTING STARTED
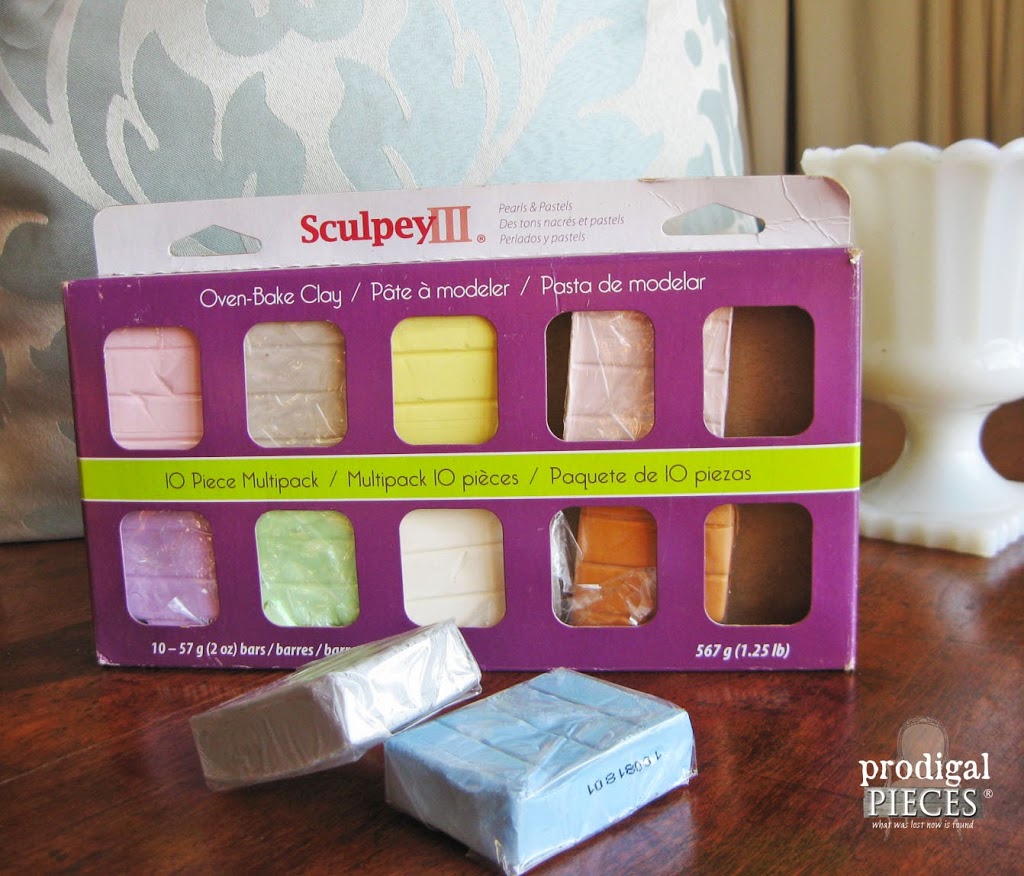
Let's take a stroll down memory lane....as a kid, one of my favorite things to do was to hole up in my bedroom with the door shut, music on, and create. I would mainly use my colored pencils, but I just loved to create with Sculpey. What is Sculpey, you say?
It's a polymer clay that you can make just about anything crafty with - jewelry, crochet hooks, dishes, sculptures...you get the idea. This stuff is great! Just make and bake. Each pack has instructions on how to cure the clay, just follow their directions. Mind you, there are other super-awesome brands out there, like Fimo, but I prefer Sculpey. It seems to be a bit more easy to manipulate. I used to work in an art supply store and have tried both.
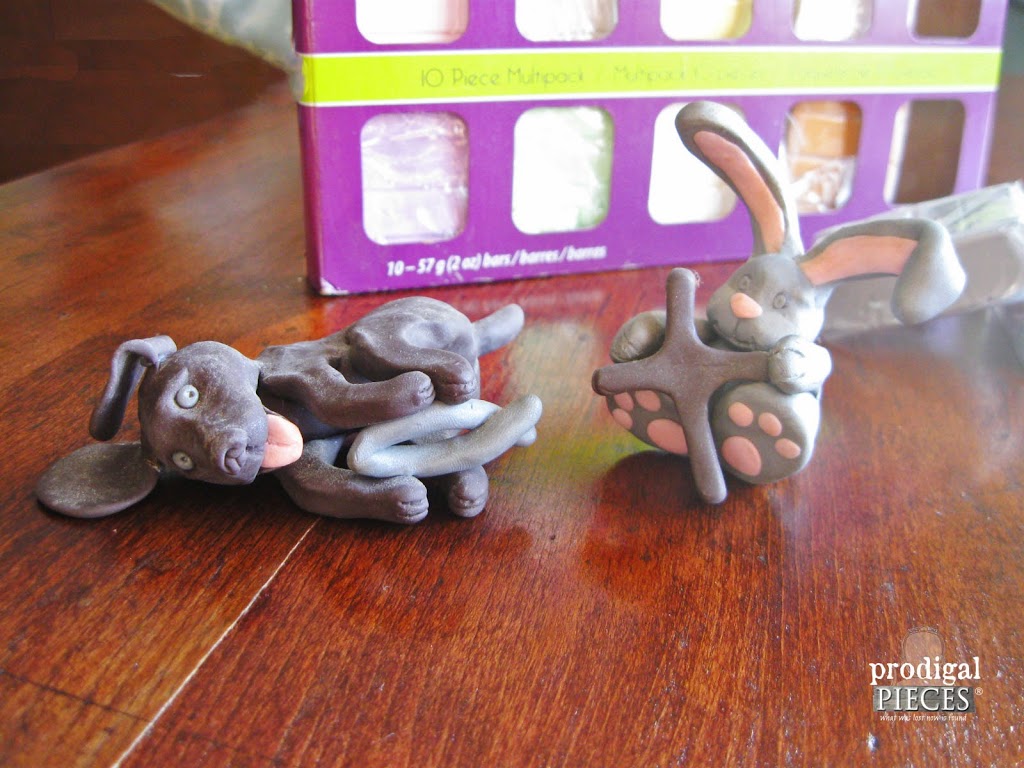
Here are some of my first creations as a kid. Wow, how time flies...
Want to try this method? Typically this works best on a piece of furniture you're going to paint, but I think it would work well with a stained piece as well - just the color match up could be tricky.
Here's what you'll need:
- Sculpey or FIMO polymer clay in color of replacement piece (or as close as possible)
- polymer clay to make mold (you can use scrap)
- wood glue or E6000
- X-Acto knife
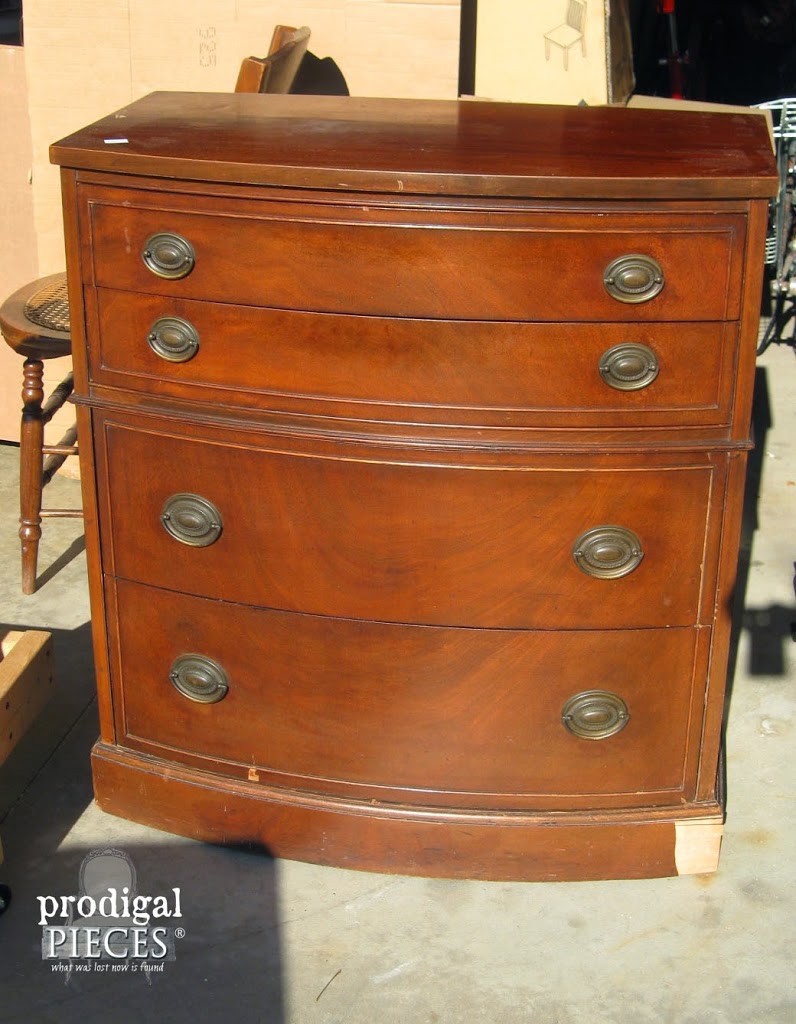
For this post, I'm using this vintage Thomasville sideboard/server as an example. I found this beauty at a thrift store, and it had peeling veneer and some bumps and bruises. When I showed the clerk, she knocked off $20. Yes!
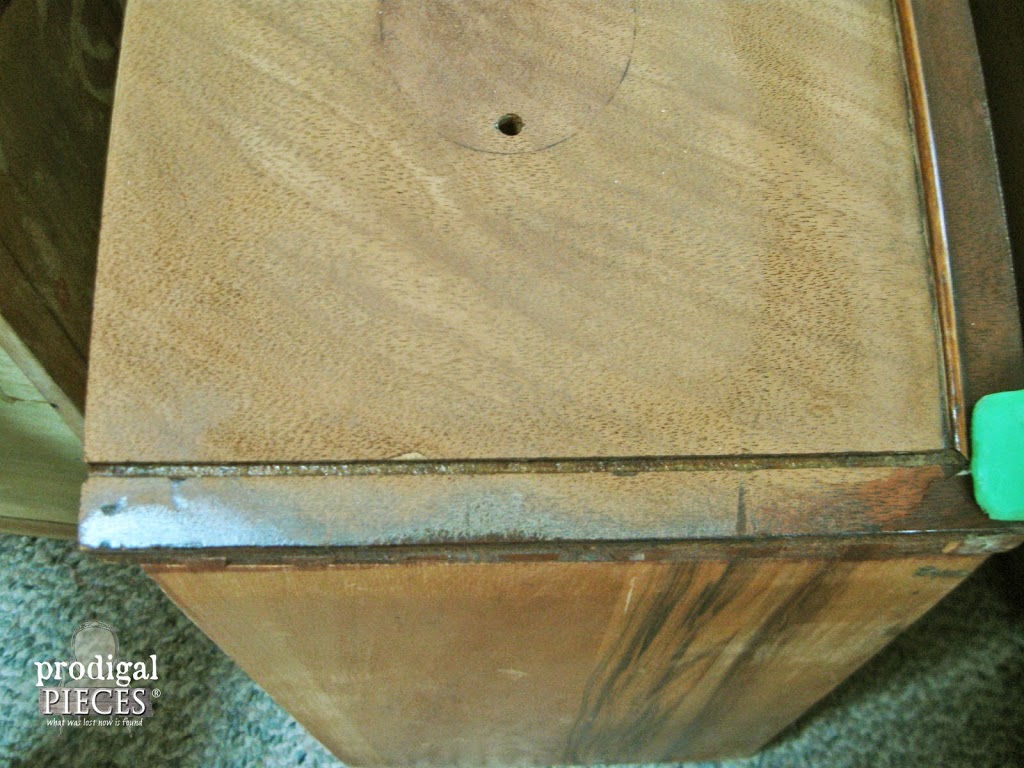
What I didn't notice was that it was missing a piece of this molding on the drawer front. I could have spent time removing the other pieces and put wood putty in it's place, but I liked that detail and I knew I could replace it with clay to repair furniture.
GETTING STARTED
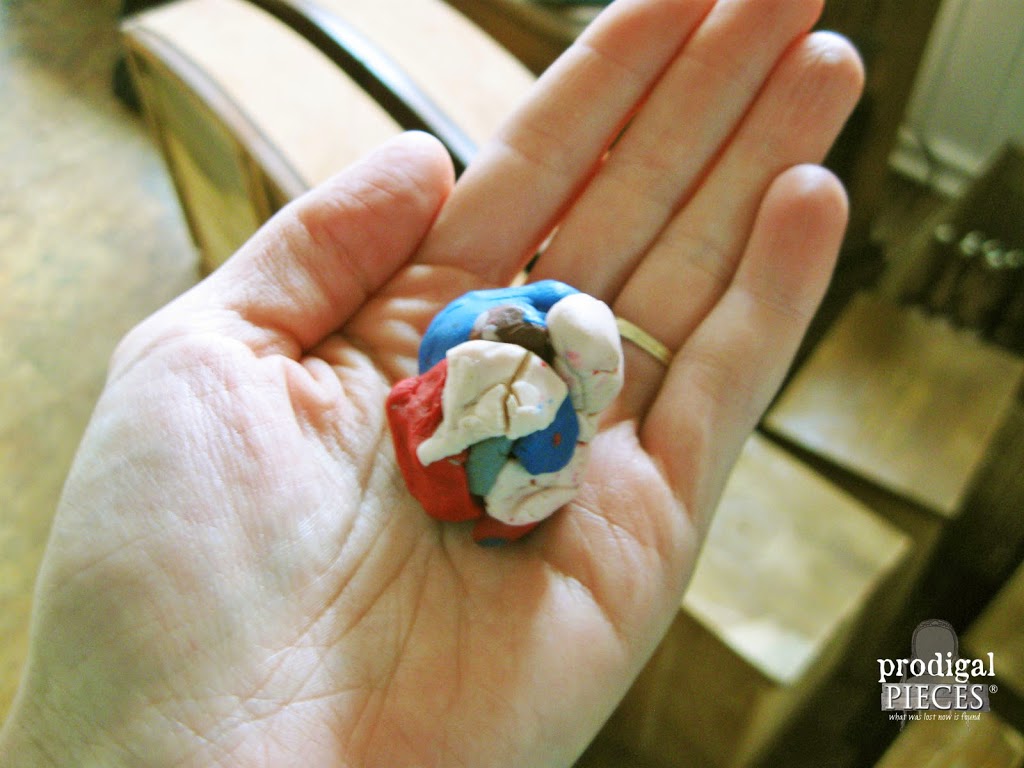
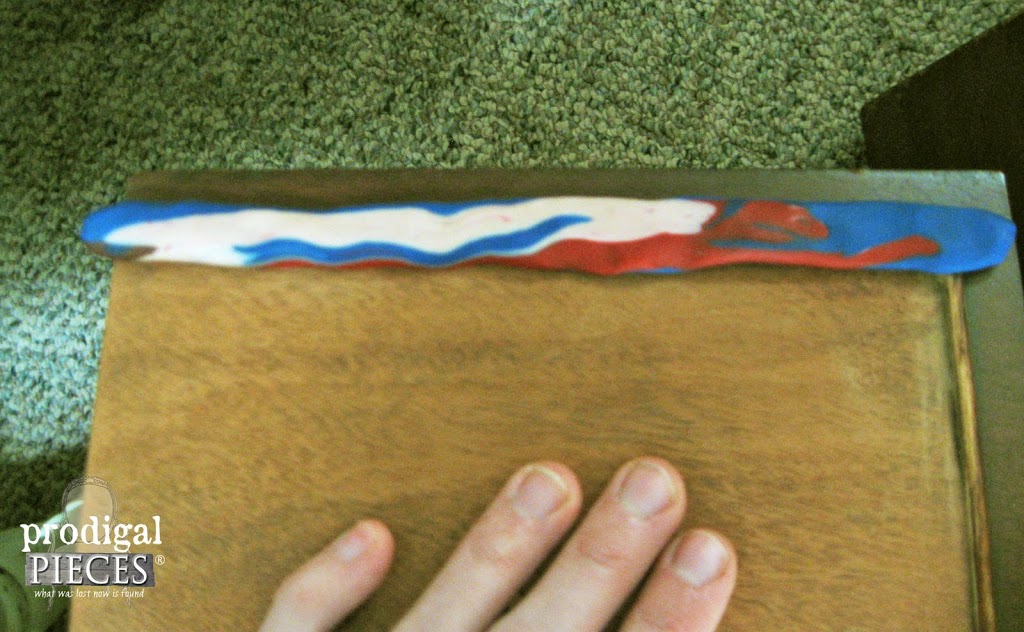
For the mold in this tutorial, I used what I had on hand, which was a bunch of colors that were left over from past projects. You'll want to use enough clay to get a good covering because if you skimp, your replacement won't have the same profile as what's existing.
Take the clay you're going to use to make a mold and massage it, warm it up in your hands until it's smooth and pliable.
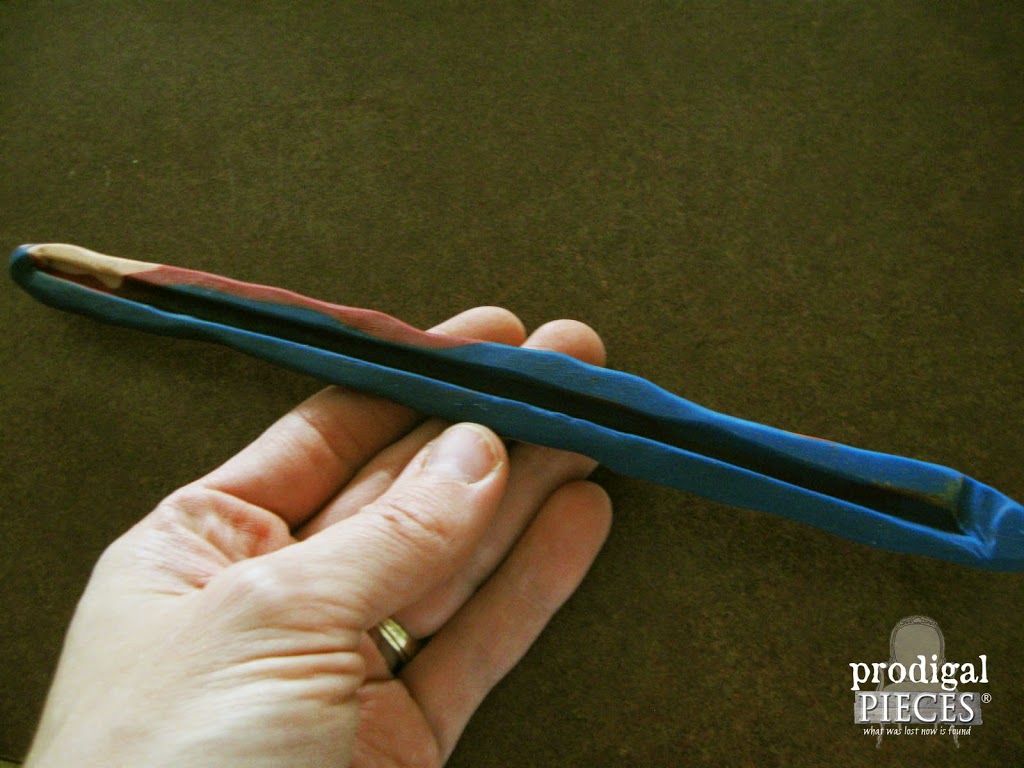
After you have the clay ready to make the mold, you want to find a similar trim piece that is going to match the missing trim you're replacing. I just went to the other side of the drawer and used the existing piece. *note: you'll get a mirrored image when you do this, so keep that in mind when choosing your existing piece.*
NEXT STEPS
Press the clay onto the existing trim, nice and firm until you've evenly distributed the clay. When you think it looks good, then gently remove the clay with slight hands.
Place the mold onto a cookie sheet and make sure to not alter the shape of it because it will affect your finished piece. Follow the instructions on your packaging to bake your clay.
LAST STEPS
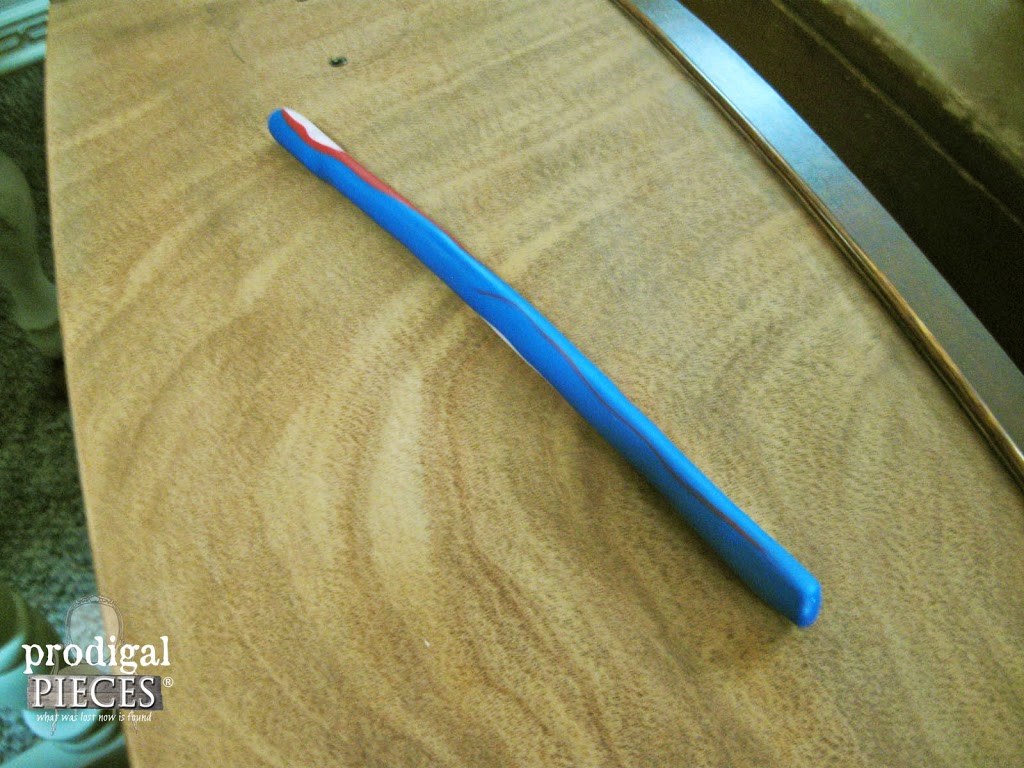
Now you have your mold and are ready to make your replacement piece to repair furniture. Again, I only had a tan colored clay on hand, so I used that knowing I could paint it and hide that color. I knew I wanted to distress the buffet in the end, and I didn't want any of that light color peeking through.
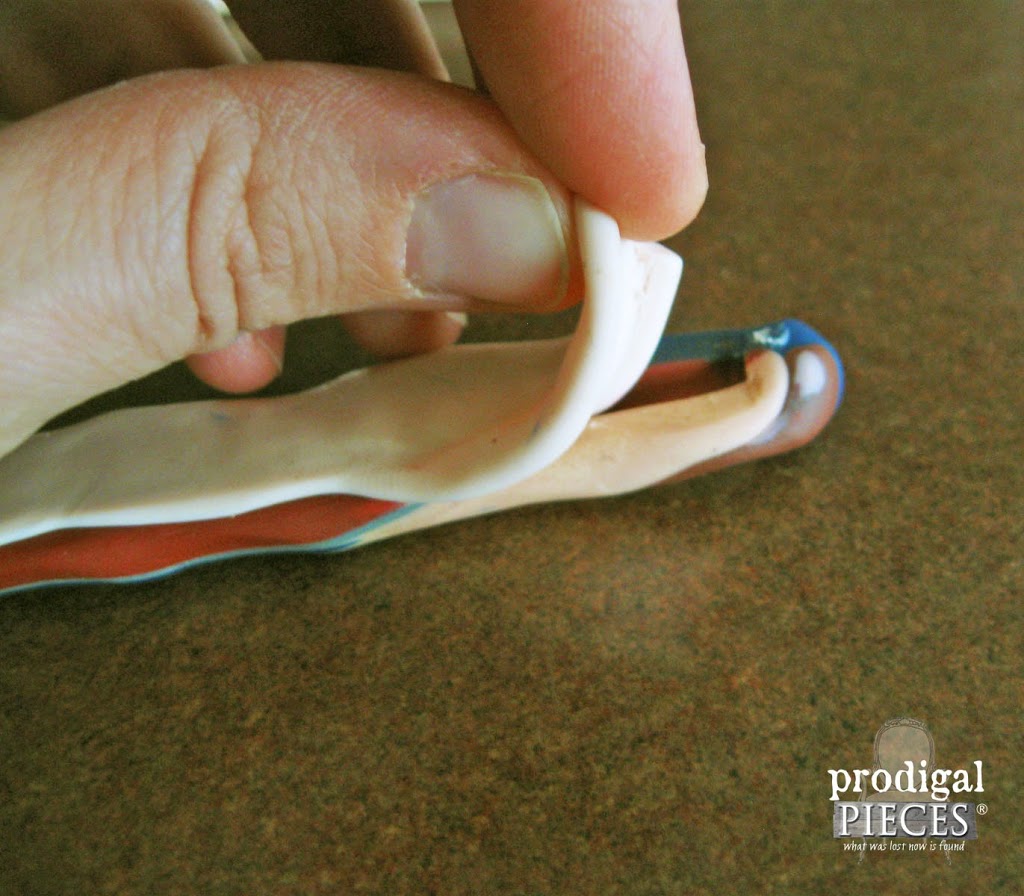
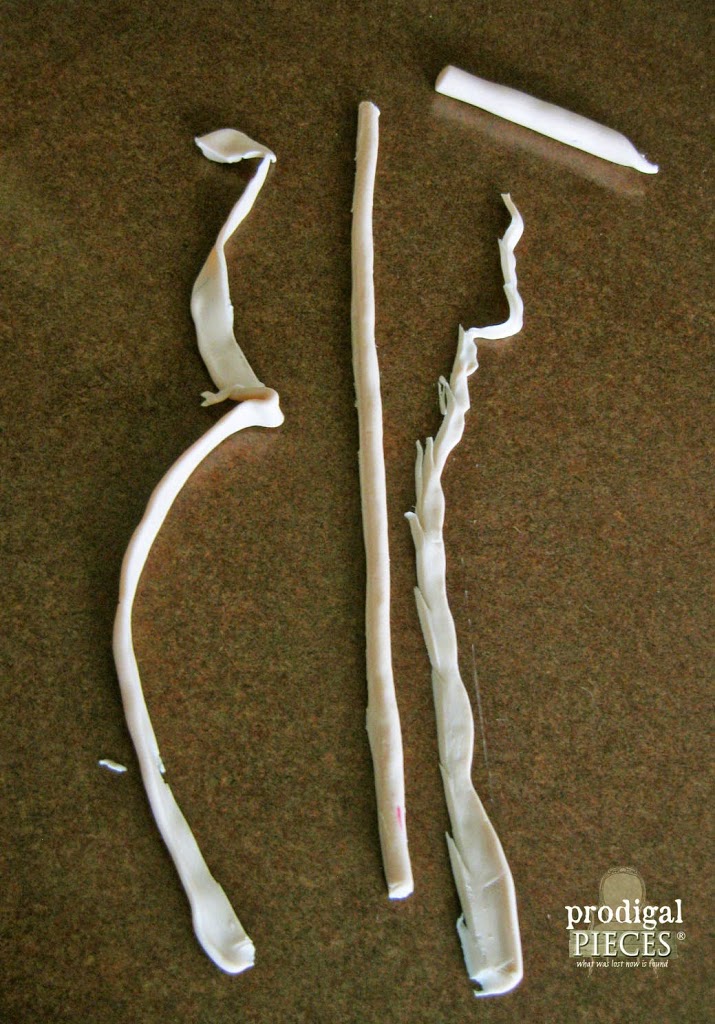
Take a second and consider what you're replacing. If you're wanting to replace a stained colored piece, then use a similar colored clay. Likewise, for replacing a painted piece. Use a color that won't show through your paint. Now, warm up your replacement clay as you did for the mold by massaging. Use enough to generously fill the mold. When it's good and pliable, press it into the mold evenly.
HEADS-UP
Just a heads-up, you don't want to make the replacement too thick (or deep). You'll want to get that clay as flush to the top of that mold as possible, because that depth will affect the profile of your replacement. (ie, it will stick out farther than your existing pieces when you put it on)
With a tender touch, remove the replacement from the mold. It's okay if it gets a little misshapen because you can tweak it. The best part about this is that you can always grab your clay and start over if something goes wrong.
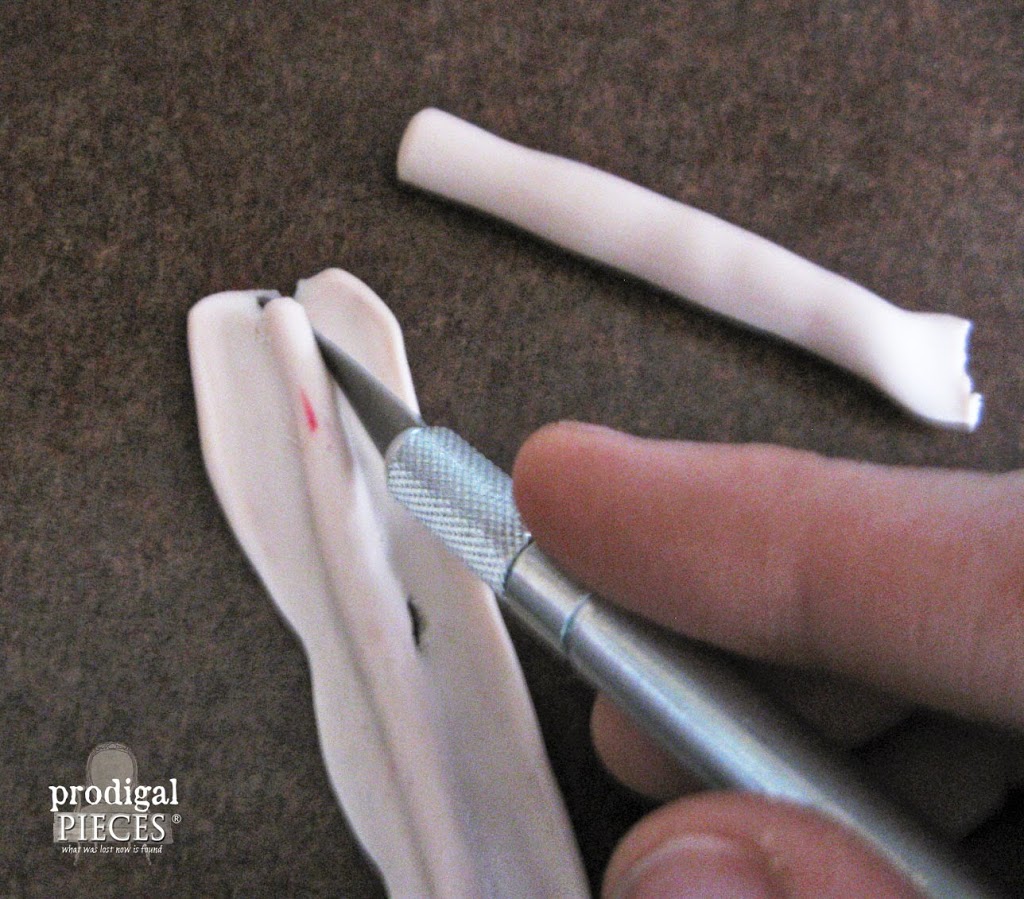
I use an X-Acto knife to trim away the excess clay and tweak the size of the replacement. Then you'll just bake it like you did your mold.
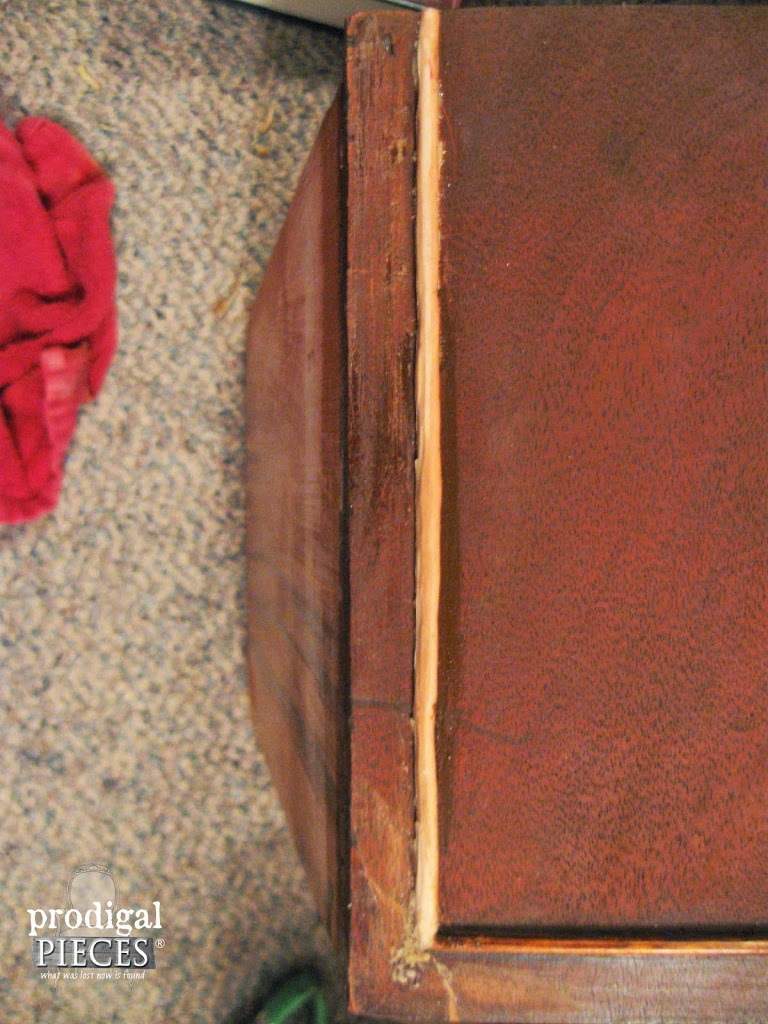
Next, just glue into place. I just used some Elmer's wood glue, but most any strong adhesive would work.
After I glued the trim in place, I took some of the stain used on the drawer fronts to stain the clay.
Pretty close, don't you think? Since I knew I'd be painting it, I didn't worry too much about an even look. I just wanted that dark color to show through when I distressed it.
*note: If you find your replacement piece is a bit wonky, just grab some 400-grit sandpaper and lightly buff until smooth.
PAINT/STAIN TIME
When I started this piece, I just loved the grain in the drawer fronts, and they were in such great shape that I couldn't bear to paint.
Since the cabinet was missing veneer, I just decided to use my
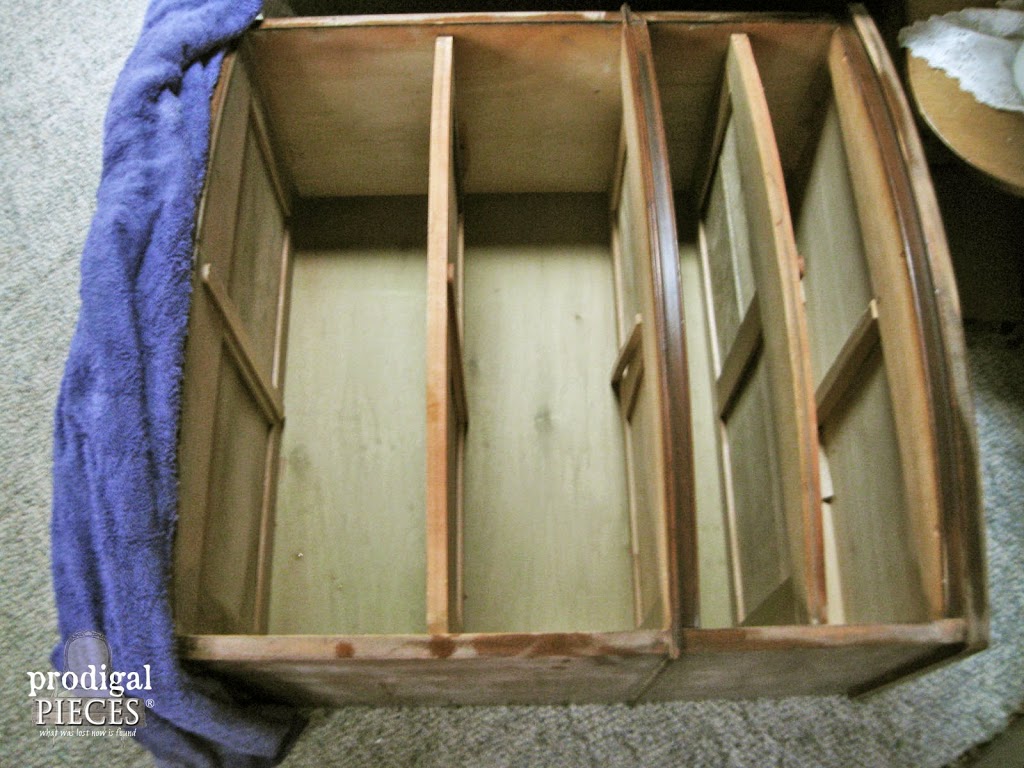
towel method to remove all of it from the base. By doing that, I pretty much have to paint.
THE REVEAL
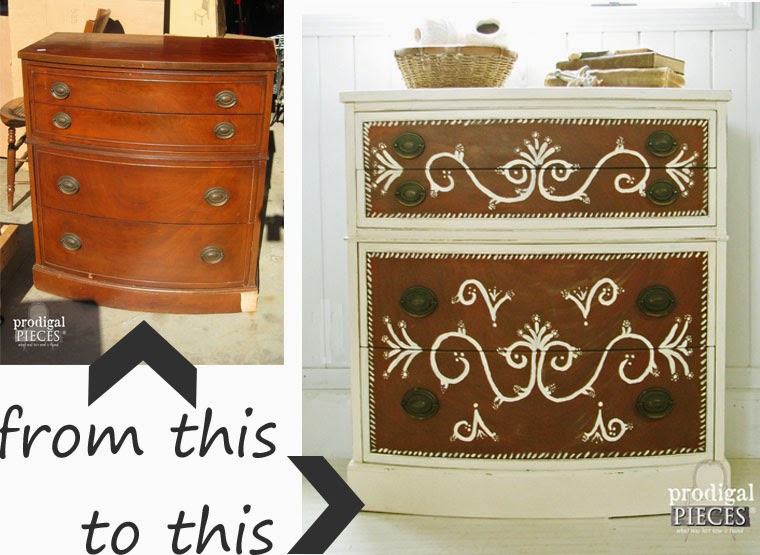
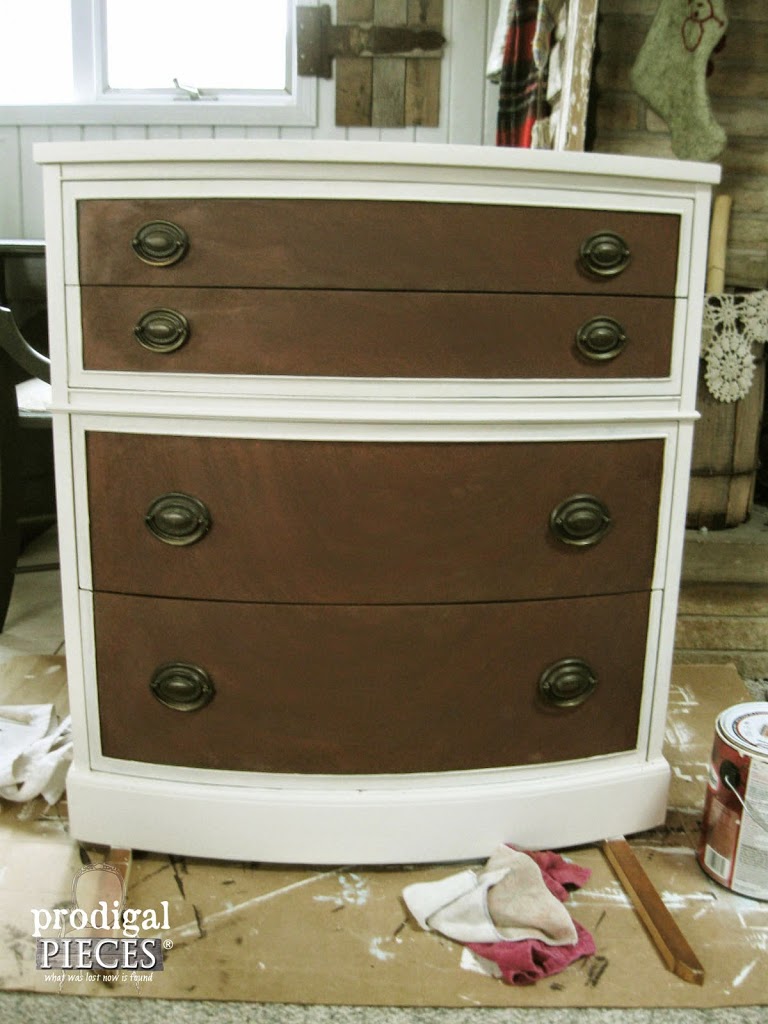
Here's what it looked like after painting and staining.
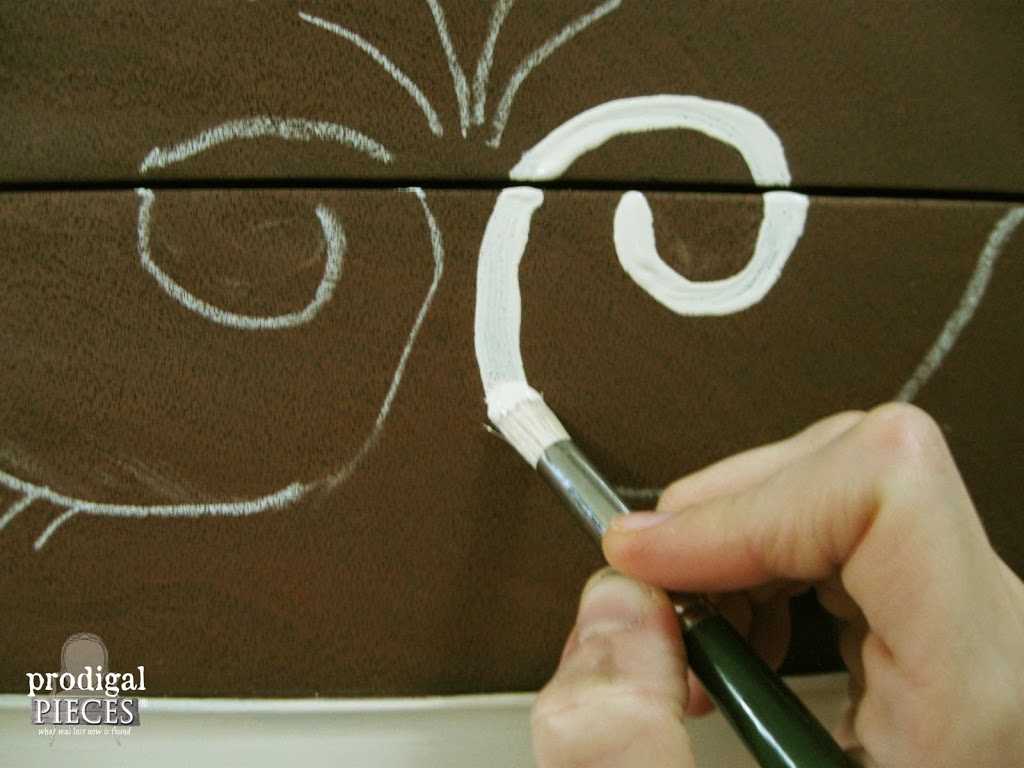
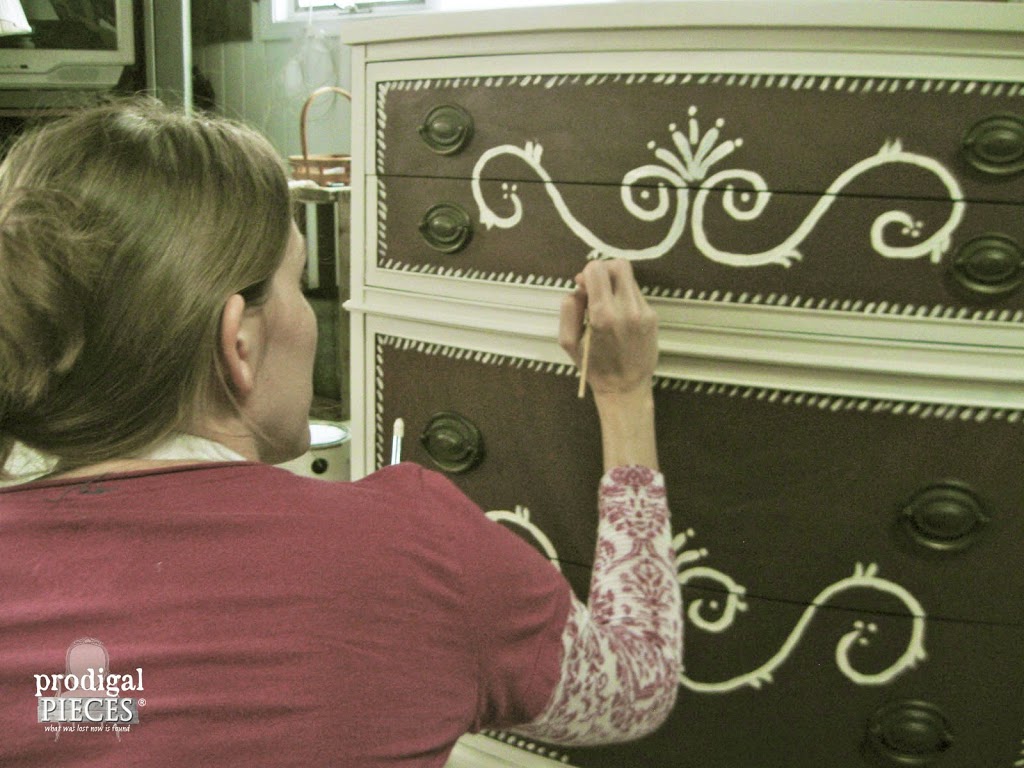
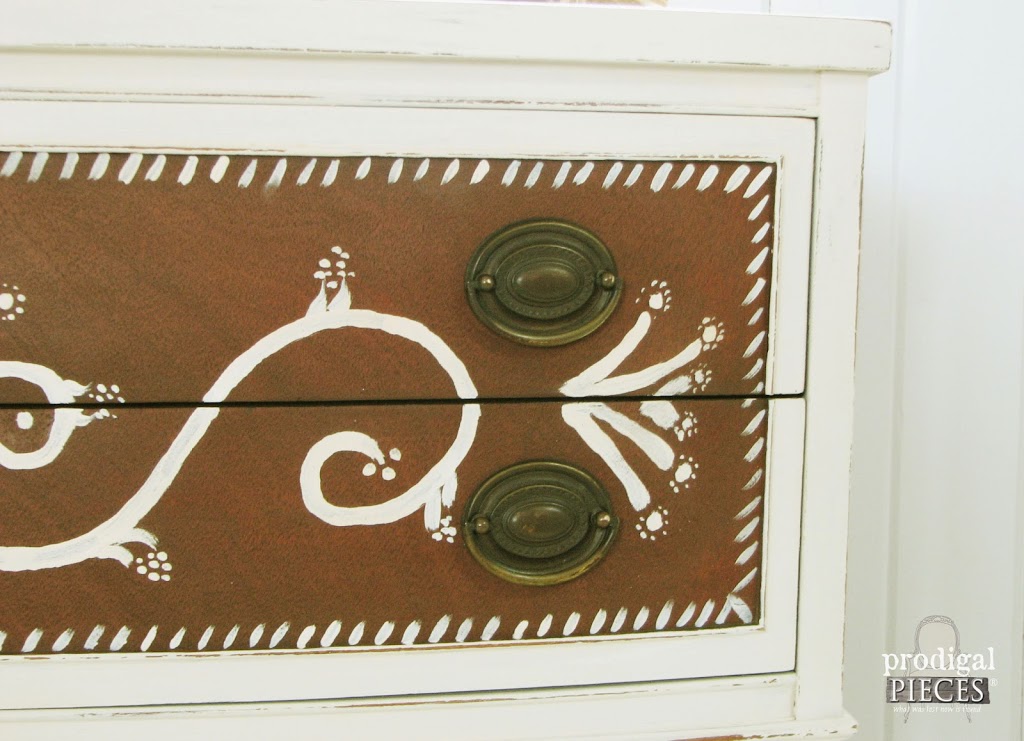
It looked like an blank canvas to me, so I grabbed my artist brushes and added some hand-painted accents. If you want to do this, just draw out your design with chalk and paint right over it. You could use a stencil this way too!
I bet you can't tell me which drawer has the replacement piece? I even fooled my family...ha!
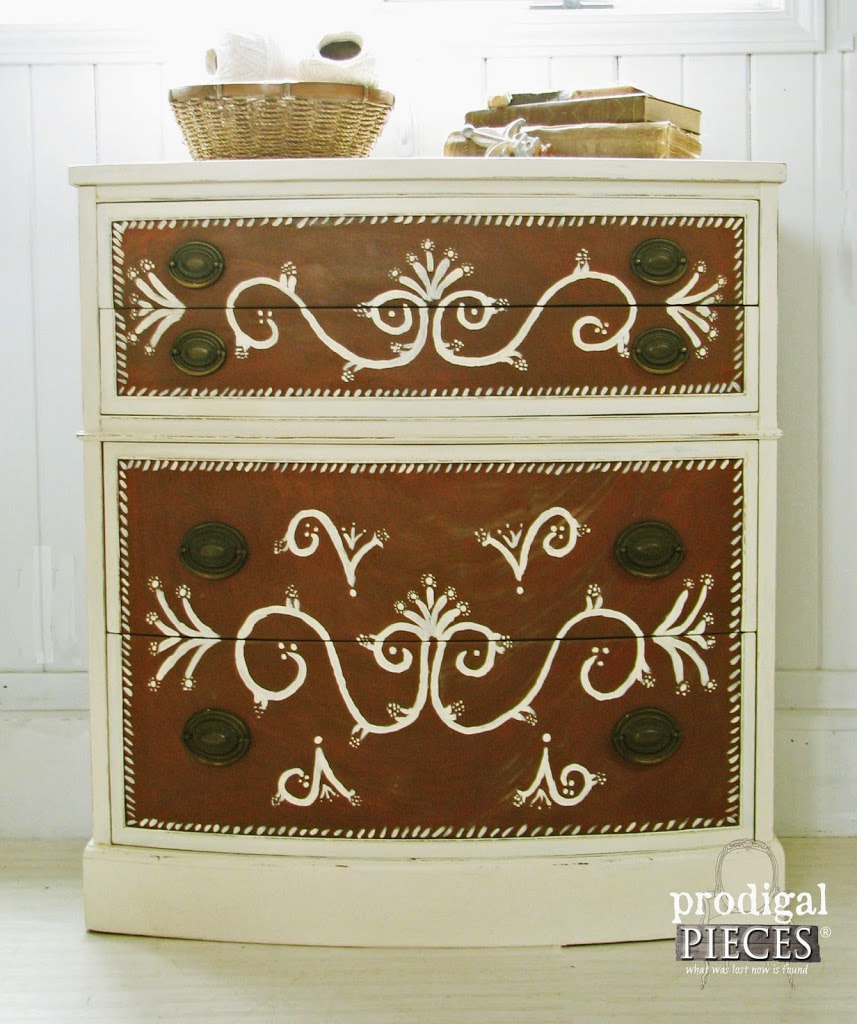
Likewise, these versatile types of furniture can be used as intended, or as an entertainment console, a dresser, for just about anything.
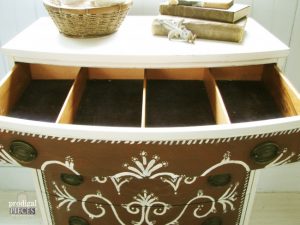
All that being said, don't be afraid of some of the unloved furniture you come across at garage sales, estate sales, and thrift stores. With a little bit of creativity, you can make them shine again! And learn how to repair furniture.
Server has sold from my
my online store, but there's always something new on the way. Be sure to
sign up for my newsletter to get the latest DIY tips.

Also, more projects like this one on how to repair furniture:
