I don't know about you, but one of the cutest things that is available to dress a baby are bib overalls. Am I right? Little cuties crawling around or toddling in these just deserve a squeeze. I no longer have littles that require these, so when an idea struck, I had to head to the thrift store to locate a pair. My vision entailed upcycling a pair of baby bibs into a fun DIY doorstop. Hang with me now.

The last Tuesday of each month I present my
Reduce, Reuse, REFASHION series with the intent to inspire you. The idea is to take something to recreate your home, your fashion, and just have fun. It doesn't have to involve sewing, but often does. You can see all my past projects by clicking the highlighted text above or the image below.

When I was at the store, I not only came home with one pair, but two pairs. A pants pair and a shorts pair. I couldn't resist! Can you blame me? Seeing those adorable worn knees made me remember my guys crawling about here and there.
 TERMS OF USE: when you create this doorstop you agree to the following: it cannot be shared or distributed for monetary gain in any way, it may not be modified in any way, and you may not claim the work as your own.
TIME TO REFASHION
So maybe your littles have outgrown or worn out their bibs or you just love how adorable they are. No need to toss them or even donate...refashion! What I mean is, let's create something useful and savor a memory.
First, I layout the bibs flat and decide the dimensions of my DIY doorstop. My goal is to have as little waste as possible, but also enough size to hold a door open. Then, I cut out the portion I want to keep from both the front and the back panels.

Next, I box the corners so that when I sew it together it will have a flat bottom. See how the bottom corners are cut out square?

Before I assemble, I wanted to add reinforcement to the should straps so they wouldn't just flop over when the DIY doorstop was resting on the floor. I cut two piece of a wire hanger and then used a zig-zag stitch on my sewing machine to baste it into place.

When I'm happy with everything, I use my serger to run down one side, then the other. Next, I serge the bottom edge, and then the open it up and serge across the corners.
note: I prefer my serger, but you could use your sewing machine and a zig-zag stitch to assemble too.
Also, they right needles make a world of difference when sewing. If not a denim needle like show below, then at least use a heavy-duty needle.

ALMOST DONE
Because we want our DIY doorstop to have some heft in order to hold a door open, we need to add a filler. My preferred choice of material is play sand. I fill up a narrow bag with a few scoops. I then, tape off the closure on the bag to ensure that hot mess stuff doesn't come out! Sand is like glitter...once dumped there is no cleaning it up.

Instead of just plopping the sand bag into the bib overalls, I created a bag insert in order to keep the sand where I want it...in the doorstop. For added heft and durability, I used red ticking fabric (a favorite). It's a simple boxed design to mimic the size of the overalls and is secured with a rubber-band and a twine tie.

Now, isn't that cute?


ALL FINISHED
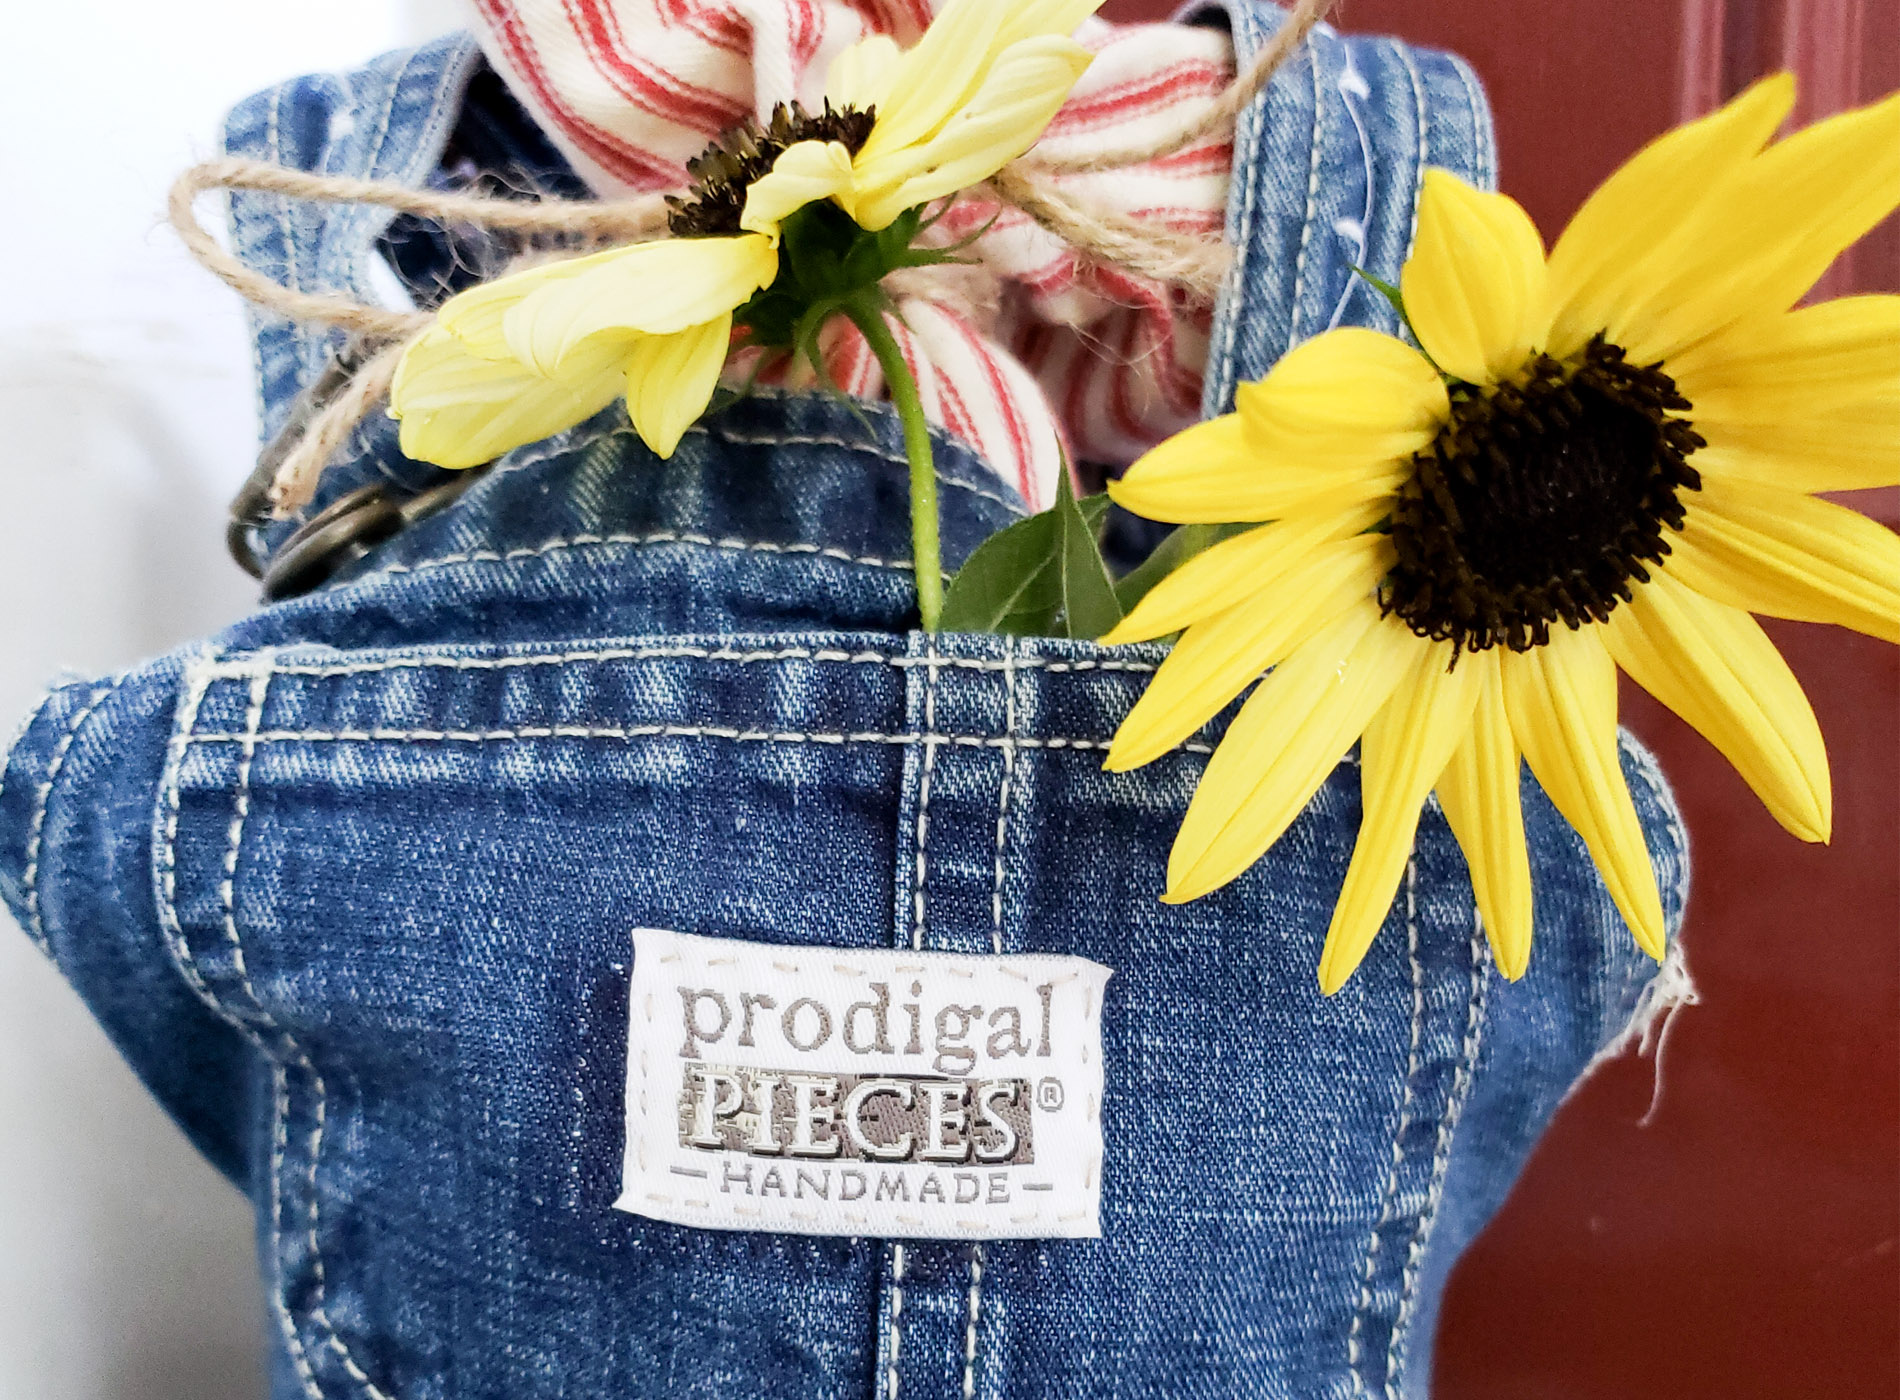
I am definitely smitten with the cute pockets on both the front and the back. You could stick any kind of thing in there to add whimsy. I chose some sunflowers from my garden. Happy faces!


As I mentioned earlier, the wire in the shoulder straps help them stand up, but also make it easy to pick up and move our doorstop. I'm all about function. Chalk that up to being a mama of 6. tsk.

My goal is to inspire you to get creative and have "sew" much fun. If this isn't your jam to sew, but love these doorstops, you can find them both available in
my online shop.


Do pin and share my DIY doorstop made from upcycled baby bib overalls. It's just so fun!

Up next, I am finally able to do something I've been waiting for all year to this spot in my garage.
See my sanity saving DIY idea HERE.

To get these DIY tips & tricks in your inbox, be sure to
sign up for my newsletter. PLUS, you will get your FREE Furniture Buying Checklist and special discount to
my shop. Until next time!

More projects like my DIY doorstop: