 I'm stoked to share this with you because this is one of those builds that can be tweaked to fit any style in any home. It's sorta like a building block to so many more projects. Ready to build this DIY coat rack?
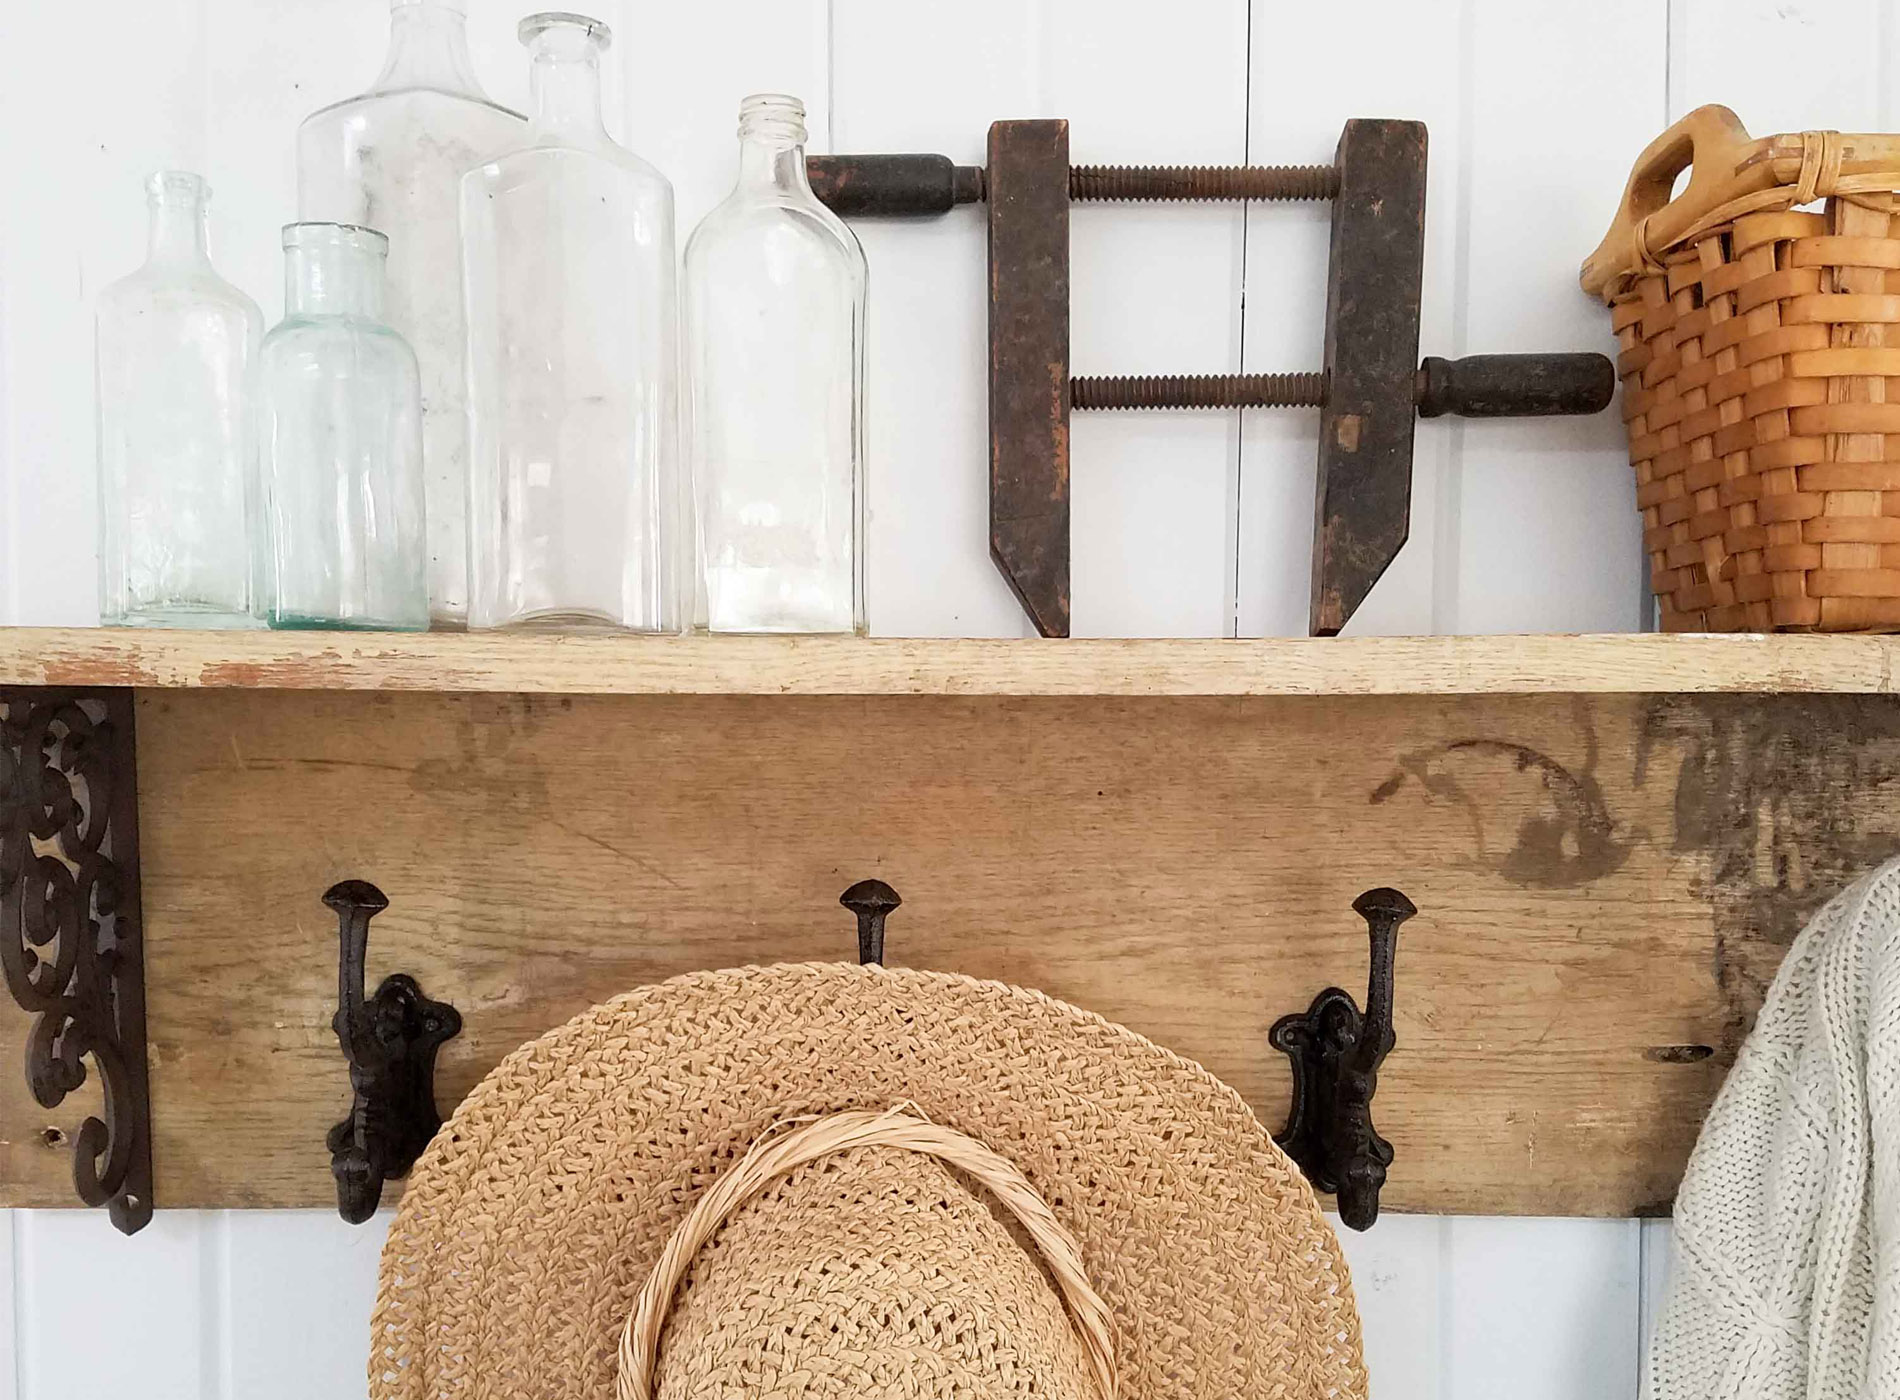
Here is what you'll need:
Materials:- 1 - 1" x 10" x 10' board (can be any species of board you choose)
- 5 - 1 ½" screws
- 5 - coat hooks
- 2 - brackets
- wood glue
- paint or stain (optional)
- drill
- circular saw (or table saw or miter saw or even a hand saw)
- sandpaper
- Kreg Jig Pocket Hole System
- tape measure
- pencil
- builder's speed square
- right angle clamp (optional, but helps so much!)
- safety equipment - goggles and ear protection
STEP 1
To cut my board I used one of my favorite new tools, a 5" cordless circular saw by Ryobi. (see tools above) It's perfect for a beginner or a pro because it's relatively lightweight and so easy to use. Once you have cut your boards, lighting sand the edges smooth.
STEP 2
For this project, I used my Kreg Jig to connect the two boards together. If you have ever debated on purchasing this set, I am telling you I have easily gotten my money's worth. See all my Kreg projects HERE. However, you can put the boards together using a drill and screws or nails, but that is much more difficult to do, especially by yourself. It can be done though! (ask me how I know) ;-) To make the joint, first find center of one of your boards (30") and mark. Measure 14" from center in each direction two times. Finally, you should have 5 marks on your board as shown below. Next, drill 5 pocket holes having your bit bushing set to ¾" and your Kreg Jig depth set to the same.
STEP 3
Next, apply a bead of wood glue to your top edge of your board. Then, using your right angle clamp, hold the boards together with edges flush and attach using your screws. If you don't have the clamp, lay your top board upside down on a surface and line up the edges as shown. Likewise, make sure to wipe off any excess glue with a rag. At this point, you have several different options: (1) stain in your favorite stain (2) paint (3) add any typography or stenciling...the options are limitless.
STEP 4
Also, while the joint you create is sturdy, we're going to add a couple of decorative brackets to add extra strength and flair. You could also use corbels as well (another addiction of mine). I chose these gorgeous iron brackets and hooks. To attach the brackets, simply measure 2" in from each end and attach with the screws provided.

STEP 5
We're nearly done! (fist pump action going on :D ) All that is left are the hooks. To get their placement, measure between the inside edge of your brackets and find center and mark. This length will vary depending on the brackets you use. Once you've marked the center, measure from center to a bracket and divide that area by 3. Then, mark and measure for the opposite side just as you did for this side.
 Last, all you need to do now is attach your hooks and you're set. Place them about an inch or less up from the bottom. Placement will again depend on your choice of hook.
 Last, to mount the rack on the wall, you can either find your studs (in older homes it can be as wide as 24") and drill holes accordingly. Or starting at center measure 8" in both directions, then 16" from those points.
In either event, you will want to make four holes at 16" intervals (standard stud spacing). In addition, it's important this rack be mounts into studs because of the weight of the object itself plus the weight it will be holding. Use a drill bit slightly smaller than your screws, and use screws that is at least 2" long.
Last, to mount the rack on the wall, you can either find your studs (in older homes it can be as wide as 24") and drill holes accordingly. Or starting at center measure 8" in both directions, then 16" from those points.
In either event, you will want to make four holes at 16" intervals (standard stud spacing). In addition, it's important this rack be mounts into studs because of the weight of the object itself plus the weight it will be holding. Use a drill bit slightly smaller than your screws, and use screws that is at least 2" long.
THE REVEAL
And your DIY coat rack is done!
 Perfect for your entry, laundry, bathroom, bedroom, and more.


 Not into DIY? I have this exact shelf ready for purchase in my shop. (SOLD)
[metaslider id=30251]
Finally, my hope is that this is a project that you will try to help you get acquainted with tools and woodworking. This simple design can be the building block to so much more. Additionally, pin and share for your own future reference and inspire others to do the same. Up next, I've got a thrifty makeover for you with this plant stand that, well...needs a little loving, wouldn't you say? HEAD HERE to see.
 To get these DIY tips & tricks in your inbox, be sure to sign up for my newsletter. PLUS, you will get your FREE Furniture Buying Checklist and special discount to my shop. Until next time!

Also, more projects for you like the DIY coat rack:

