The last Tuesday of the month, is truly a time to get celebrate because it's
Reduce, Reuse, REFASHION time! That means I take something of the fashion kind and
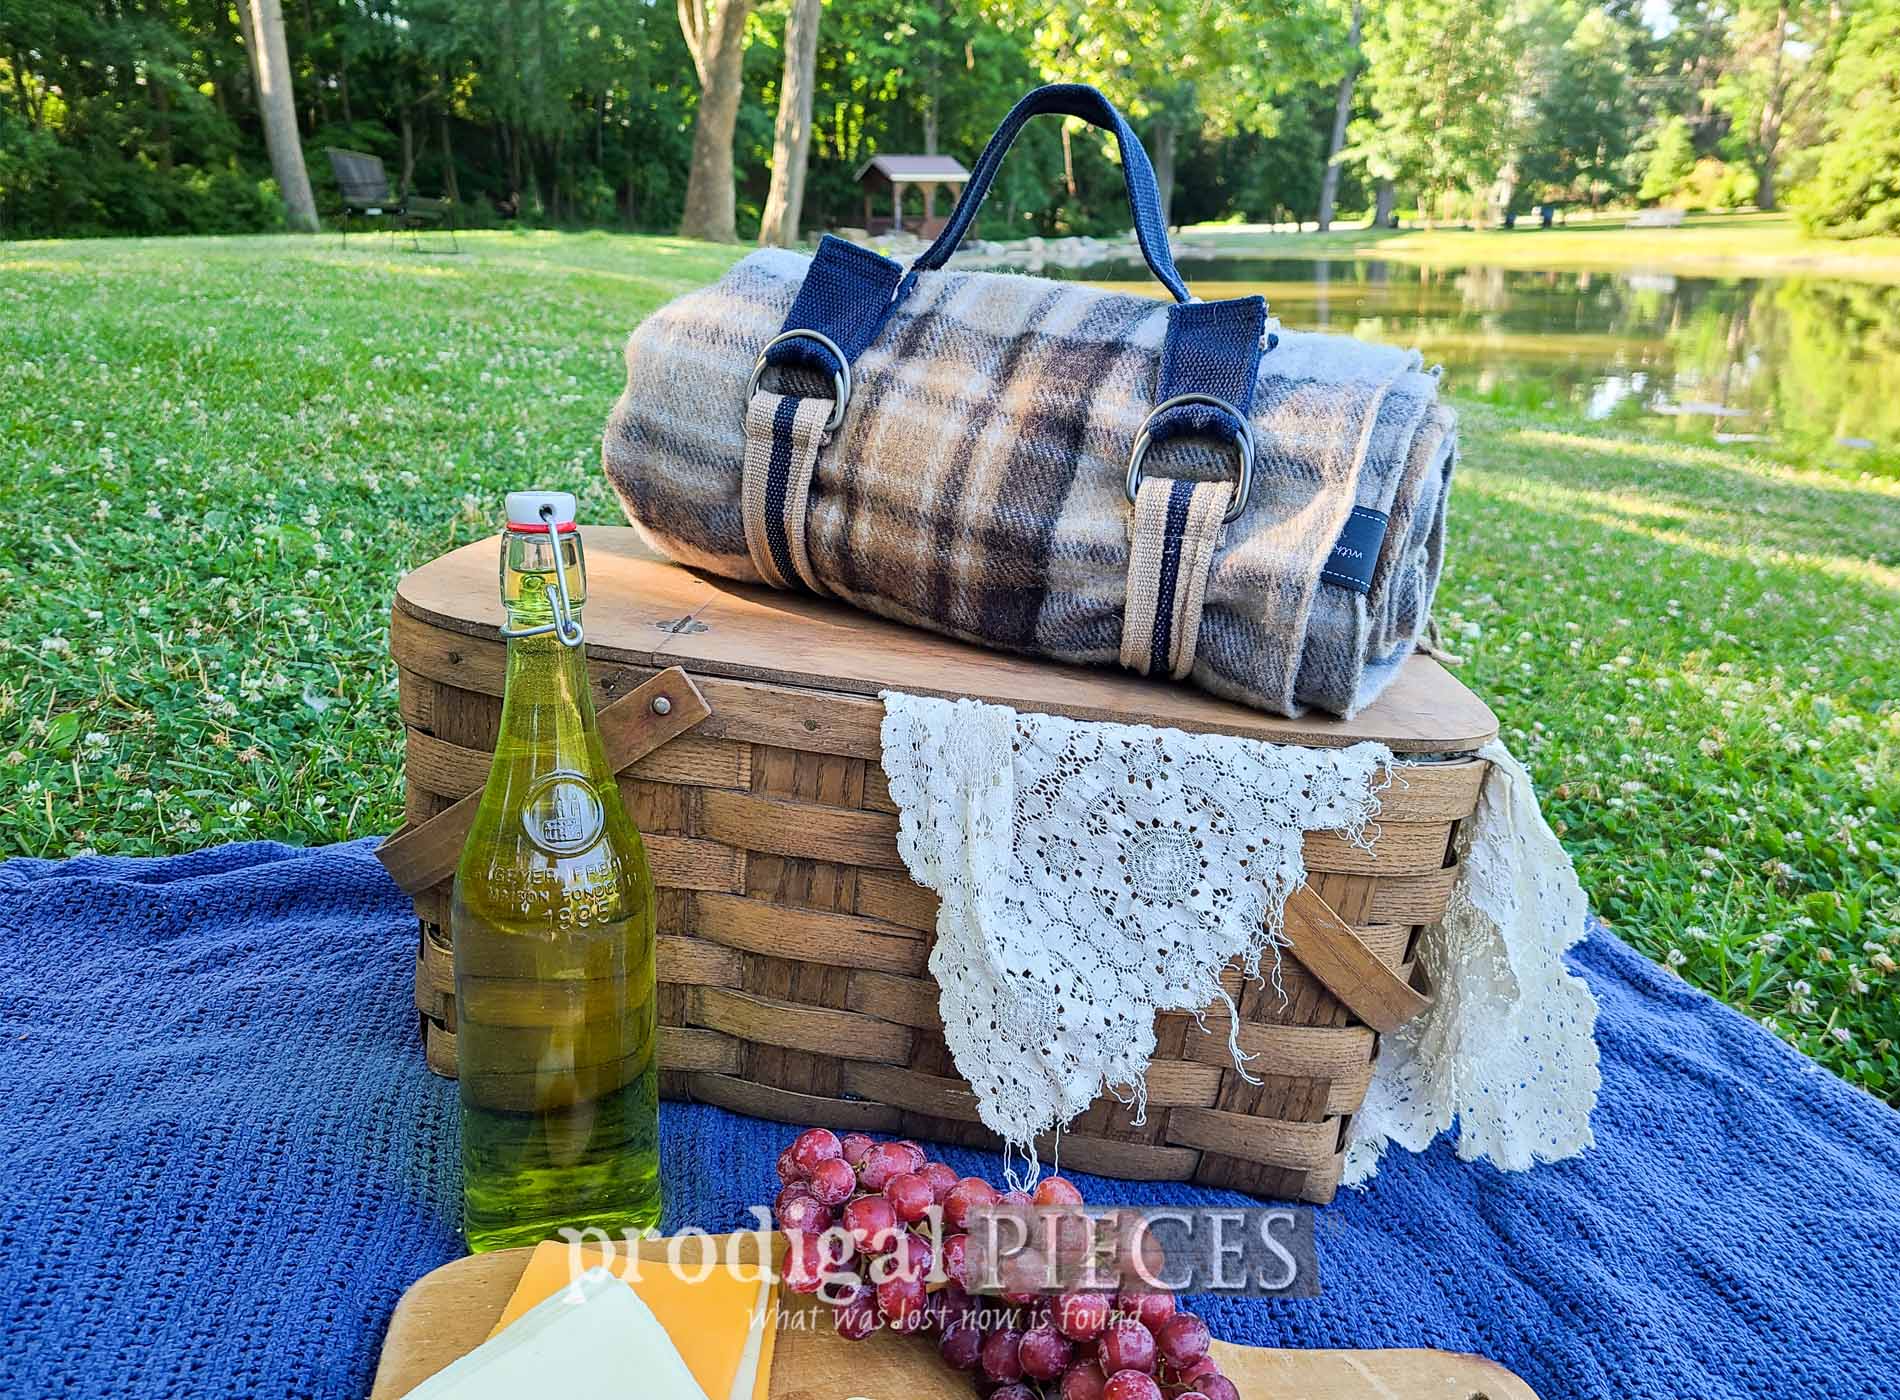
refashion it into something useful. Today, I'm headed to my closet and the thrift store to make use of unwanted belts. The goal? To create a DIY blanket carrier for picnic or beach time fun. I spy some potential!


Let's let our creative juices flow and make this for ourselves as well as a sweet gift to others. Think weddings, showers, and birthdays - especially made from a loved ones selection.
REFASHION TIME
Let's get this party started, shall we? First, here's what you'll need to make your own DIY blanket carrier:
- two or three adult size belts (leather, canvas, etc) preferably all the same material, but colors can vary however you like
- tape measure
- sewing machine or needle and thread
- your picnic or beach blanket
STEP 1
First, here's my choice of belts. My original goal was to use leather, but I came up short. However, these woven belts will do the trick just fine. Yes, they don't all match exactly, but the are in the same color family and will work awesome. I may not use all 3, but I want to be sure to have enough material to work with - it just depends on the length of the belts you choose.

Also, notice the D-rings are slightly different as well. That's just fine too.

Because your blanket might not be the same size as mine, or you may want to make your carrier fit more than one size, keep that in mind. I'm aiming for larger with the ability to size it down if needed. That way I have versatility for years to come. I roll up my blanket and measure around the diameter. In addition, I take note of the length between where I would want my straps to fit so I can create a handle.

Notice I put a pin in at the length I want, roughly 25" for my blanket. Then, once you have a rough idea for your sizing, it's time to put together our belts. BTW, here's another fun project using
upcycled belts I've create for home decor.

STEP 2
Next, at this point you can either use your belts as-is, or do as I did which is disassemble my three belts to make them into one carrier. Since only two belts have D-rings, I use the gray belts D-rings and set aside the belt for a later use since it's pretty frayed anyway.

However, I cut the grain-sack looking belt and the navy belt in half. I join them up using this configuration and stitch down. Last, I cut them to size and secure ends in a similar fashion. I'll be honest, I had more pictures of step-by-step process, but somehow they became corrupt by my computer. grrrr...

STEP 3
Finally, we're ready to attach a handle. I simply put the straps on my blanket and then use the remnant length to make up a handle.

I'm sewing it under the straps using a box stitch, but before I do that, I need to make the ends stable. You can either use this product which works best on natural fibers.

Or, for poly and mixed materials, you can melt the ends with a match.


FINISHING
After my mini sewing stent is complete, I just need to pack up some yummies and head for a relaxing respite. Isn't this so fun? Especially with the quackers (aka. ducks) waiting for a treat.


Not only is this simple to do (I put it together in a morning), but it makes for a wonderful gift. Aren't you guys tired of having a mess of a blanket in your trunk? Just think of all the blanket saving we can do by gifting these to friends and family. wahoo!


Does this inspire you? I sure hope so! There are so many ways to make use of things we have on hand or can find at a thrift store. Half of the fun is the hunt, the other part is making our own home story.

SHARE
As always, I'd love for you to inspire others too. Pin and share to light the fire to get the ball rolling for others.

Next on the makeover journey is the filing cabinet my dad handed off to me. Make sure to
sign up for my newsletter to get all the details. Peek at its
new look HERE. Until next time!

 PINTEREST | EMAIL

Also, more fun refashion projects like this DIY Blanket Carrier: