 *sidenote: While I understand some people are wood purists and chastise me for painting, I too love wood. I only paint things that won't lose value when painted. This chest is not a high-end Art Deco piece and I know that by experience. This is a copy and thus I can change it as it suits me. PLUS, it's mine! (end of rant - thank you. :D )
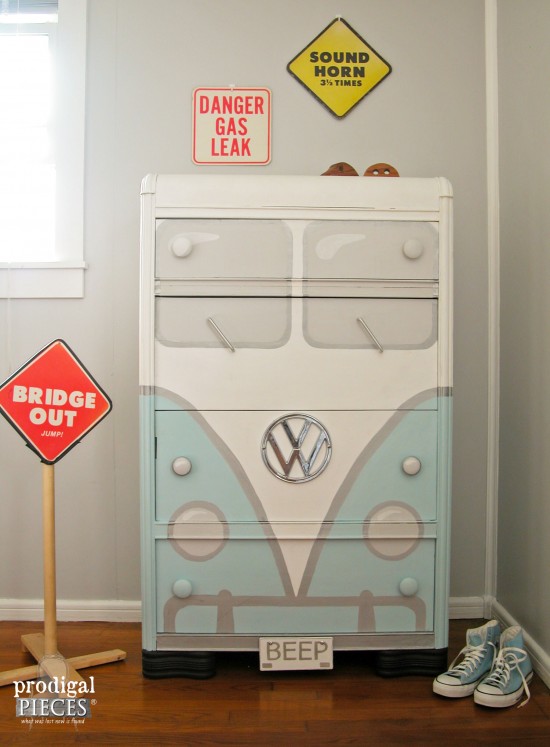
I found this chest on Craigslist and in the past, I have done several different things to these waterfall chests. My most popular is my BEEP. This dude was a freebie for good reason - he was a hot mess!
*sidenote: While I understand some people are wood purists and chastise me for painting, I too love wood. I only paint things that won't lose value when painted. This chest is not a high-end Art Deco piece and I know that by experience. This is a copy and thus I can change it as it suits me. PLUS, it's mine! (end of rant - thank you. :D )
I found this chest on Craigslist and in the past, I have done several different things to these waterfall chests. My most popular is my BEEP. This dude was a freebie for good reason - he was a hot mess!
 Then there's my Dumpster Diva, another piece of decoupage furniture. She was left out in the cold and on her last leg. Now she shines!

*post is sponsored by HomeRight (see full disclosure)
DIY TIME
I have done more Art Deco pieces that you can see in these posts, and I hope you can see why I enjoy them. Obviously, this chest was in sound shape and really wasn't looking that bad, although the appliques were flaking, and it had some surface damage. Not only did I want to revive this, but I wanted to give it some flair to make it shine. It has all the original Bakelite pulls with metal accents (not brass), so I thought a new look was in order to bring it up to date. First, I start with my reliable sander to get things nice and even. Next, I go to one of my favorite tools, my sprayer.
 We are having some fantastic weather here and I can't resist getting to work outside and savor it all. Thankfully, the Spray Shelter helps keep the debris from getting into my work, and the Finish Max makes my job super-fast!

PAINT TIME
Since I know that these pieces are known for bleed-through, I start with a base coat of Kilz stain blocker. Likewise, you can see the numerous ways I have put this thing to use HERE. For my topcoat, I chose to use the same color gray, Universal Gray by Glidden, that I used in my teen boys room makeover and my bathroom remodel. Love that soft, light color.
DECOUPAGE
Then, after two coats and curing, I am ready to add my decoupage. In past posts, I've used tissue paper, art printed online, or most anything to decoupage furniture. Today, I'm using the set of gorgeous napkins sent to me by a reader that knows my style and has become a friend. Thank you, Grace! Since waterfall pieces tend to be sorta boring, I wanted to add some dimension to the chest drawers. All you need to decoupage is your paper, a brush, and either decoupage adhesive or watered down school glue. Both work well.
 You will want to work in small batches and apply adhesive in a thin layer to the spot you want to begin with. First, apply your paper starting at one edge and smoothing as you go. Be careful not to tug and smooth too hard. Then, once set, apply more adhesive on top to the paper to seal it. You may have a few wrinkles that you can leave for texture, or gently smooth with your brush. Also, consider if you want to wrap around edges, in this case I did.
You can overlap your decoupage sheets or line them up, but feel free to experiment on a scrap piece of wood if you desire to give it a test run. Finally, your decoupage is now finished and sealed, but if you prefer, you can also add a poly topcoat for added durability.
TIP: When using napkins, sometimes you need to separate them into individual sheets for easier application. Thinner material goes one smoother, but if you want texture, keep them together.
You will want to work in small batches and apply adhesive in a thin layer to the spot you want to begin with. First, apply your paper starting at one edge and smoothing as you go. Be careful not to tug and smooth too hard. Then, once set, apply more adhesive on top to the paper to seal it. You may have a few wrinkles that you can leave for texture, or gently smooth with your brush. Also, consider if you want to wrap around edges, in this case I did.
You can overlap your decoupage sheets or line them up, but feel free to experiment on a scrap piece of wood if you desire to give it a test run. Finally, your decoupage is now finished and sealed, but if you prefer, you can also add a poly topcoat for added durability.
TIP: When using napkins, sometimes you need to separate them into individual sheets for easier application. Thinner material goes one smoother, but if you want texture, keep them together.
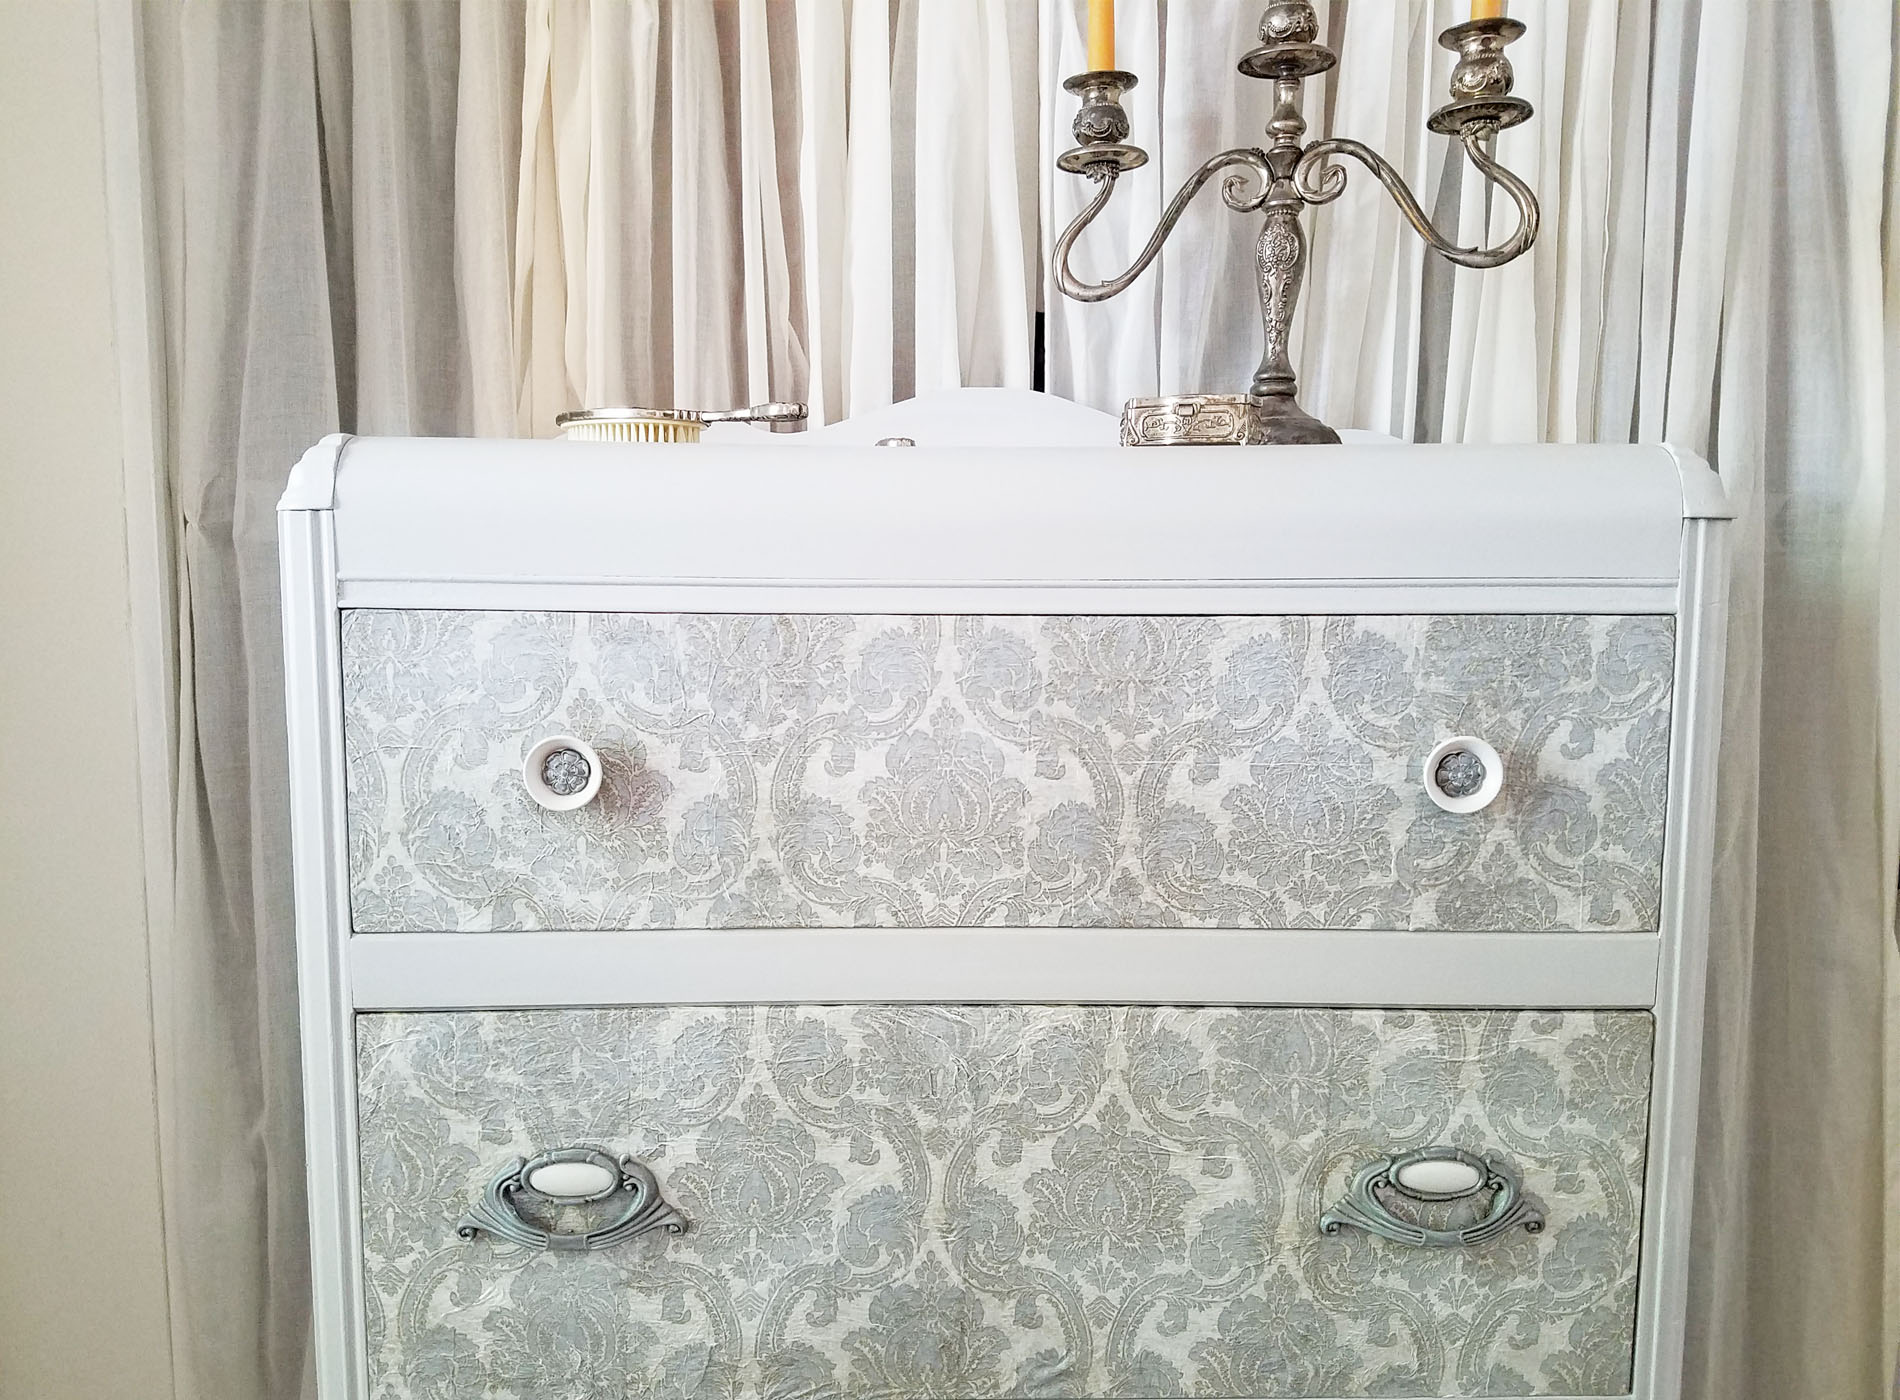
THE REVEAL
Here's my waterfall chest makeover in the new look. I painted the pulls with contrasting satin white and brushed nickel since that orange Bakelite wasn't cutting it for me. The contrasting drawer fronts make for a better show and add charm to this dated piece.

 To give it a soft glow, I went over the entire chest with a white wax. It really softens it and adds texture to the crevices and the wrinkles on the paper that I wanted to show.
 And if this little lady has stolen your heart, you can find it available for purchase in my online store along with my other goodies.

 Next, I am excited to show you the after of this vintage Kroehler vanity. I used to do vanities all the time and have been in withdrawal! Any guesses to the finish? Head HERE to see the end result. In addition, sign up for my newsletter to get the details in your inbox.


Also, more of my decoupage furniture for you to see:

