Already were in a new month barreling along whether we want to or not and I'm excited! Why? Well, it's the second Tuesday of the month which means it's
Trash to Treasure Tuesday. That means my blogger friends are joining me for brand new DIY projects for you. While you'll see their work in a bit, feast your eyes on this damaged antique dresser ready for revival.

As you can see, I have my work cut out for me with this piece I am able to source for free from a wonderful gal who needed to find it a new home. Not only is it missing veneer on the drawer fronts, but also the top and sides as well as needing casters and...let's face it...love.


In the event you're new to the damaged veneer game, don't be afraid of it. Rather, embrace it because it typically means you can get a piece for free (like I did) or relatively cheap. Though, bear in mind that free typically means WORK. With this in mind and for the purpose of encouraging you, here are some examples of my past projects messing with veneer:
GET 'ER DONE
First, as you can imagine, I need to see what's below that veneer. Most often, there is gorgeous wood underneath there, but it has flaws here and there that make it suitable for stability, but not for beauty. That being the case, I grab my putty knife and begin to pry it off the drawer fronts.

Thankfully, it comes off pretty easy for the most part - no towel method needed! {{whew}} However, I still need to sand down those rough drawer fronts. Moreover, they're full of worm holes, deep grain, and a whole lotta character.

Additionally, I am able to source wooden casters from a local thrift store and set those in place.

Then, as soon as the drawers are ready, I use my reactive stain to naturally age and deepen the wood. Likewise, you can see what I've used the stain for in
these past posts. Oh, and yes...I'm embracing those worm holes, knots, and oodles of story-telling grain much like
this dresser and
this chest.

PAINT COLOR BOMB
Meanwhile, I am soooo in the mood for some color fun using this second's paint in a wickedly fun coral color that I used on this
tilt top table. Actually, I want to really deck the cabinet out with ombre colors, so I mix up these three.

After all, I'm not new to this technique as I've done plenty of paint blending like on this
Mid Century dresser, this
damaged mirrored dresser, and this
chest of drawers, to name a few.

At the same time, I also want to keep the original hardware, but give it some spunk as well. Next, I use milk paint to brush it on the knobs and swag pulls, then wipe it off a bit with a rag.


BAM
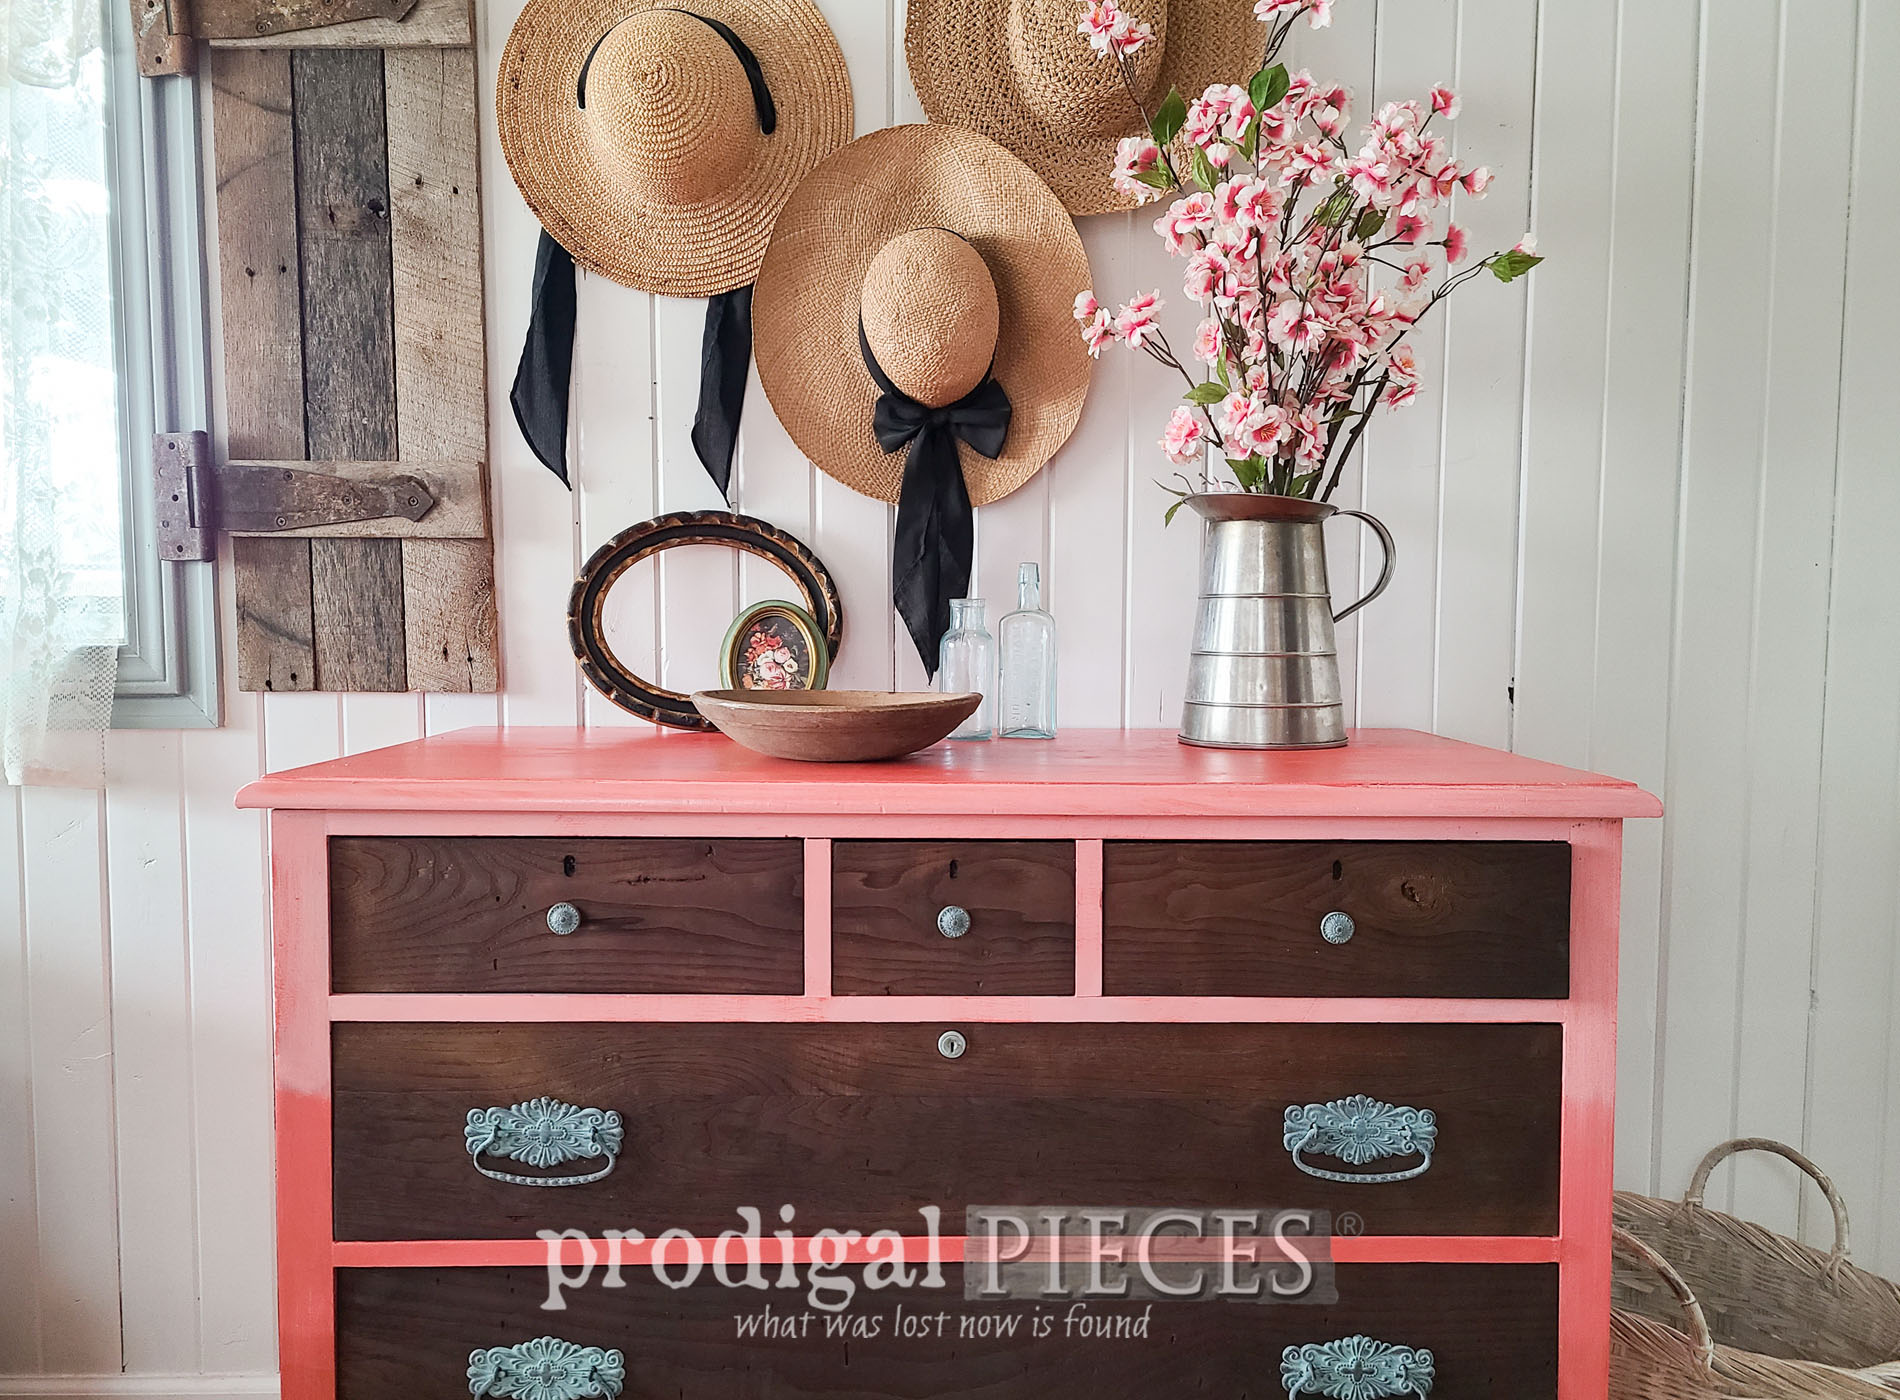
Last, after a bit more DIY fun, here is my damaged antique dresser now sporting a Boho vibe from top to bottom. Can we say spunky?


Hellllooo color and goodbye grunge.


Also, do you see the paper-lined, skip-happy drawers? tee hee! While I've made use of this paper before, so I am happy to have it fit this project as well. In fact, I also gave the entire piece, drawers and all, with
hemp oil for a natural finish.


As always, I want to hear from you...does this color make you smile or maybe you would have picked a different color? Do tell in comments below. Furthermore, if you'd like to add this piece to your home story, you can find it and more in
my online store.

SHARE
In addition, pin and share to inspire others to grab up those damaged veneer pieces and revive them for a new life!

Before you go, be sure to
sign up for my FREE newsletter to see this next pin transformation, then head below for more Trash to Treasure fun
HERE.


 PINTEREST | EMAIL
Last, but not least, for the sole purpose of inspiring you, these awesome blogger ladies have created new projects using their found items to create new.


- Confessions of a Serial DIYer
- Salvaged Inspirations
- Artsy Chicks Rule
While you're at it, check out these other DIY projects like my damaged antique dresser:


 Last, but not least, for the sole purpose of inspiring you, these awesome blogger ladies have created new projects using their found items to create new.