 Be sure to check out the bottom of the post for what my blogger friends have worked on for you too!
So many people are starting to decorate their homes for the coming fall season and though I hang onto every thread of summer, I decided to go ahead and get some crafting done. I wanted to give you a chance to get some of your own fall decor made before you're ready to decorate.
Here's what's funny...I had no intention to take on my fireplace as a project right now since our family room is next on our agenda. I keep telling myself, "Stay focused...kitchen!" However, when I got it all taken apart here's what I saw:
Be sure to check out the bottom of the post for what my blogger friends have worked on for you too!
So many people are starting to decorate their homes for the coming fall season and though I hang onto every thread of summer, I decided to go ahead and get some crafting done. I wanted to give you a chance to get some of your own fall decor made before you're ready to decorate.
Here's what's funny...I had no intention to take on my fireplace as a project right now since our family room is next on our agenda. I keep telling myself, "Stay focused...kitchen!" However, when I got it all taken apart here's what I saw:
 One blank boring mess. We will be tearing out that carpet and redoing a few things, but my future goal was to freshen up this fireplace when the remodeling was done. Well...my little self saw fit to tackle it now because...I WANTED TO. (laughs wickedly) It's my vacation, so this is how I "take a break".
DIY TIME
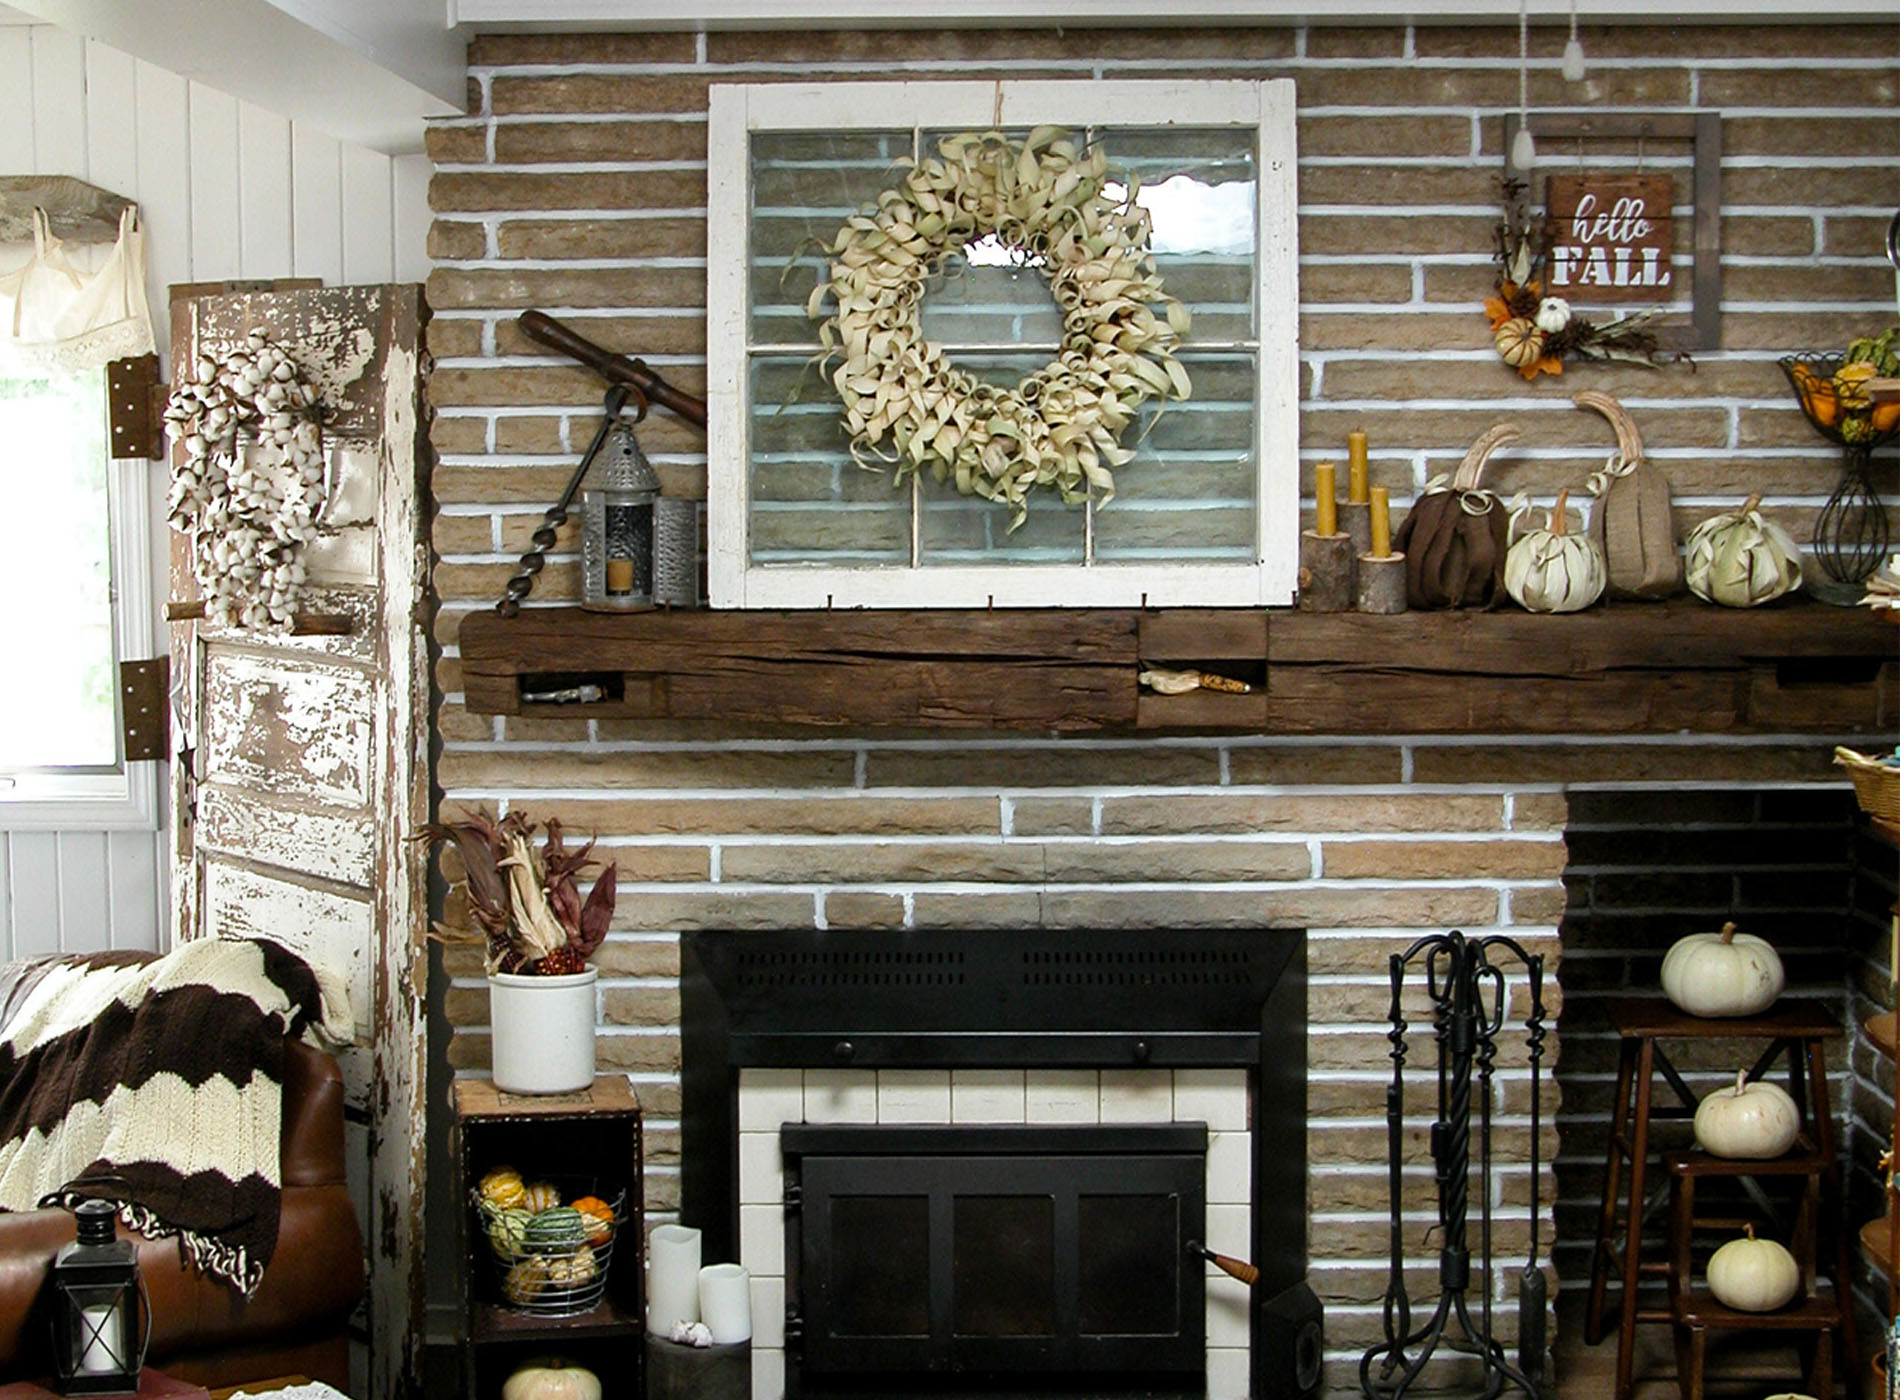
It only took me a couple hours to paint the grout lines and then stain the barn beam mantel. My goal was to draw out this beauty instead of it being stuck in a corner. We added the floating barn beam mantel a few years back and I have been debating on staining ever since. Doesn't it look better? I'm stoked that is off my checklist.
 Okay, now that is done, I want to show you how to make those corn husk pumpkins and wreath that I have displayed. Sound good?
First, here is what you'll need:
Okay, now that is done, I want to show you how to make those corn husk pumpkins and wreath that I have displayed. Sound good?
First, here is what you'll need:
Materials:
- a dozen ears of sweet corn - shucked and dried
- old pumpkin stems (or sticks, driftwood, etc.)
- pool noodle
- burlap
Tools:
- hot glue gun/glue sticks
- old curling iron
- old flat iron or clothes iron (optional)
- sewing scissors
 Meanwhile, last year I created my funky pumpkins from railroad spikes and scrap wood. Head HERE to see how I made these fun cuties OR you can find them available in my online shop.

 So you can see I love to have fun making pumpkins. Ready to start making this newest addition?
DIY TIME
Unless you already have some corn husk dried, you will need to prepare for this project at least a week in advance. Or, as shown above, you can use any heavy fabric like burlap, drop cloth, etc. For the corn husk version, shuck your corn making sure to try to keep the corn husk in whole pieces, if possible. To dry the corn husk, we used some scrap boards and laid them all out. My kids had fun with this part. Then press between another board and let set for a week or so until dry. I've used smaller boards and stacked them thick with just as much success.
 Now that your supplies are ready, let's get crafting. Grab your pool noodle and cut about a 3½" length off.
 Next, cut a length of burlap long enough to wrap around the noodle and about an inch and half wider so that it can tuck into the top end of the pool noodle. Glue in place with your glue gun.
TIP: To save your fingers (ask me how I know) I always use a stick or some other object to press down what I'm gluing. Those glue gun burns are not funny!
Next, cut a length of burlap long enough to wrap around the noodle and about an inch and half wider so that it can tuck into the top end of the pool noodle. Glue in place with your glue gun.
TIP: To save your fingers (ask me how I know) I always use a stick or some other object to press down what I'm gluing. Those glue gun burns are not funny!
NEXT STEPS
Once you have the burlap around the pool noodle, begin adding the husk (or burlap) around the bottom of the noodle in a star-like fashion. Here is is shown from the top. If your corn husk pieces are bent or folded, just use an old clothes iron or flat iron to smooth them out. Check a thrift store for used ones that can be dedicated to crafting. Keep adding until the base is full. Once done on that end, flip the noodle over and attach the other end of the corn husk to the top using your glue gun. You can even sacrifice some sewing pins to help hold them in place while they cool.
 After you have attached all the pieces, just add your old pumpkin stem (each year when the season is over I pull of the pumpkin stems to use for the next year). For a bit of texture, you can use a curling iron to curl a few pieces of corn husk to mimic pumpkin tendrils.

THE REVEAL
And you have your pumpkins! I share how to create that "hello Fall" sign in this tutorial.
Since I had plenty of corn husk leftover, I decided to create this corn husk wreath using a grape vine wreath to start. You could use another pool noodle wrapped in burlap, or whatever wreath base you prefer.
I share how to create that "hello Fall" sign in this tutorial.
Since I had plenty of corn husk leftover, I decided to create this corn husk wreath using a grape vine wreath to start. You could use another pool noodle wrapped in burlap, or whatever wreath base you prefer.
 To make this wreath, I just simply curled the rest of the dried corn husk with a curling iron and attached with my glue gun. I love it because it's simple and fun. No need to break the bank to make your decor. And by adding natural elements to your home brings a soft touch. Last year, my mantel focused on neutrals, but this year I brought a little of those gorgeous fall colors back in. Oh, and if you love those log candlesticks, I have the tutorial to DIY them over here.

 I hope you've enjoyed this craft and my mini room makeover. I would love it if you would pin and share to spread the pumpkin love and inspire others to get their craft on. ♥
 Or better yet, to inspire others to give their home a fresh touch. Here's our space remodeled and full of DIY fun HERE.
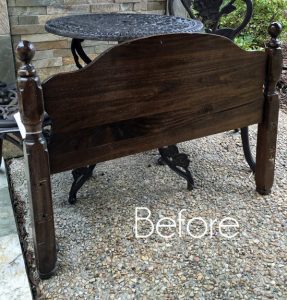
 Up next, I have a furniture makeover for you using this Mersman side table as my subject. It's time to get some bling on! See the after HERE.


WAIT!! Don't forget to check out these awesome makeovers by my Trash to Treasure friends!

Confessions of a Serial DIYer
 |
|
Girl in the Garage |

More of my fall decor tutorials:

