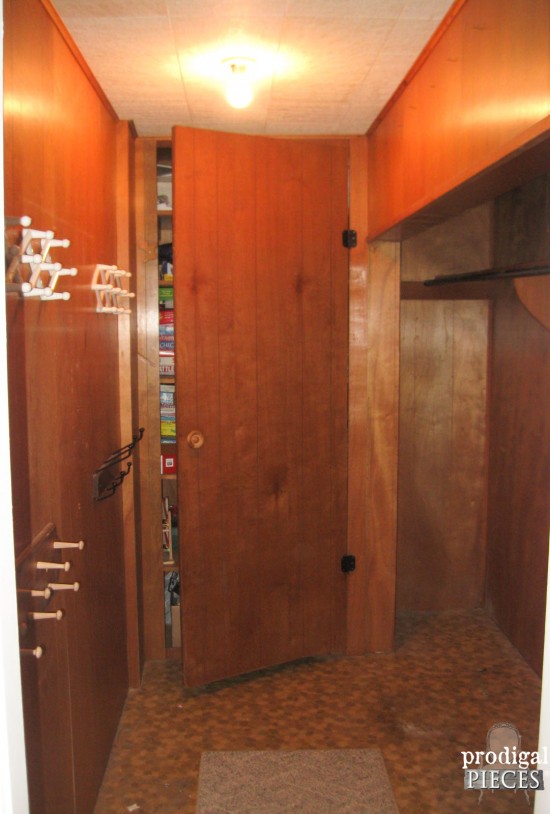
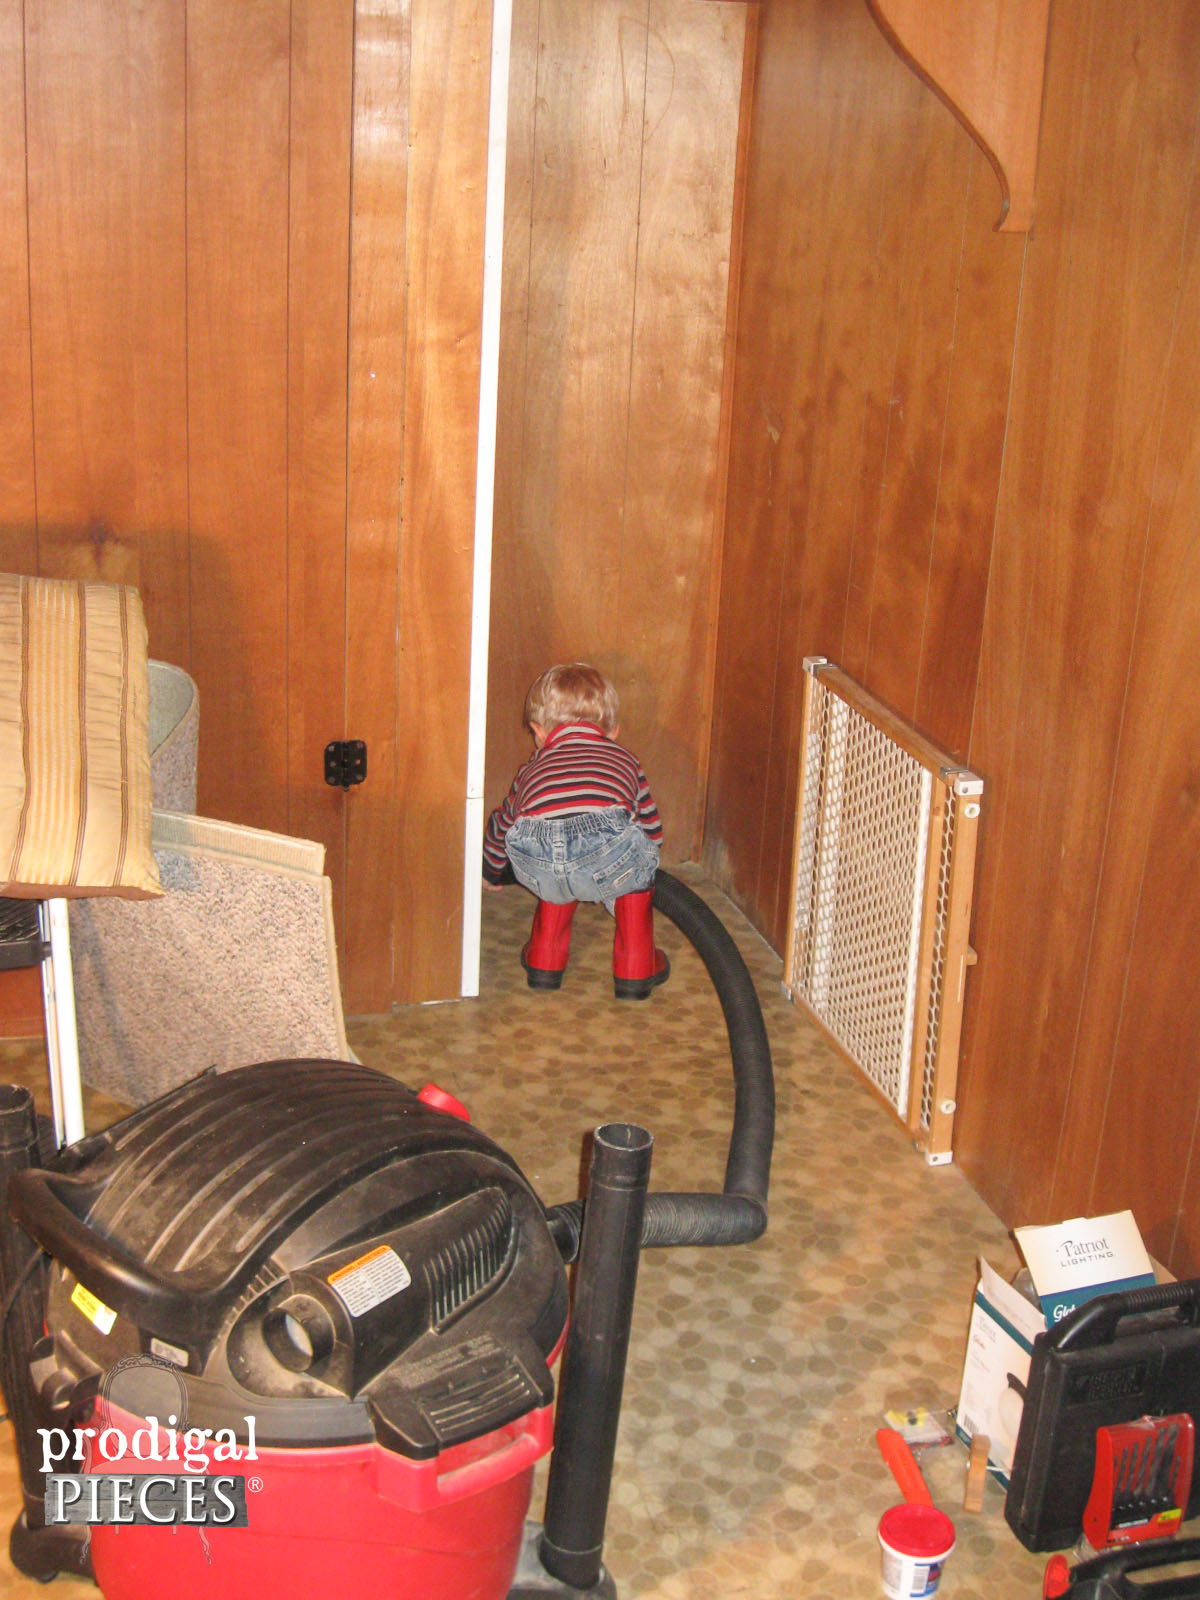
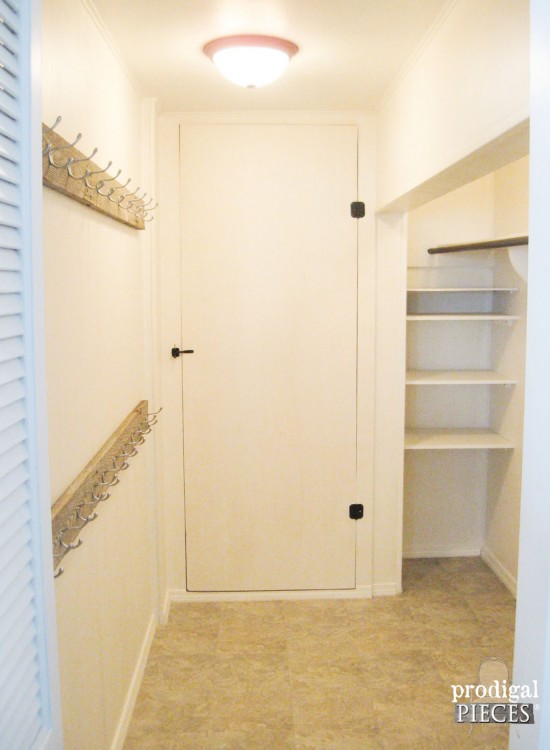
 ...perfectly vintage river stone linoleum, funky 80's wood paneling, bare bulb fixture in main section, as well as a pull-string bare bulb fixture above hat shelf (you have to reach up to turn that one on if you are so inclined), 12" ceiling tile in main ceiling that doesn't match tile in hat shelf ceiling, no floor trim, outdated closet within closet. I could go on, but I think you're getting the picture. Yes, I even added my watermark to actually claim this as mine.
DIY TIME
Next for this closet renovation, I decided to wire up the lights so that they both would turn on when you flipped the switch. In order to do that I had to drill through the beam (shown below) to be able to connect them. Some genius guy wired the two fixtures separately to our breaker box, which meant one had a pull string. No fun.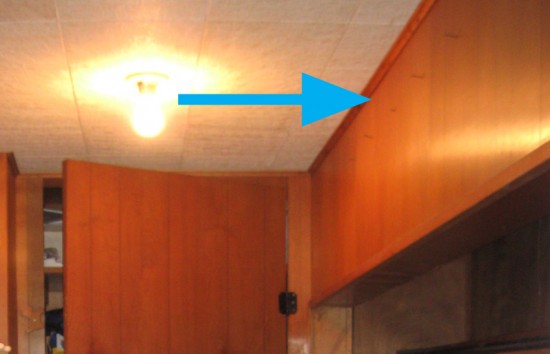 This was no easy task because the drill bit I had was not long enough to reach all the way through, so I started on one side and then tried to match the hole on the other to connect the two. I wanted to hide the wiring up above the trim, so I had to drill right against the ceiling. A typical drill doesn't fit up there very well.
Once I had the hole, I cut the hat shelf light fixture wire and fed it through, then spliced it with our new main ceiling fixture. Note: before doing any electrical work you need to shut off the breaker for that room!! 'In case you're wondering, no, I didn't learn the hard way. tsk.
For the ceiling, I used some wood luan panels (thin, smooth ply) we had in our stash that my husband grabbed from his workplace trash pile. Can you believe they were the exact width of our ceiling...perfect!! Replaced the trim, but didn't hang the fixtures until the painting was done.
This was no easy task because the drill bit I had was not long enough to reach all the way through, so I started on one side and then tried to match the hole on the other to connect the two. I wanted to hide the wiring up above the trim, so I had to drill right against the ceiling. A typical drill doesn't fit up there very well.
Once I had the hole, I cut the hat shelf light fixture wire and fed it through, then spliced it with our new main ceiling fixture. Note: before doing any electrical work you need to shut off the breaker for that room!! 'In case you're wondering, no, I didn't learn the hard way. tsk.
For the ceiling, I used some wood luan panels (thin, smooth ply) we had in our stash that my husband grabbed from his workplace trash pile. Can you believe they were the exact width of our ceiling...perfect!! Replaced the trim, but didn't hang the fixtures until the painting was done.
NEXT STEPS
Then, it was time to put in the built-in shelves to that empty far-right pocket. Previously, I just stacked big storage tubs there, but this time I wanted shelves for my husband and I to put our shoes/boots. While typing this, my heart is racing because I did the stupidest thing I have ever done in my entire life. I have been using our table saw for over 12 years. I have preached about keeping the guard on. Well... this time I didn't keep it on. It's by God's grace that I did not lose two of my fingertips on my left hand. Sorry if you're squeamish, but just warning you they put those the guard there for a reason. I did severely cut my fingers while catching a piece that flew up off the table - DUH!!!! Thank the Lord we had just put on a new, clean blade. I've never been so mad at myself or had the pain similar to birthing a child outside of naturally birthing children. Thank you to the healing power of our bodies, I am able to type to you now. This closet will forever remind me of my stupidity, and thankfully I've only suffered nerve damage in my tips.OUCH
If you know me, I am as stubborn as a mule and continued with my painful fingers to finish that closet because I wanted it done... and not in 3-months-from-now done. NOW. Just picture me managing a drill with one hand and my other hand wrapped up. I'm also so stubborn as to not go and get stitches, which I know I should have had done. ahem. Here's the photo I sent in an email telling the recipient to only open it if they could stand to look... They finally got the nerve after a days' time. Ha!
Unfortunately, there are not more pictures of work-in-progress. My injured hand was not going to let me mess with photos. I did manage to snap a picture of my cute little helper though.
They finally got the nerve after a days' time. Ha!
Unfortunately, there are not more pictures of work-in-progress. My injured hand was not going to let me mess with photos. I did manage to snap a picture of my cute little helper though.
 On to the painting... Yes, you can paint paneling, just make sure to wipe it down and prime with quality primer. If it's been stained, you'll need to use a stain-blocking primer. Since my closet was so dark, I wanted it white. I knew it would show me all the dirt that was there, but that's fine by me...the better I can tell when to clean! And because the rest of the adjoining room was just painted white earlier that previous summer.
TILE
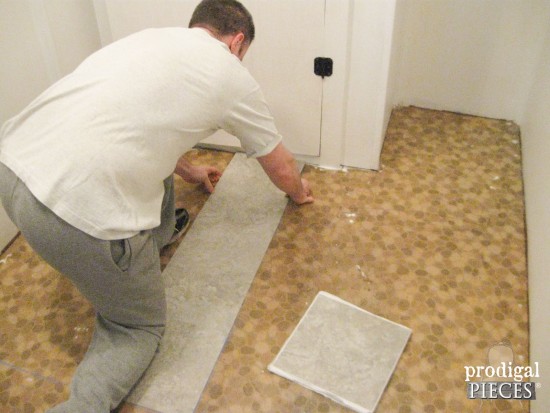
I decide to go over top of the linoleum with your basic peel & stick vinyl tile since it was in even and pulling it up would cause pits in the sub floor. (This is where I had to step out and be owie) I really hoped to put down ceramic tile, but budget didn't allow. I figured we could yank the tile up at a later point. AND we did! See HERE.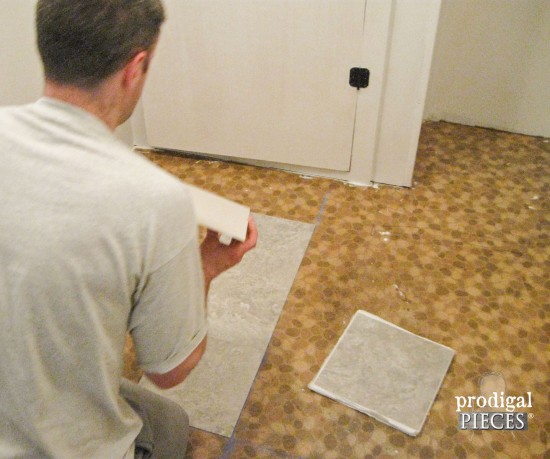
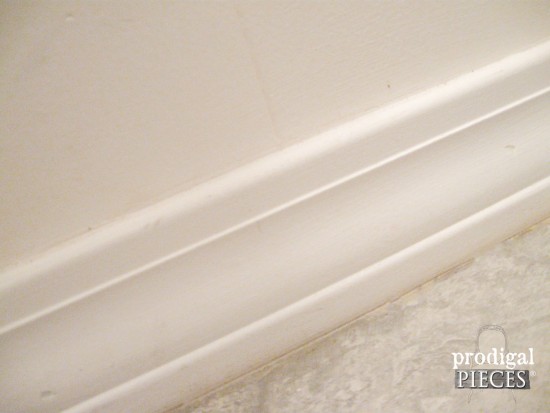
 Once the tile was down, we added the baseboard.
 You have no idea how excited I was to say goodbye to that river rock linoleum. When you have 6 kids within two years of each other, there just isn't time for this type of work. Especially when you are a DIYer.
THE REVEAL
Remember the mismatched accordion type hooks on the wall? Those had to go. I needed more hooks and I wanted a rustic look, so I went back to my stash of barn siding that I used from my valances in the adjoining room and my garden.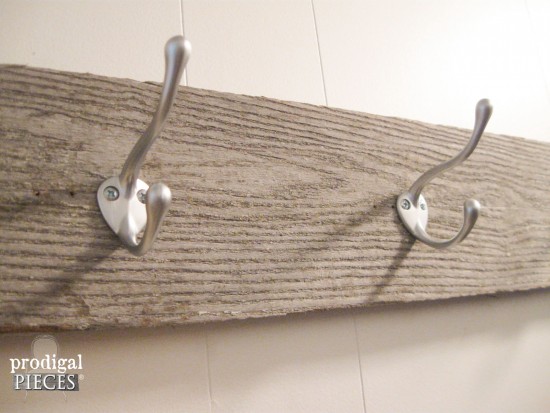 Can I just say this closet renovation was the best thing I have added to my house yet. Each kid has four double hooks to themselves, with a few leftover for bags and such. BONUS: I even got more of my favorite barn wood in my home. cha-ching!
 Aaahhhh...tidy at last and bright. At the flip of a switch I now get 2 lights on at the same time....genius.
I hope you are inspired to give you space a refreshed feel, even on a budget. You can do it! Do pin this closet renovation to inspire others too.
Aaahhhh...tidy at last and bright. At the flip of a switch I now get 2 lights on at the same time....genius.
I hope you are inspired to give you space a refreshed feel, even on a budget. You can do it! Do pin this closet renovation to inspire others too.
 See the latest update to our space HERE and how we removed the dreaded BOOB LIGHT. ugh.
To get these DIY tips & tricks in your inbox, be sure to sign up for my newsletter. Until next time!
See the latest update to our space HERE and how we removed the dreaded BOOB LIGHT. ugh.
To get these DIY tips & tricks in your inbox, be sure to sign up for my newsletter. Until next time!

Also, more DIY projects like this closet renovation: