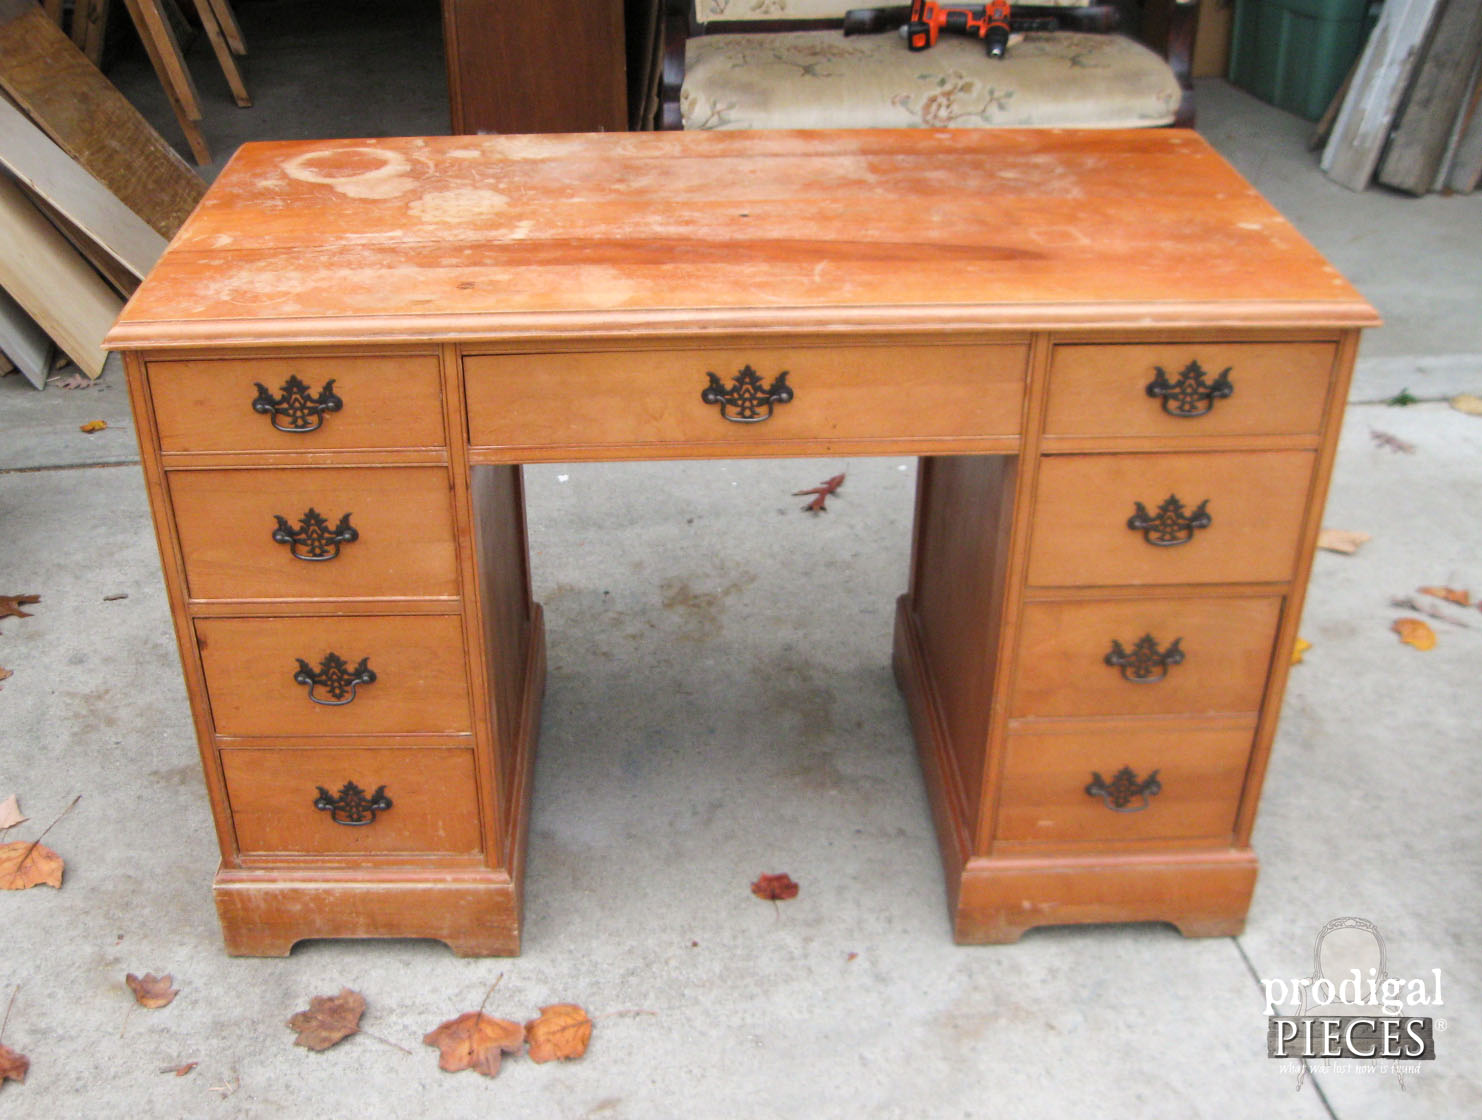
 It had been for sale for a little while and I was keeping an eye on it for a potential project for myself. Since I had plenty to work on, I asked my son if he wanted to have a try at it. I contacted the owner, and it turned out to be a neighbor two houses down. Small world, eh?
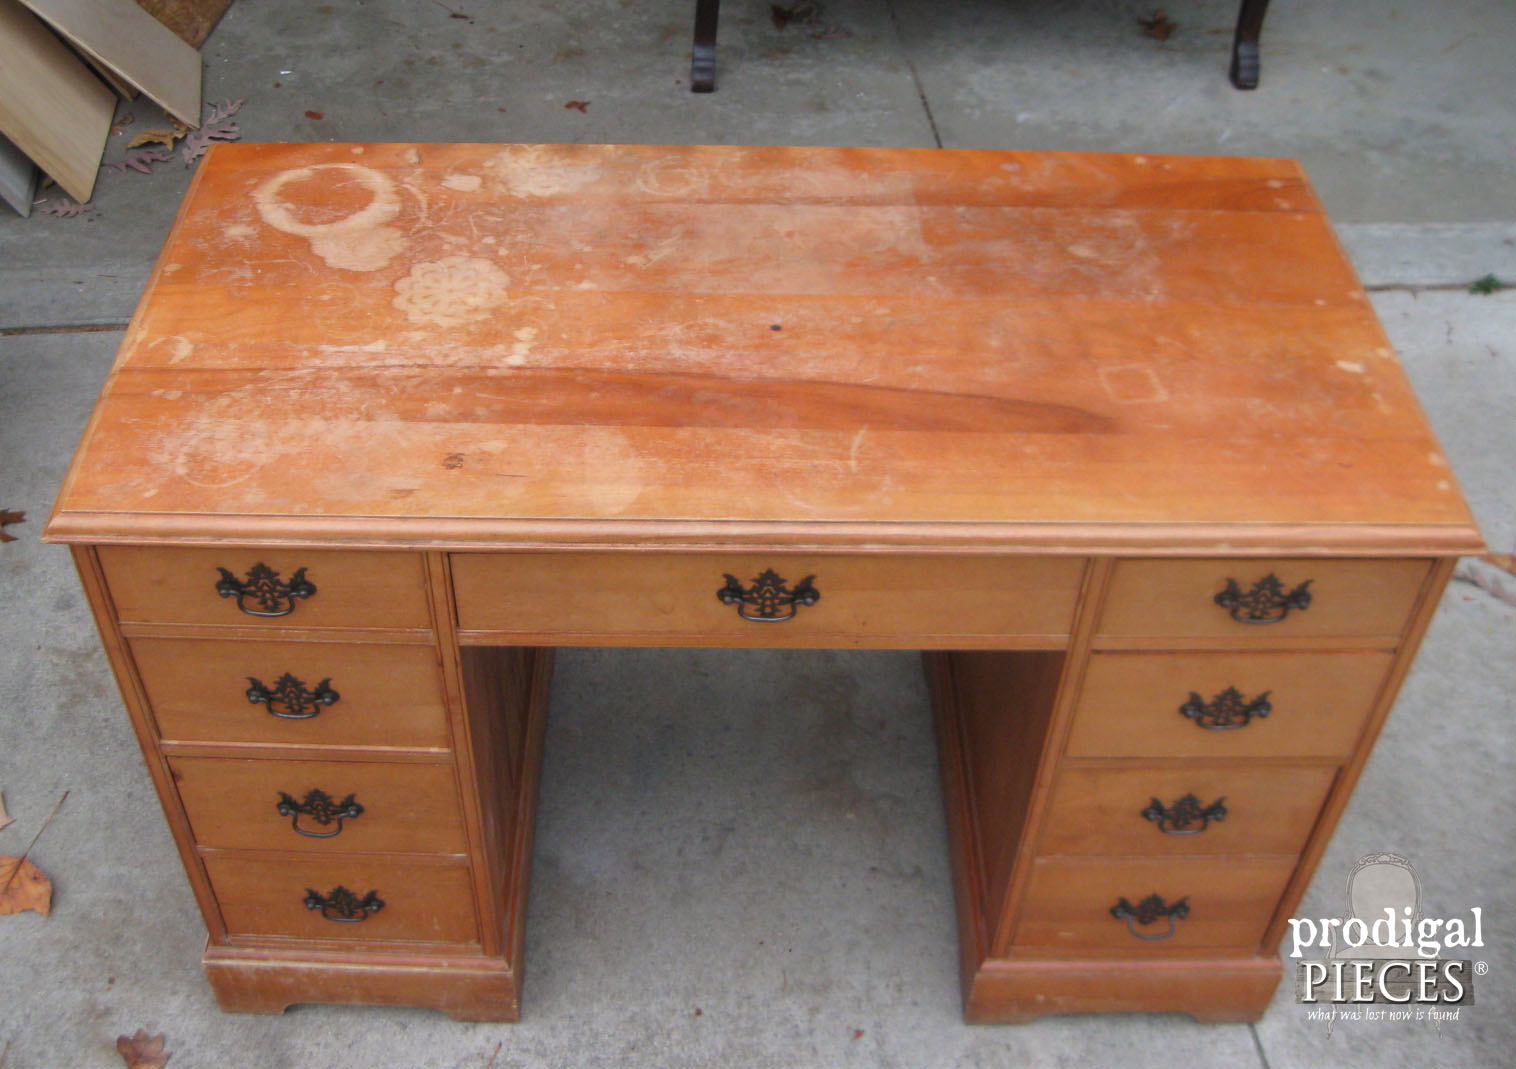 She was so nice to let us come over and take a peek. I was a bit hesitant to let my son take on the desk because the top had a split in it where the boards had warped and lifted. I didn't have much time to spare to help him out fixing it, but we decided to take it anyway. The sweet lady also gave me a handmade trunk she had sitting in her garage, and you can see its makeover HERE.
 When we had started over to her house, we thought, "Eh, we'll just walk over and carry it down the street." At the last second, I decided to jump in our truck and drive down instead. Boy, am I glad we did! That thing is HEAVY!
DIY TIME
With a little TLC, I knew he could make the desk look new again, so I gave minimal instruction and let him have at it, much like his other table. He knew to sand and make any necessary repairs, but this would be his first time refinishing a wood top.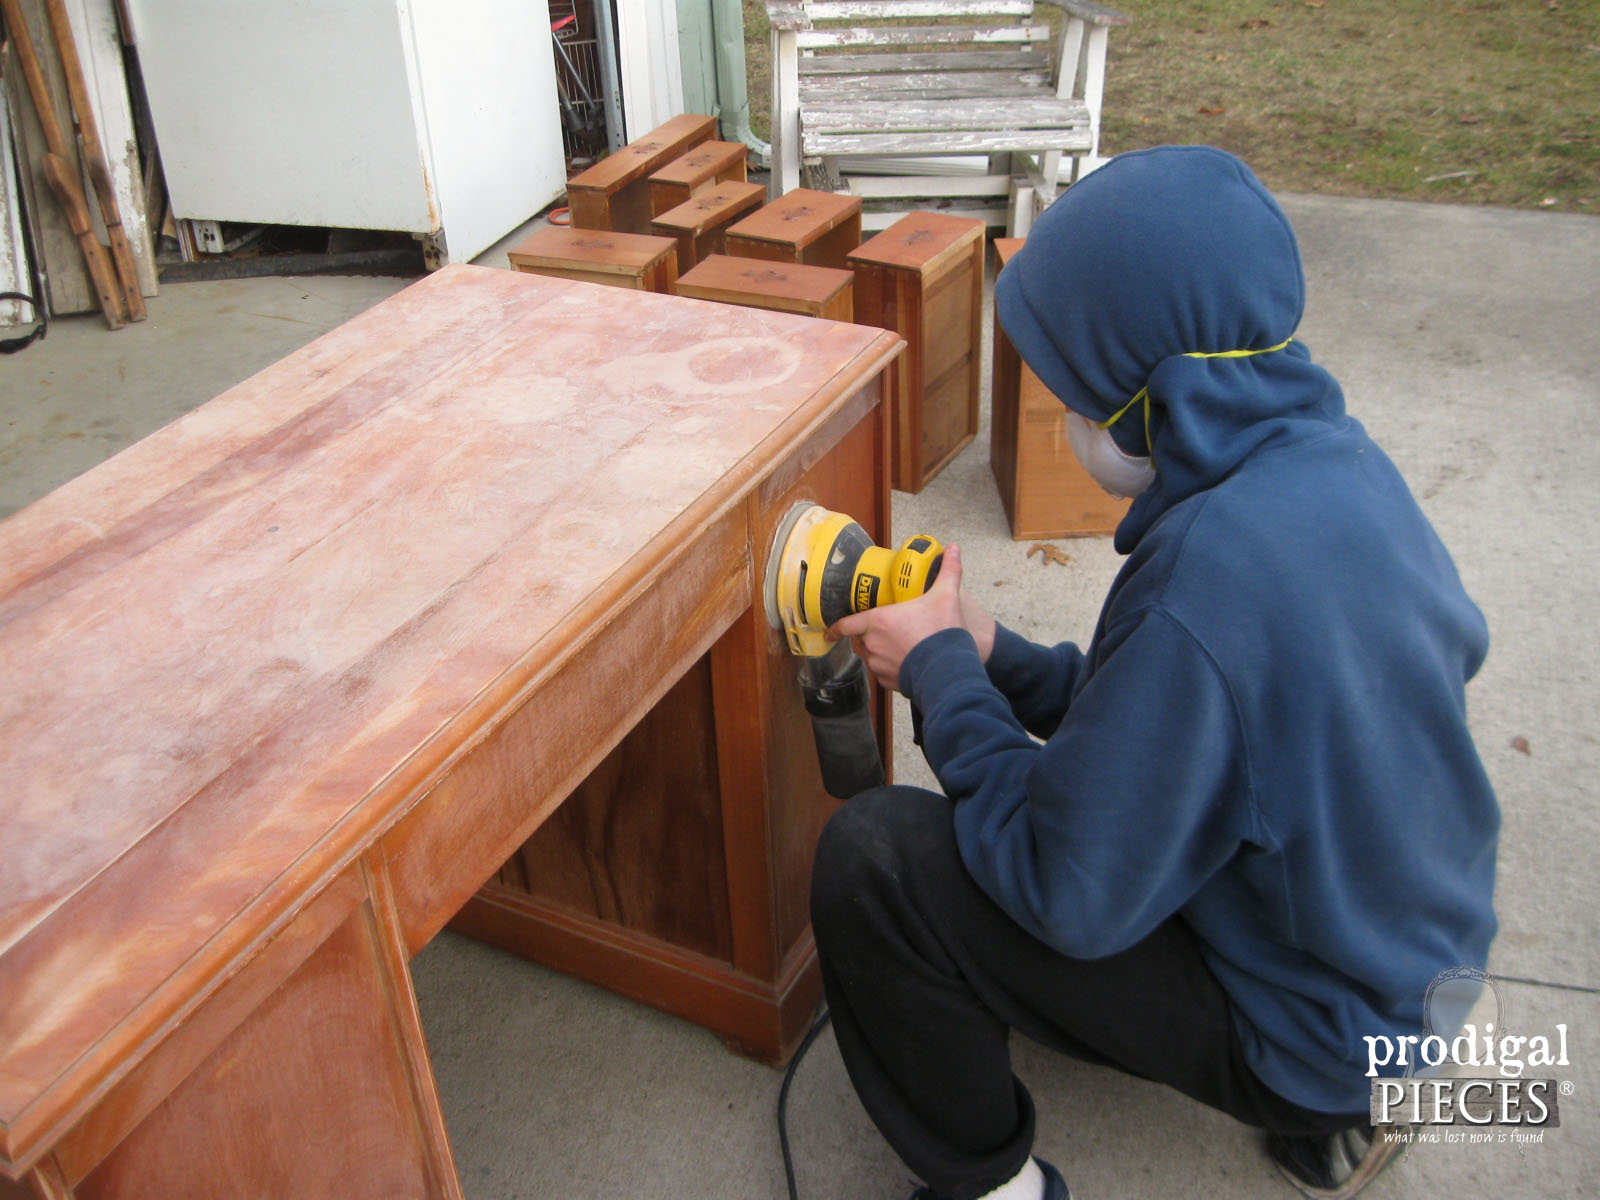 He used my orbital sander and started out with 80 grit paper, working up to get a nice fine finish. In case you're wondering, we found that the top where it had been warped was missing a screw from underneath. So, we replaced it to draw the top down, and sanded it smooth.
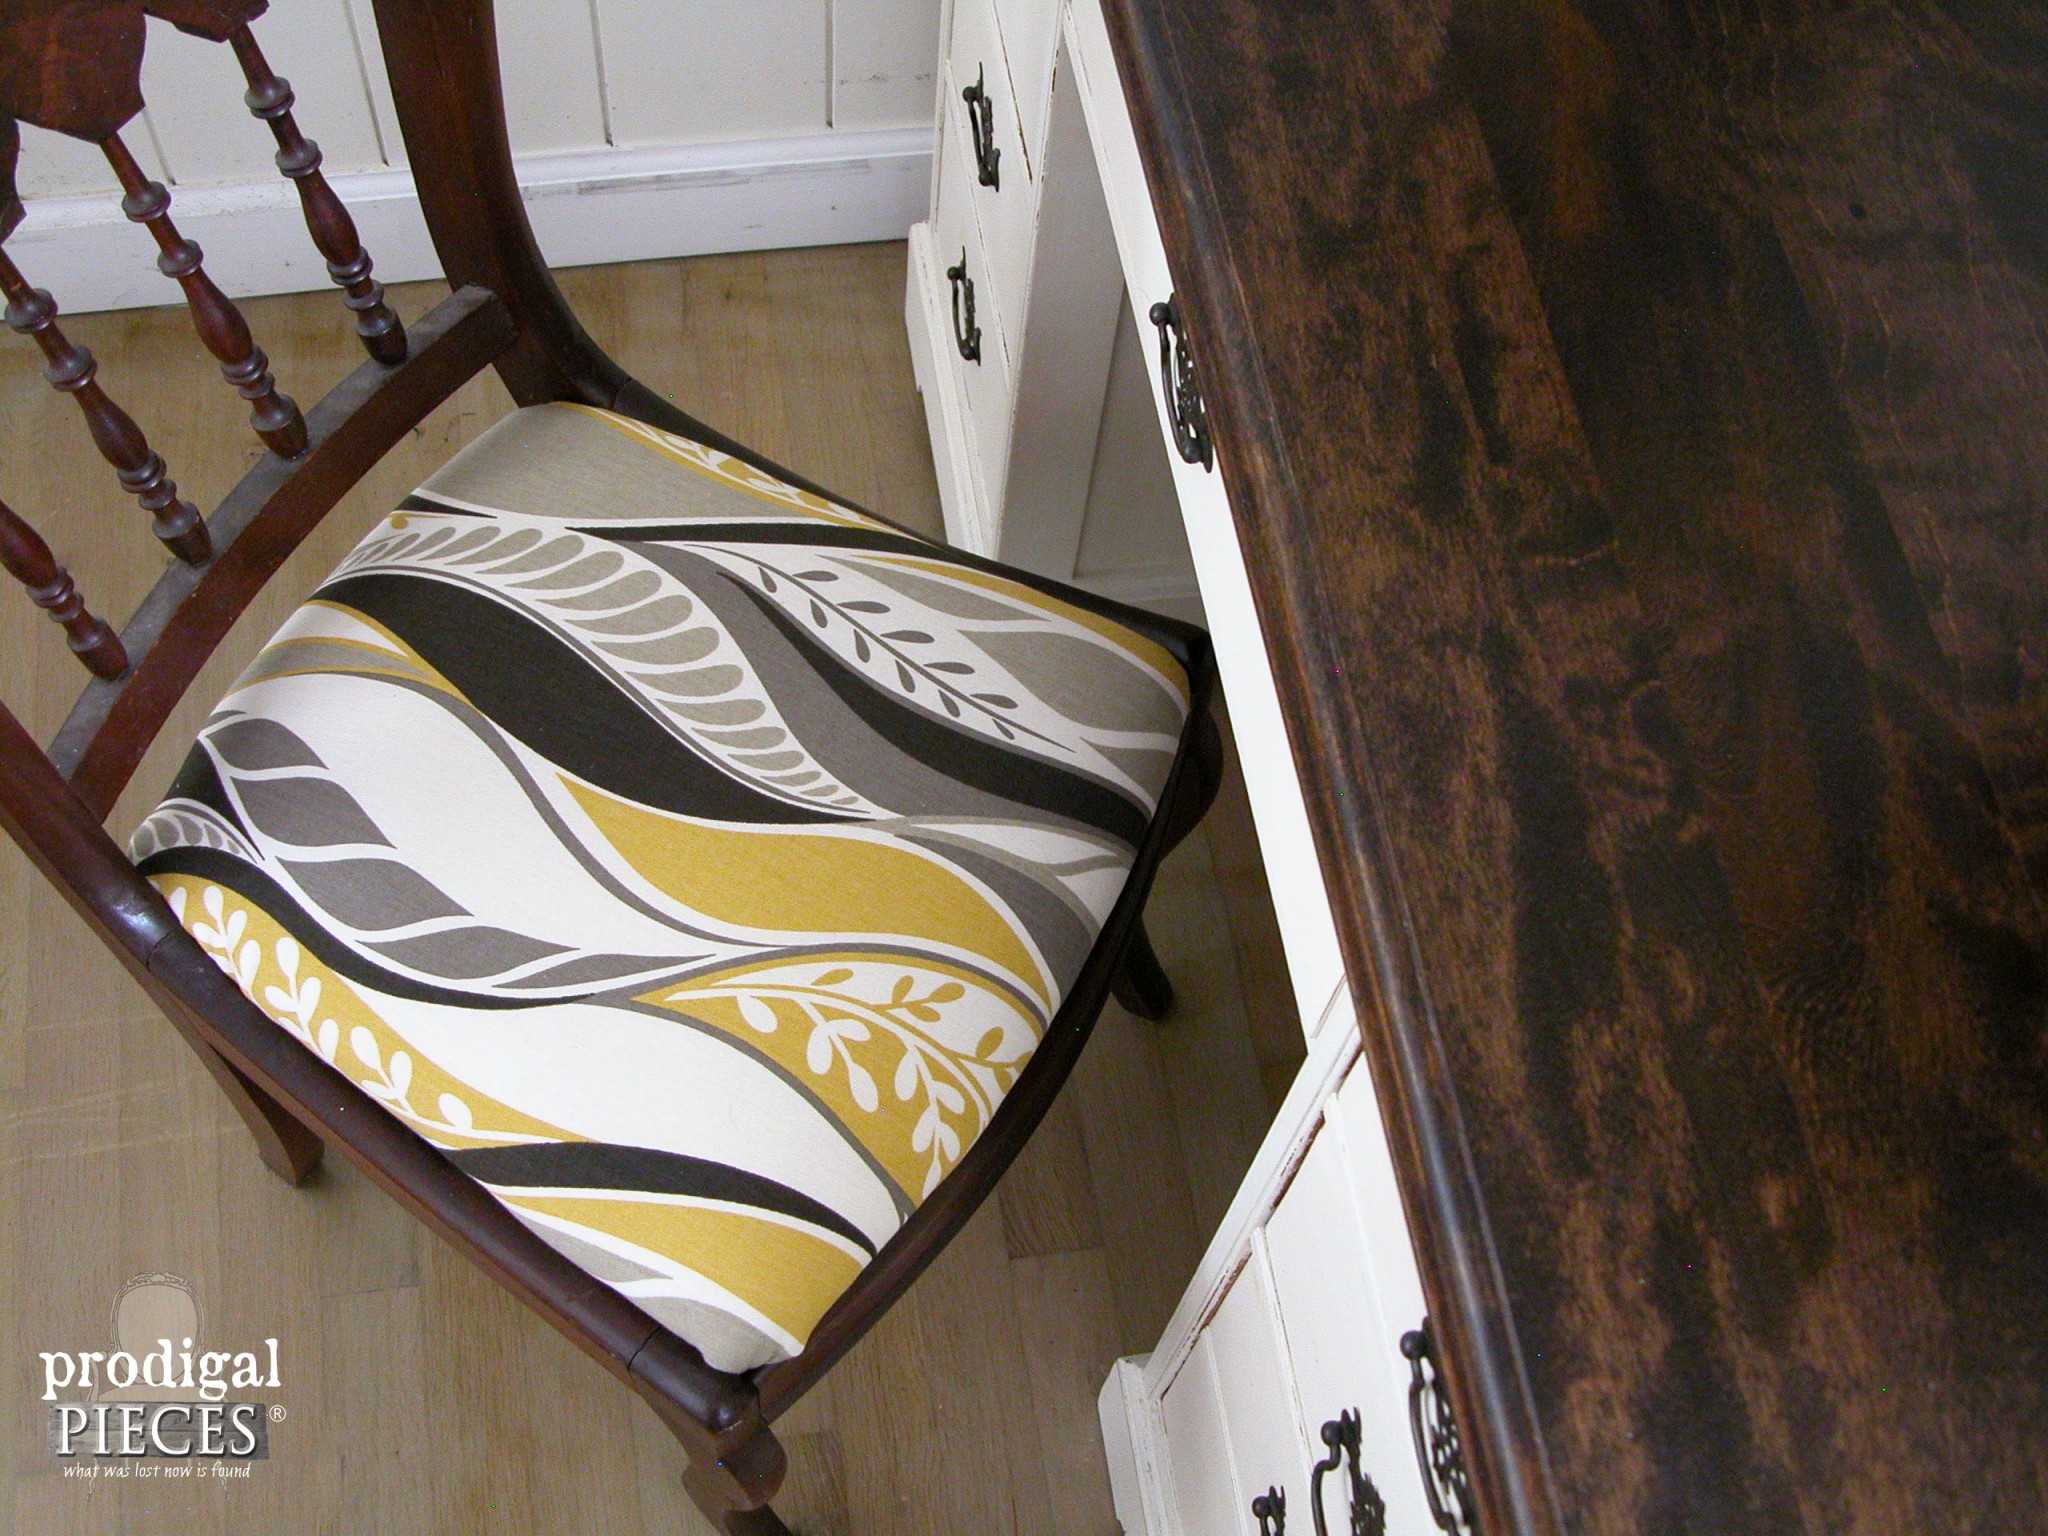
After getting it to the right state for refinishing, he used one of my favorite stains, Espresso by Minwax, to give it a nice rich color.
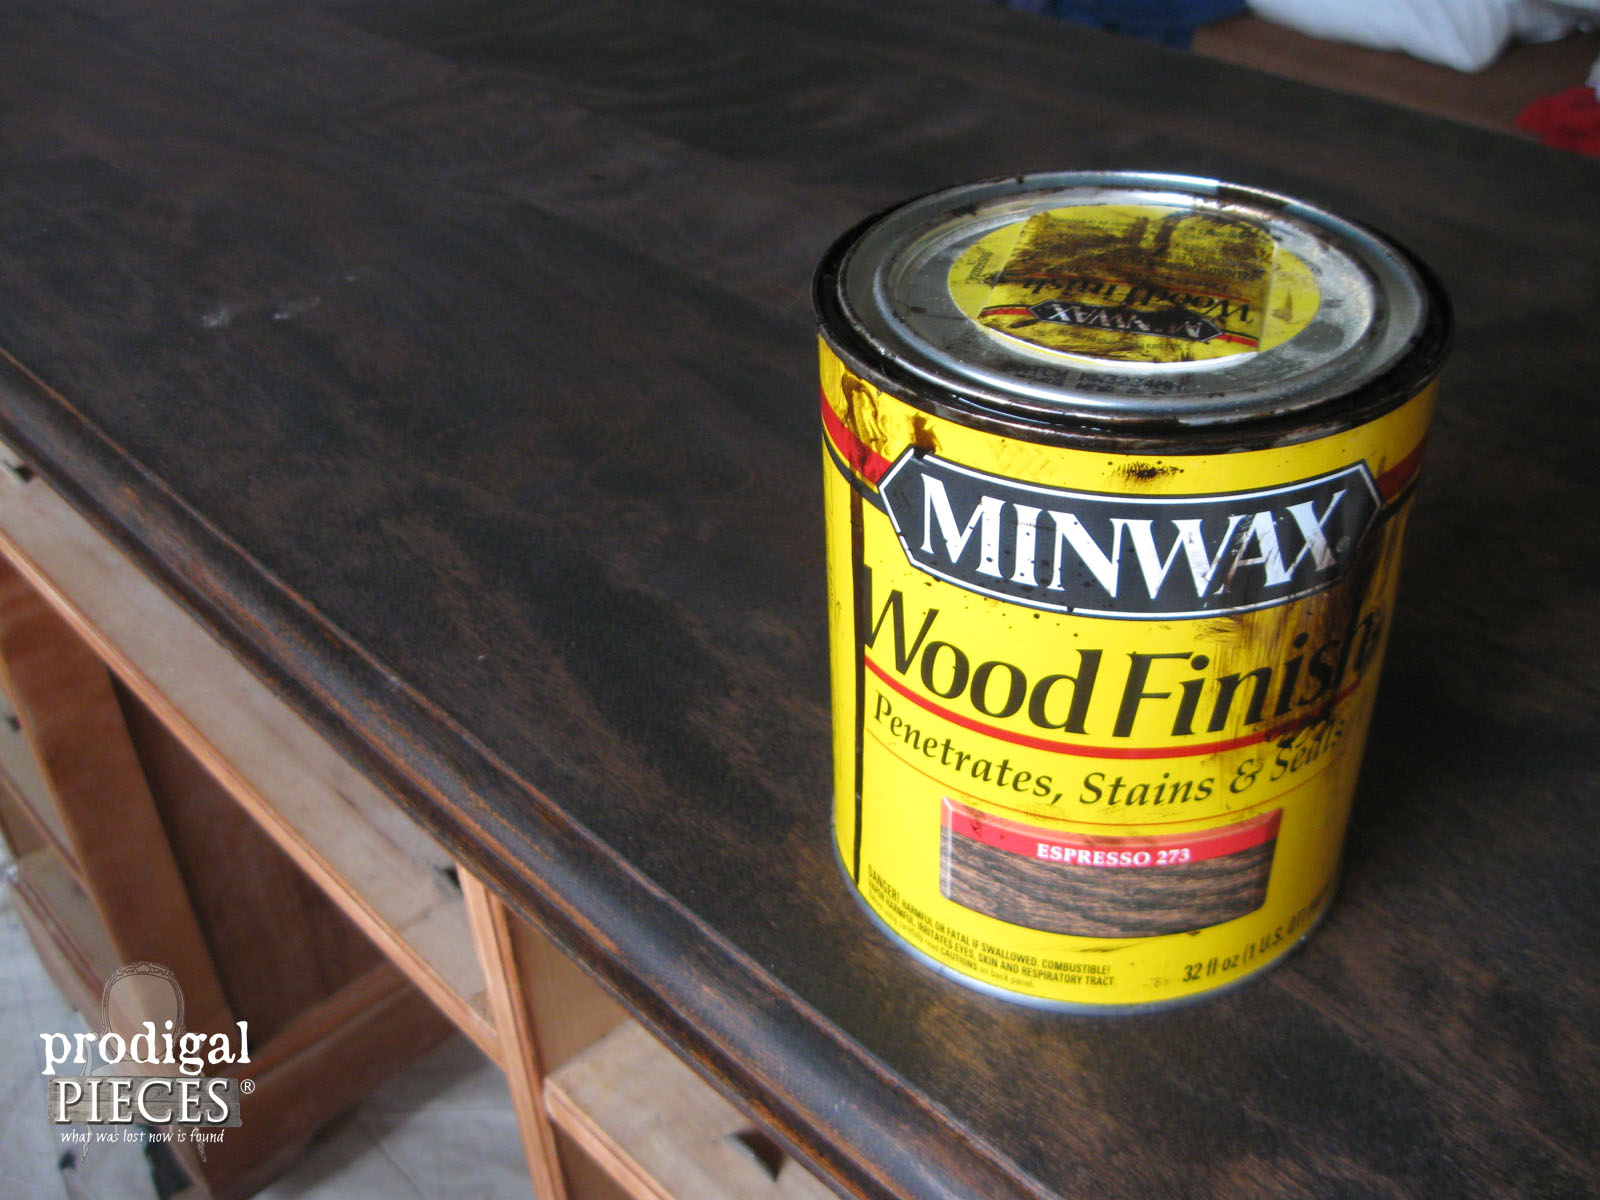 Isn't that gorgeous?! I used this same stain on my Art Deco dressing table makeover and love its deep color.
PAINT TIME
For the base, he decided to use one of my favorite paint colors, Antique White by Behr, that I've also used on this dressing table and this chair. It would be a wonderful contrast to that dark espresso color, and distressing would add character to the base.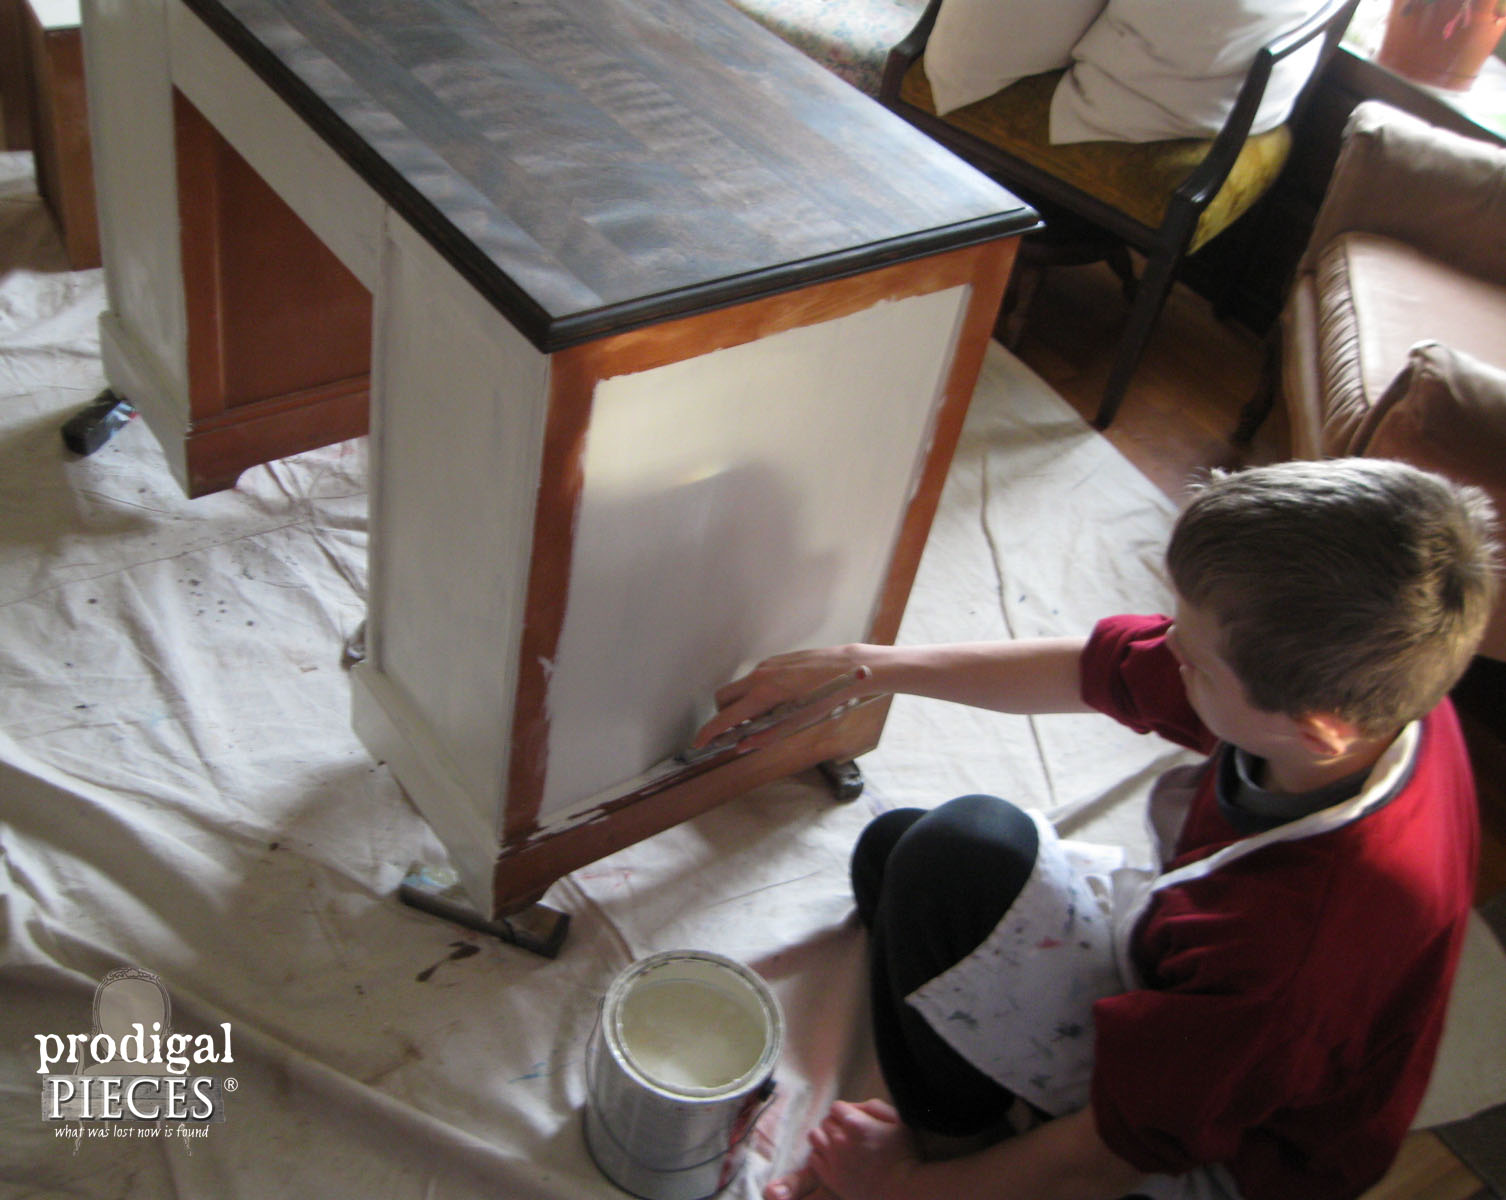 Once that was done, he used satin poly on the top and my handmade furniture wax for the cabinet to give it long-lasting protection.
We found a chair that would match the vintage desk style perfectly. However, I forgot to take a before shot to show you. It originally had red and green plaid upholstery. But the wood was in fine condition and is why he choose to use the espresso stain to match.
THE REVEAL
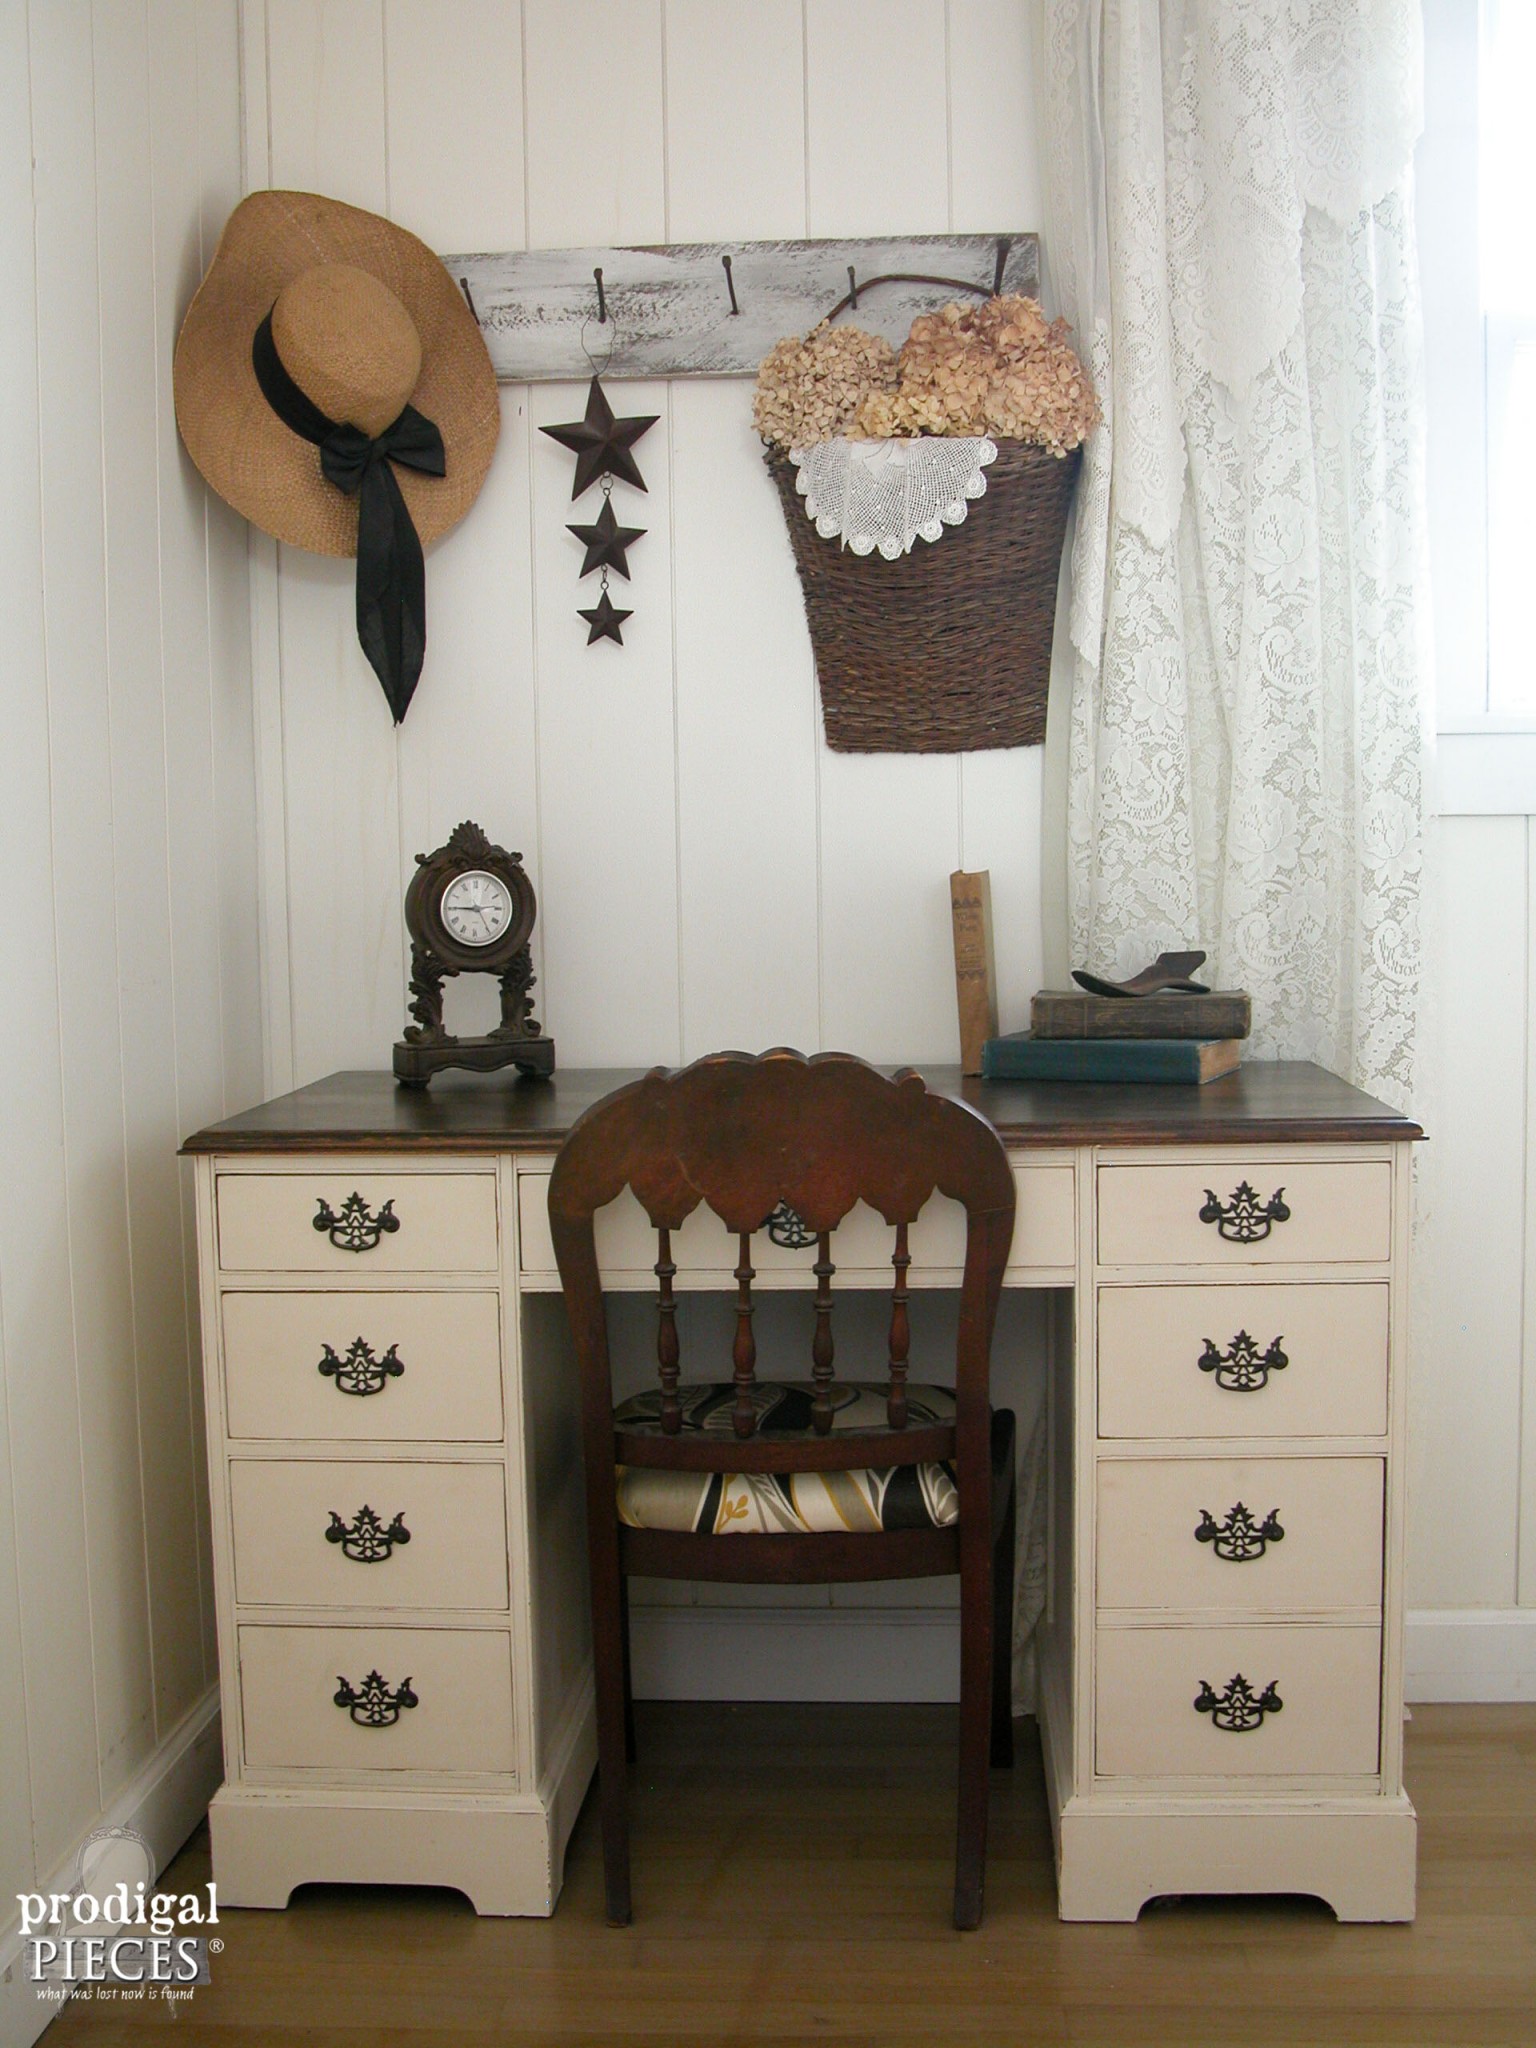
Ready for the reveal? We are!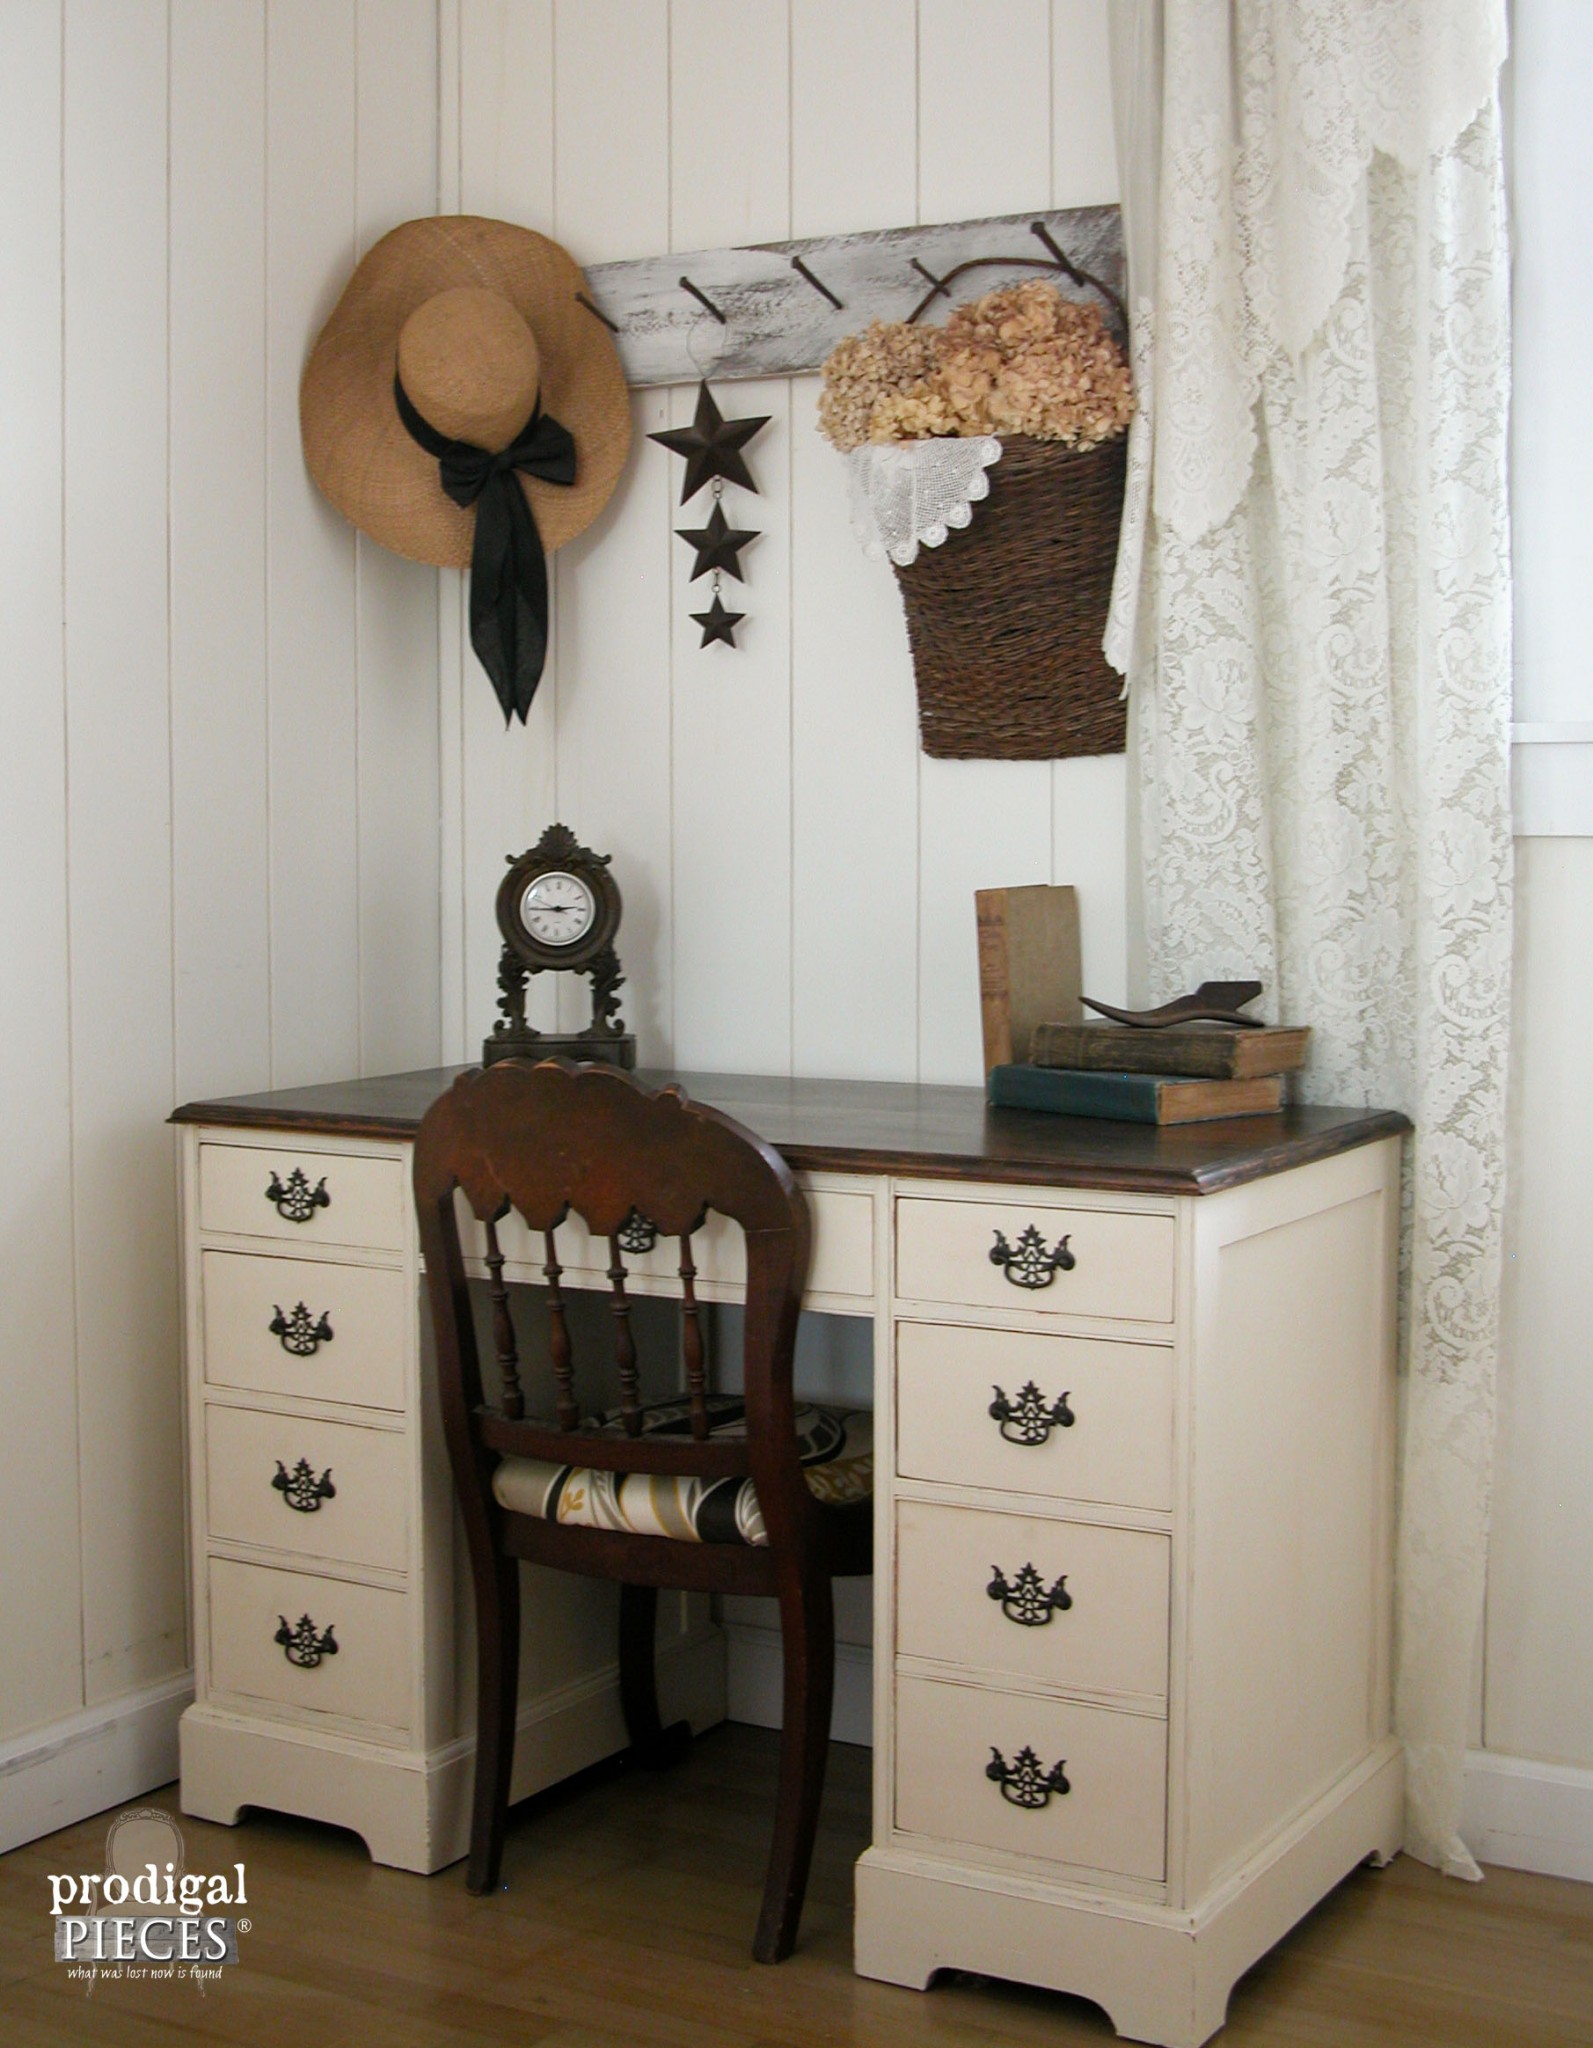 What a handsome set this now is. I honestly couldn't have done a better job myself. No bad for teenage boy, right?
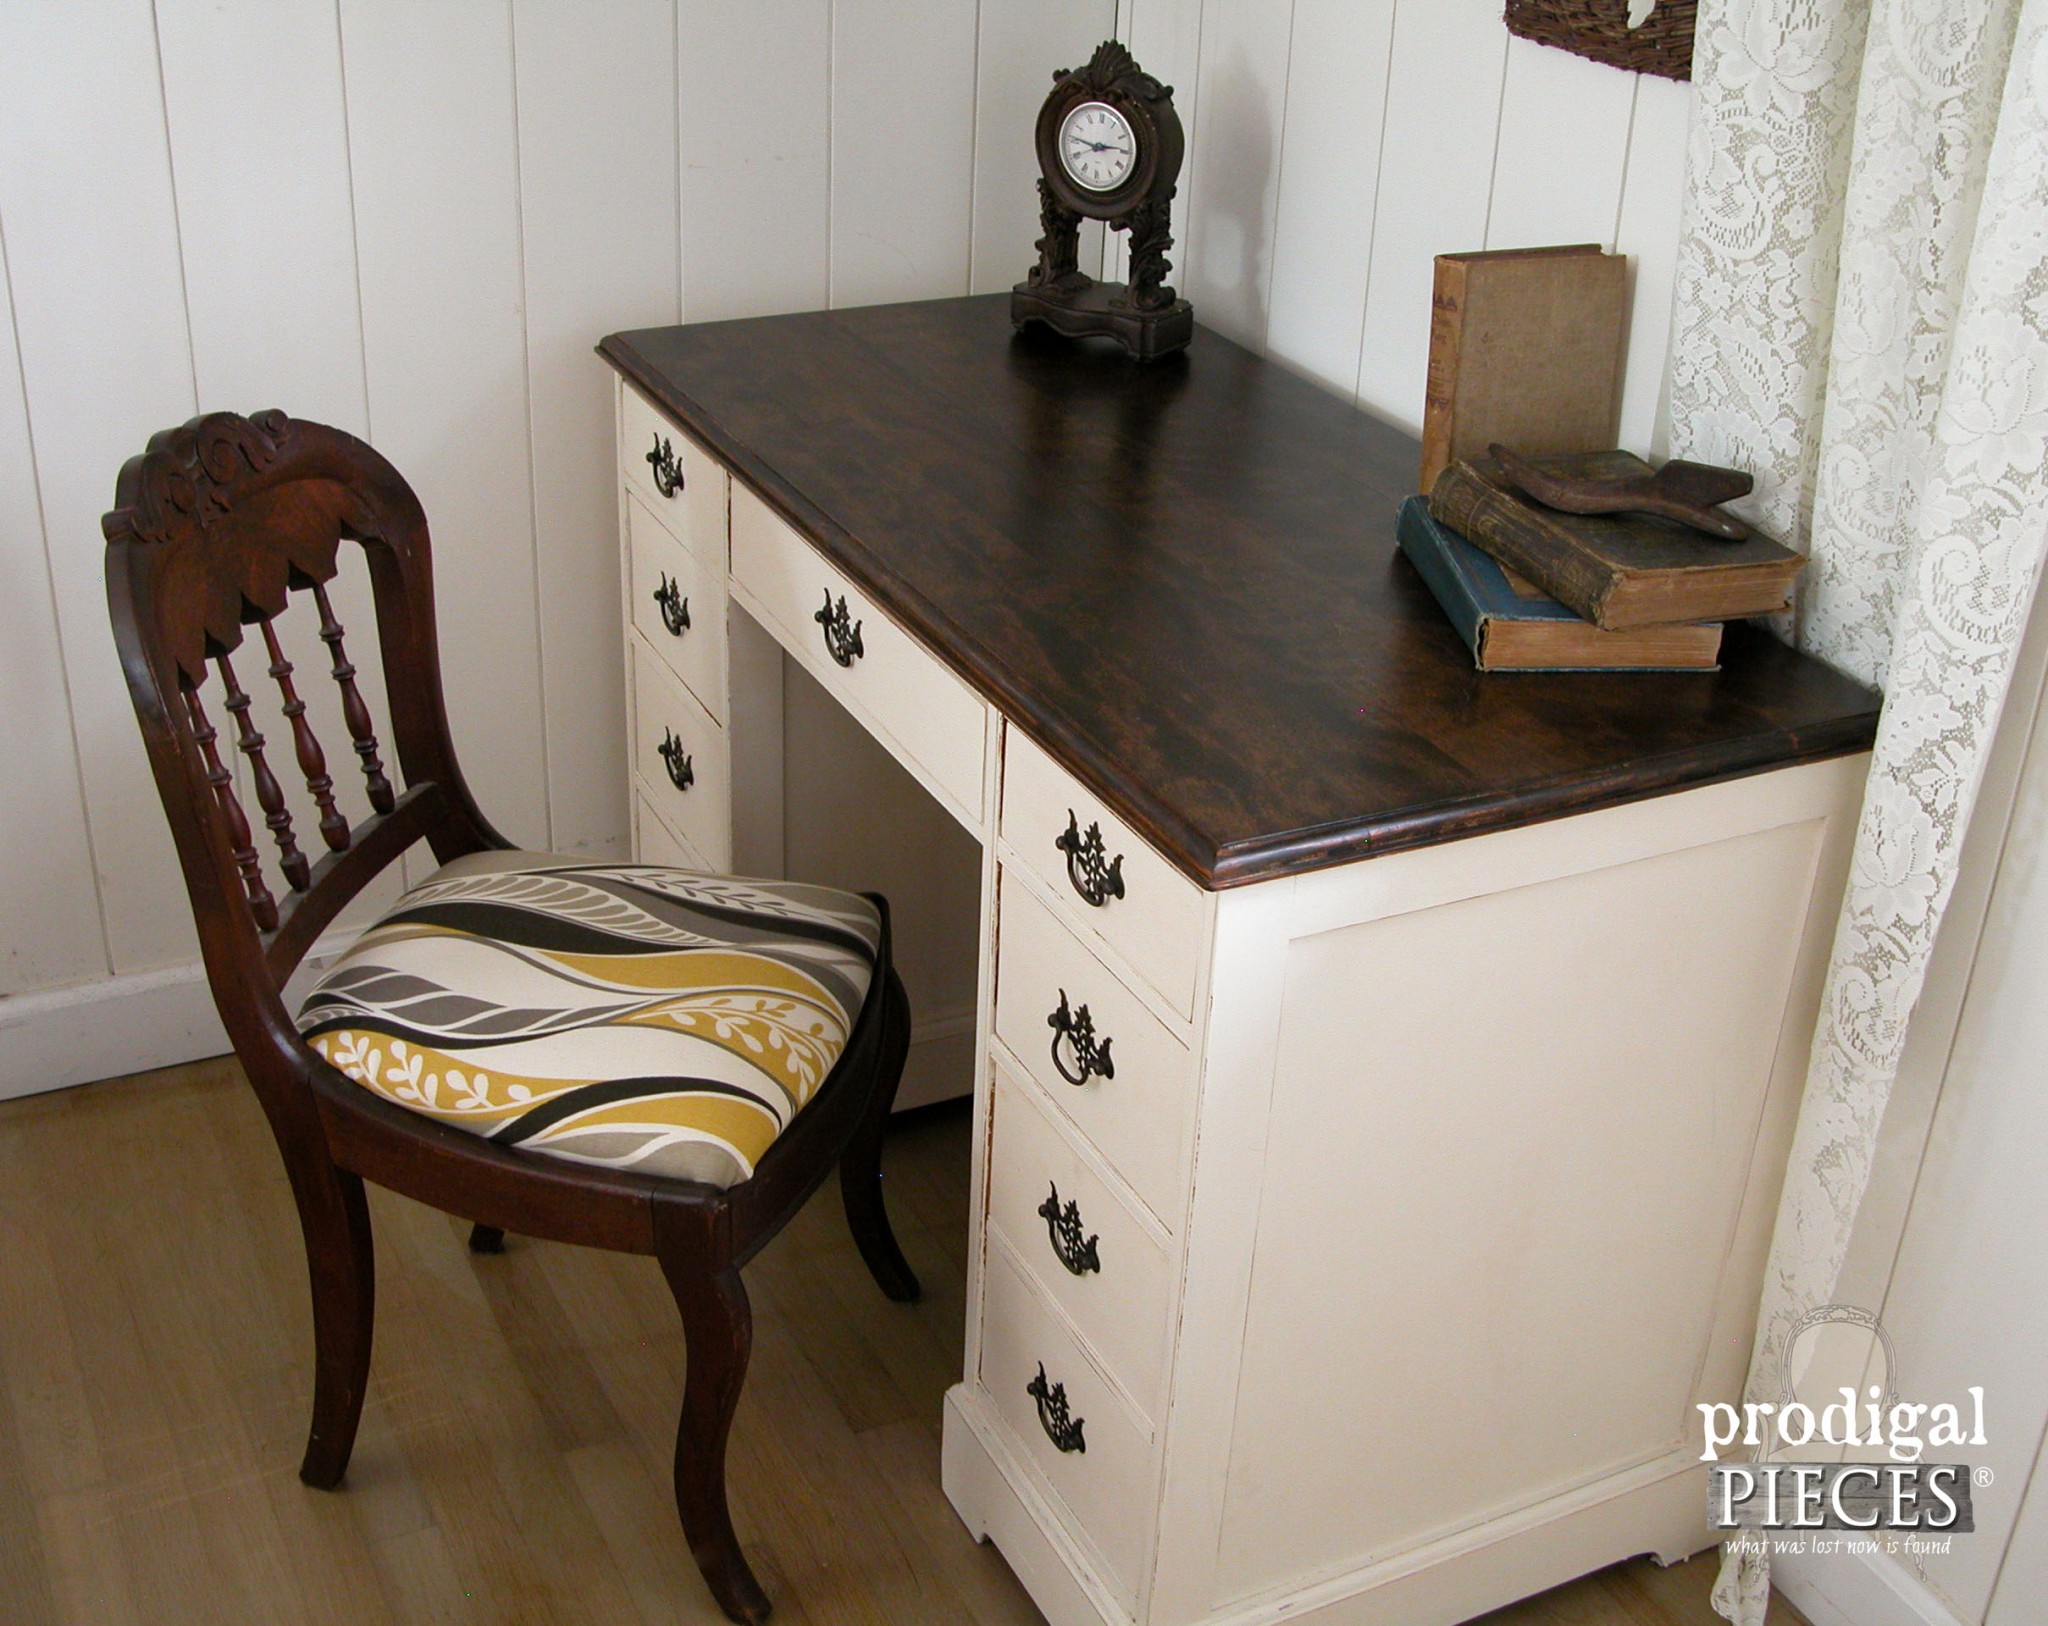
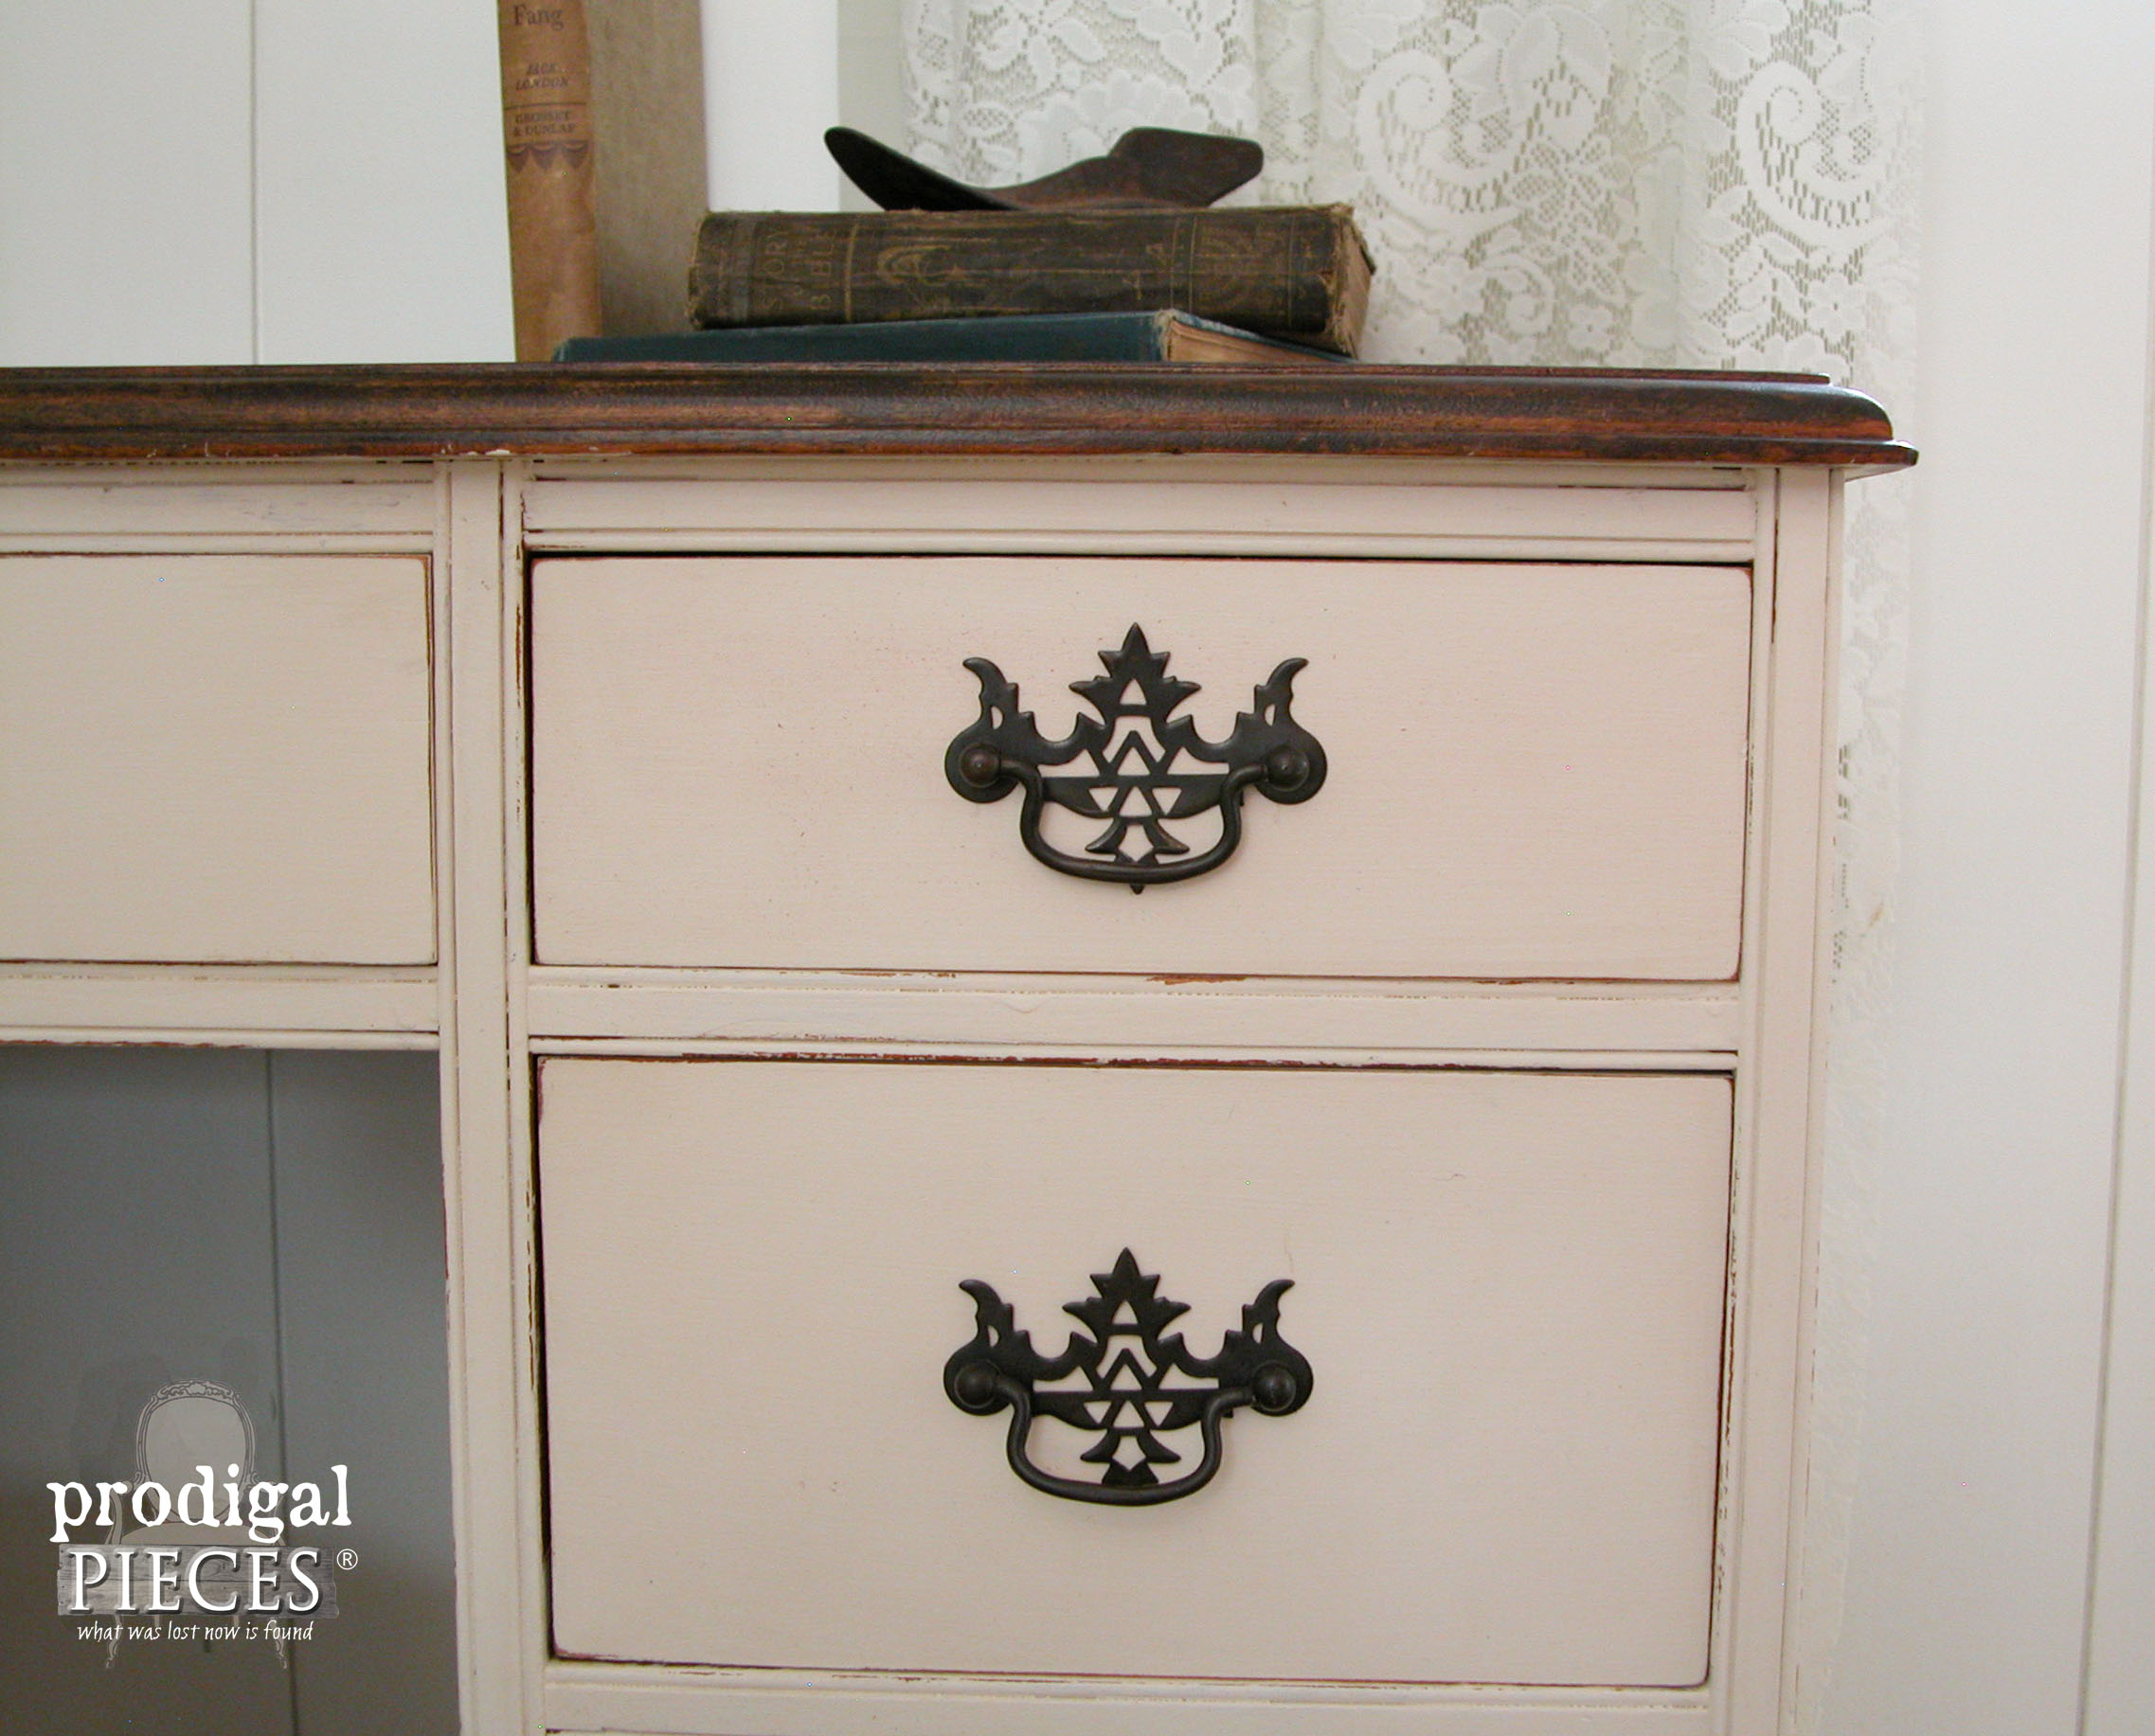 The upholstery he choose and replaced himself is perfect for the color and contours of the chair.
 The gorgeous hand-carved details and turned spindles are stunning!
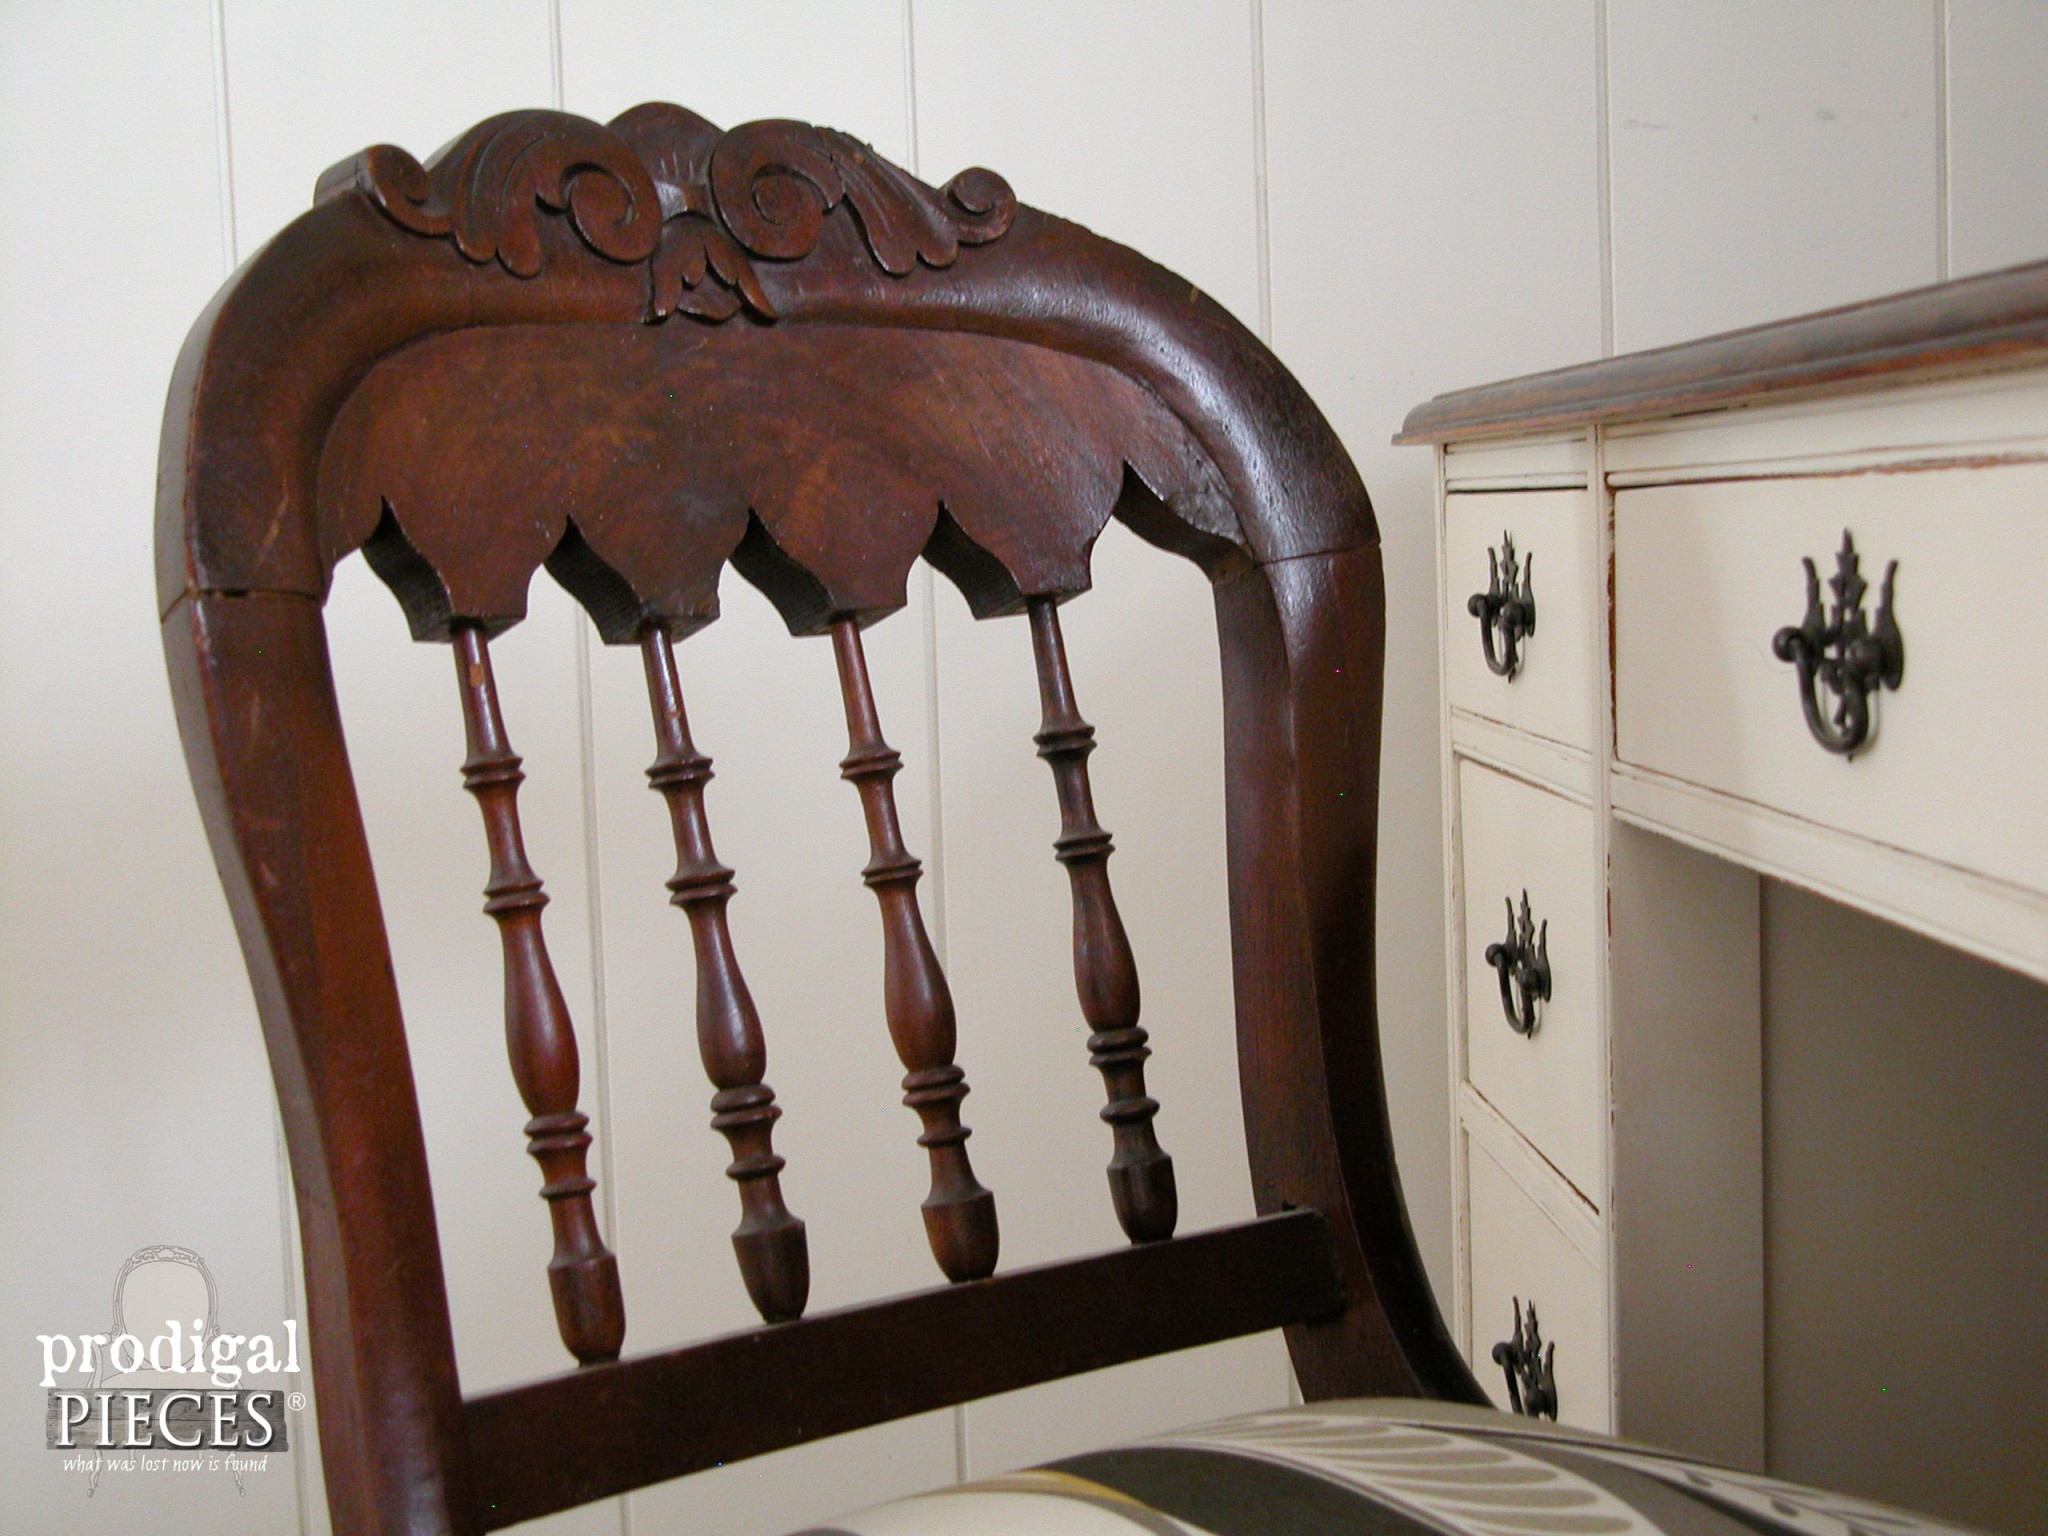 The set has the antique look with a slight modern touch - a perfect mix and it sold quickly from my online shop.
[metaslider id=30251]
 I'm so proud of him for taking this on and seeing it through till the finish. Helping my kids do something like this makes all the work worth it. Not is watching them succeed priceless, but I also want them to have financial standing on their own.
SHARE
Additionally, pin and share his vintage desk makeover to inspire others to try projects too! ♥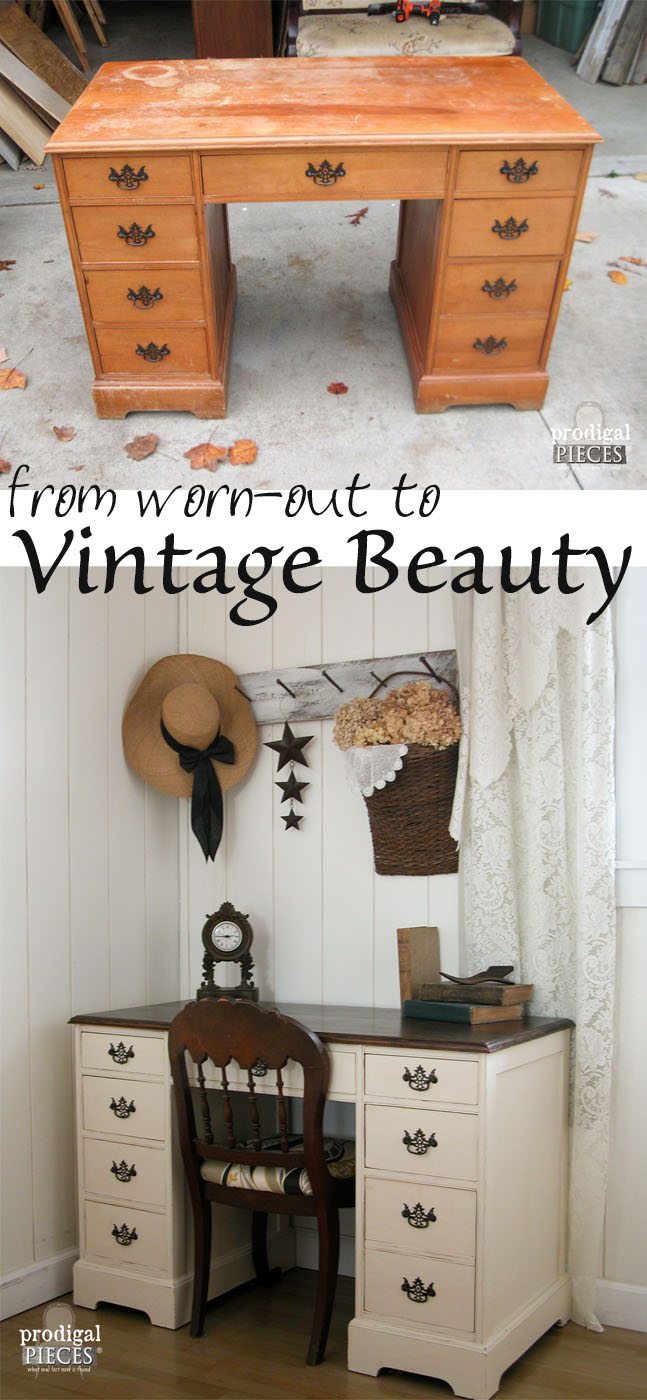 Next up, I have a fun sewing project for you - head HERE!
 To get these DIY tips & tricks in your inbox, be sure to sign up for my newsletter. PLUS, you will get your FREE Furniture Buying Checklist and special discount to my shop. Until next time!

Also, more furniture makeovers for you like this vintage desk:
