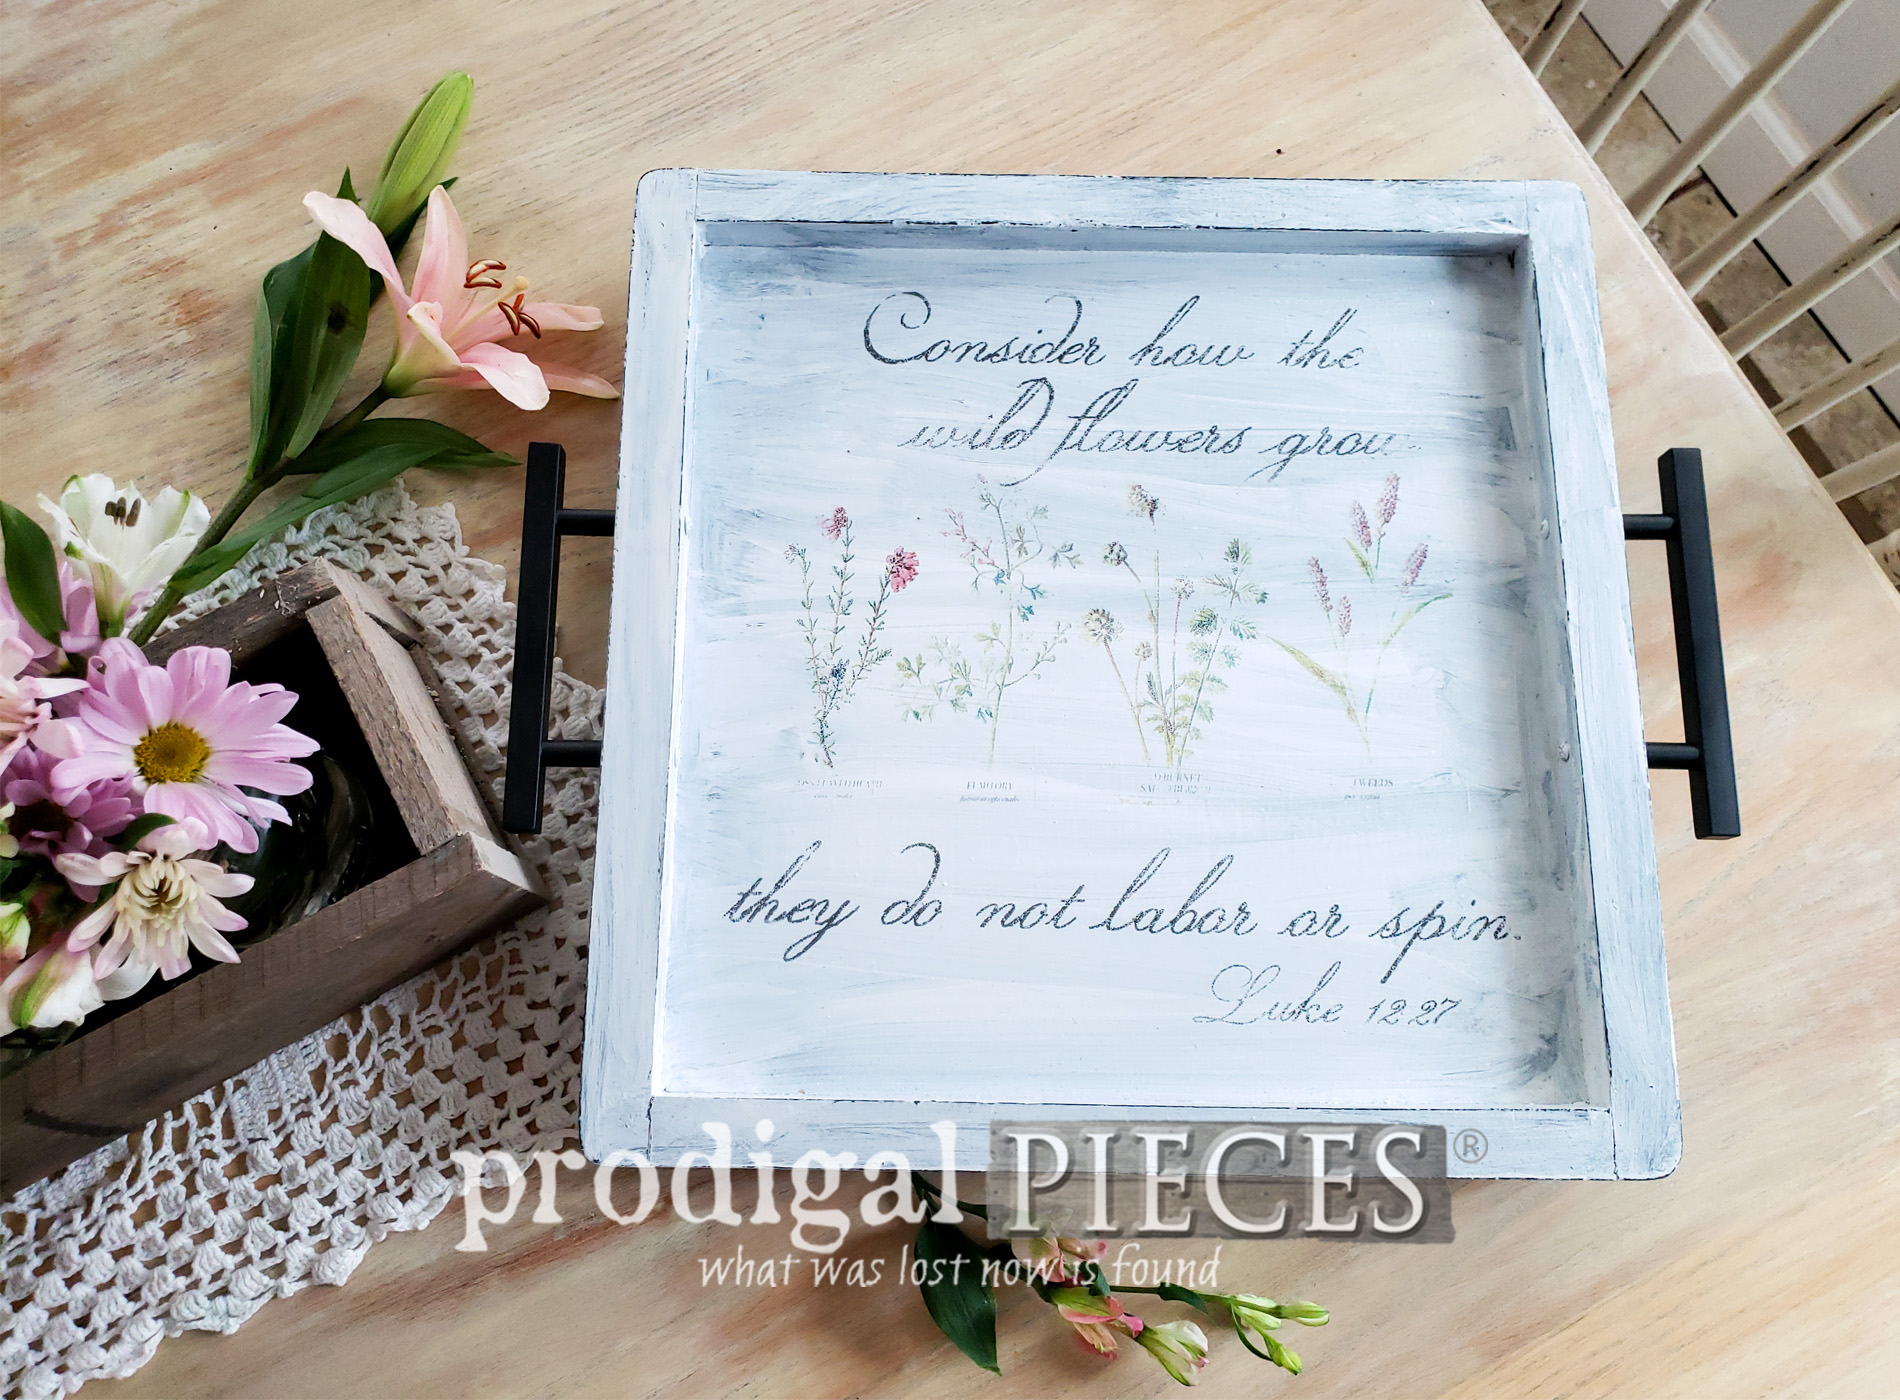
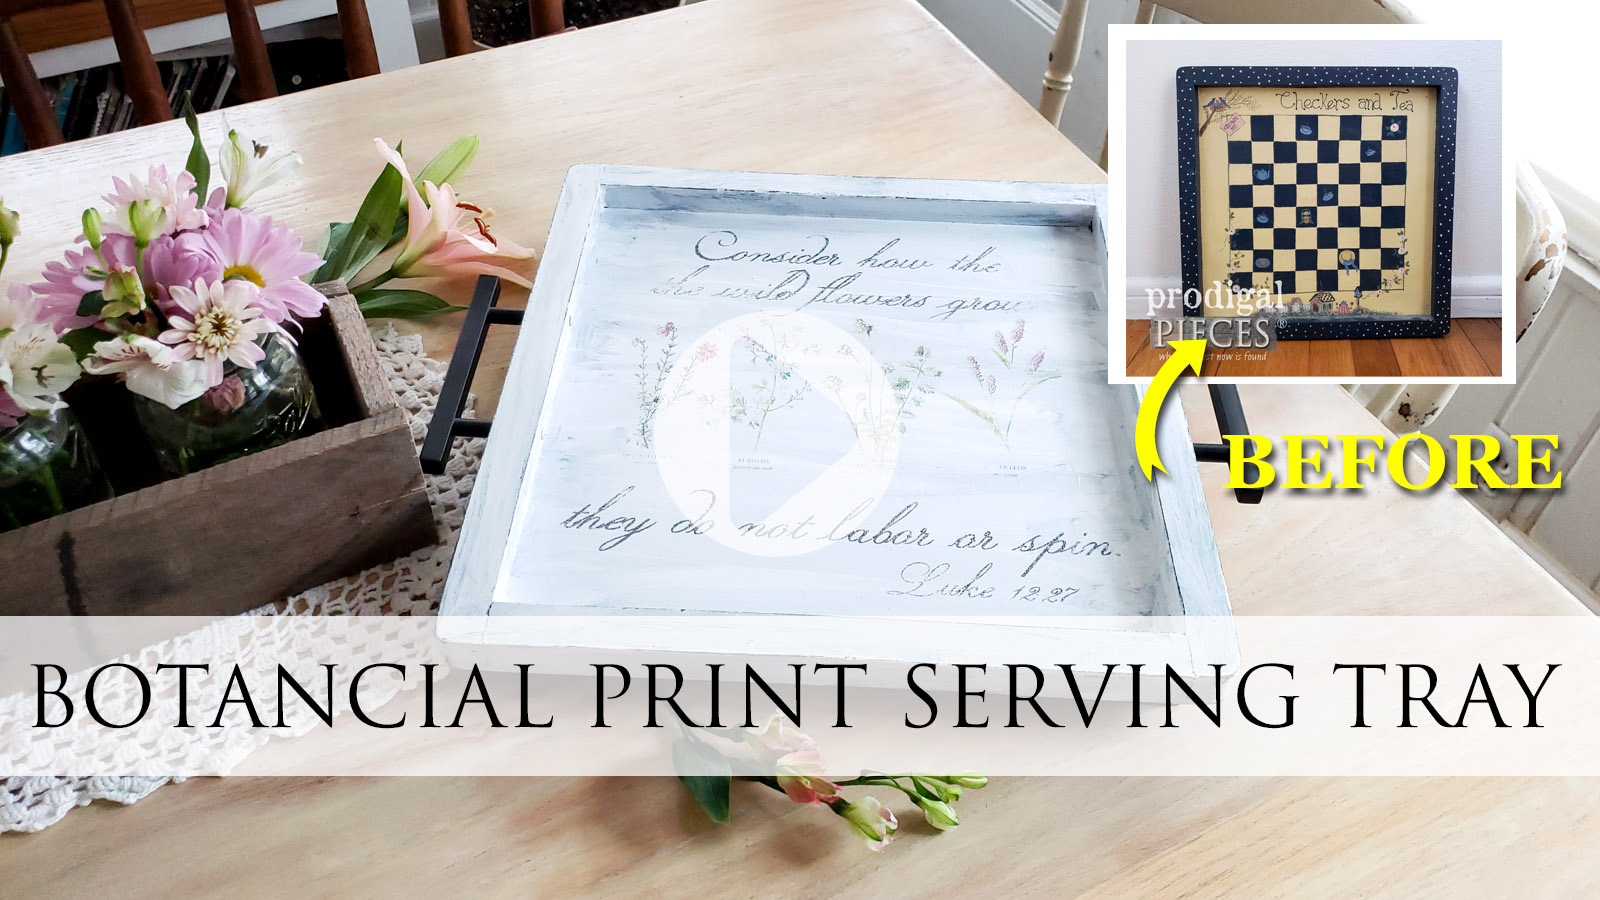
You know you're a little quirky when even your kids are wondering what you're going to do with THAT. haha! Yes, I'm a true sucker for the dated and forlorn. Especially when it looks like this checkerboard wall art. You read that right...wall art. Well, it isn't going to stay wall art any longer, but rather become a botanical print serving tray. Do you see it?

While this piece was hand-crafted in Sri Lanka, it has had it's fair share of time to shine and I'm ready to get my DIY on. If you can see past the cutesy design, you'll see a wooden tray just begging to shine. In addition, even the hardware on the back is falling off.

I've mentioned I envisioned a botanical print serving tray as the end result. To show you how I got there, I've created a video tutorial below as well as written out the steps for you here too.
DIY TIME
First, I gave this "tray" two coats of a flat black spray paint. My goal was to make it cohesive as well as provide a dark layer that would peek out of my final coat.

Then, after the paint cured, I added a few feet made out of scrap wood using wood glue. I kept the profile low and the shape matched the design of the tray.

I let the glue cure over night and then added a single coat of a white paint using my paint brush.

Simple so far, right? Next, I wanted to add hardware to make this more of an official tray. I had a few handsome pulls leftover from my Art Deco buffet revival
seen HERE.

I drilled pilot holes with my drill and then attached the pulls.

GRAPHIC TOUCHES
Now for the fun! I wanted to create a botanical print serving tray and in order to do that I needed to create a graphic for the center. I've used my wax paper transfer process before as seen in
my last post as well as on
this antique table.
The process is simple. Create your design and, if you like, print it on blank paper (it helps when lining things up). Cut out a similar size piece of freezer paper, wax paper, or even use the back of a sheet of printable labels. Use a spray adhesive to join. You just want a semi-slick surface to print on. I created my botanical print design using the images I found at
A Burst of Beautiful.
Next, print IN REVERSE on the wax side of the paper and then place it into position being careful not to move it. While holding it in place with one hand, use a debit/credit card to press the design on. My video shows the best demo of this. Notice I printed my designs wrong. ahem. Ah well.

Then, let the ink cure a bit and then add a layer or two of a spray poly for protection.
ALL DONE
Finally, now that dated wall art is now a beautiful botanical serving tray with much more purpose and style to it.


The pulls give a fun accent and usefulness to the tray, and the feet give it height.


My goal is to inspire you to give your second-hand goods another look. Maybe they just need a new look and purpose too?
Likewise, if you'd like to own this tray or any of the other goodies available, just head to
my shop.


Additionally, pin and share my botanical print serving tray tutorial. It's fun and I'm all about inspiring others.

Up next, this cutie of an accent table is worn and broken. With that in mind, come see the new look for this month's
Furniture Fixer Uppers time.


Also, more DIY projects like my botanical print serving tray: