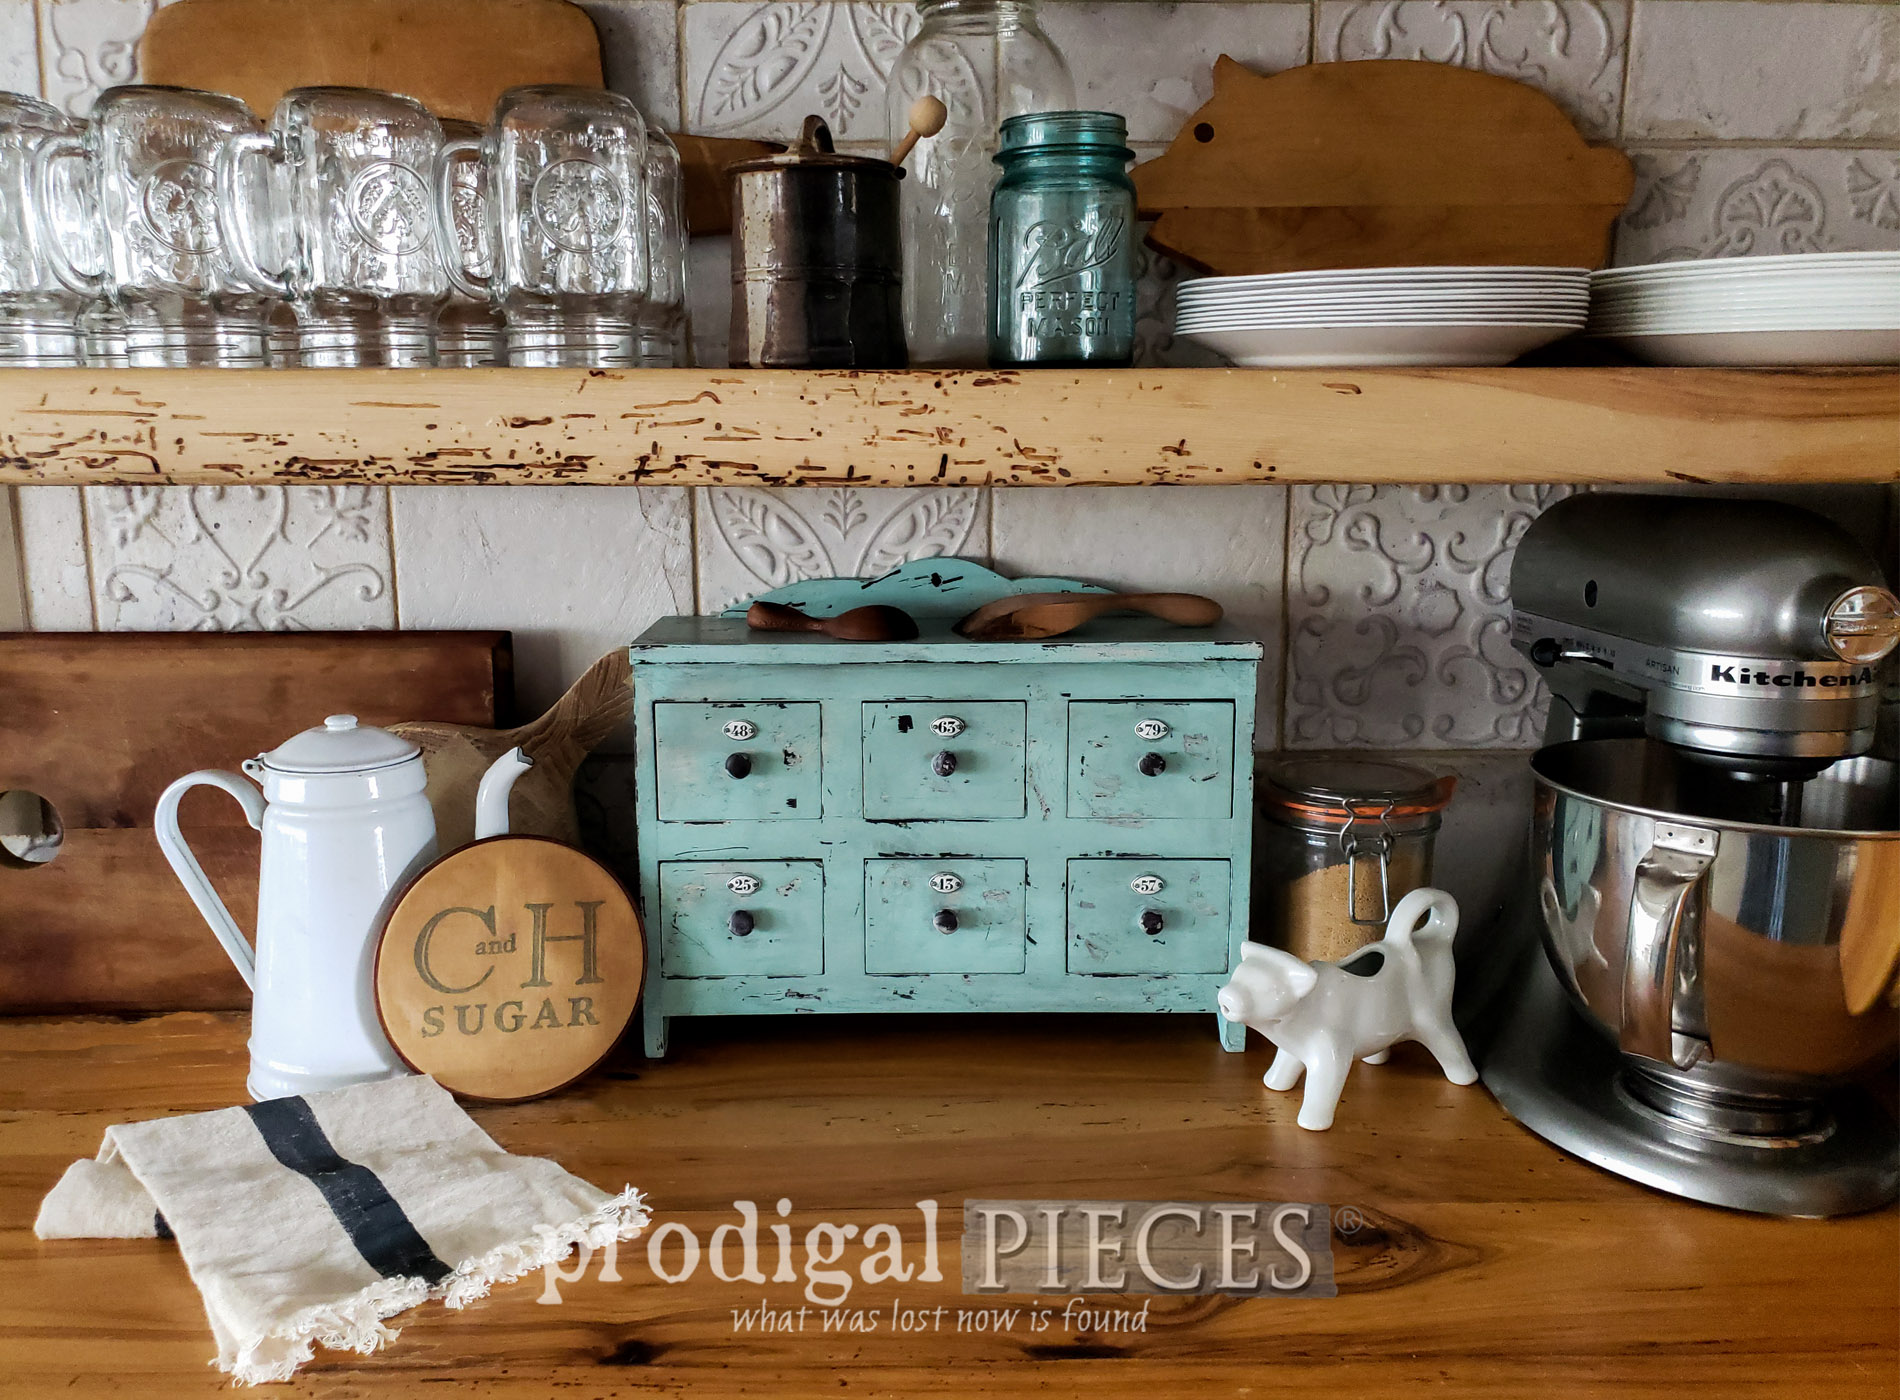
You've been hunting and searching for some kinda antique item that is ever alluding you. My solution? Make one of your own. haha. Yes, it won't exactly be the same and I'm stubborn enough to hunt one down in most instances. However, you can create the same effect, save money & time, plus gain some DIY skillz. This little apothecary cubby is a like-new item from a big box store. But...wait until you see what it can look like by creating a story.
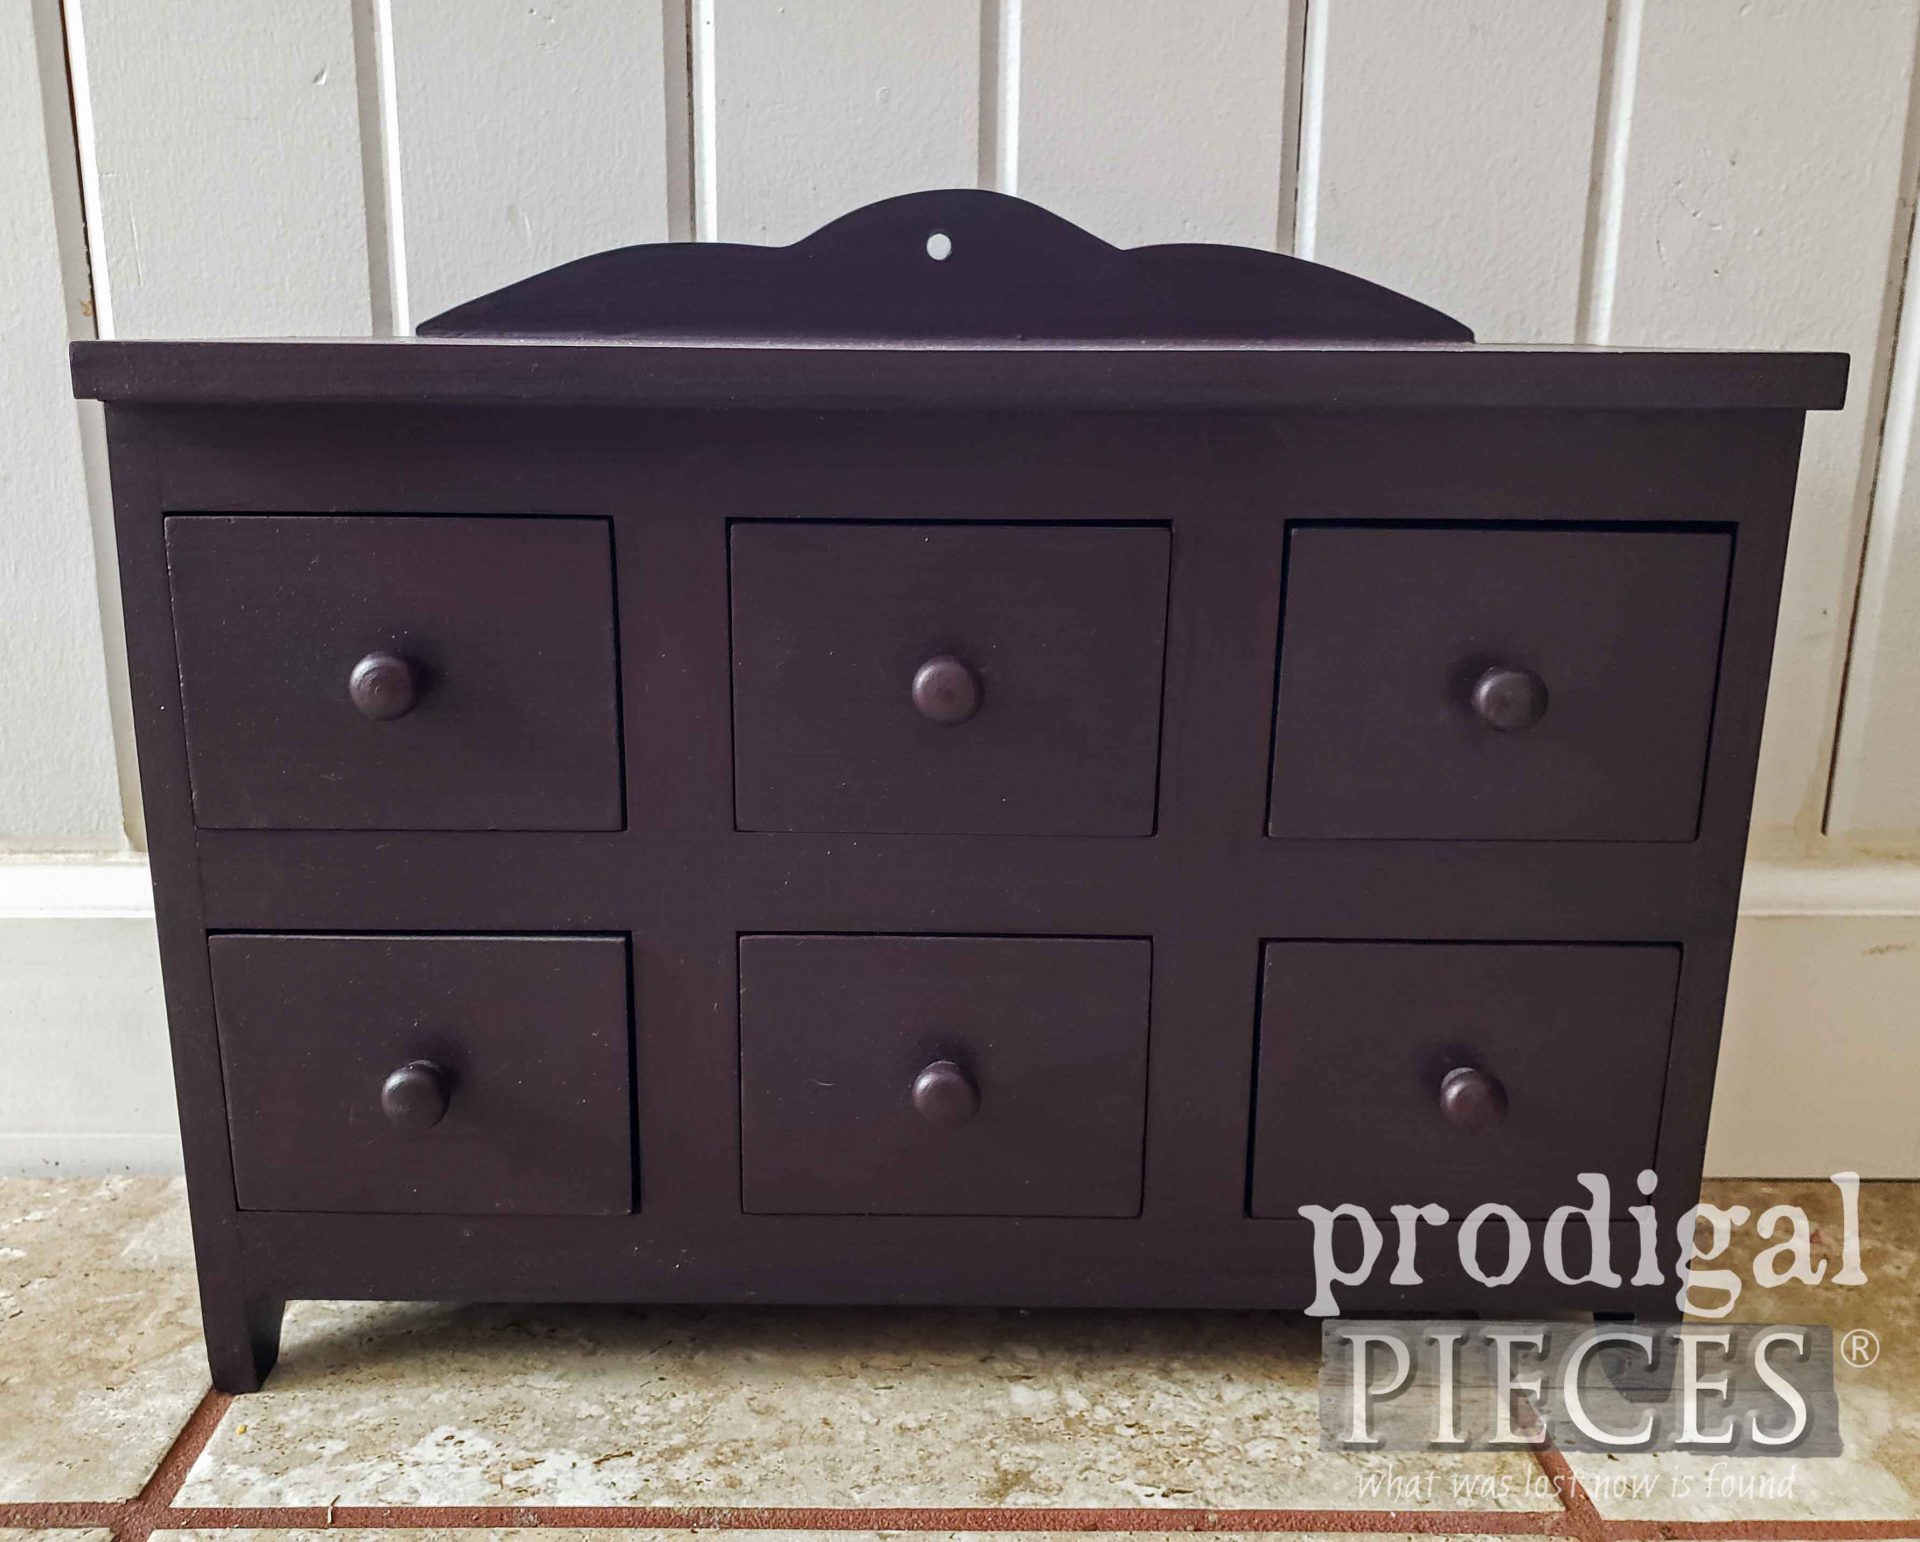
I actually found this at the thrift store, and if you know me I'm a sucker for all things drawers - especially small, cute ones, like these. tee hee. If you've ever priced an item like this at a flea market or antique store, you know they are
not cheap. Right?
THE SOLUTION
This is when we pull up our big girl (or guy) DIY panties and make our own. Yes, you could even build one, but you can also take a modern-day item and make it look old. I've shared before how I love to use
layers of paint to age an item.
First, for this apothecary cubby, I wipe it all down with a rubbing alcohol to remove adhesive residue and dirt. Did you know you can tell if a paint is oil or latex based by using rubbing alcohol? If you rub it with rubbing alcohol and it comes off, it is latex.
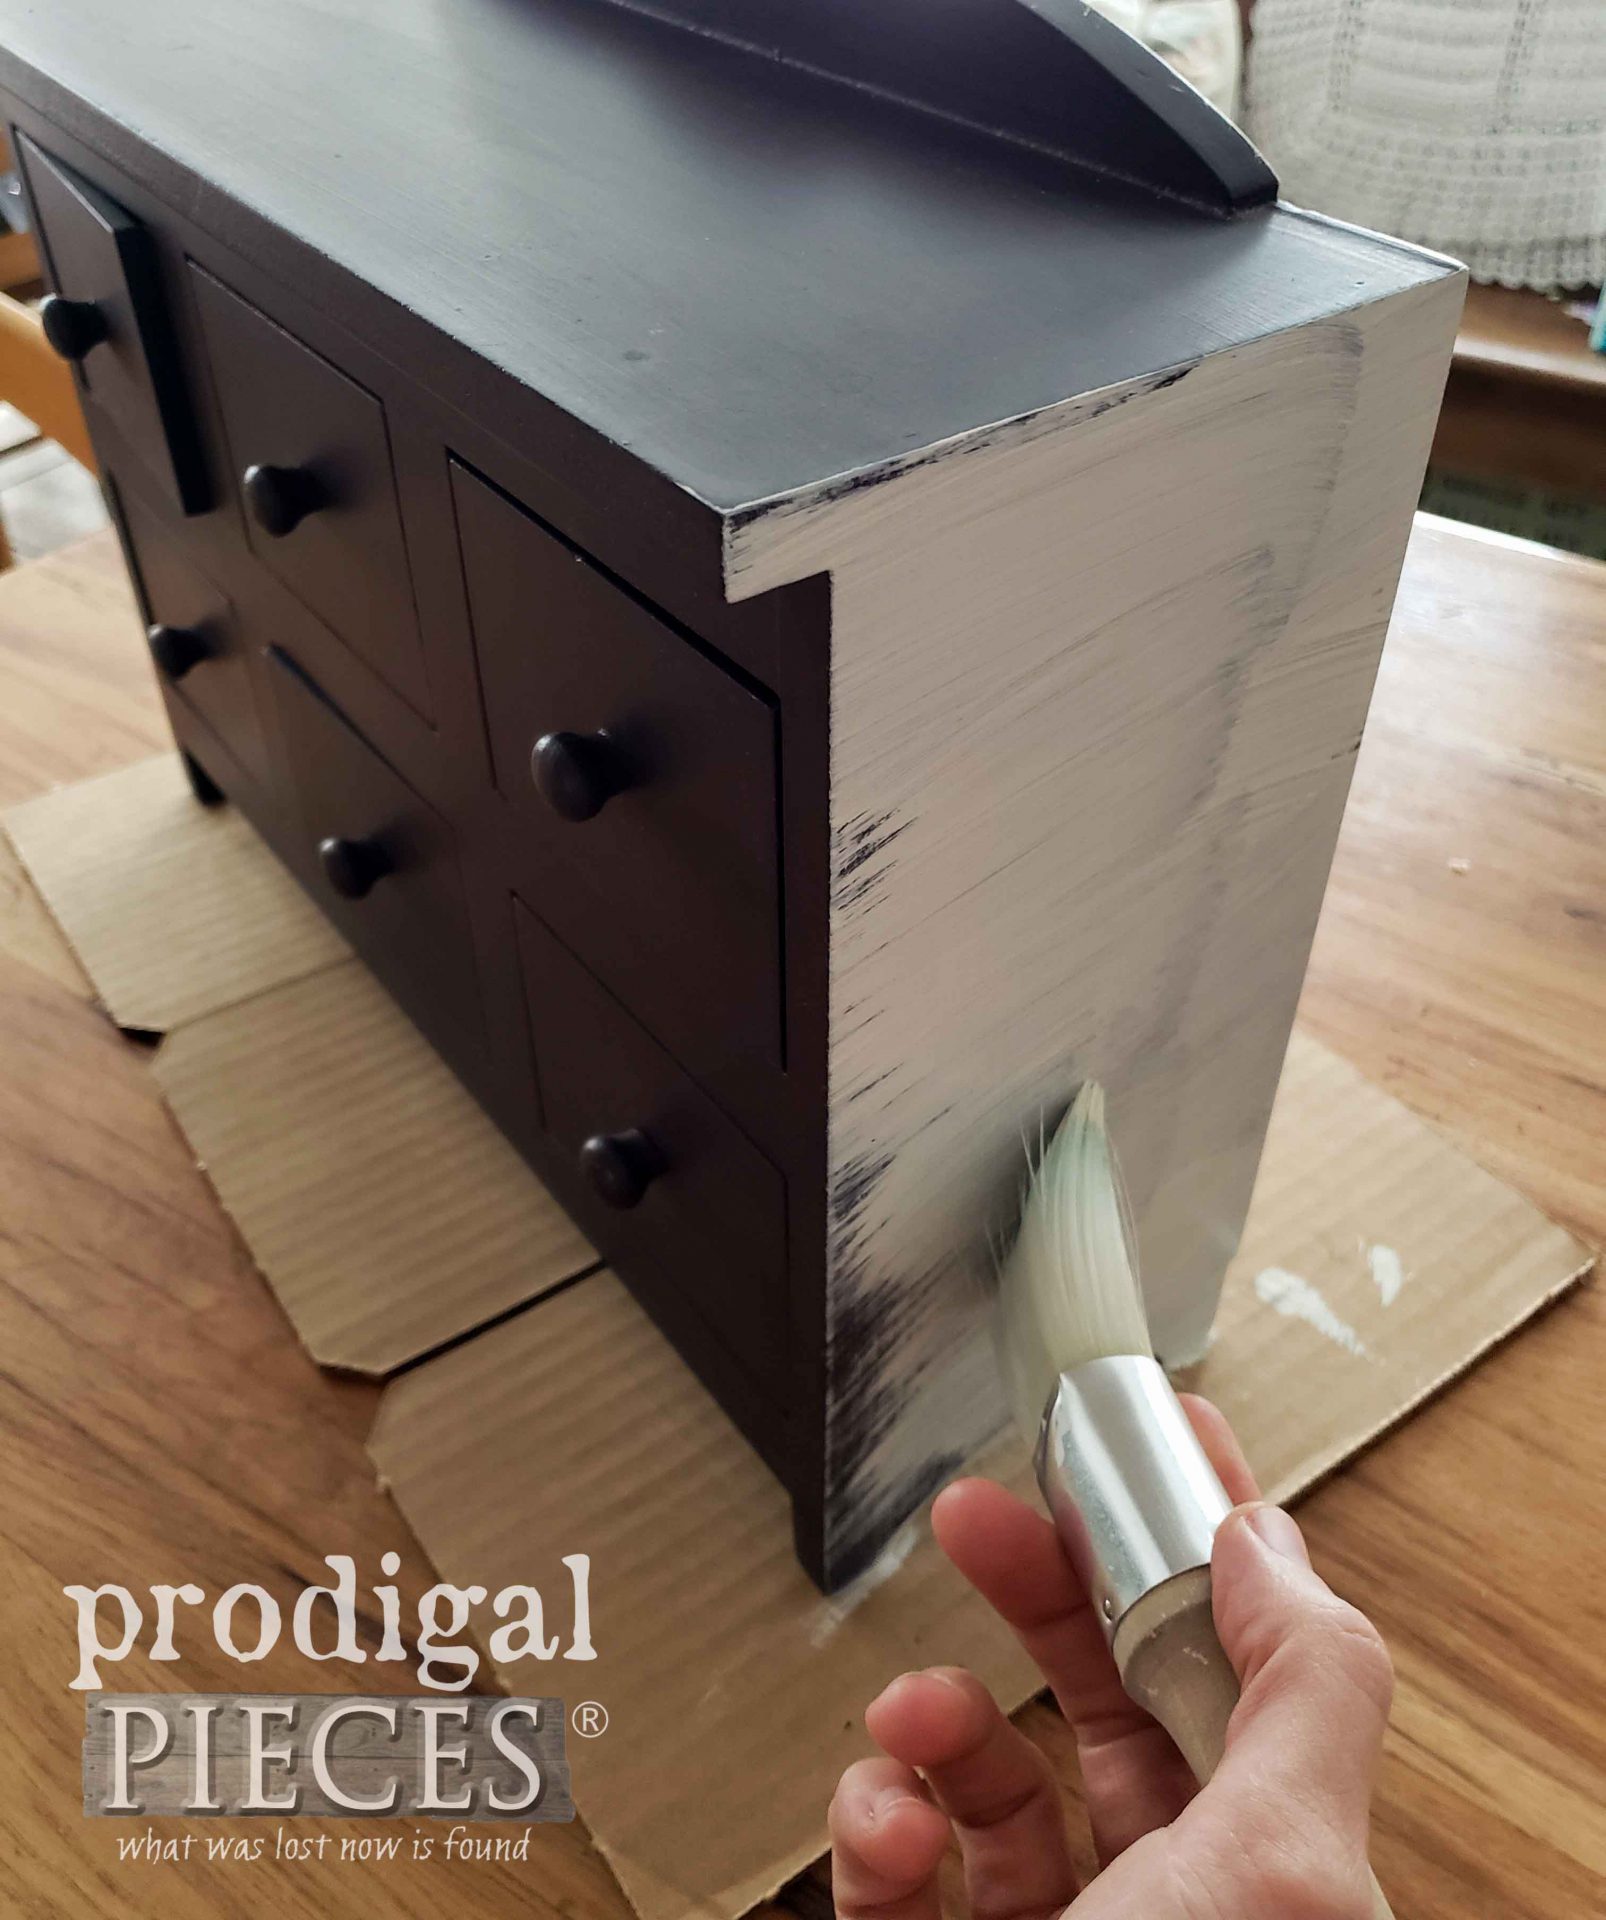
Then, I use my paint brush to apply one coat of an antique white latex paint. I'm going to use this dark, faux wood, purple color as a base for my layering.
NEXT STEPS
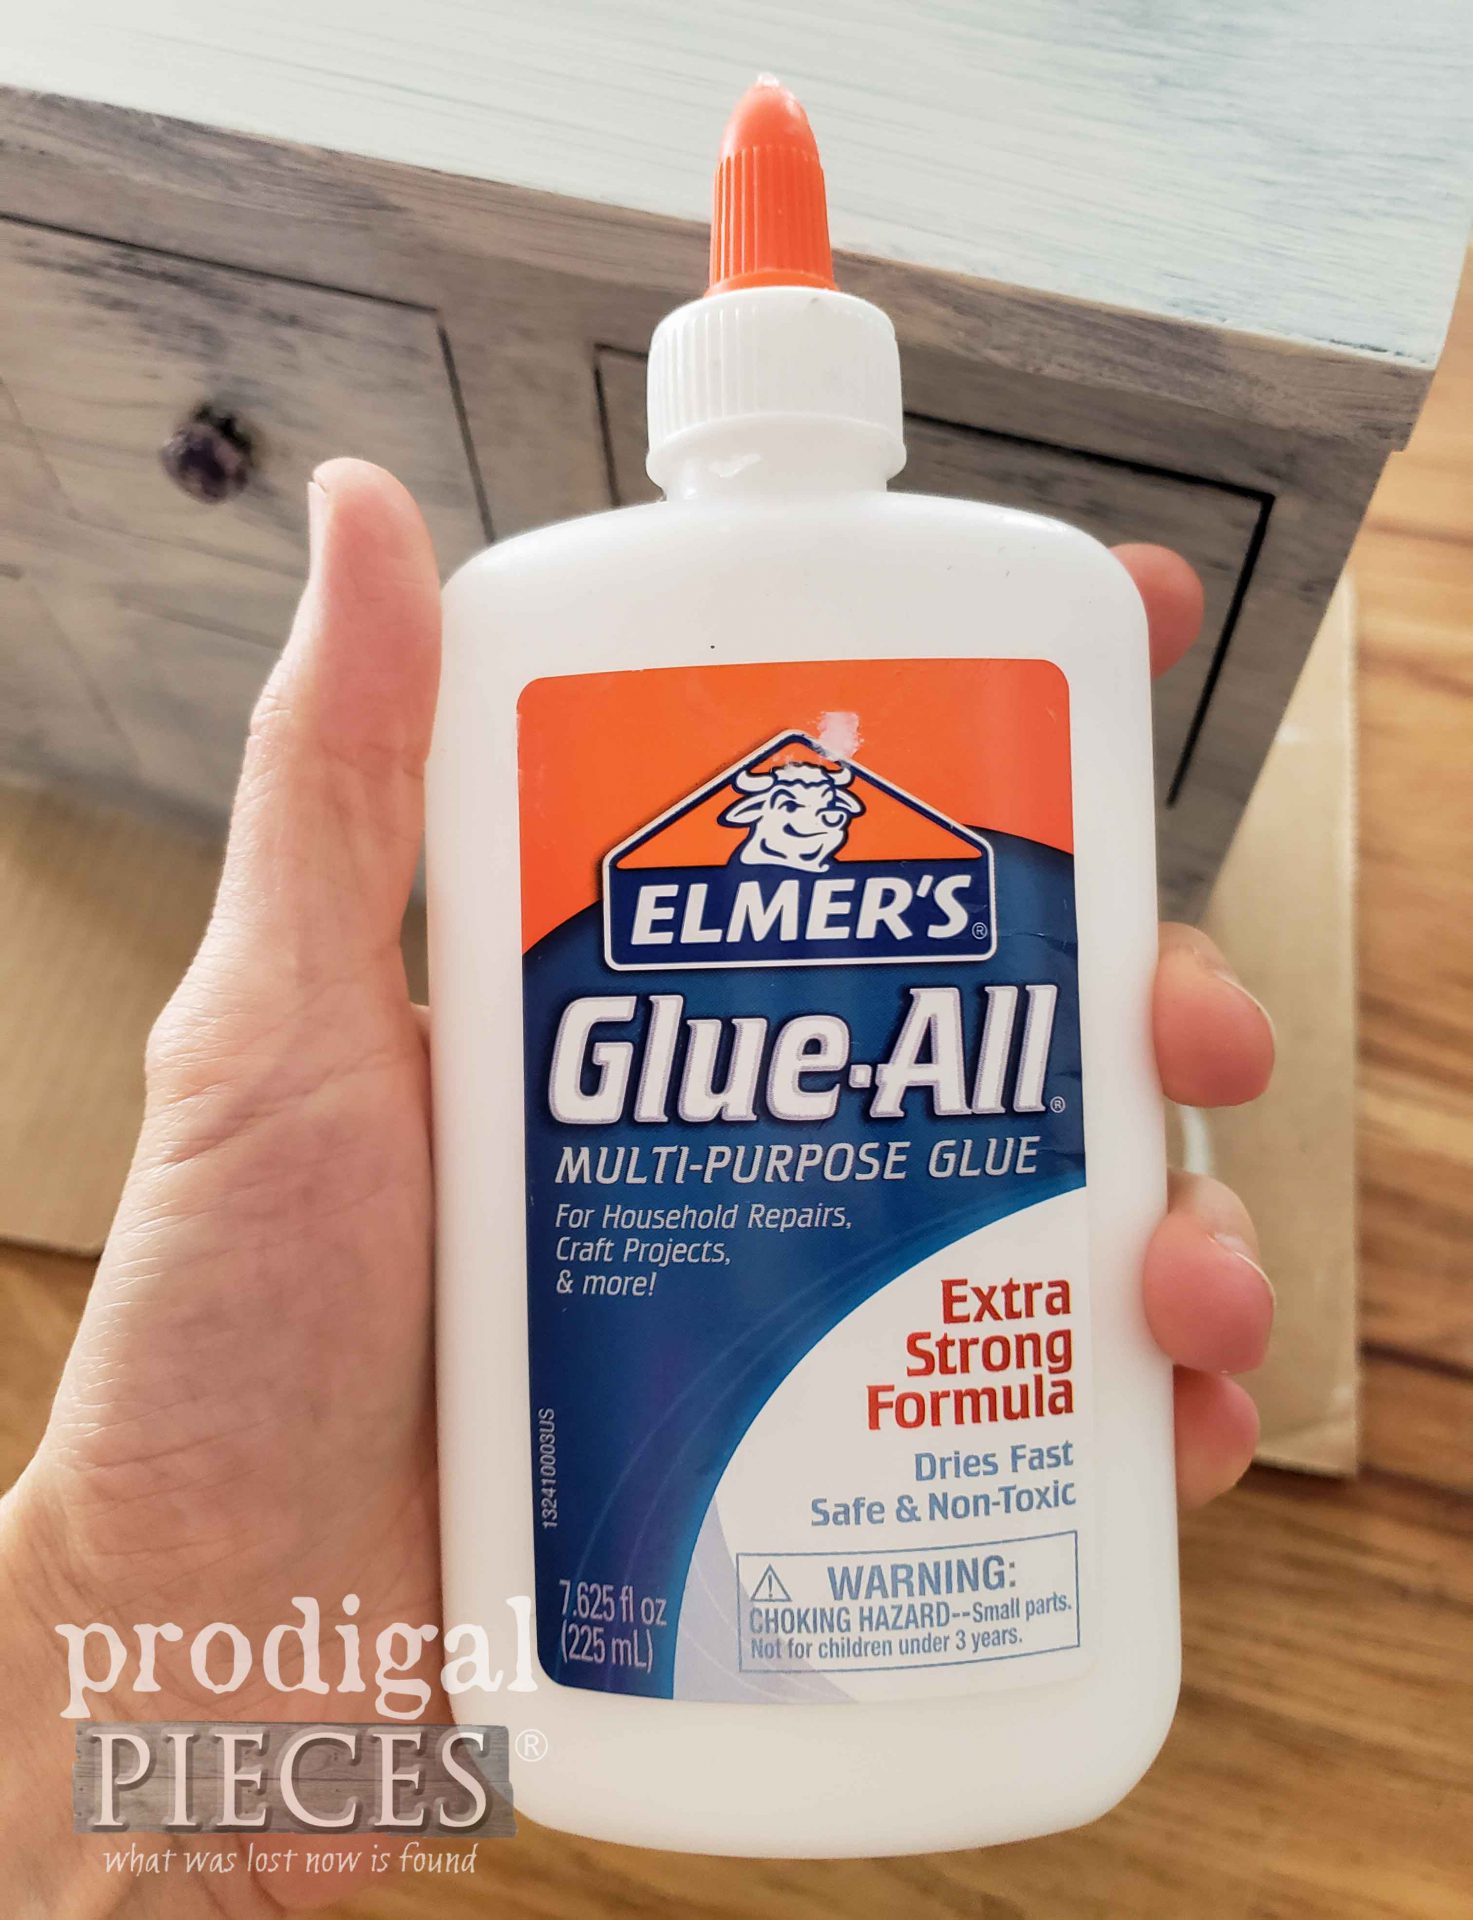
Next, I use basic school glue applied in thick spots to make my next layer of paint crackle. However, you can also use a crackle medium, but in a pinch you can use this too. Apply it to spots where typical time-worn wear would appear (corners, around knobs, etc.)
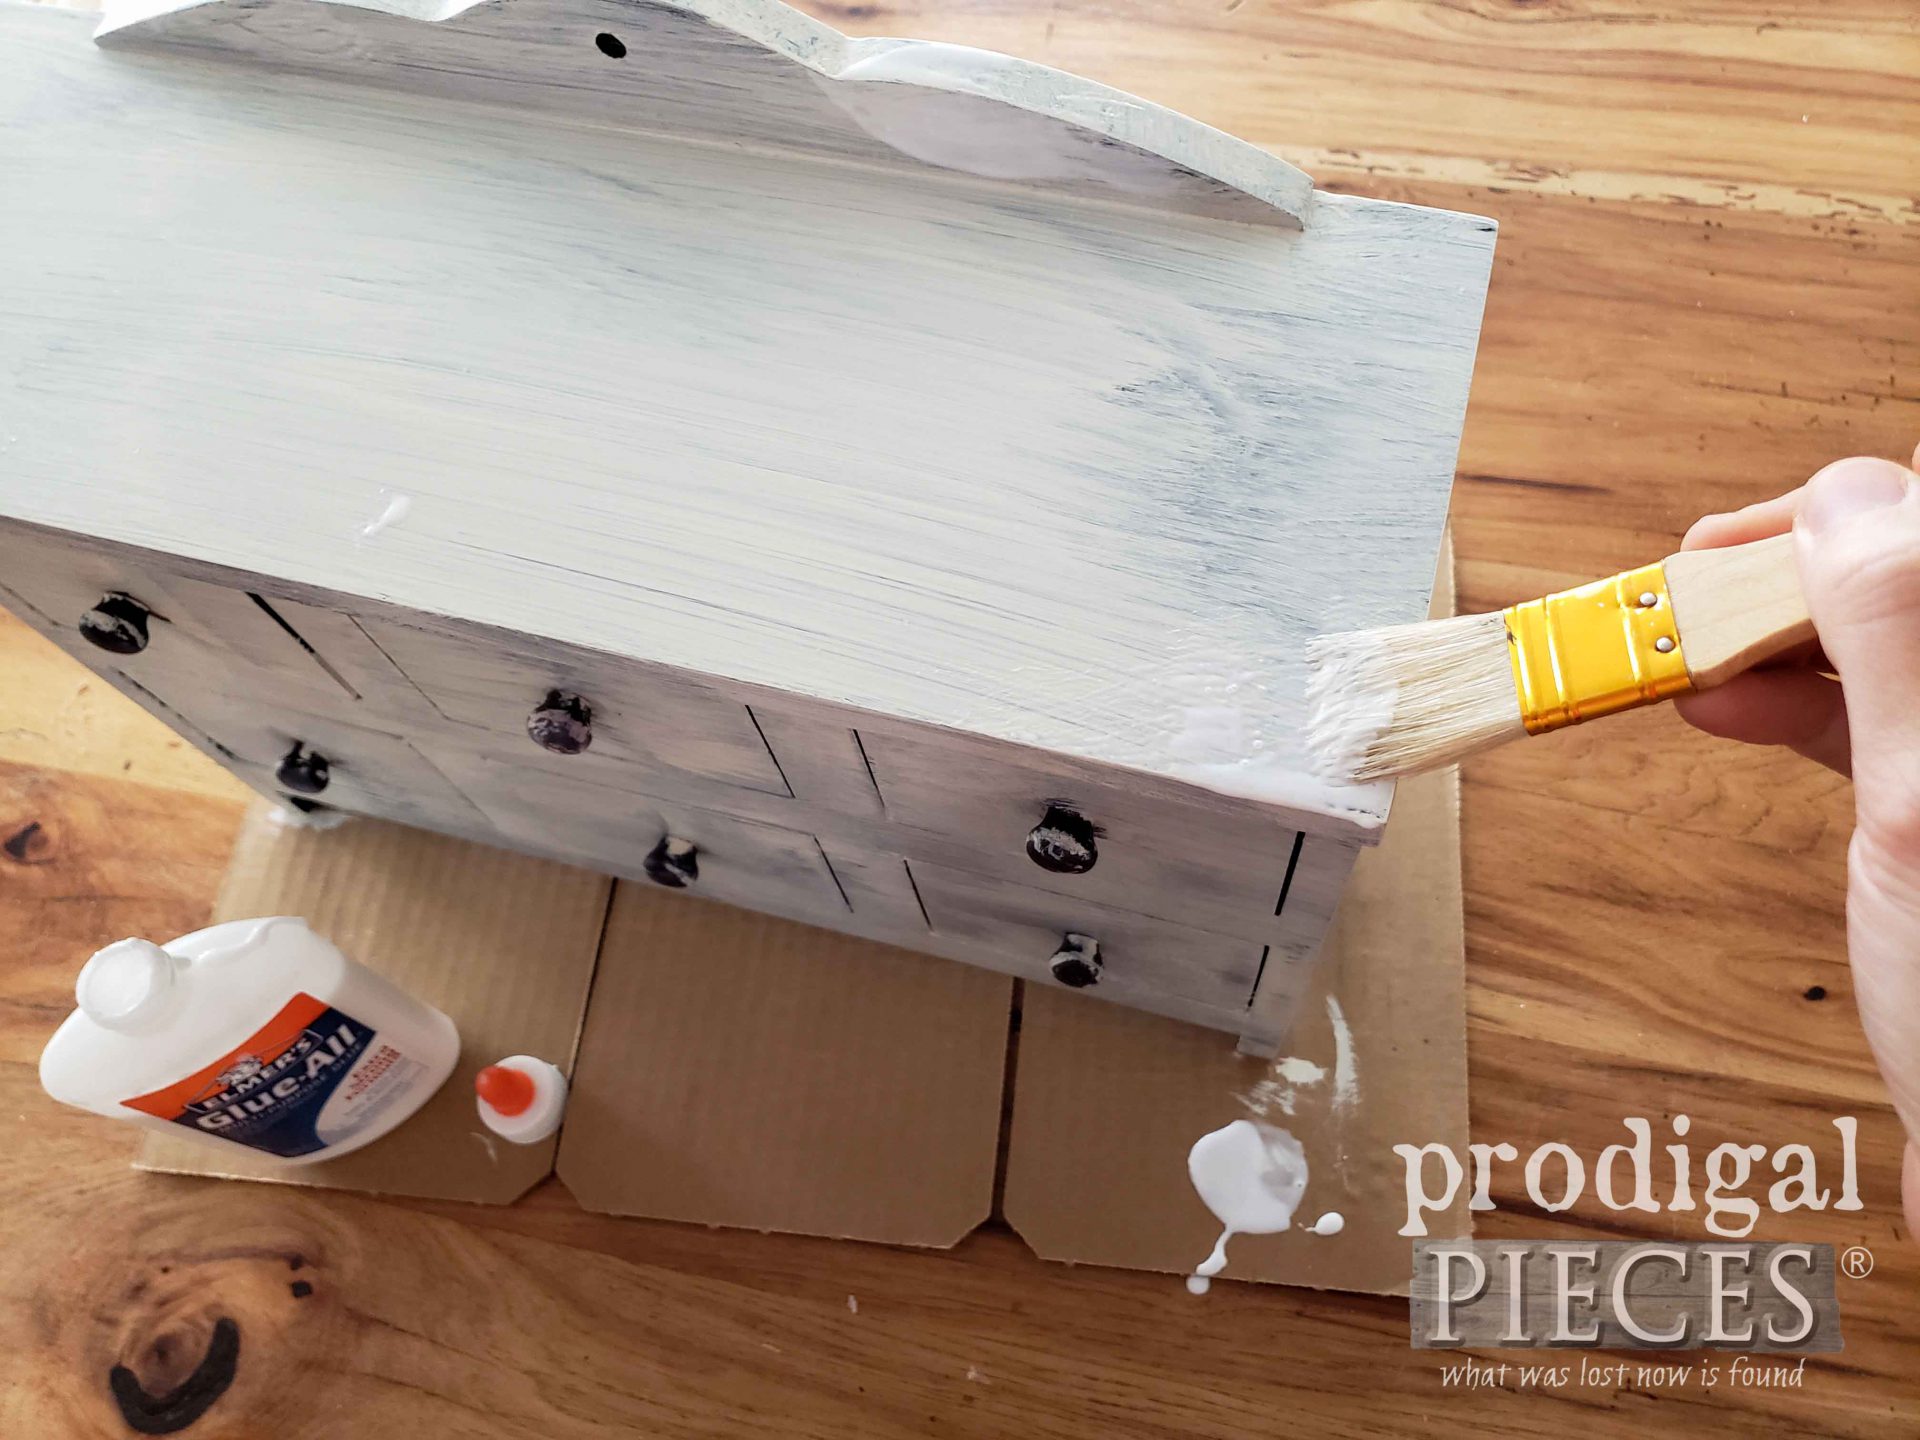
The key is to apply it thick (but not too thick), and let it cure a bit. In addition, you can also use a heat gun or hair dryer to hasten this step. However, before the glue is completely dry, apply your next layer of paint brushing across the glue. Don't go back and brush over and over again as this will disrupt the crackle.
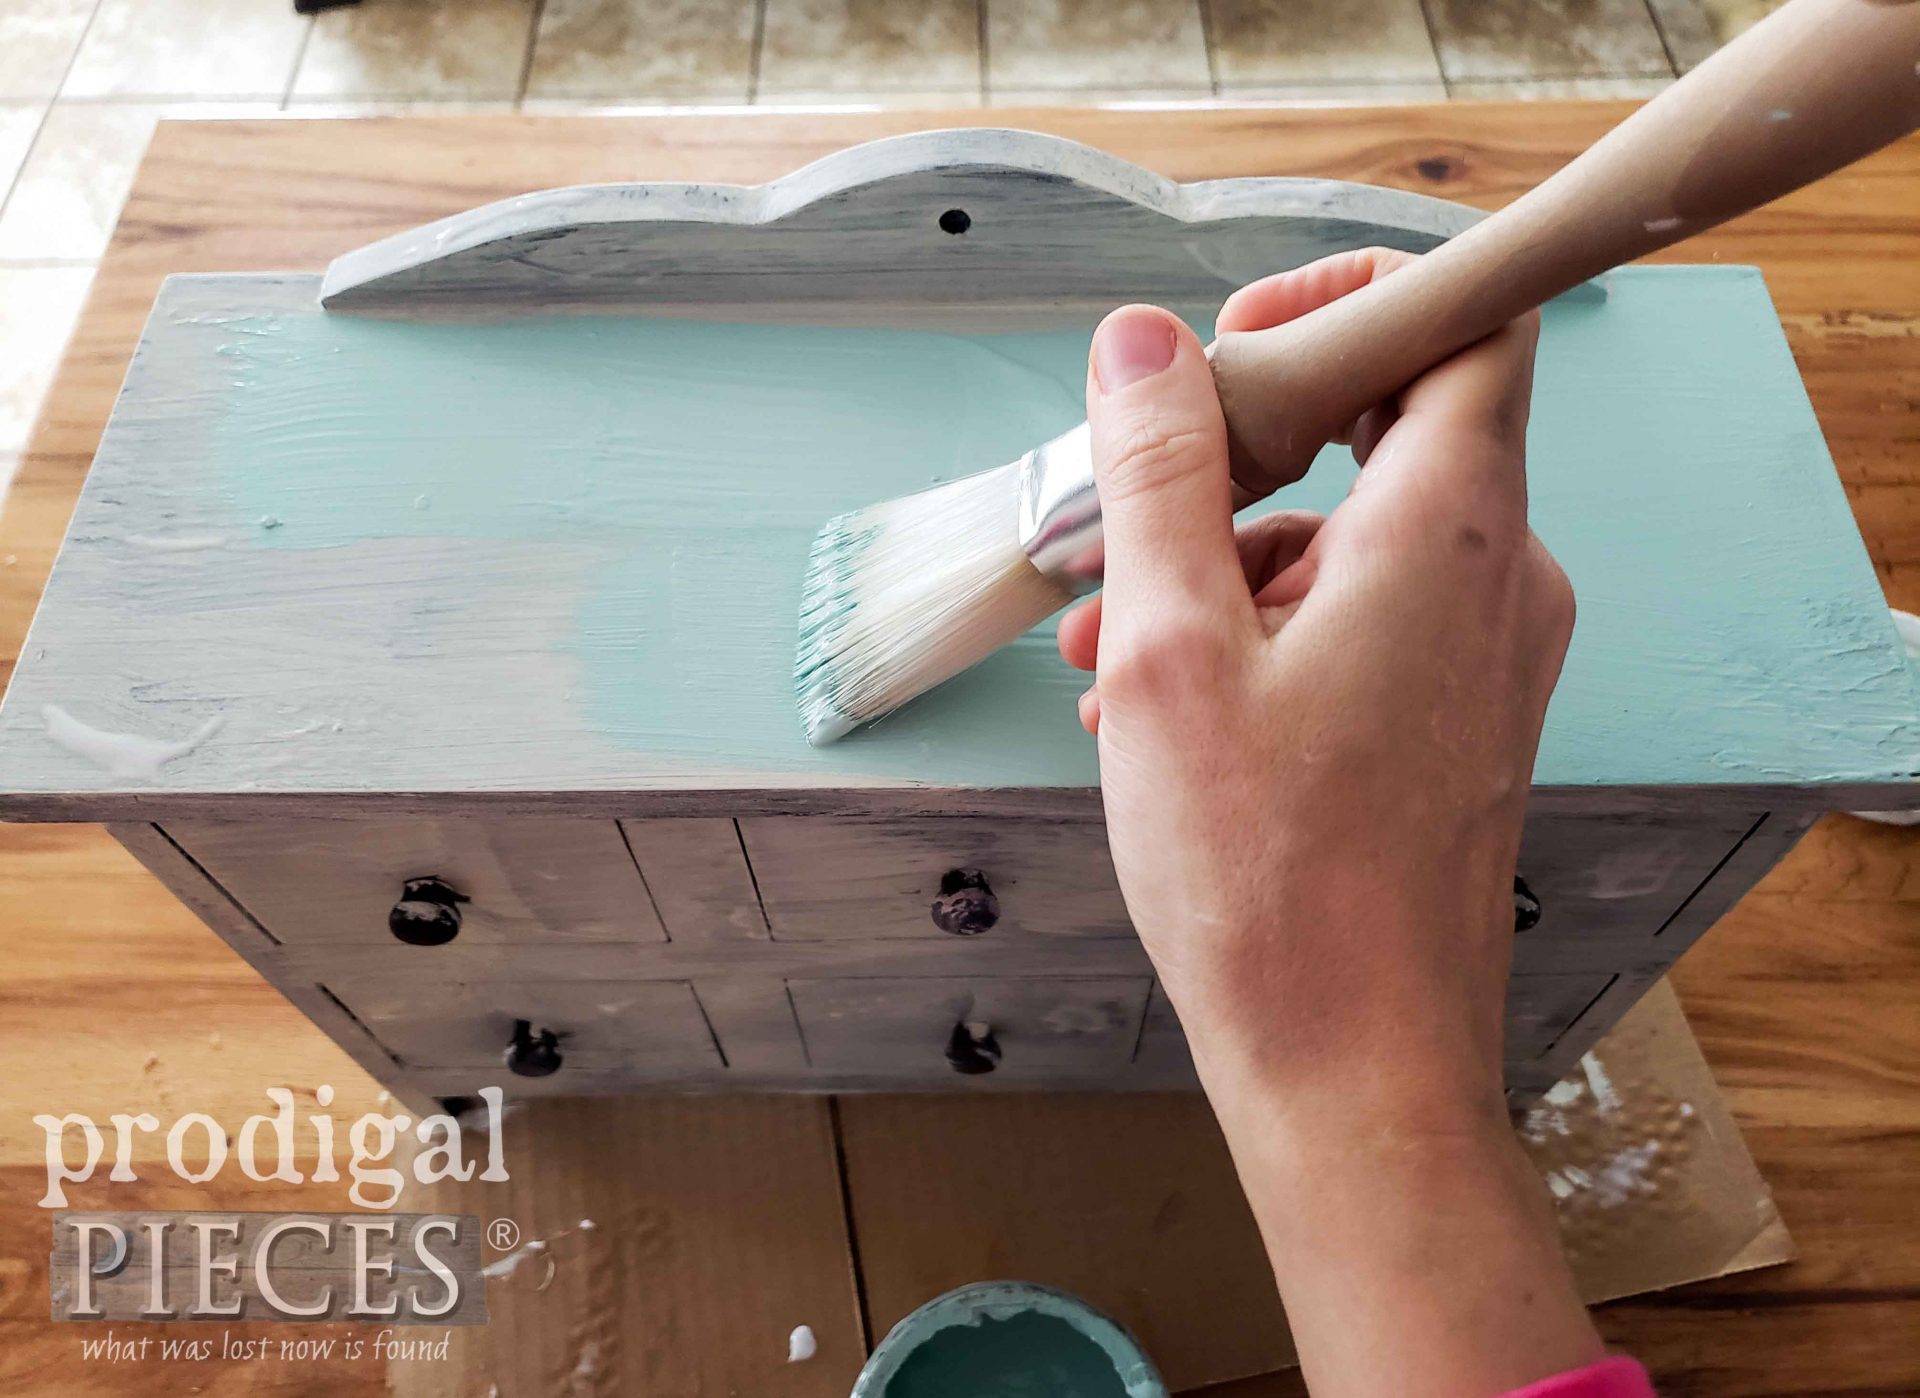
Again, I use my heat gun or hair dryer to make the crackles crack deep. You can see in
my past posts the technique HERE.
DETAILS
Last, as soon as the paint and glue are cured, I take my putty knife horizontally and scrape off what willingly comes off. (edges, corners, etc.) Then, I apply a heavy coat of gray wax and buff to finish.
Here's my cutie all fixed up and ready for just about any kinda fun storage you can think of. Aren't those vintage-ish plaquettes fun? For today's staging purpose, I'm sharing it in my kitchen. While you can fill it with teas, herbs and spices, you could even hide snacks.
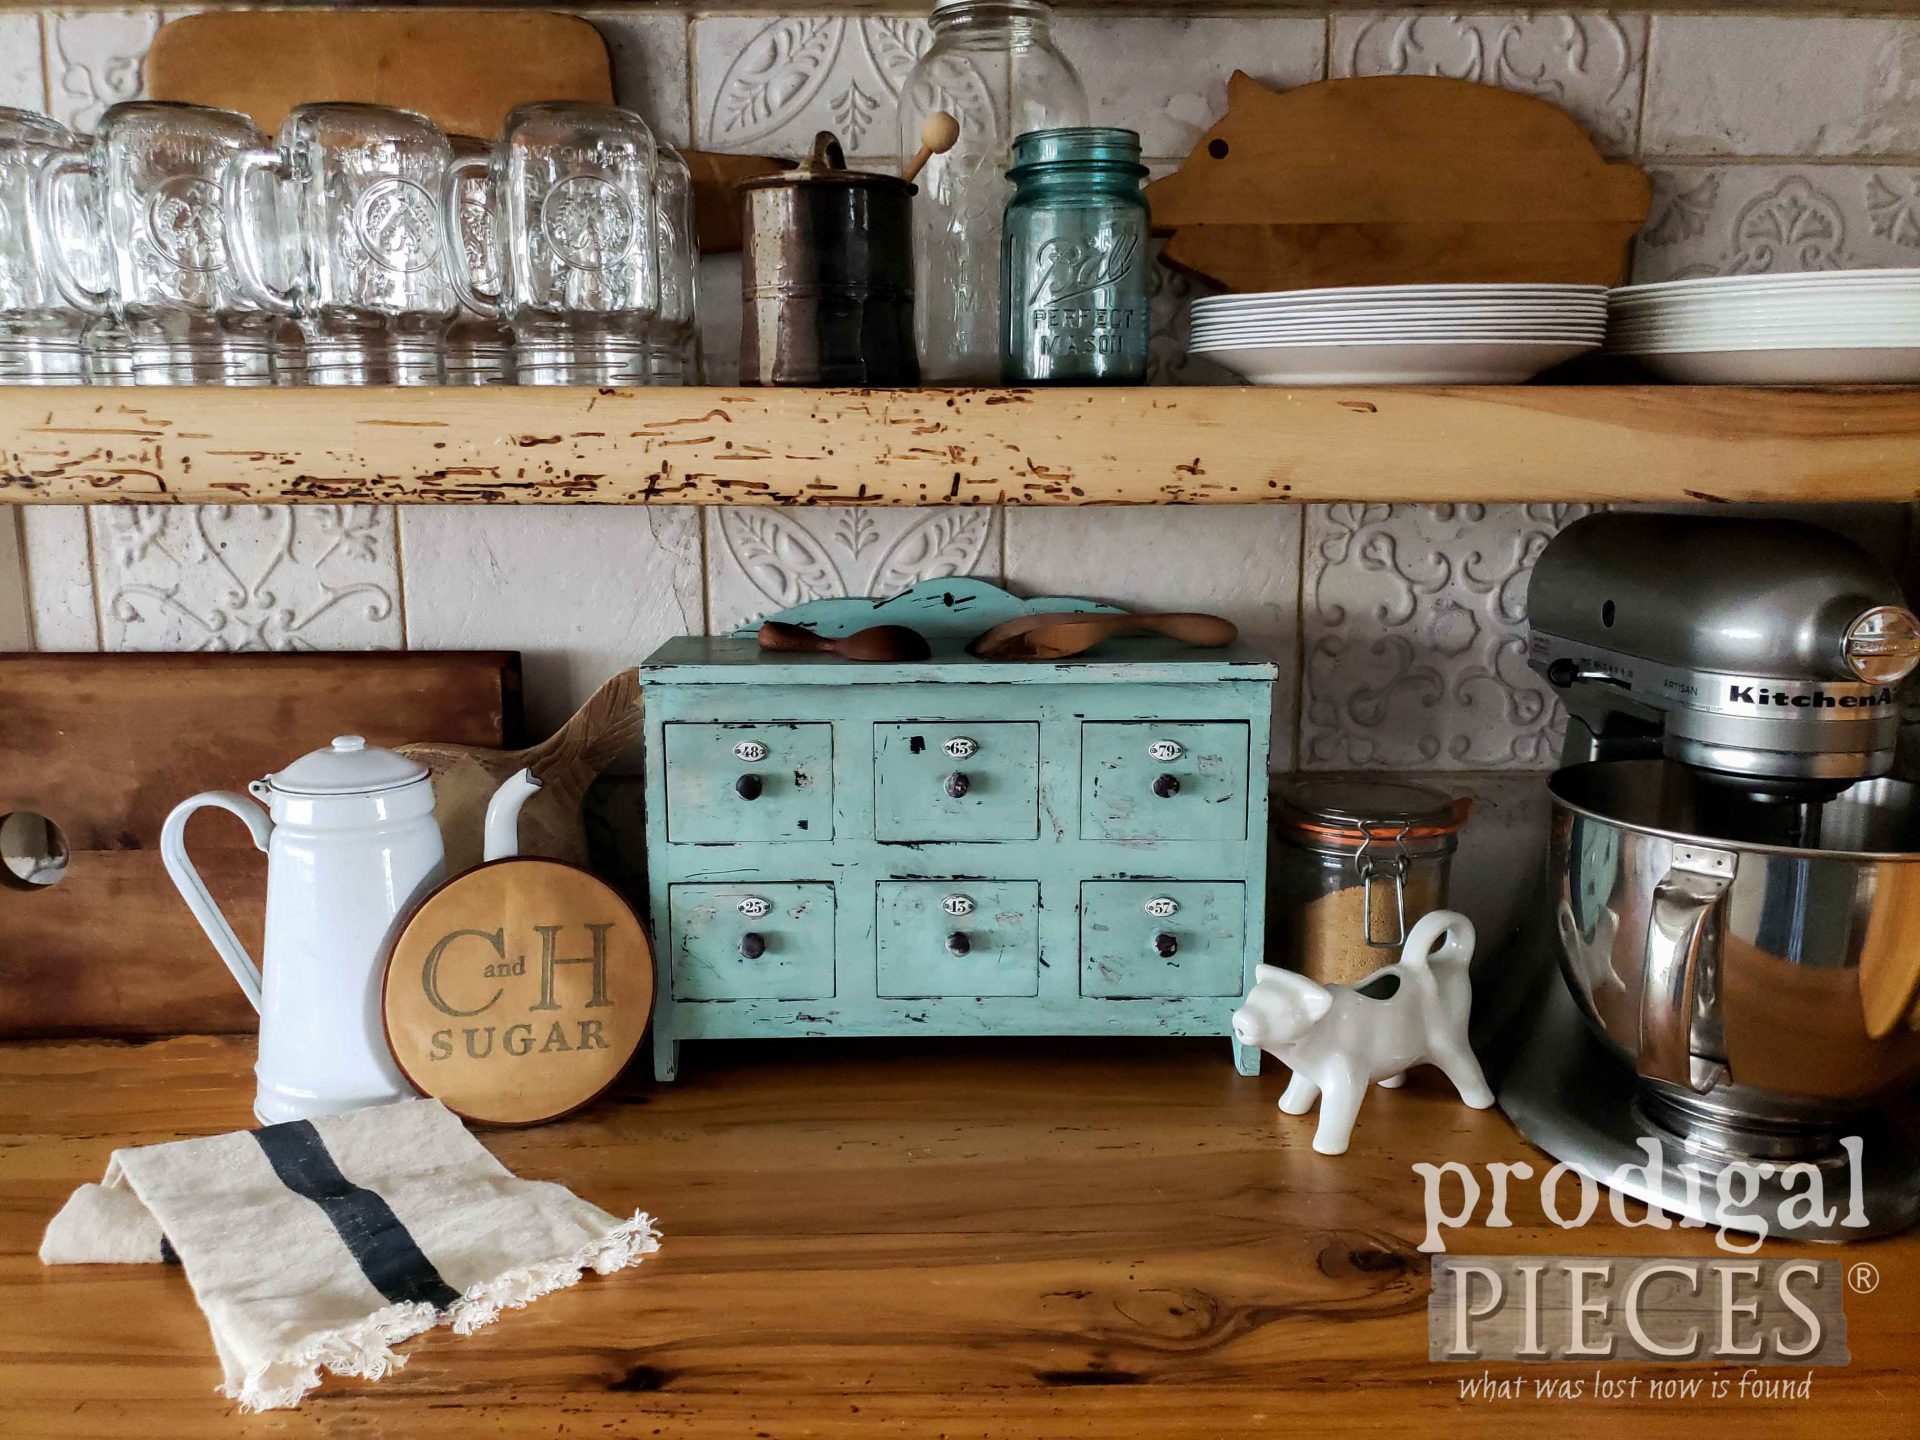
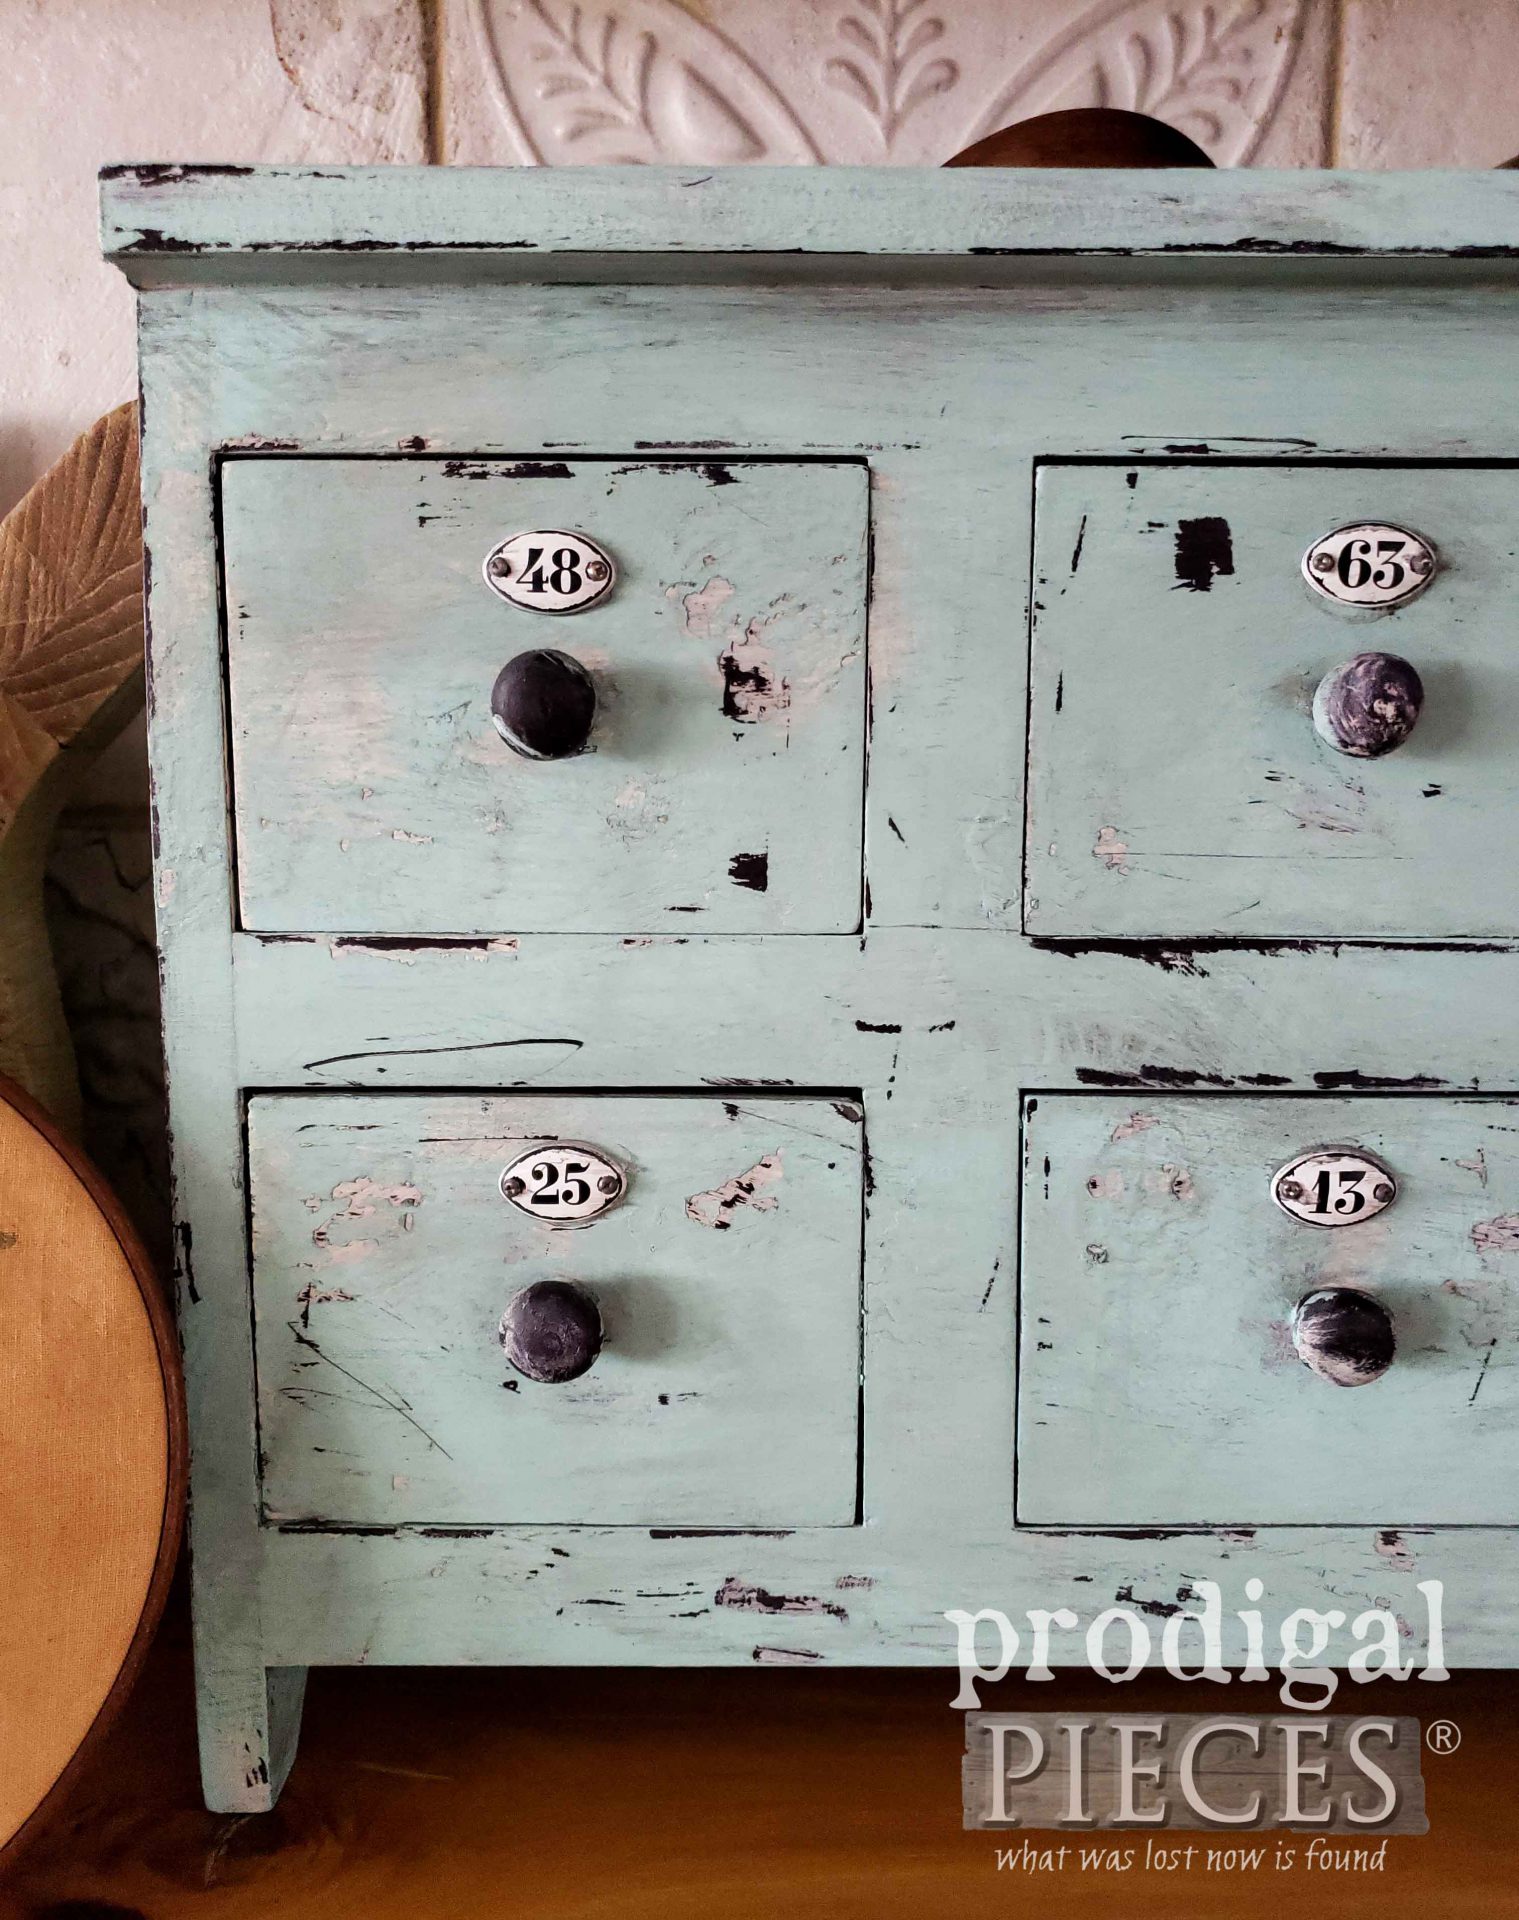
However, this is also perfect for bathroom, bedroom, art supplies, notions, garden seed...you get the idea. What would you use it for?
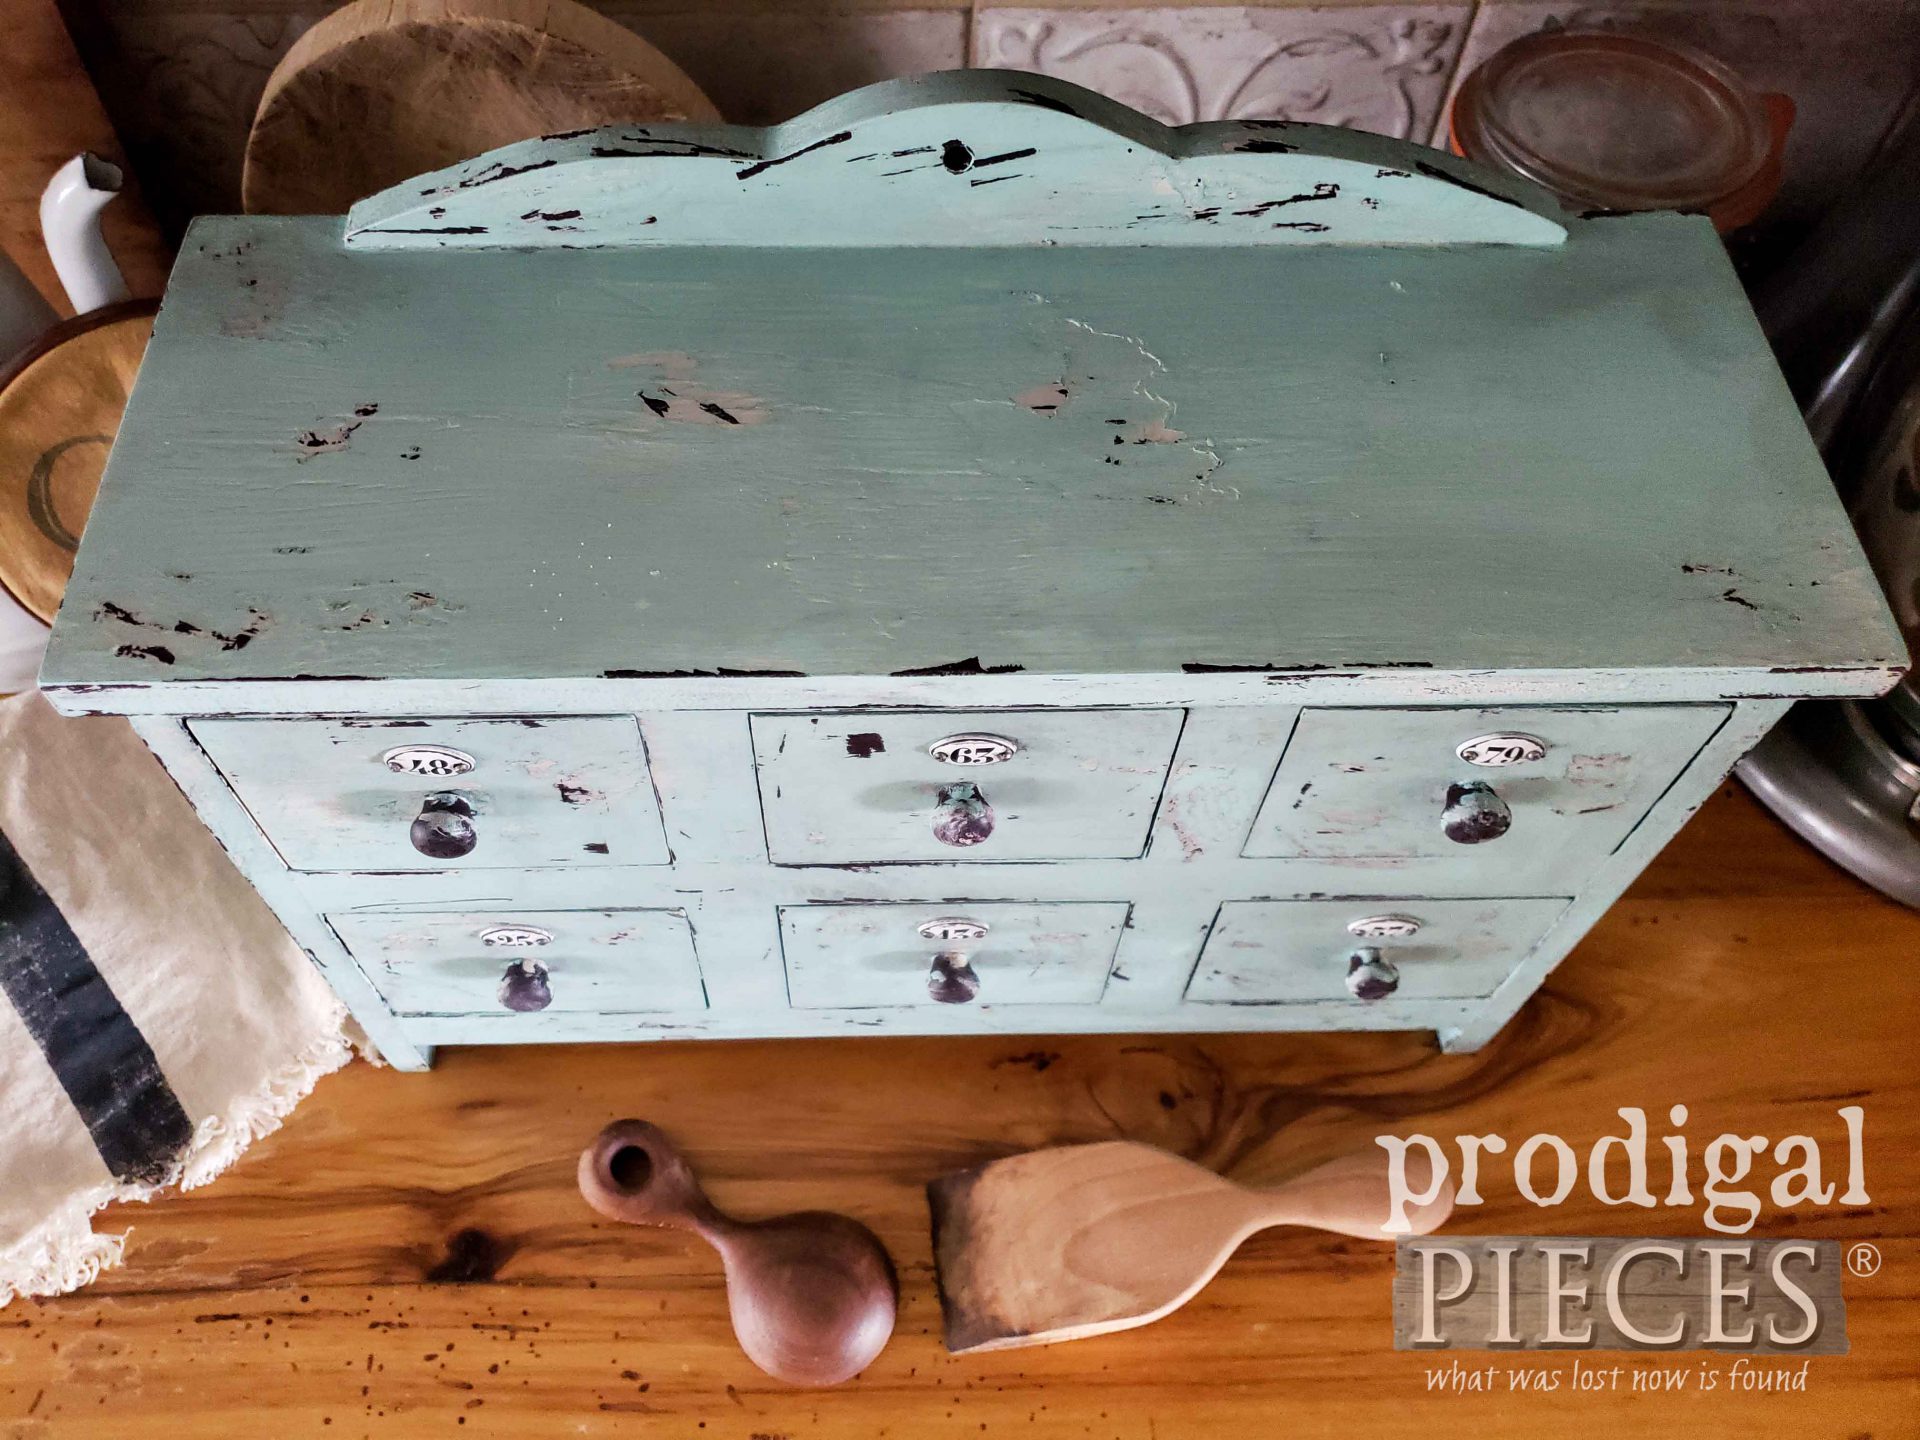
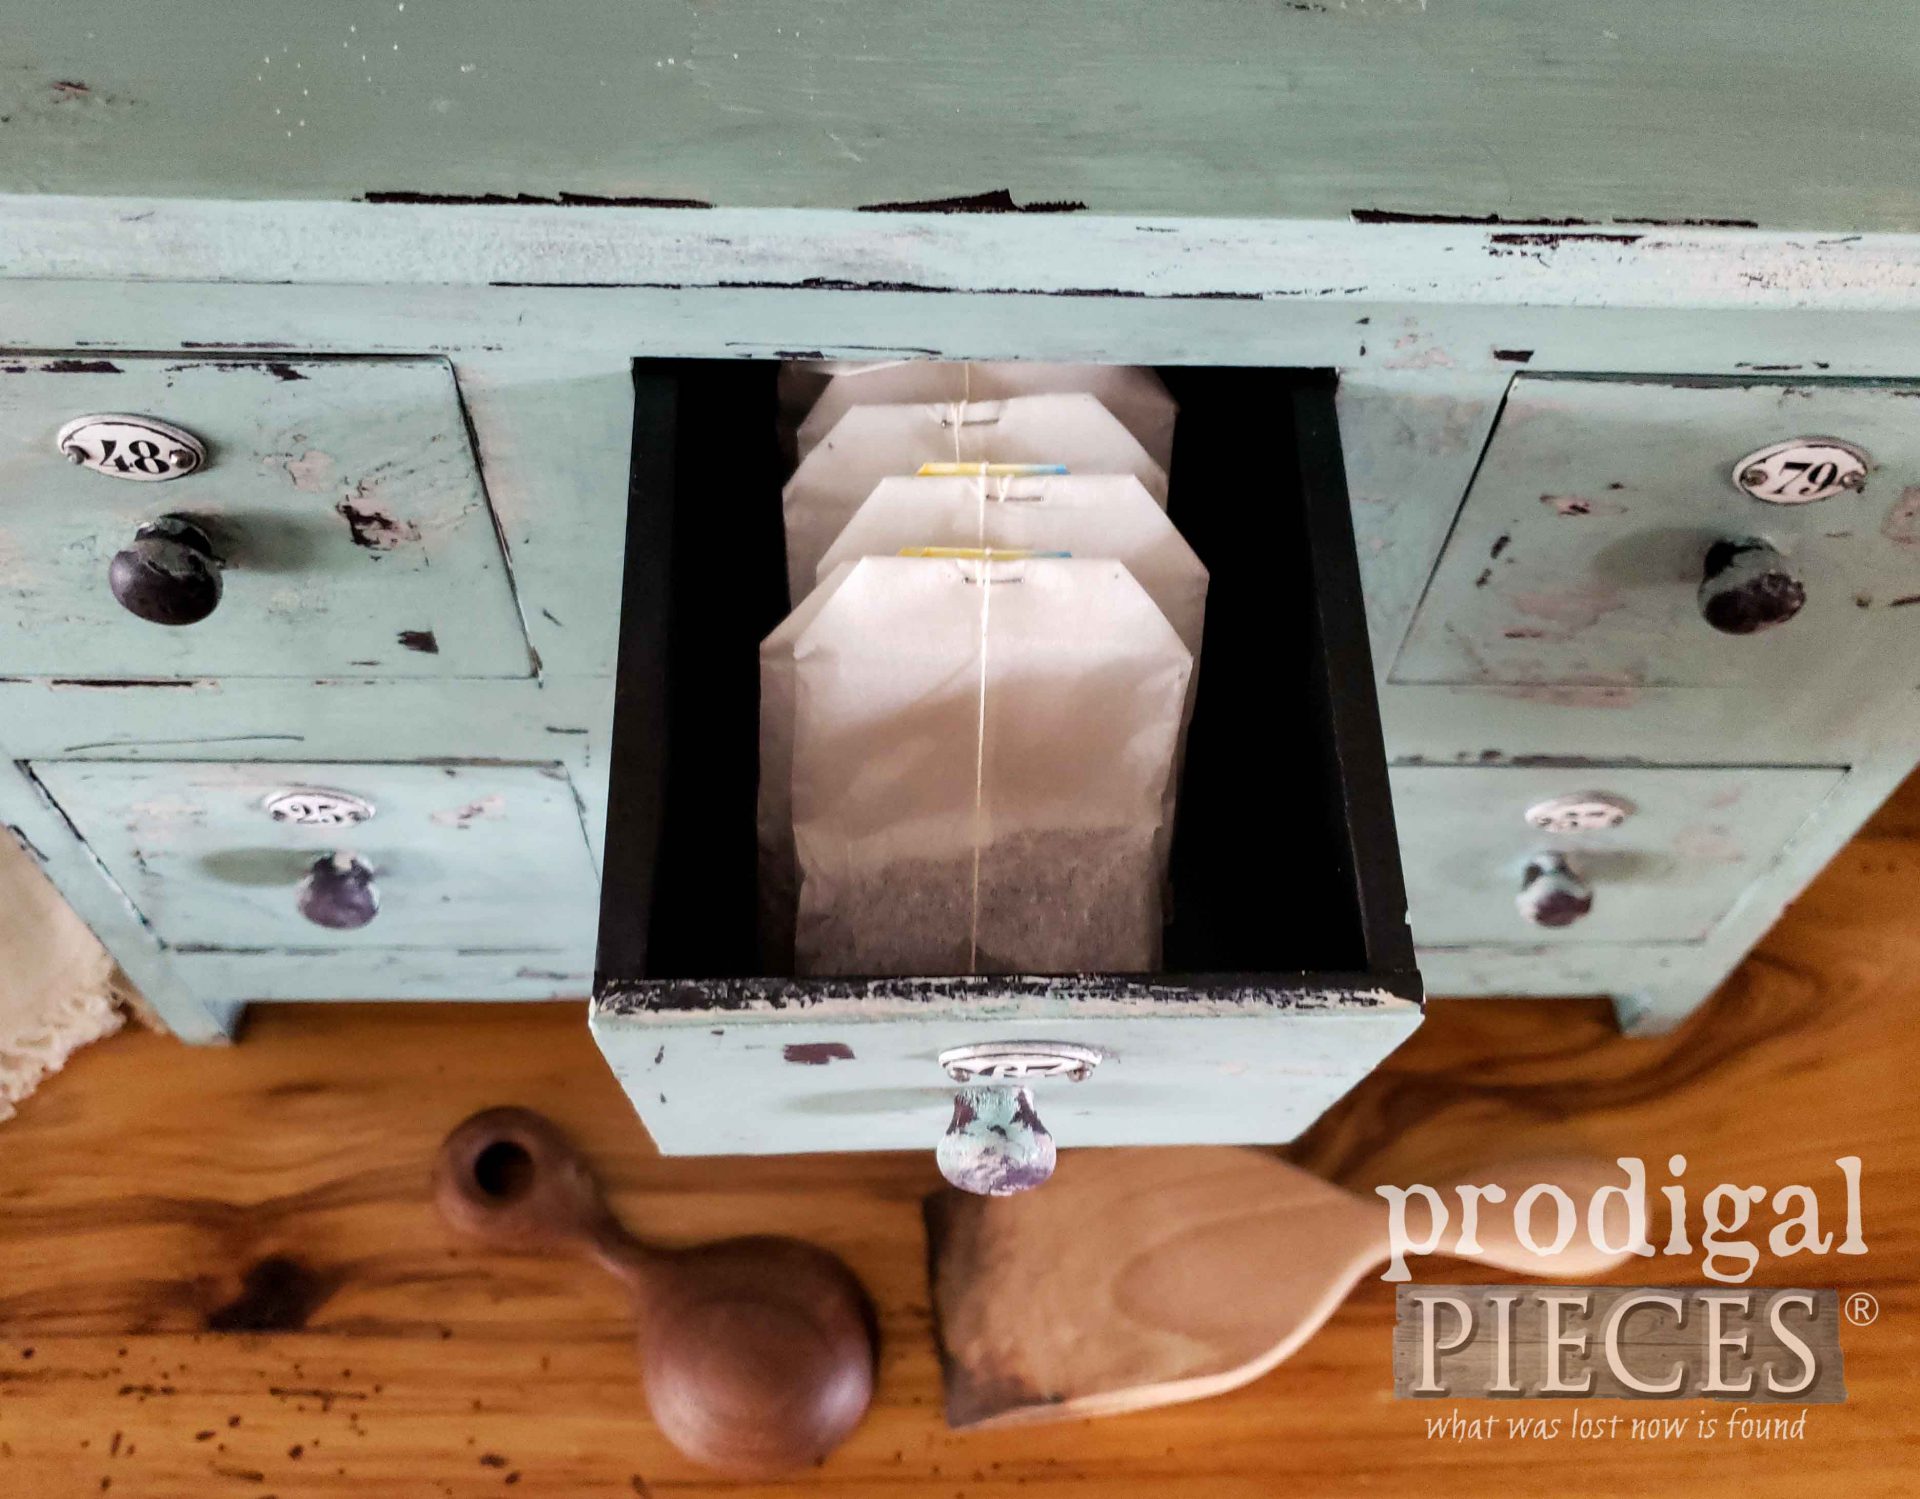
Well, I'm downright smitten and hope you are too. Hopefully, you've picked up a few tricks that you can apply to most anything in your home. You are only limited by your willingness to try. That's half the fun!
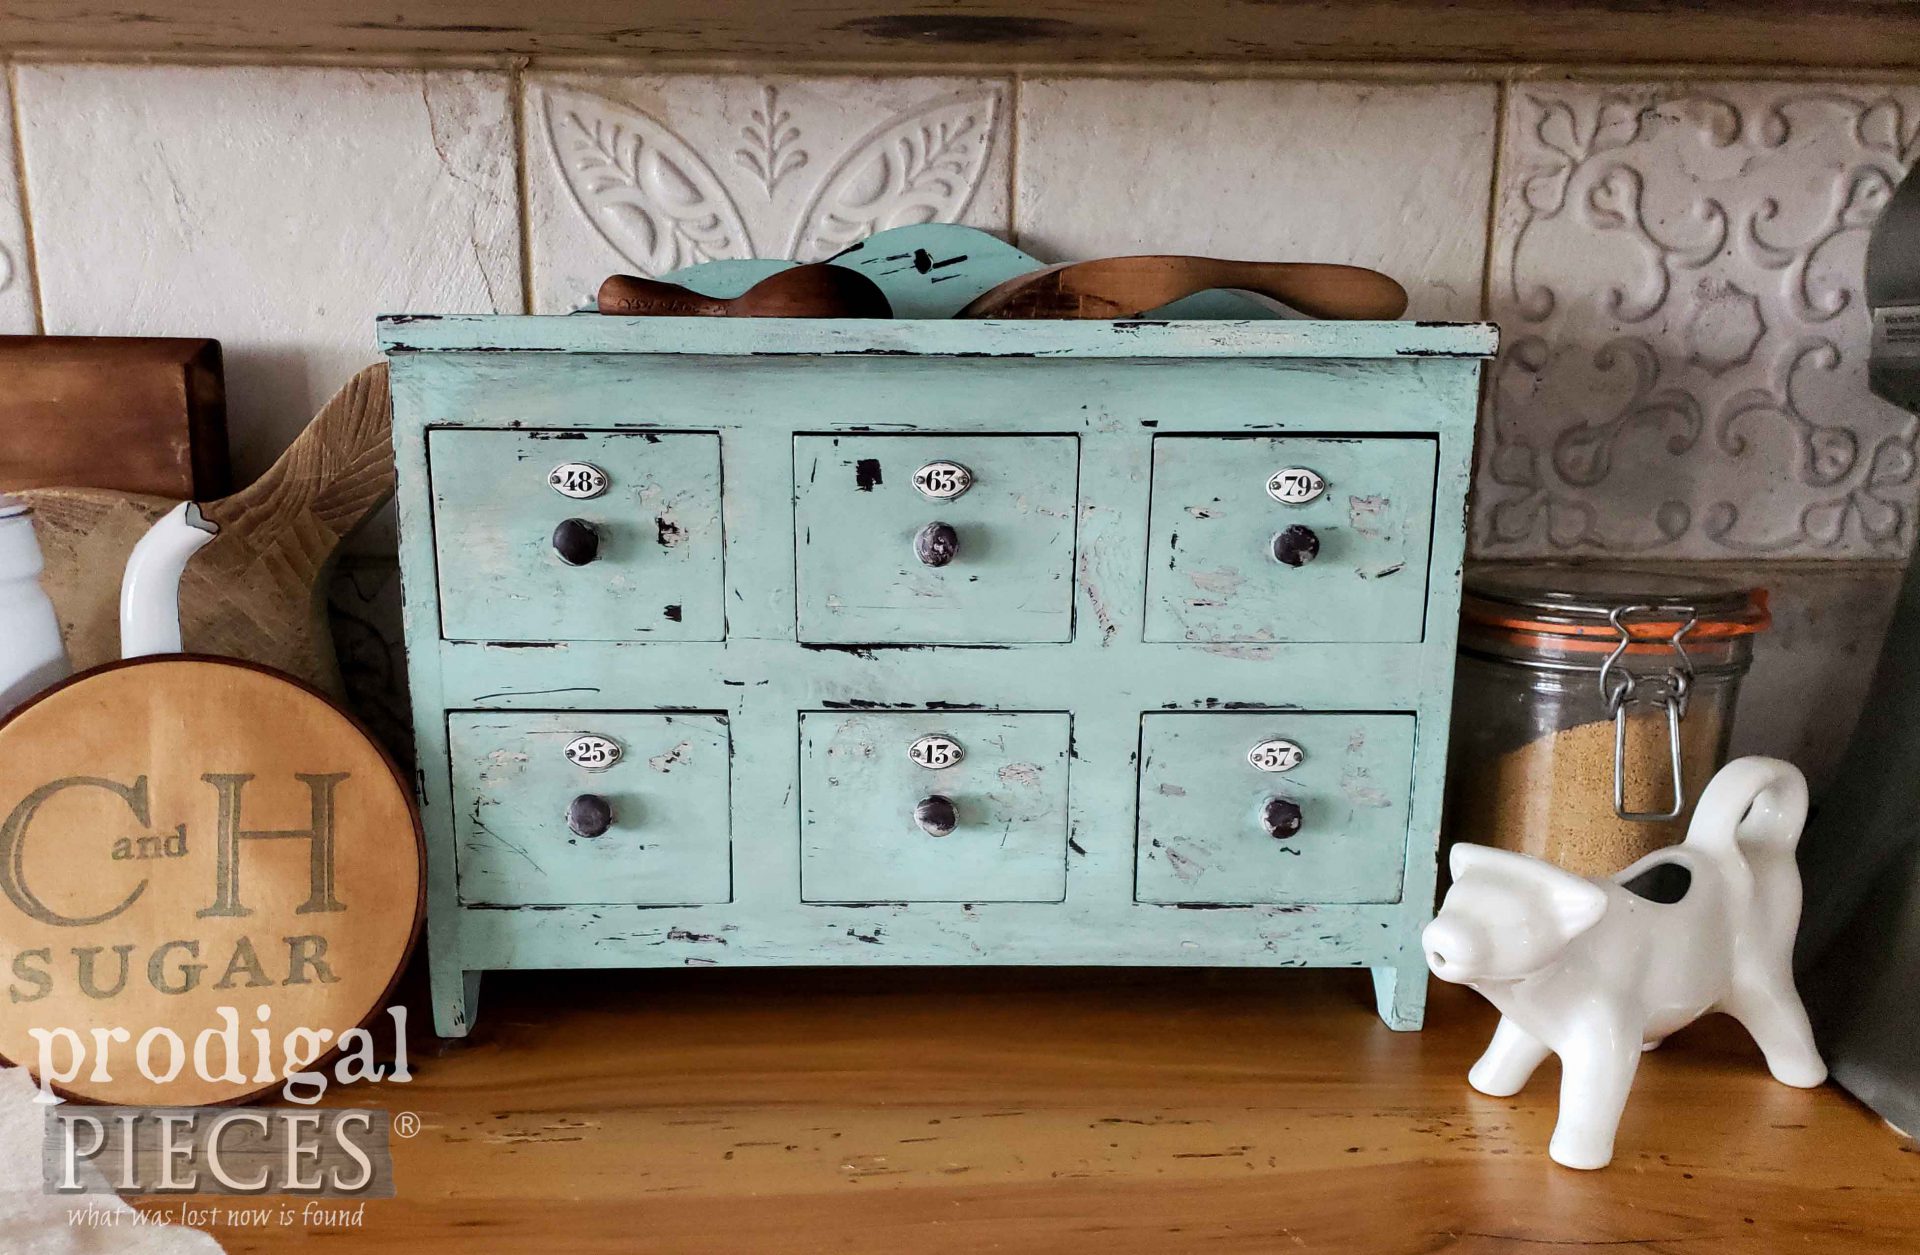
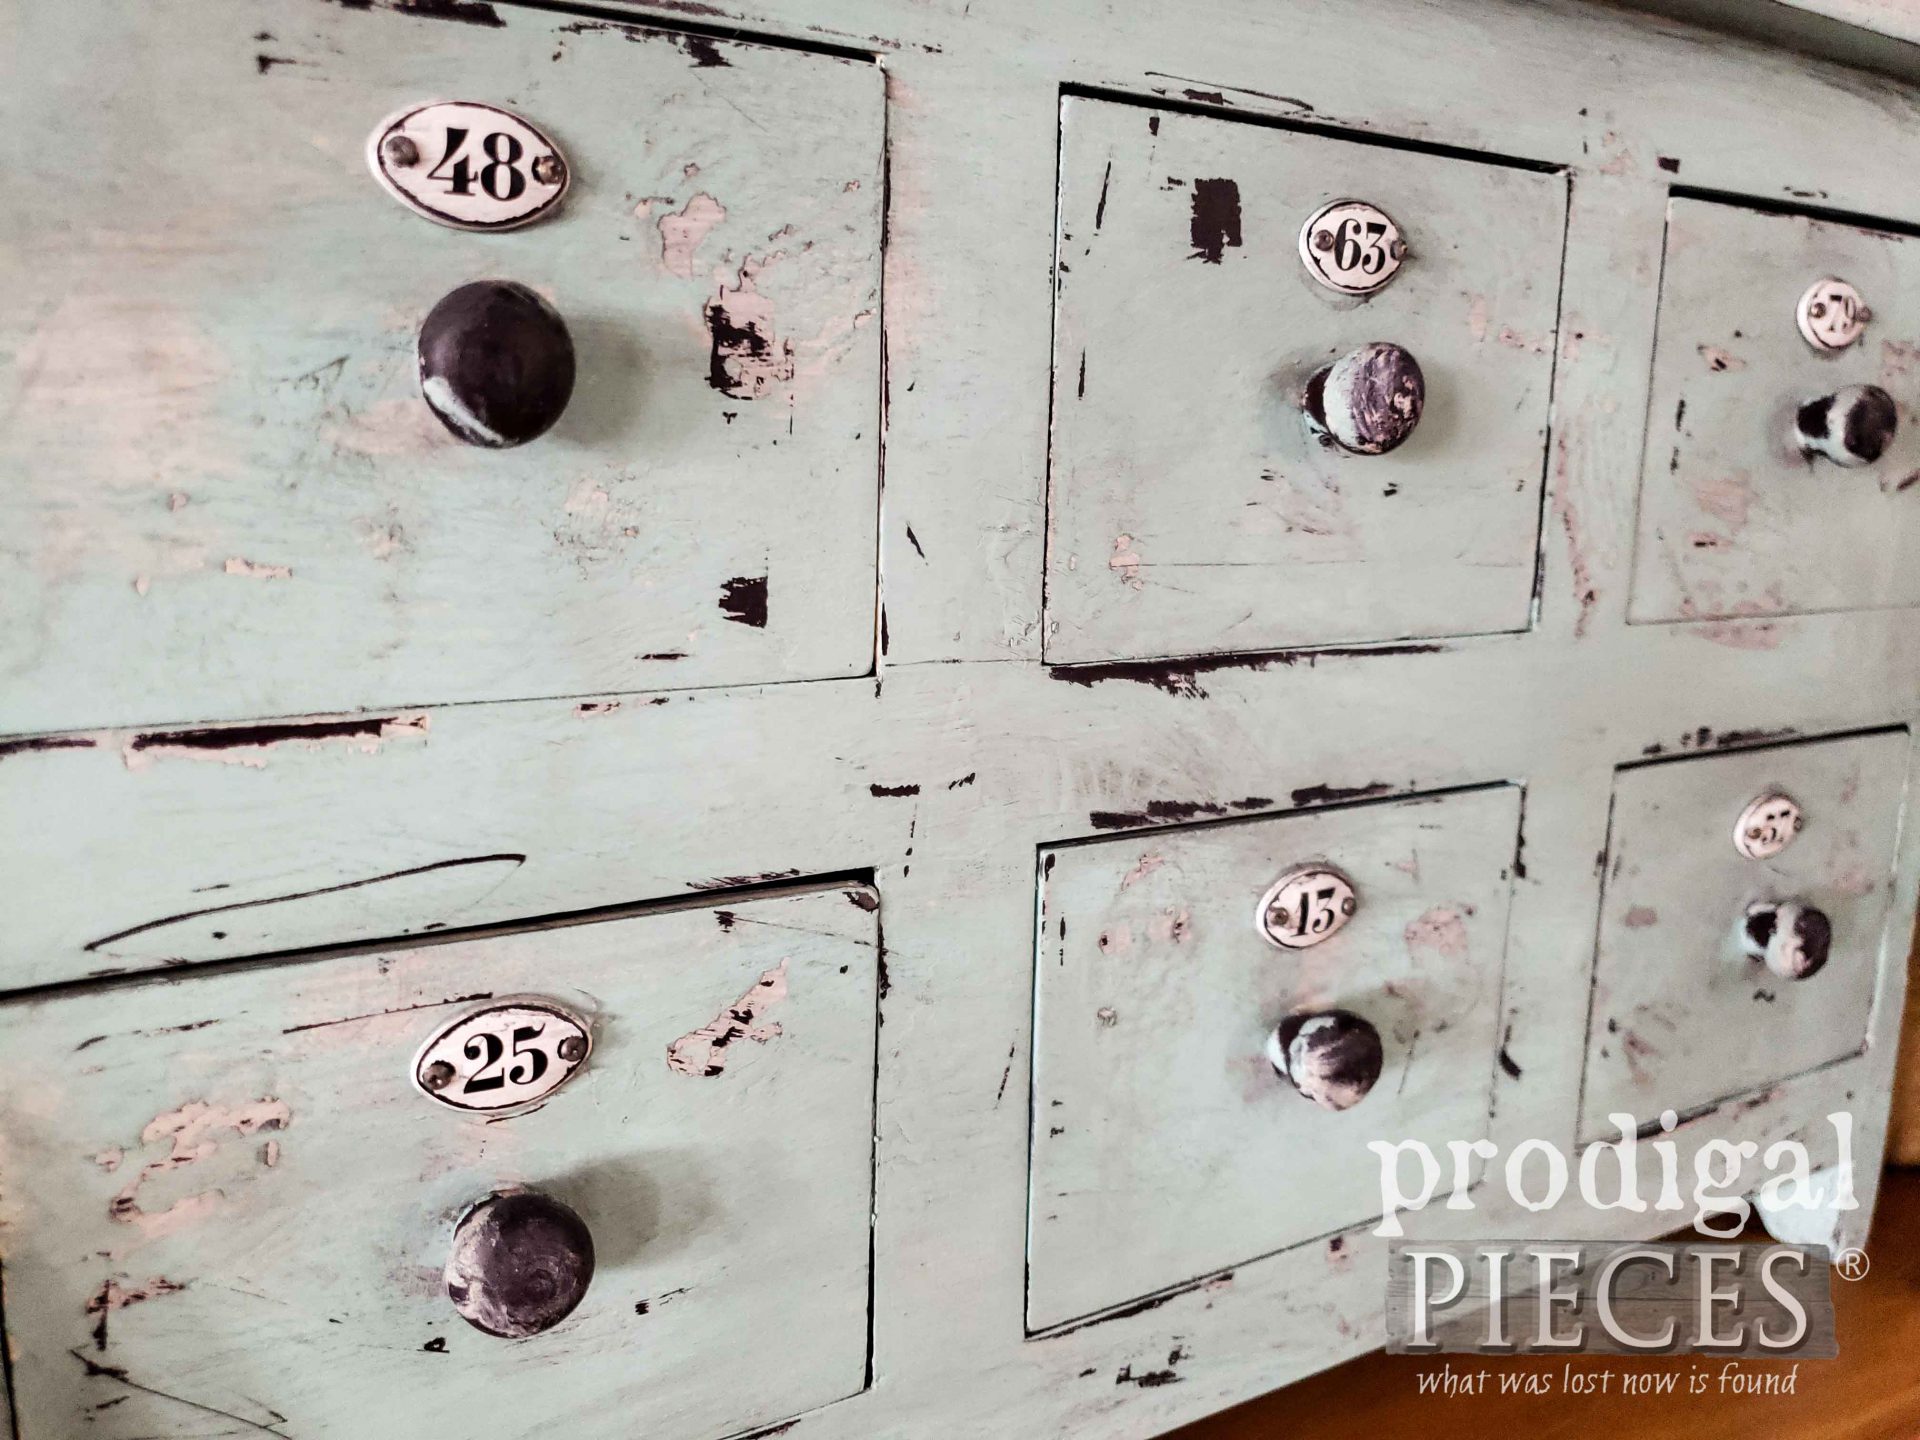
Likewise, if you'd like to make this a part of your home, you can find it and much more available in
my online store.

SHARE
Additionally, pin and share my little apothecary cubby to inspire others to take their DIY skills to a new level. It's fun!

UP NEXT
Up next, it's
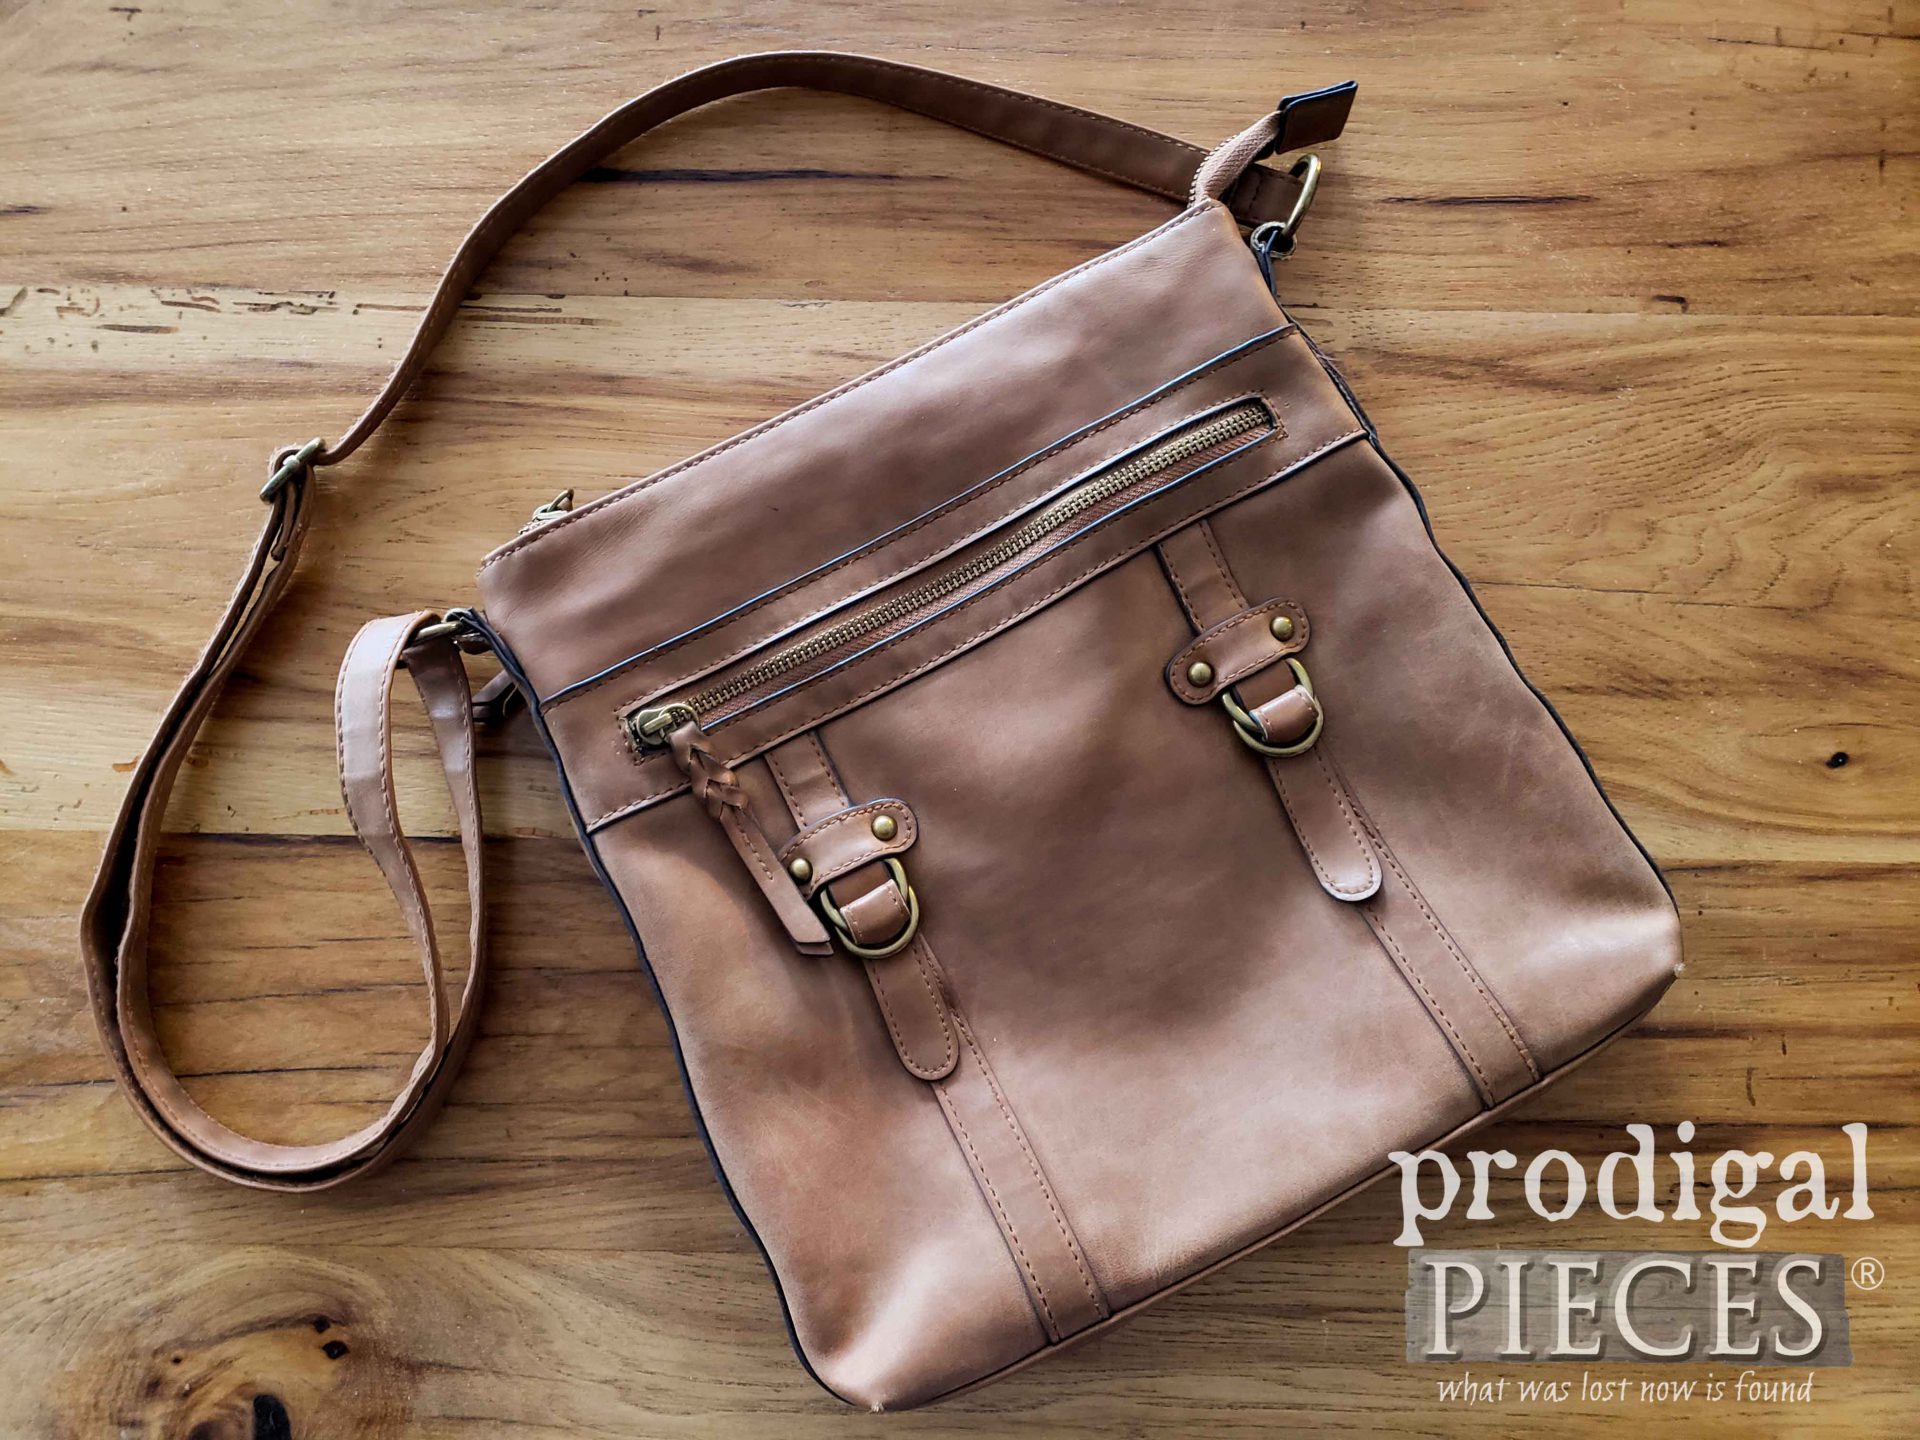
Reduce, Reuse, REFASHION time! I'll be taking this purse and making something new. See what became of an
old leather purse HERE.

Before you go, be sure to
sign up for my newsletter. Until next time!

 PINTEREST | EMAIL
While you're at it, here's more DIY projects for you:
 I actually found this at the thrift store, and if you know me I'm a sucker for all things drawers - especially small, cute ones, like these. tee hee. If you've ever priced an item like this at a flea market or antique store, you know they are not cheap. Right?


 The key is to apply it thick (but not too thick), and let it cure a bit. In addition, you can also use a heat gun or hair dryer to hasten this step. However, before the glue is completely dry, apply your next layer of paint brushing across the glue. Don't go back and brush over and over again as this will disrupt the crackle.
 Again, I use my heat gun or hair dryer to make the crackles crack deep. You can see in my past posts the technique HERE.

 However, this is also perfect for bathroom, bedroom, art supplies, notions, garden seed...you get the idea. What would you use it for?

 Well, I'm downright smitten and hope you are too. Hopefully, you've picked up a few tricks that you can apply to most anything in your home. You are only limited by your willingness to try. That's half the fun!

 Likewise, if you'd like to make this a part of your home, you can find it and much more available in my online store.


 Before you go, be sure to sign up for my newsletter. Until next time!


